
Goodwill Chairs Makeover {the beginning of my blog}
HEY! I AM GUEST POSTING AT TATERTOTS AND JELLO TODAY!!
COME SEE ME!

First of all, I want to remind you of my Amy Peters’ Studio giveaway that ends Thursday, the 24th, at midnight.
Amy is giving away a $75.00 Gift Certificate to her amazing online store.
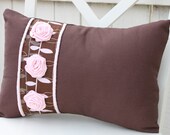
Click on the picture to enter:

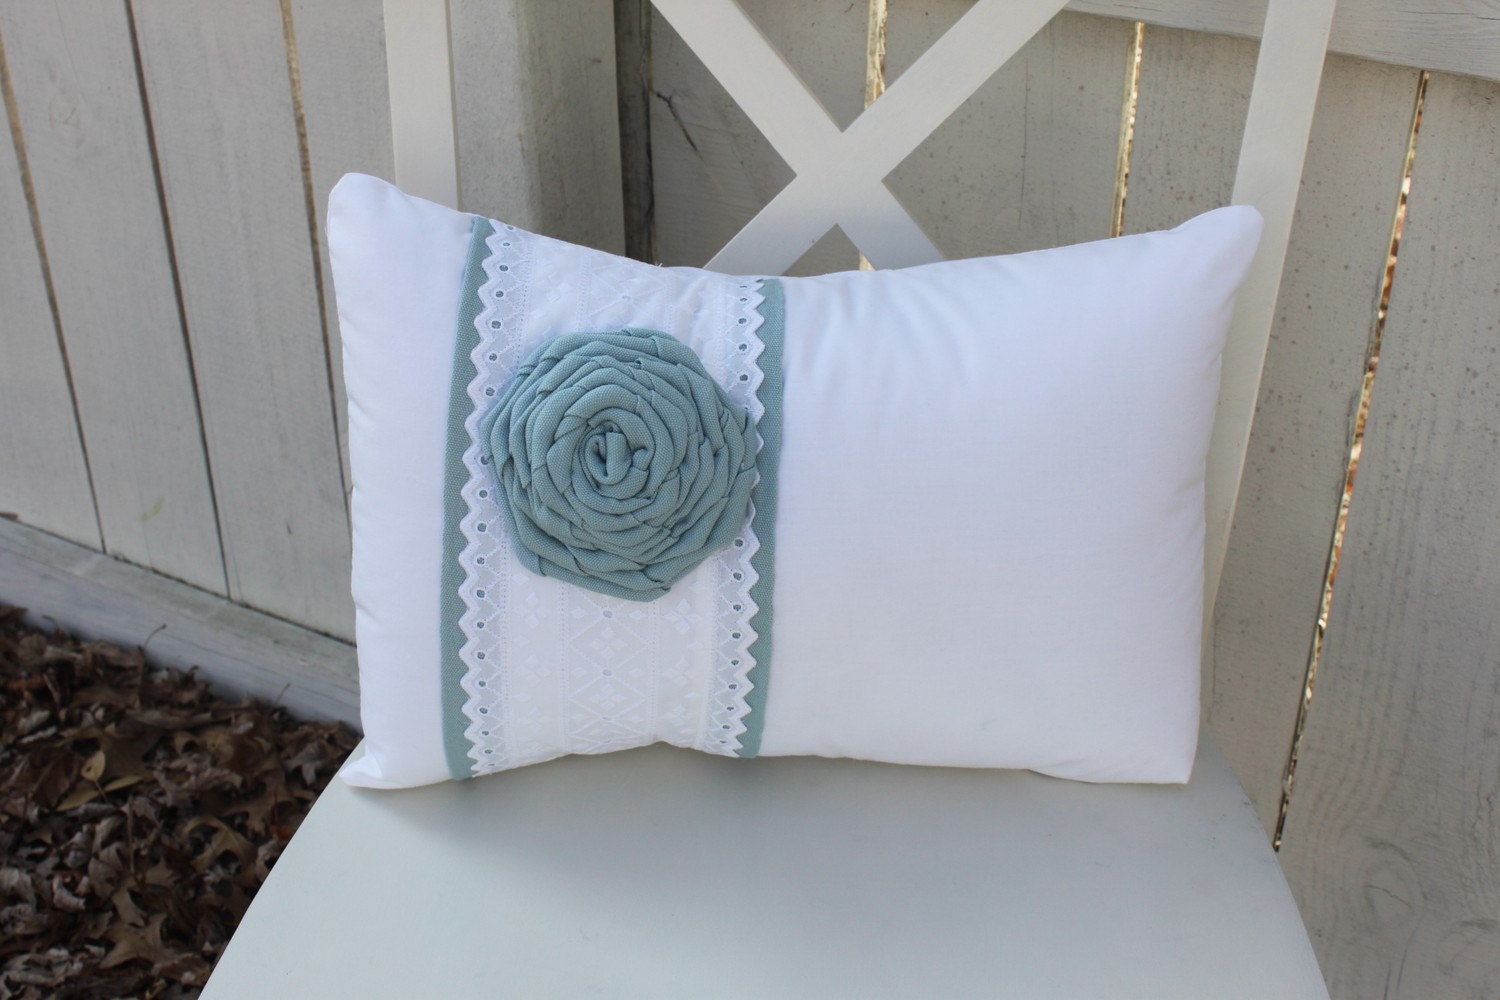
Secondly, I want to tell you about another great giveaway at Love of Family and Home.
I fell in love with this blog because it is written by a mother and daughter duo.
These ladies are precious!
I have been so impressed with their decorating skills, and now I am thrilled to announce they have their own Etsy Shop!

And to celebrate the opening of their Etsy shop, they are giving away one pillow of your choice from their shop!!!!!
So hop on over to their blog and enter by clicking HERE, and tell them I sent ya!
They are fairly new to blogging, so show them some bloggy love!
Now today, I thought it would be fun to show you where my blogging addiction interest began. Since I have a lot more followers than I did back then, and I’m sure you haven’t had the free time to read back to my very first posts, I wanted to share with you the very first project I ever posted on my blog. It is still one of my favorites!!!
Here it is…
My husband and I are creating a guest house above our garage. (To see our progess so far, click here and here.) We are almost finished, but it needs furniture. We are on a very tight budget, so I have been frequently visiting Goodwill hoping to find something I could re-do or restore.
I came upon two chairs a while back that I instantly fell in love with. I didn’t like the color, but they had great “bones”. I loved the design on the back, I loved the wood they were made of, and they were extremely sturdy and comfortable. Best of all, I got them both for $30.00!
Here’s the before.


At first, I was going to paint the material. Yes, I said paint! I learned about it from a post at One Woman’s Cottage Life. But then I realized you wouldn’t see the cool design on the back of the chair if I left it covered with the material. So I decided to remove the material on the back.

I also removed the seat by simply unscrewing it on the bottom. I wanted to cover the seat with new material.

Then I had the fun task of removing one thousand staples! I’m serious, it seemed like a thousand! So I enlisted some help…

That’s my oldest son, Jonathan. He’s almost 10, and he is a work horse. He loves helping me and his dad with all of our projects. Luke and Adam also helped, but I forgot to snap a pic.
The next day, I had blisters on the palms of my hands from all the staples we removed. No pain, no gain, right?
This is only half of the staples…

Then I spray painted the chairs black, and they started looking much better.

Then I bought some off white material to cover the seats.
I love using a staple gun. Covering a seat is so easy. Just be sure to pull the material real taunt before you staple. And if you mess up, you can easily pull the staple out and start over. (I know that from lots of experience!)


I just folded the corners over like so, nothing fancy.


Then I just re-attached the seats with a screwdriver, and I was finished!

What-a-ya think? I pulled the pillow off my bed to show you what it would look like with a pillow on it. I haven’t found the pillows I want just yet. I may buy them, or find some material I like and make them. I also thought a monogrammed pillow would look good.

Here’s a picture of the backs of the chairs.

I paid $30.00 for the chairs, $2.00 for a can of spray paint, and $6.00 for the material. Not bad for $38.00!
And they fit perfectly into my cottage style guest house.
Well, I hope you like my transformation! (By the way, I got the rug they are sitting on at Goodwill too…only $25.00!)
****************************************
Wasn’t that fun?! I love having all my little projects documented on my blog.
Now these chairs sit around my guest house table…

Thanks for joining me in my little blast from the past!
Have a blessed day!
Oh I am so glad you posted (or re-posted) this project. What a great Goodwill find. You have made those chairs look AMAZING! Love it!
I love all the inspiration I find from bloggers like you. I hope to add some things like that to my blog this year. I love your blog and look forward to reading more : )
Have a wonderful day,
Jenn
You did a great job. I have yet to find anything at GW. I really want to but my GW doesn’t seem to have anything good.
What excellent inspiration! The finished chairs are gorgeous, I love the detail of the back and the white cushions. Can you tell us what you spent on this project?
Love your GW chair makeover! They look great at your kitchen table! Love that you have a guest house above your garage! How cool is that! Another whole new space for decorating! Thank you again for the shout out about our etsy shop & our giveaway!! So, so, so much appreciated!! Love ya girl!!
Looks great and what a great first post!
I missed this the first time around so thanks for re-posting. The chairs turned out wonderful and they are perfect for your guest house.
Hugs,
Sherry
I so want to do something like this, but Im chicken. LOL! You made it look easy. I love how they turned out!
Those are great chairs! Beautiful job.
Zizette
Awesome job. I love the back on the chairs. I agree with you, I would not have wanted to have put anything on the back of them. And the price was not bad either.
Can I come visit you and stay at that cute, cute guest house! I love it! Thank you for sharing again!
those chairs turned out great! I am new to your blog- and indeed a women after your heart, I love to redo and thrift1 Your blog and site are so fresh and inviting!
Great job on the chairs! What I want to know is the paint color on the walls? Love it!
I love them! I’m glad you let the backs show…they’re so pretty!
Those chairs are gorgous! You did such a great job and I love that your son helped! I found a chair I love at Goodwill at a great price. You can check it out here… http://roomingwithgail.blogspot.com/2010/08/goodwill-hunting.html
Maybe I should paint the wood?
Traci, what vision you had…I love how these chairs came out. Thanks for showing us how you transformed them. Your sons sound so wonderful. Look at that sweet, bright face helping you…Jonathan is truly a treasure. What a fine young man pitching in to help his Mom.
I’m going to be hitting the thrift stores for the other pieces I’d like to incorporate into my office…that is once I get done with the walls…the never ending job. LOL
saw you on TT&J – love the mirror redo! can’t wait to spend some time looking around your blog at your other great projects!
I loved reading your first post Traci! Congrats on your feature over at Tatertots and Jello too! LOVED the mirror technique. I might try it on my bedroom nightstand. Thanks for the continued inspiration!
Again…just beautiful! BTW, we have something in common…I have four boys too. Mine range in age from 21 to 28. I really wanted a little girl, but having boys was a wonderful experience for me. You’ll never regret staying home with your kids. It’s all so worth it!!
Your blog is fantastic. These chairs look great! I have never been thrifty or crafty before, but this inspires me. I need to give it a shot! :)
Saw you on Tater Tots and Jello. LOVE the blog! Can’t wait to read more. Thanks for sharing your amzing talents!
~Jess @ makingoverthemartins.blogspot.com
I found you from Tatertots and Jello. I love your blog! So inspirational to a newbie like me!!! Come visit me if you have a minute….
Now following you!!
SageandCocoa.blogspot.com
I love your chairs and your Kitchen!
Those chairs do look great in your guest house. Good job!
These look great! What a pretty transformation!