Skip to content
Home
About
Contact
Facebook
Instagram
Pinterest
TikTok
Twitter
YouTube
Email
Trending: Four Gables House Plan!
DIY Projects
Recipes
Makeovers
Expand
Room Makeovers
Furniture Makeovers
Search
Toggle Menu
Home
/
2012
/
July
/
09
Day: July 9, 2012
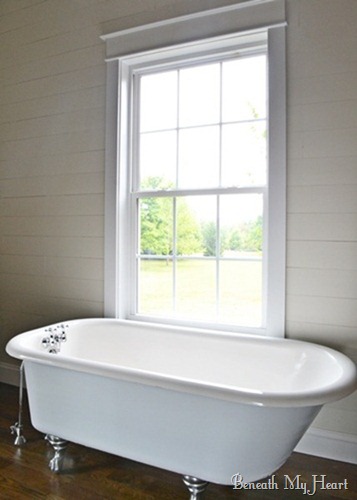
How to Refinish an Antique Claw Foot Tub {Check out my New Tub!}
DIY Projects
Recipes
Makeovers
Toggle child menu
Expand
Room Makeovers
Furniture Makeovers
Toggle Menu Close
Search for:
Search