DIY {Undermount} Spice Rack
Hey friends!
I hope you had a great weekend!
I wanted to share with you a project that we completed in our kitchen a while back ago. ![]()
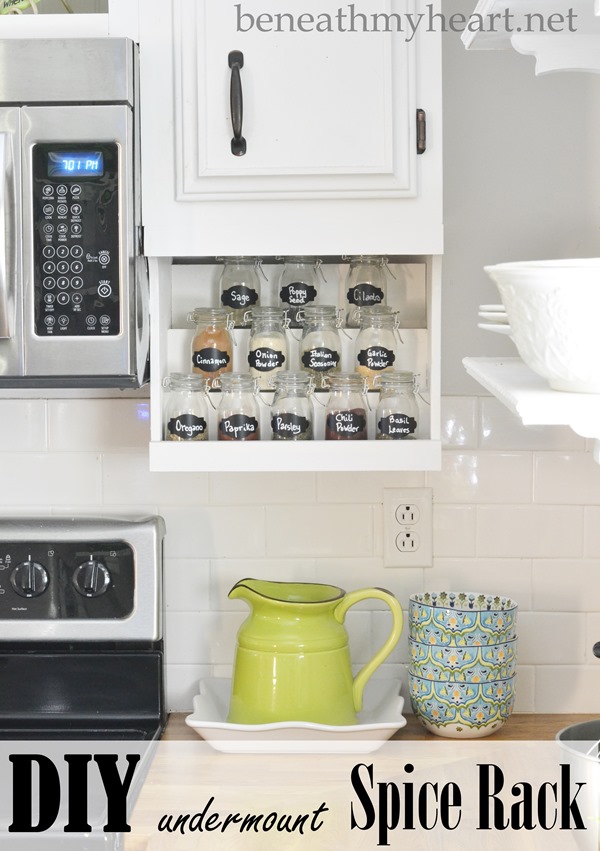
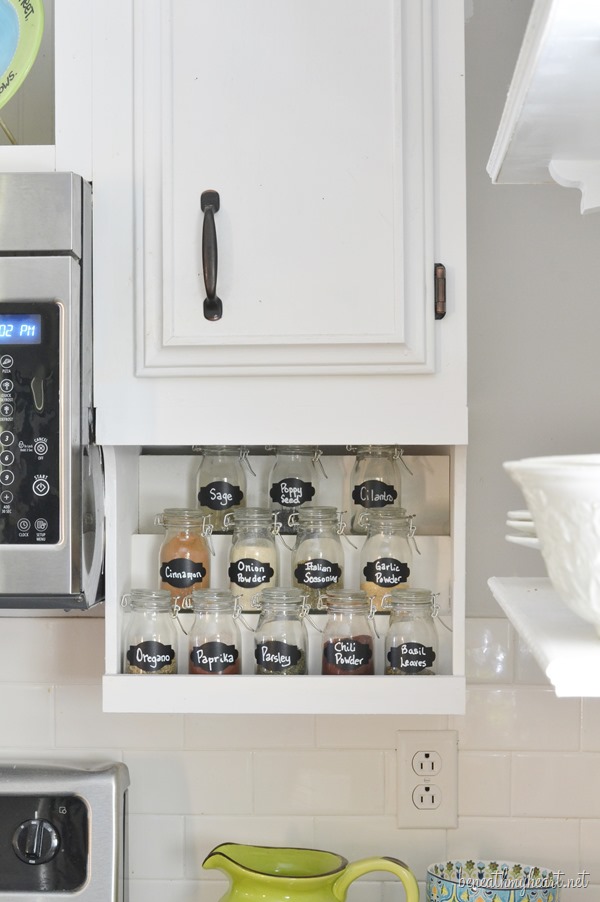
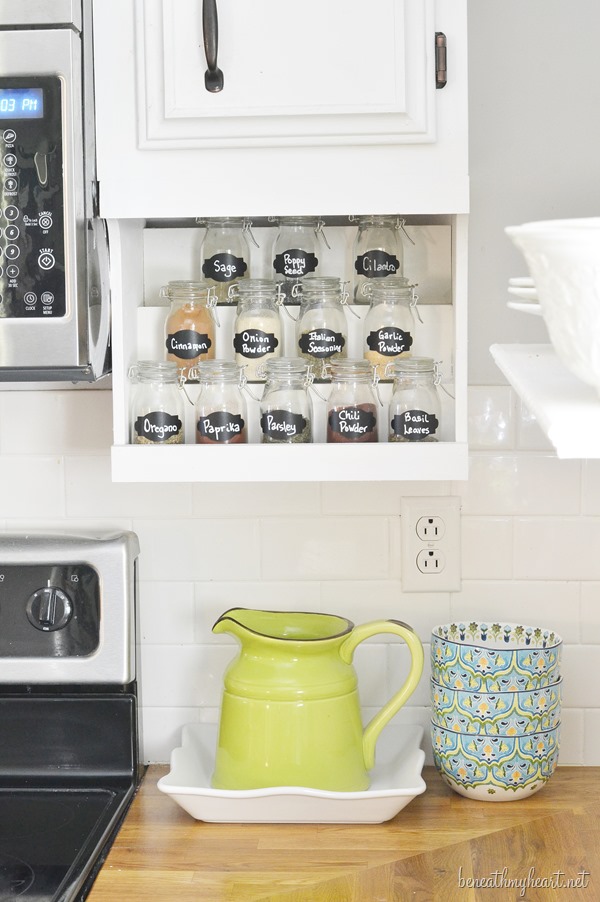
We created a place underneath my kitchen cabinets for me to store my spices.
This project has been a long time coming. Over a year and a half ago, we created a cookbook holder on the other side of the microwave.
Just for fun, do you remember what our kitchen looked like when we bought this house two and a half years ago?
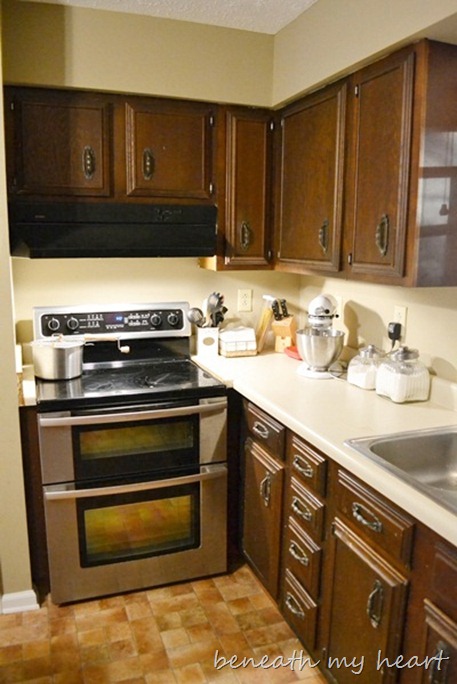
As you can see, we had a soffit above our cabinets that we tore down during our kitchen renovation.
Cy tore down the small pantry to the left of the oven, and raised the cabinets to the top of the ceiling when we installed the microwave.
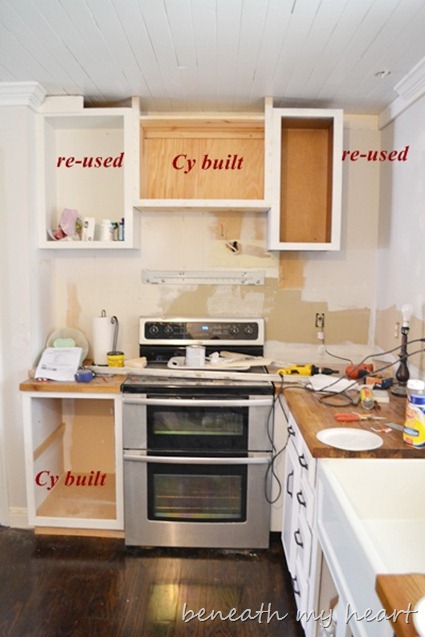
When we finished the kitchen makeover, this side of the kitchen looked like this…
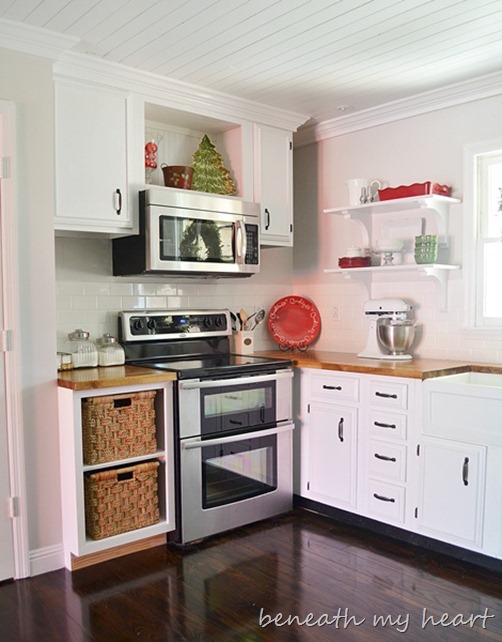
We had extra space under the cabinets on each side of the microwave that I knew I would fill up someday.
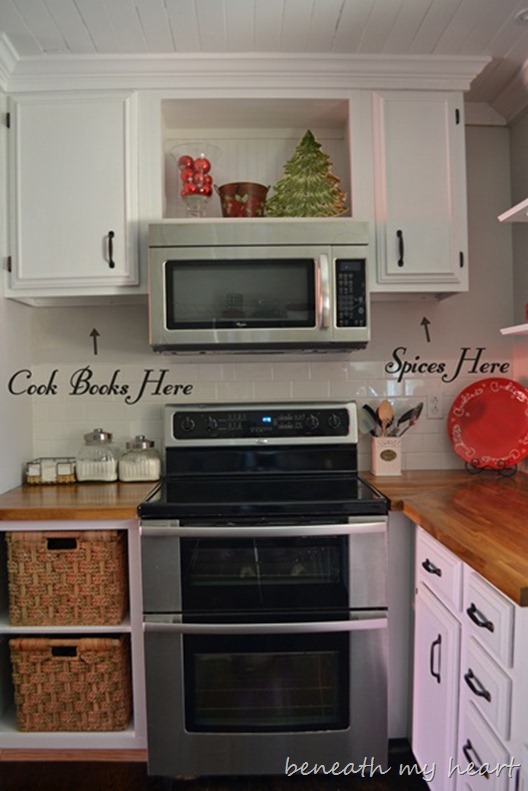
I am happy to announce that we finally have both sides finished!
On the left is our cookbook holder…
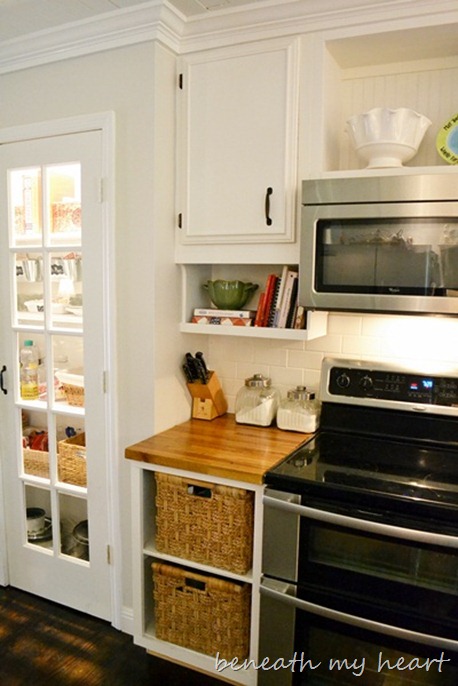
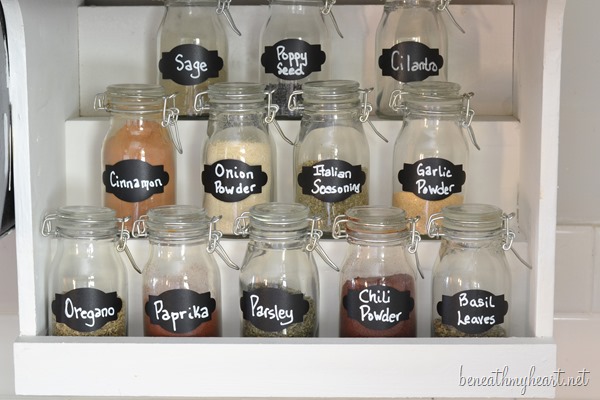
And now on the right is our spice rack…
Here’s how we made it:
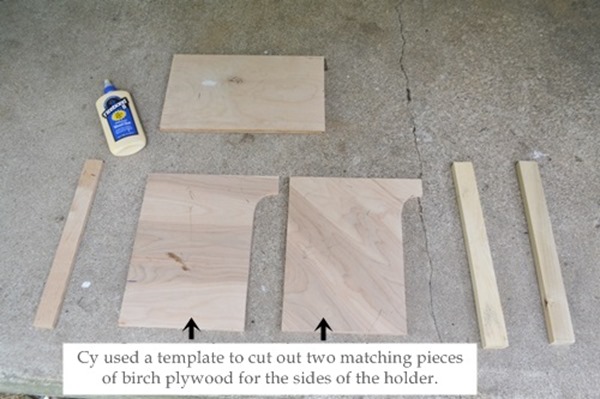
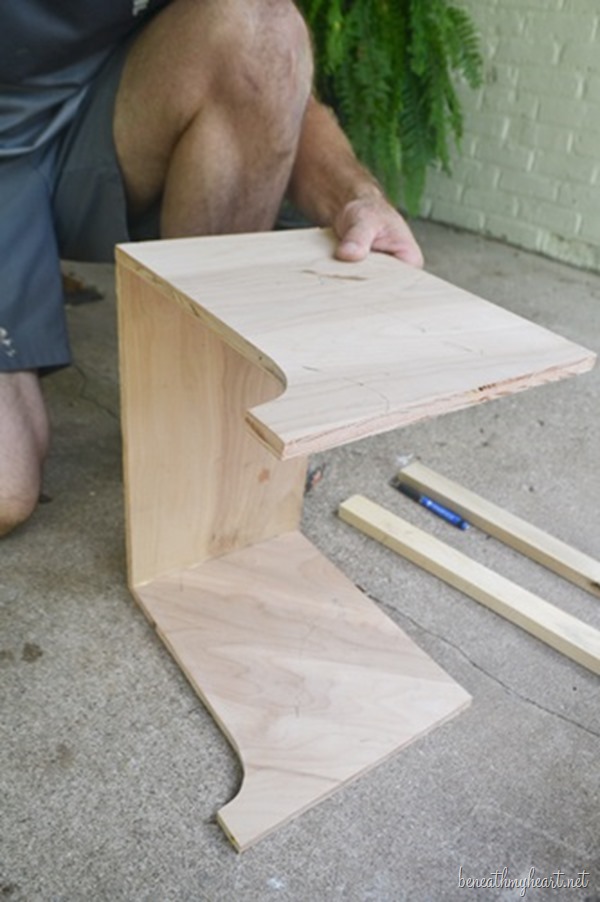
Cy used his jigsaw to cut out two matching pieces of birch plywood from Lowe’s for the sides of the spice holder.
{I would give you the exact measurements, but everyone’s kitchen cabinets can be different sizes. If you created this, you would need to measure your cabinets to figure out how big to make your spice rack holder.}
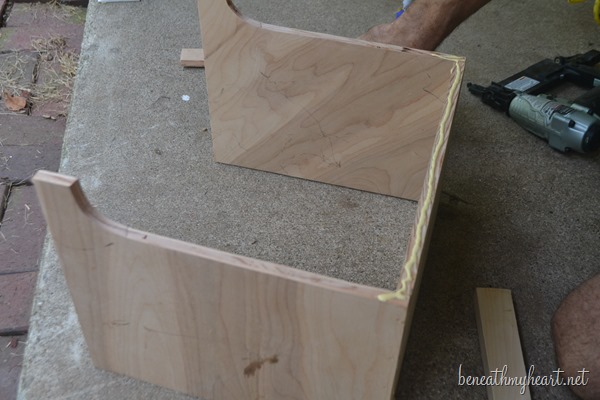
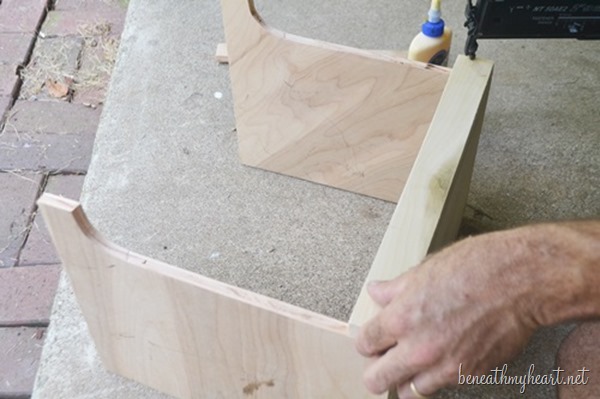
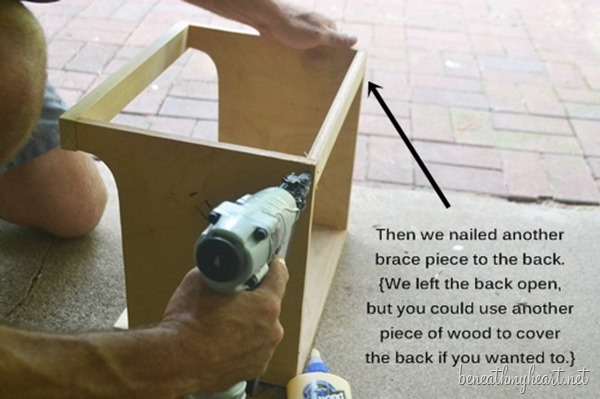
Then he used wood glue and a nail gun to glue and nail the sides of the holder to the bottom piece.
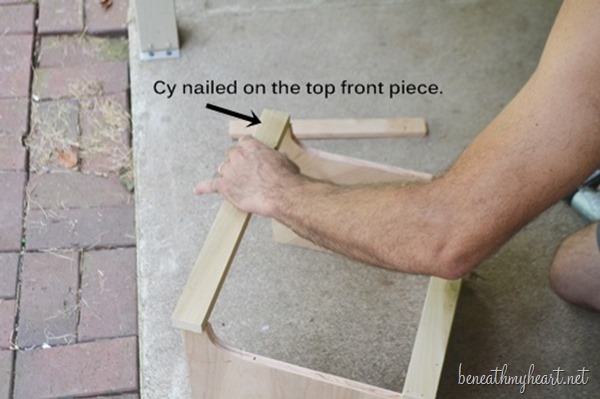
Next, he glued and nailed a piece of trim to the bottom of the spice holder.
He glued and nailed a matching piece of trim to the top of the holder.
And then one more piece of trim to the back.
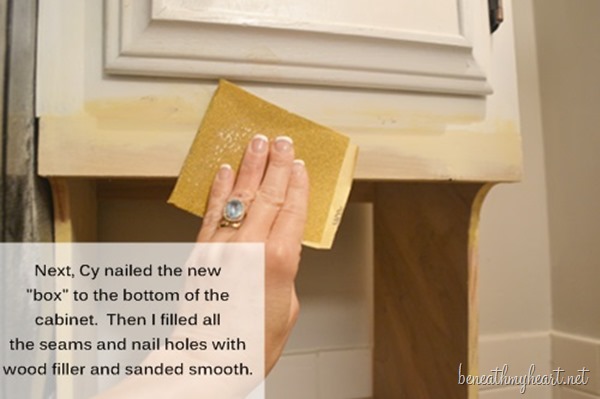
Next, he glued and nailed the spice rack to the bottom of our kitchen cabinet.
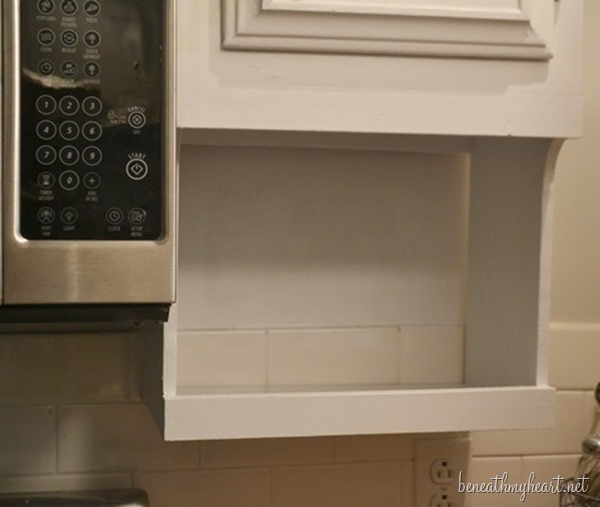
I filled the seams in with wood filler, sanded them smooth, and then painted them white.
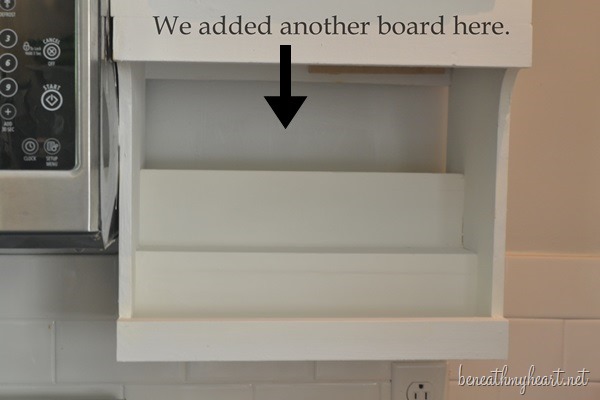
Next, we began creating the shelves for our spice rack.
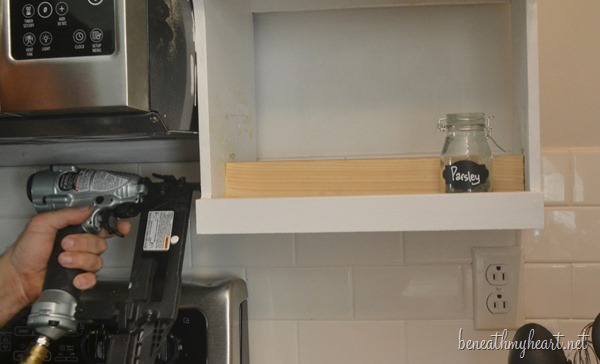
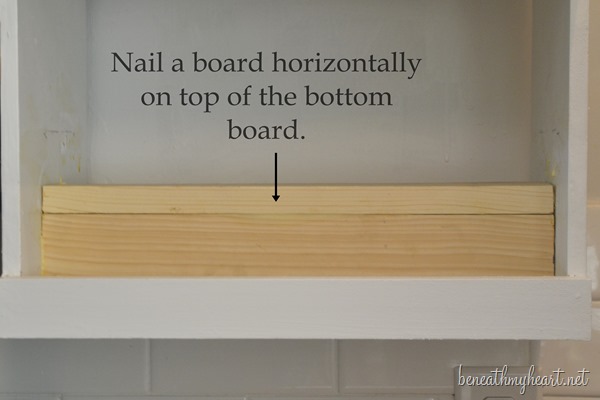
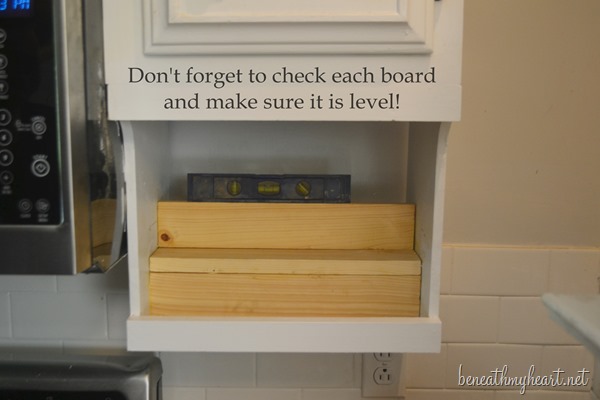
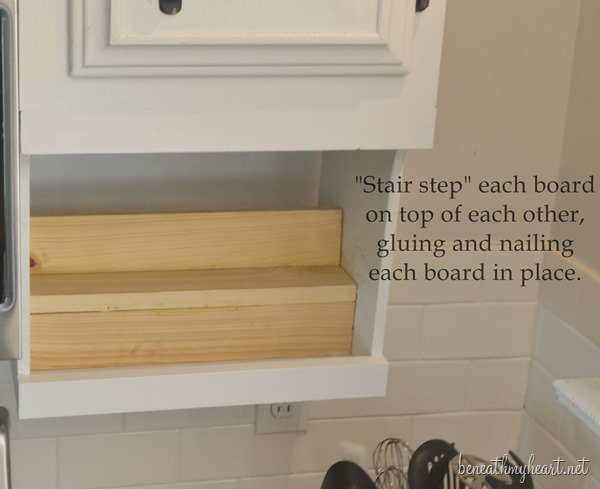
We basically created them like stair steps, gluing and nailing one board on top of the other.
Don’t forget to check and make sure each board is level.
Here are the shelves half way through…
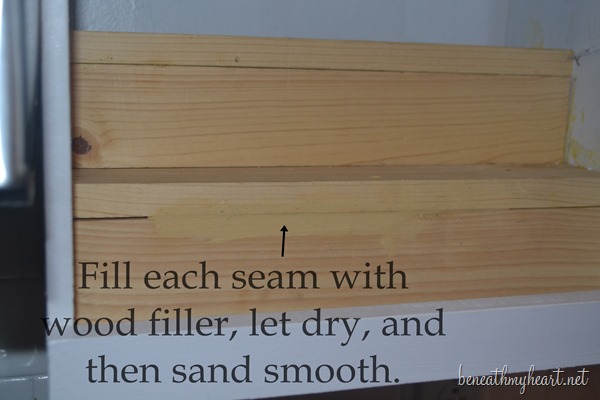
After we had finished each shelf, I used wood filler to fill in the seams.
Then I sanded and painted the shelves, and they were ready to be used! ![]()
I bought some glass jars at Hobby Lobby {50% off, of course!} and used some chalk board labels to label each jar.
I love how I have easy access to my spices now when I cook. I’ve added a few more spice jars since taking these pictures.
This project only took a couple hours from start to finish and was very inexpensive to create.
Do you have a special way that you store your spices?
See more fun DIY ideas at Lowe’s Creative Ideas, follow Lowe’s on Instagram, Pinterest and sign up for the Creative Ideas magazine and app!
*Disclaimer: As a member of the Lowe’s Creative Ideas Creators and Influencers network, I received a Lowe’s gift card to complete this project. All ideas, instructions, and opinions are completely and totally mine! ![]()
Linking this project to Home Stories A to Z’s Tutorials and Tips Linky Party!



I love it! I also love how your kitchen continues to evolve. My spices are all store in a huge draw just below my stove, it’s convenient but not always practical. My all time favorite part of your kitchen reno is your pantry. It’s dreamy!
Very cute! Love your kitchen, too.
Cute! I love projects like this — adorable and easy! You guys are so creative. ~Angela~
You would die if you saw my spice “mess!” An intervention is definitely in order.