
Kitchen Pantry Makeover
Welcome to Day 2 of my Organize your Heart and Home series!

Today, I am doing a small little switch-a-roo in my schedule this week. I was supposed to show you my new organizing project in my kitchen and then on Thursday, I was going to do a “throw back” to a previous kitchen organization project I have done in the past. But because I have spent the past few days trying to take down my Christmas decor and haven’t had time to organize my kitchen, I am going to share my “throw back” post today. Is that okay? We can call it “Toss it back tuesday!” :)
This is a makeover I did on our pantry in our previous home back in 2011. You will be able to tell that my picture taking skills were not very good at that time. I am so thankful that my blog has forced me to learn how to take better pictures. And I couldn’t believe how young Luke and Jonathan look in these pictures. They have grown up so much in the past three years.
But I hope this project helps to inspire you to organize a part of your kitchen this week and then share it with me!
Here’s my blast from the past….
***************************
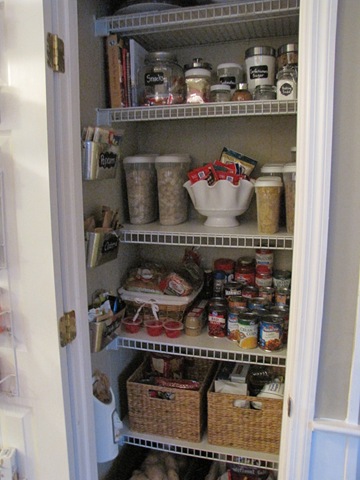
This is embarassing, but here is what my pantry looked like last week…

Holiday-whoobie-whatie?
Shut. The. Door.
No rhyme, no reason…just a mess!

My husband actually built this pantry in our kitchen 3 years ago. Before that, we had absolutely NO storage for food. We had to take up cabinet space with groceries.
He installed the wired shelving when he built it. It has worked okay, but my boxes tend to fall over a lot, and it drives me crazy.
My cookbooks fall through the cracks…

The inside of the pantry was painted the same yellow that our kitchen used to be painted. But now that our kitchen is Khaki Shade by Sherwin Williams, I knew I was going to repaint the inside.

The floor is where I stored my crock pots, dog food, and the boys’ lunch boxes. Ugh.
The door has wire baskets on it to store my spices, sandwich bags, plastic wrap. etc.
I like having it there, but when we installed this door on the pantry, we never painted the back of it. So it was an off-white color.

And the door was still sporting the greasy handprint that my hubby left when he installed it. (See right side of door.)
We are sentimental like that. :)

So I cleared out the pantry door so I could give it a fresh coat of white paint.

And I cleared out the pantry. Notice the difference in colors?

Since the boys had a couple of snow days last week, I decided to put them to work.
Luke helped me put my spices in alphabetical order. It is my goal to someday be able to afford matching spice jars to put them in, but can’t do it right now.

And Jonathan checked all the dates to see which ones had expired…

We had to throw the pile in the front of the picture below away…all expired!

Since I didn’t have the time or money to install new wood shelves, I decided just to add a thin piece of material to each shelf to make it more sturdy.
So I went to Lowe’s and bought a large 4 ft x 8ft piece of tempered hardboard (item #15483) for only $7.25.
I had the Lowe’s guy cut it into five pieces the same size as my wire shelves.
There were several pieces left over that I hope to use for later projects.

I painted the fronts and backs white and put them in my closet.
The closet was already looking better with newly painted walls and new white shelves.
And the door got a fresh coat of white paint too.

Here is something I learned during my pantry makeover:
CONTAINERS ARE EXPENSIVE!!!!
I mean….seriously?!
I trotted down to Walmart to buy some containers, saw the prices, and left empty handed! I wasn’t trotting when I left. :(
So I have been frequenting Goodwill on the hunt for containers.
I found some, but was still needing more.
So I had to break down and spend a little money on a few. But I tried to get them as cheap as possible. I have less than $30.00 in this whole makeover.
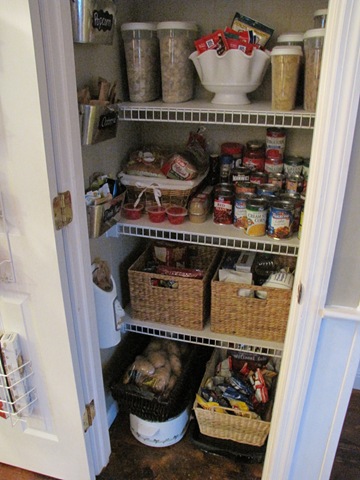
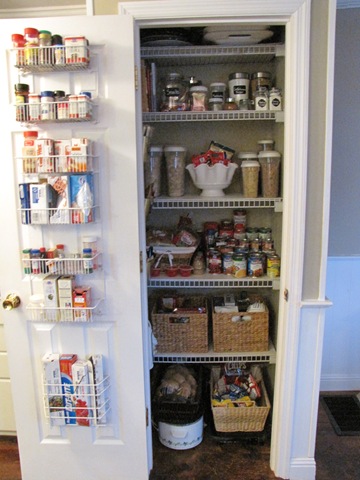
Here is a look at my new clean pantry!!!

Isn’t she lovely?!
I am so happy with it!!! (Sorry the pics are a little blurry. We had no sunlight today and I tried to take pictures manually…obviously, I’m still learning.)
Here is a breakdown of what I paid for my containers purchased at Goodwill, Dollar General, and Kroger….
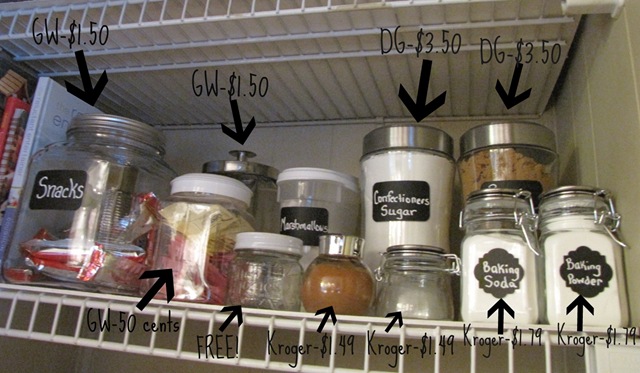
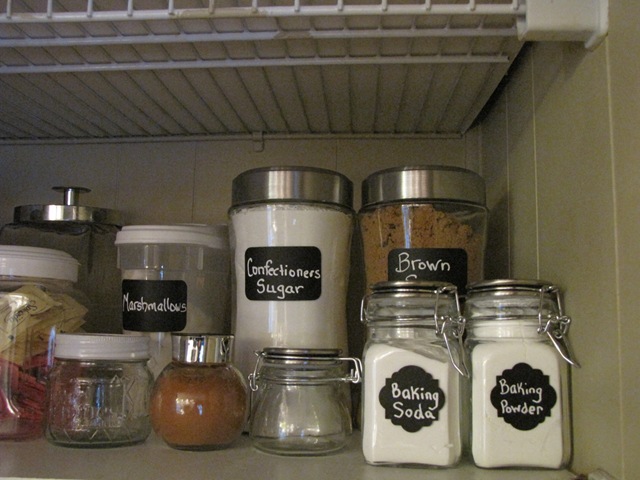
The cute rectangular chalkboard labels are from Leen the Graphics Queen. The two curvy ones I made using my new Silhouette Machine!
I used a chalk-ink pen to write on the labels.
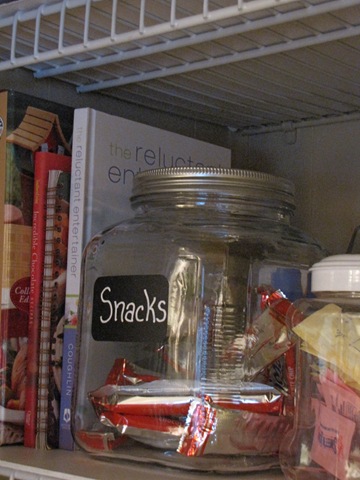
I fell in love with these little jars from Kroger. I wish I had the money to buy more. They were on sale last week and may still be.

And I love the two tall glass jars I found at the Dollar General. They are very sturdy. They have smaller ones for $2.00 that I am wanting to go back and get.
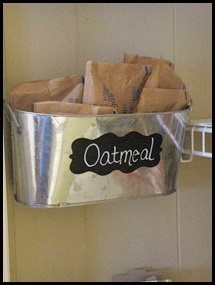
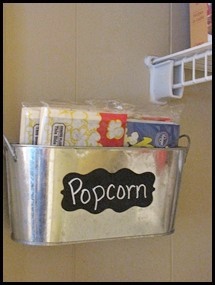
See those cute little tin containers on the left wall in the picture below?
I found them at Goodwill for $1.50 a piece and I love them!
I used my Silhouette Machine again to make labels for each container.
I used wall screws to attach them to the wall.
We eat a lot of popcorn and oatmeal at our house. :)
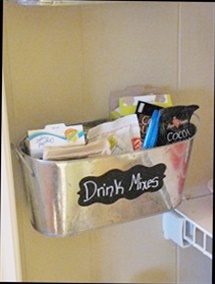
And the bottom container holds drink mixes that usually get lost in our pantry: hot cocoa, lemonade, crystal light packets, etc.
And look at how my cookbooks stand up nice and tall now!
Notice my favorite? Reluctant Entertainer, by Sandy Coughlin, of course! :)
The next shelf holds my plastic containers and white bowl full of soup mixes and sauces.
I got two packages of 3 plastic white containers at Kroger for $5.00 each. The boys love being able to see their cereal in the containers.
And they are so much neater than those cereal bags!

All of the baskets in my pantry used to belong to my mom.
I made one a bread basket and used the two matching ones to hold baking supplies and boxed goods. (I am still planning on making labels for my baskets. Just got a cute idea tonight!)
On the floor, I have our chip basket and potato basket.
I don’t like having the baskets sitting directly on the floor, so I sat them on two things that I use very often. The chip basket is sitting on my large flat skillet, and the potato basket is sitting on my crock pot.
Perfect!
I am so very pleased with how it turned out!
The spices I just put back in the racks on the door, but they are in alphabetical order now, so hopefully I will be able to find things more easily.
I am so thankful for my blog and the inspiration it has given me to get things done!
My husband has told me several times today how much he loves it. And the boys “ooh” and “aah” every time they open the door. :) Yeah me!
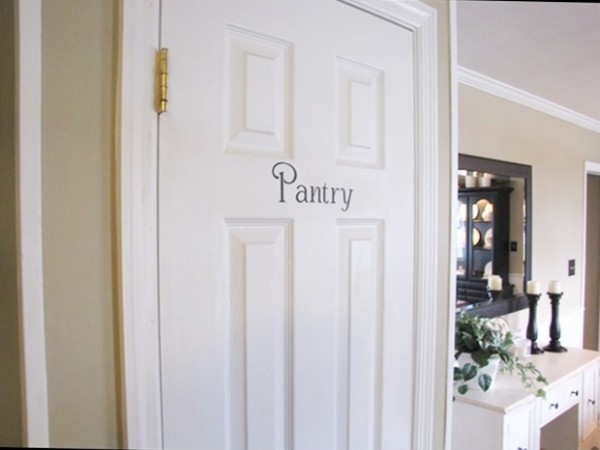
I even had a little more fun with my Silhouette machine and made this for my pantry door…
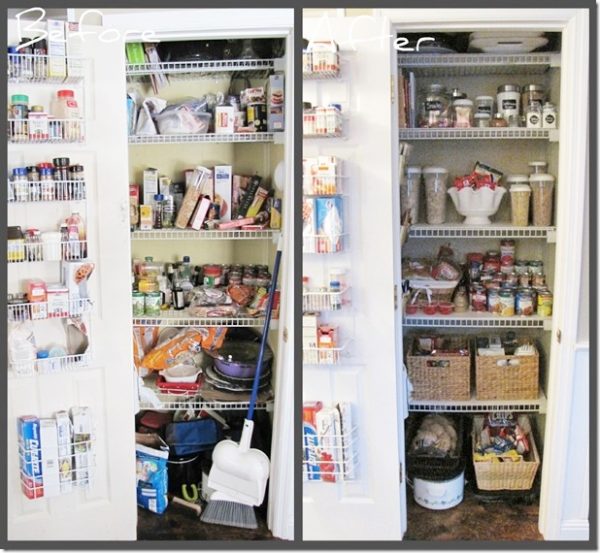
Here is the before and after picture you have been dying to see, right?
So now it is your turn!!!
Clean up your kitchen, ladies!
Check those expiration dates!
Throw stuff away!
Organize!
Love your new organized pantry! How about using mason jars for storage. That is my new go to storage…especially for left overs. I really like the plastic lids they have for them..no more rusty rings.
You have surely inspired me to organize today! : )
My ex husband took a weird nook in the dining room that connected to a doorway in the kitchen, that went to the bathroom (it was just this weird square of doors) and added a wall behind one and built in a pantry. Best thing ever!!! Pantry storage is just awesome.
Looks great! I love a good bargain
Love it! I was blessed with a great pantry when we built this home in 2013. I haven’t done a fabulous job in keeping it organized. Maybe I’ll organize it today…
Looks great. Mine looks a lot like your before picture. The bottom of mine has platters and such that keep wanting to roll out. It’s definitely on my get on that list!
Looks great.
I have a big pantry that’s bursting at the seams. I need to break down and empty the whole thing and start from scratch. Looks great. Thanks for the inspiration!
Looks fantastic……….where did the cleaning supplies go? They are always such awkard sizes – I find it difficult to find permanent places for them outside of the pantry where food is stored.
A really cheap, incredibly durable and easy to clean solution for lining shelves, lower cabinets and especially under all the sinks, is get a cheap box of vinyl flooring squares! Easy to cut to size too!
I love how your pantry looks. I especially like the tin containers along the wall that hold the popcorn, etc. Great use of space.
Just an FYI-but spices don’t expire. They do lose their taste or scent. Just use your nose to determine if you can still keep them.
Looks great! I’m a crazy person when it comes to organizing! :) Tj Maxx had tons of cute chalk board glass containers yesterday and they have great prices. I bought different shapes/sizes during the holidays to put my neighbors Christmas treats in and used the chalk marker. Love your blog!!!
You always come through with great ideas. Thanks for the heads up on the wood for the shelving. Love your blog, I want to thank you for inspiring us to do better.
God Bless!
My husband and I organized our pantry a couple of weeks ago and I love walking in there now and just admiring it!!! Love the metal containers on the wall for popcorn and oatmeal. I’m going to be searching for some good deals on those. Thanks for sharing.
Great post! It is inspiring to me. I have limited storage to 2 pantry cabinets that I really need to organize better and you have given me some good ideas.
No one would ever guess that you redid that pantry on such a tight budget. Your creativity shines through! Great job, Traci!!
Thank you, Tamara!