
DIY “It is Well with my Soul” Wood Sign
Hey friends!
I was hoping to have an adoption update for you by now, but it will have to be in my next post. Too many pictures to go through. :) But all is well, and we are having a wonderful time with our girl.
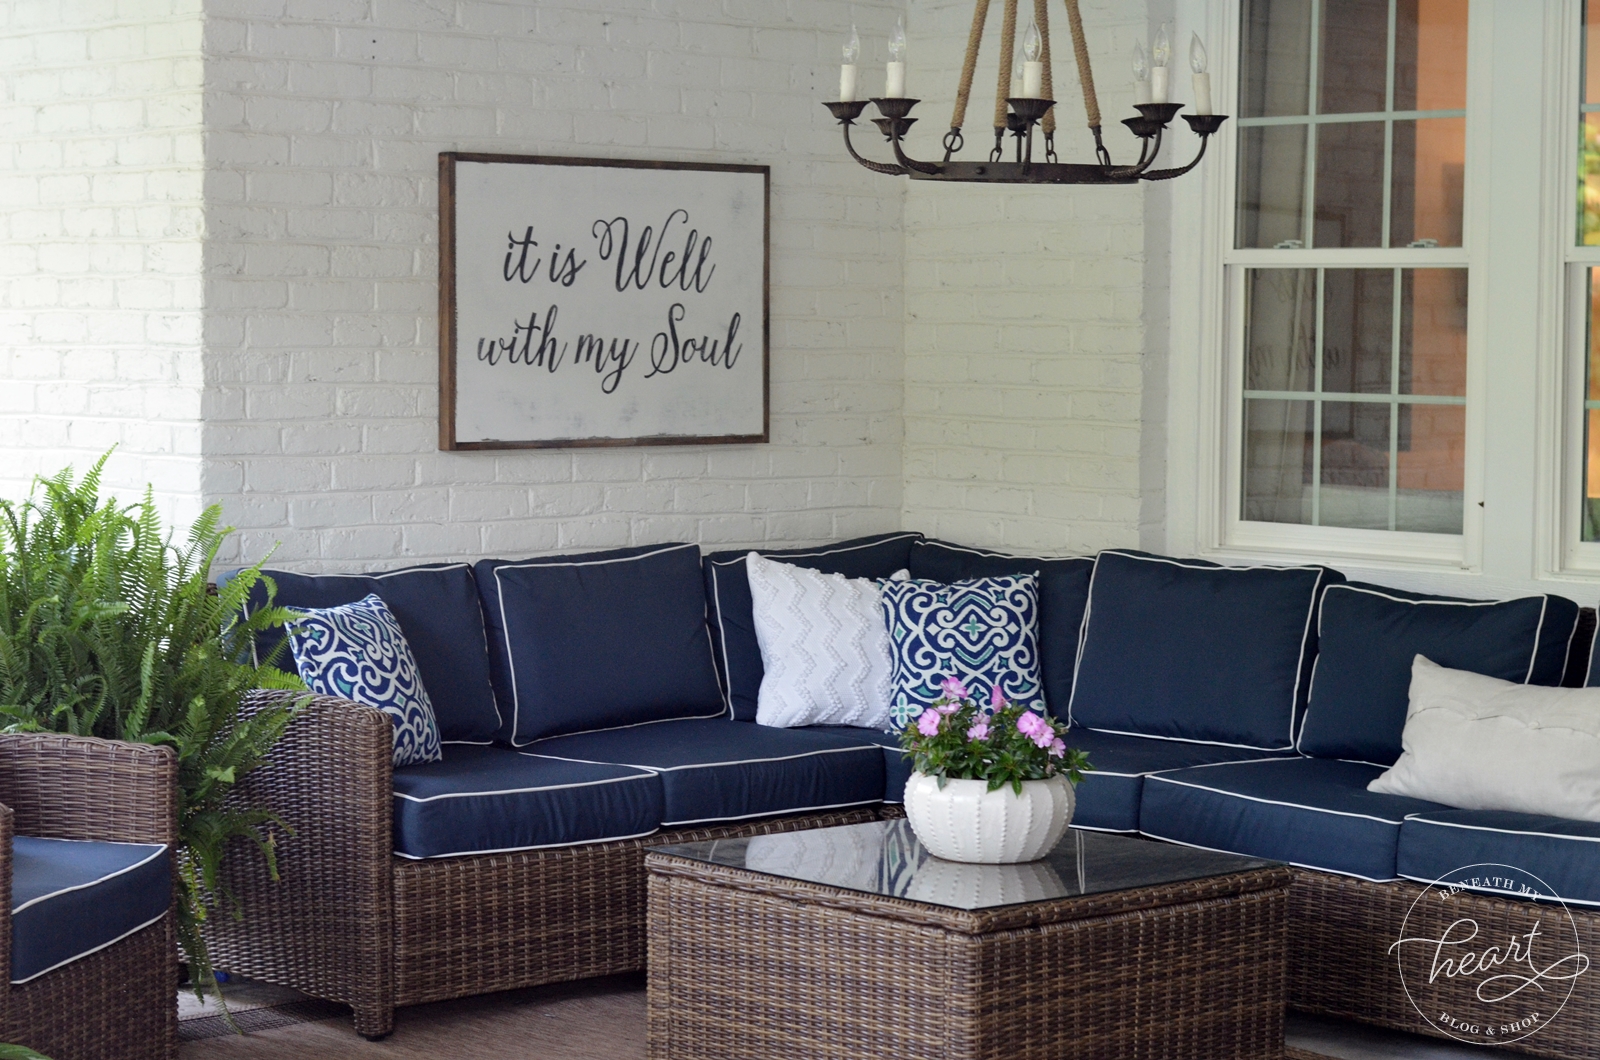
Today, I wanted to show you how we made the “It is well with my soul” wood sign for our back patio makeover!
This project is one that I have been wanting to do for a looong time, so I’m glad I finally tackled it. It was so much fun to make that I will be making more signs for other areas of my house. :)
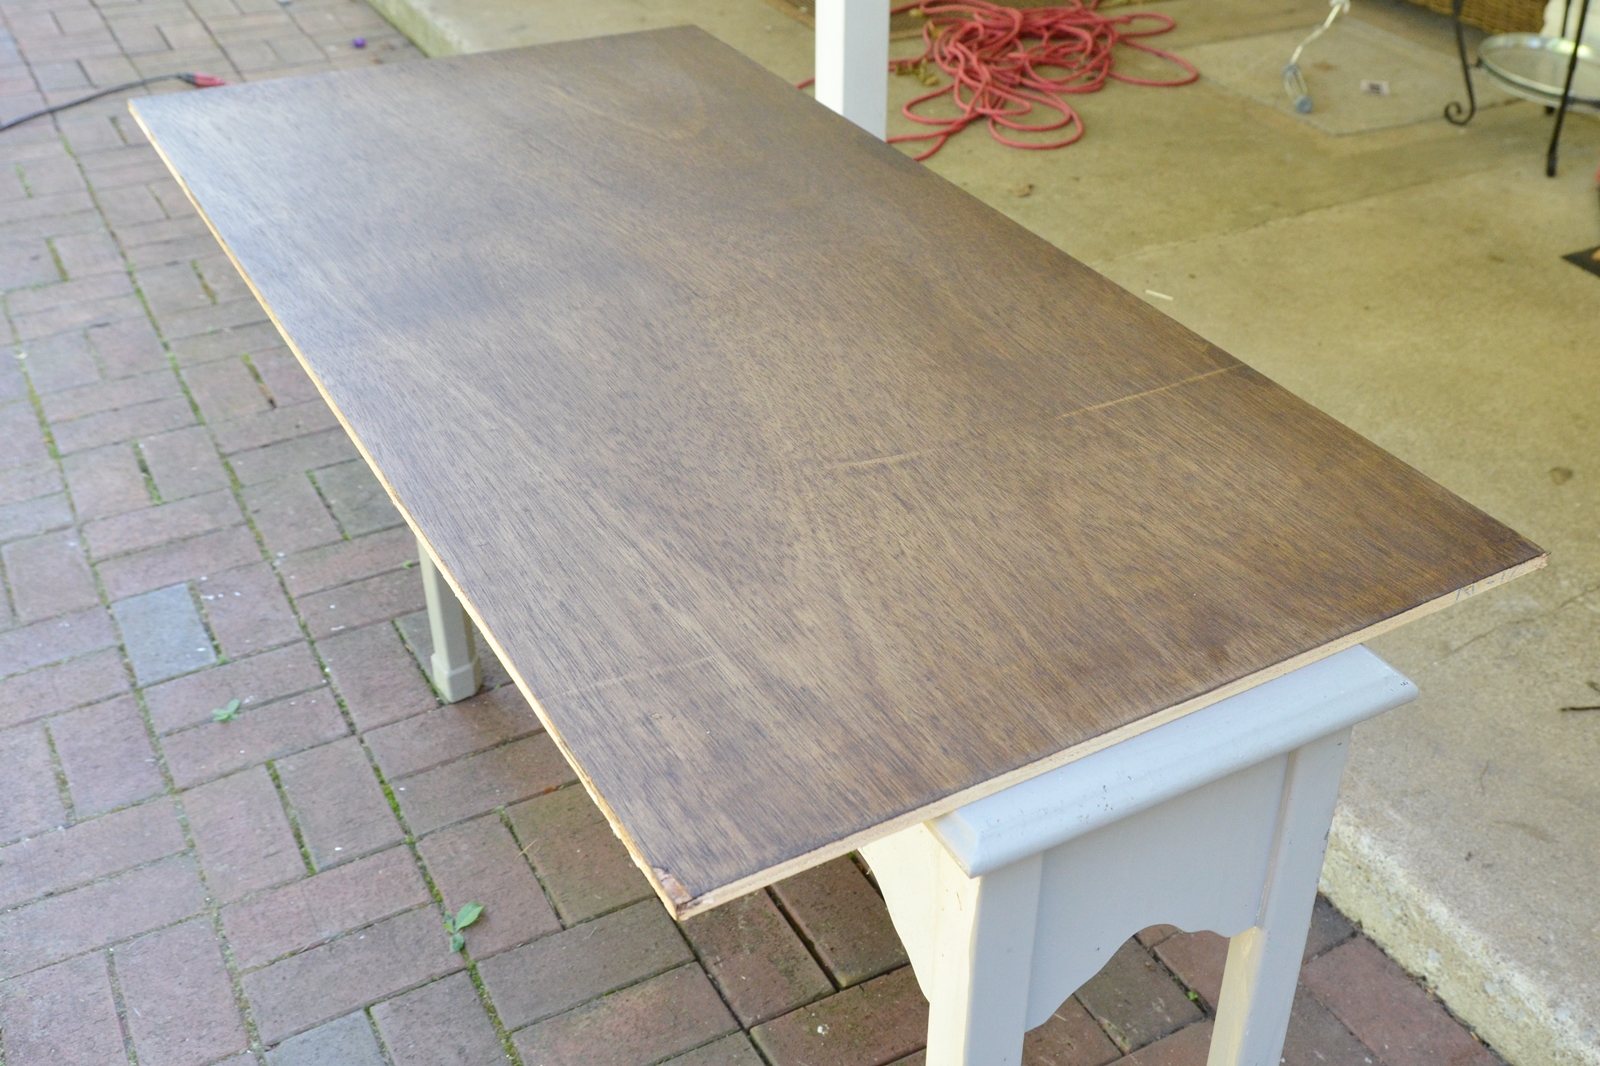
We started with a 2×4 piece of plywood from Home Depot.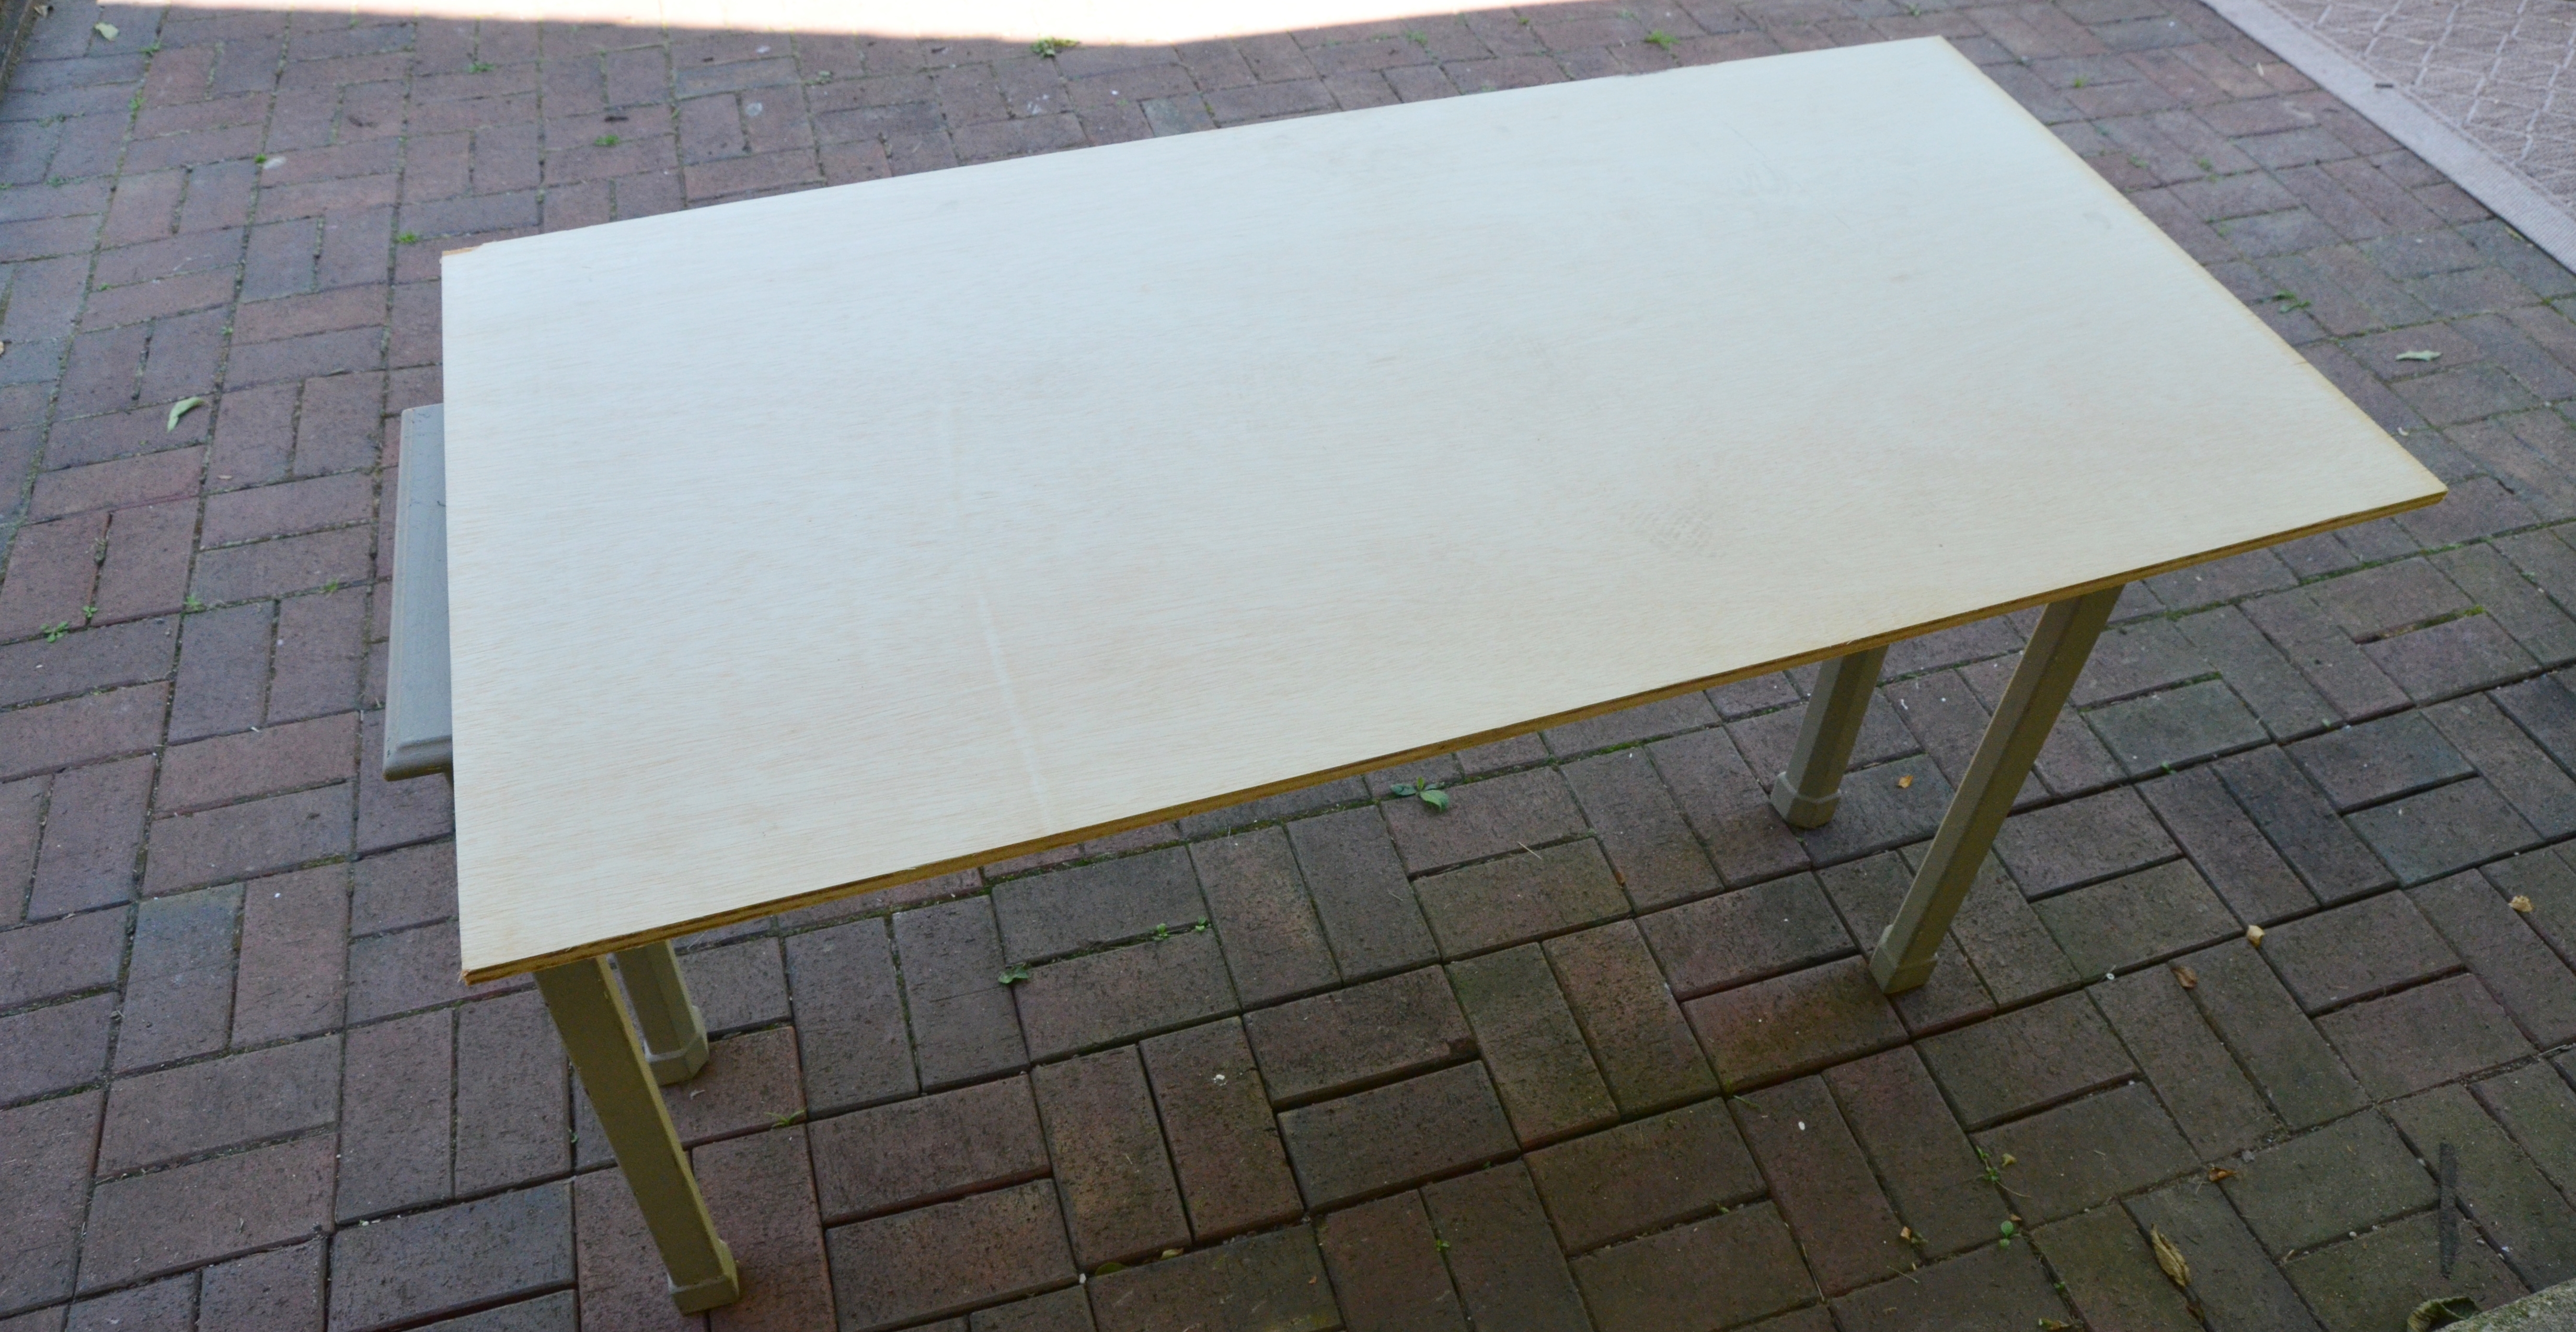
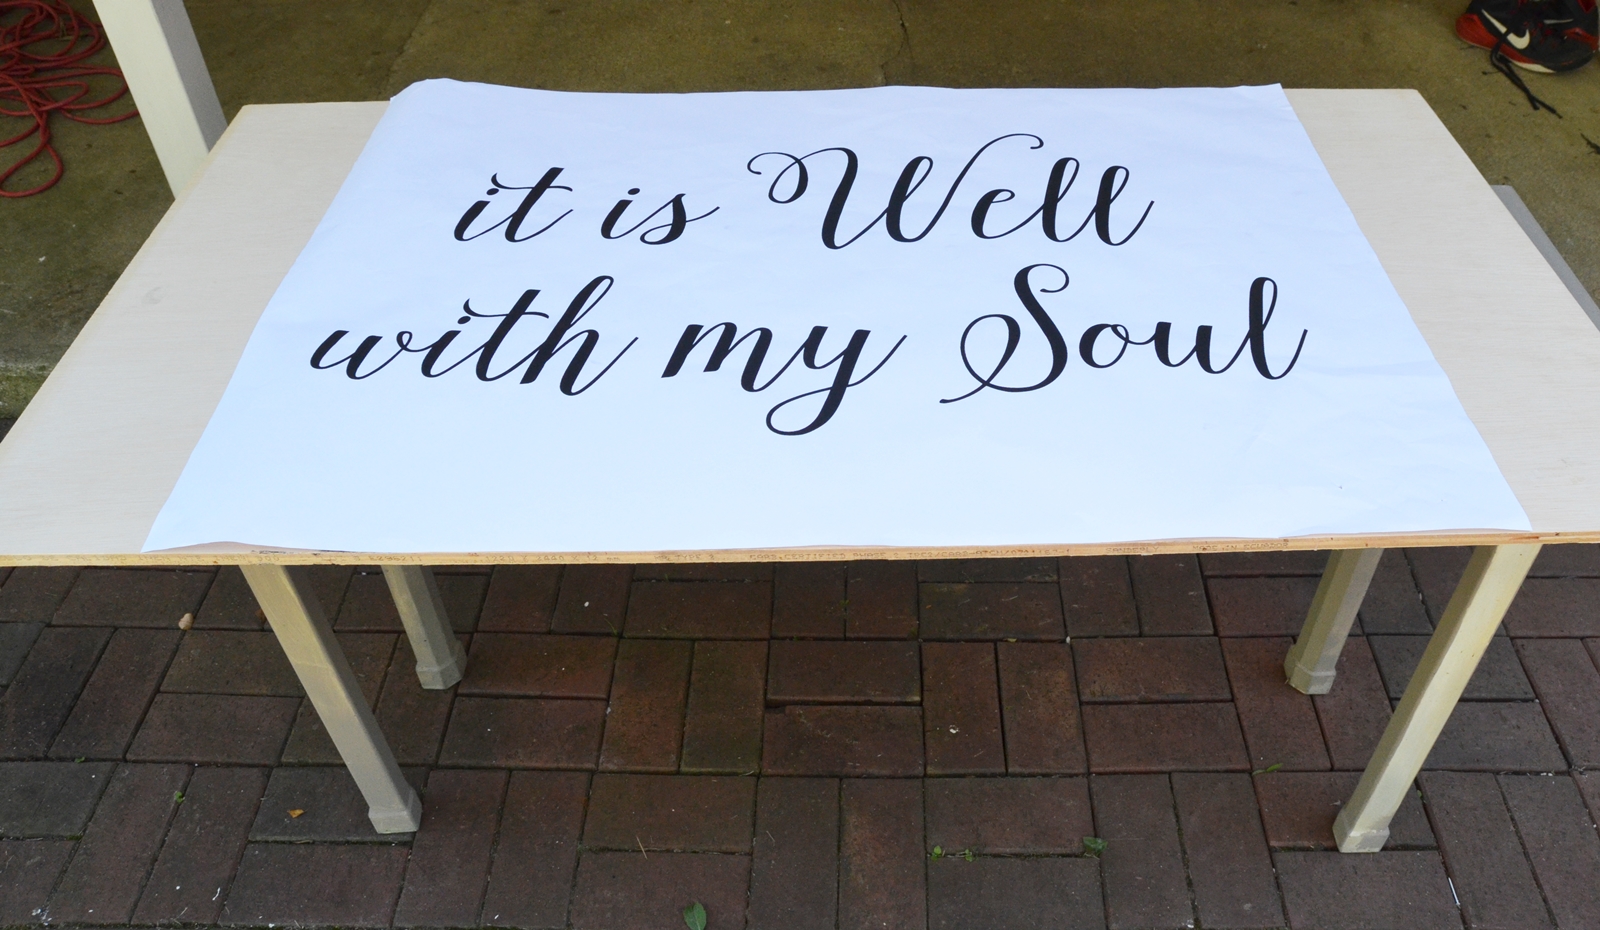
Then I created the image of “it is well with my soul” in picmonkey and had it printed at Office Max as an 2ft x 3ft engineer print for about $3.50. (If you would like me to email you the image I used, email me at beneathmyheart4@gmail.com.)
Before tracing the sign on the wood board, we gave the board one coat of Dark Walnut stain and let it dry.
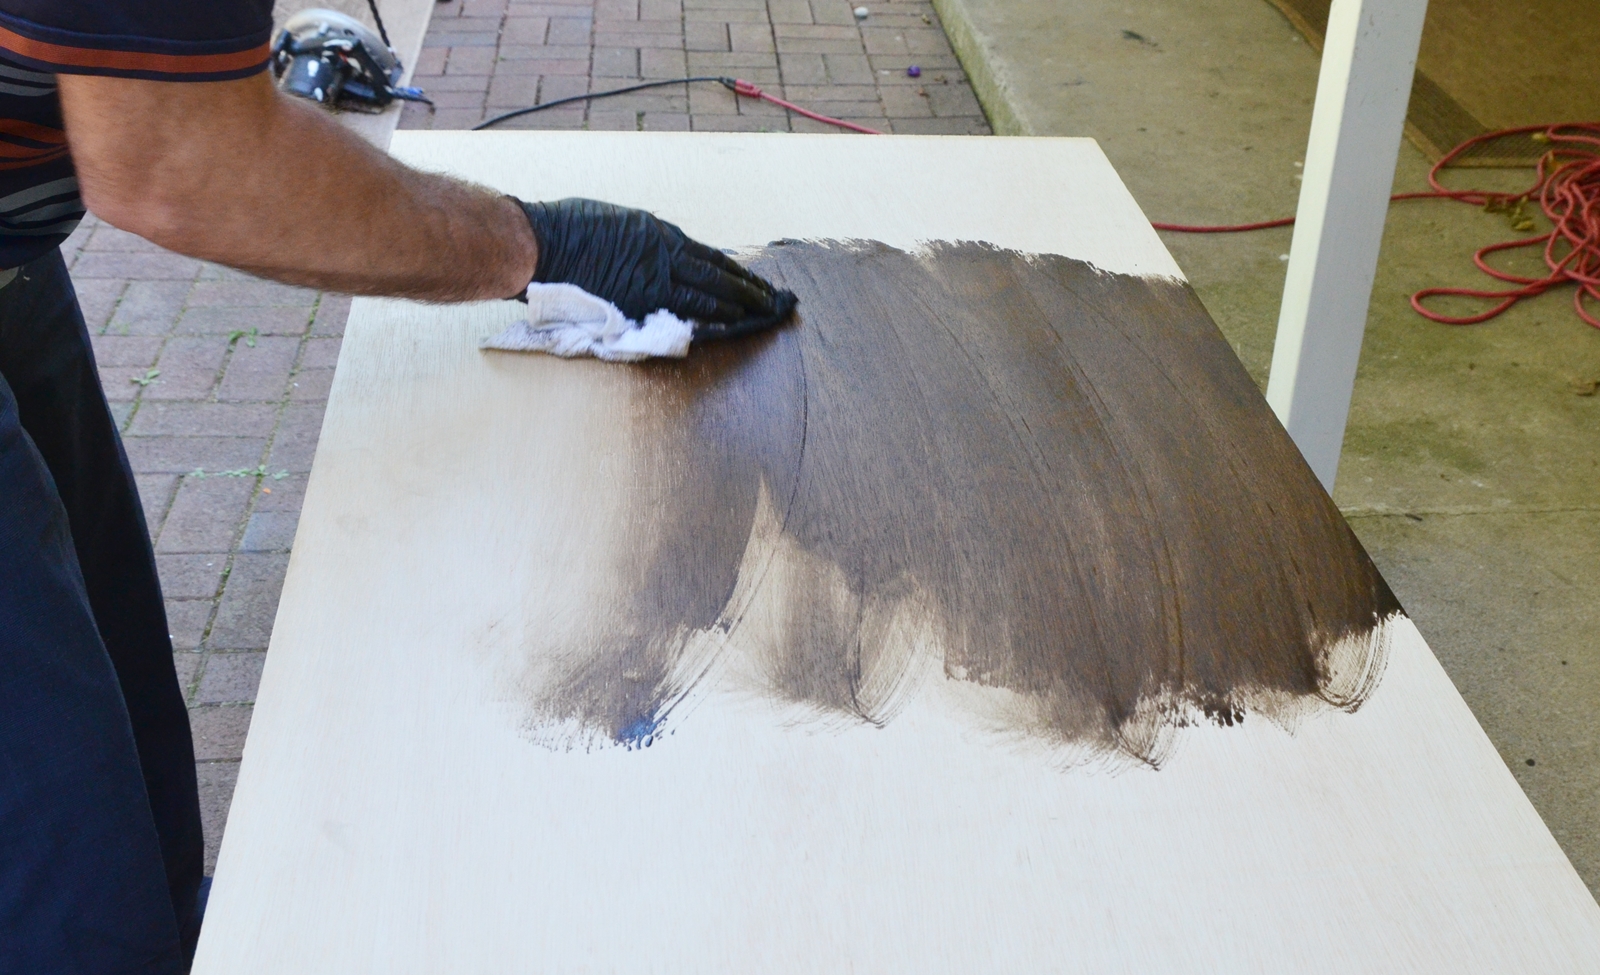
Doesn’t it look pretty? We stained the board so that when we sand the top coat of paint, a dark color will show through instead of the original light wood color.
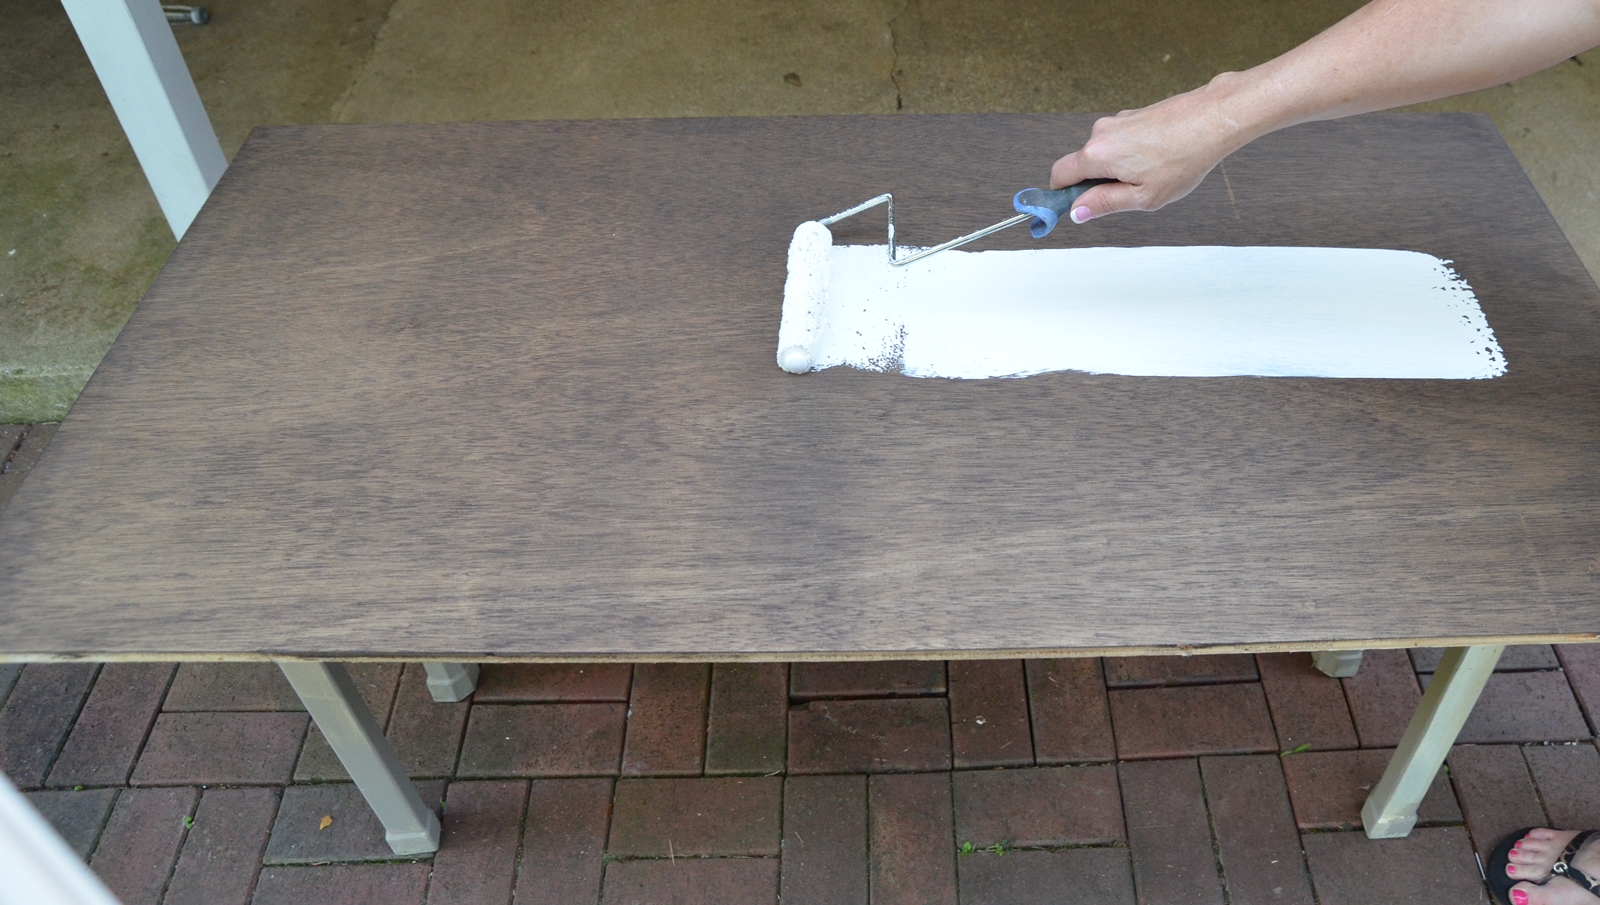
Then we used the same exterior paint that we used on the exterior brick on our house. It is Benjamin Moore White Dove. We applied two thin coats to cover up the stain.
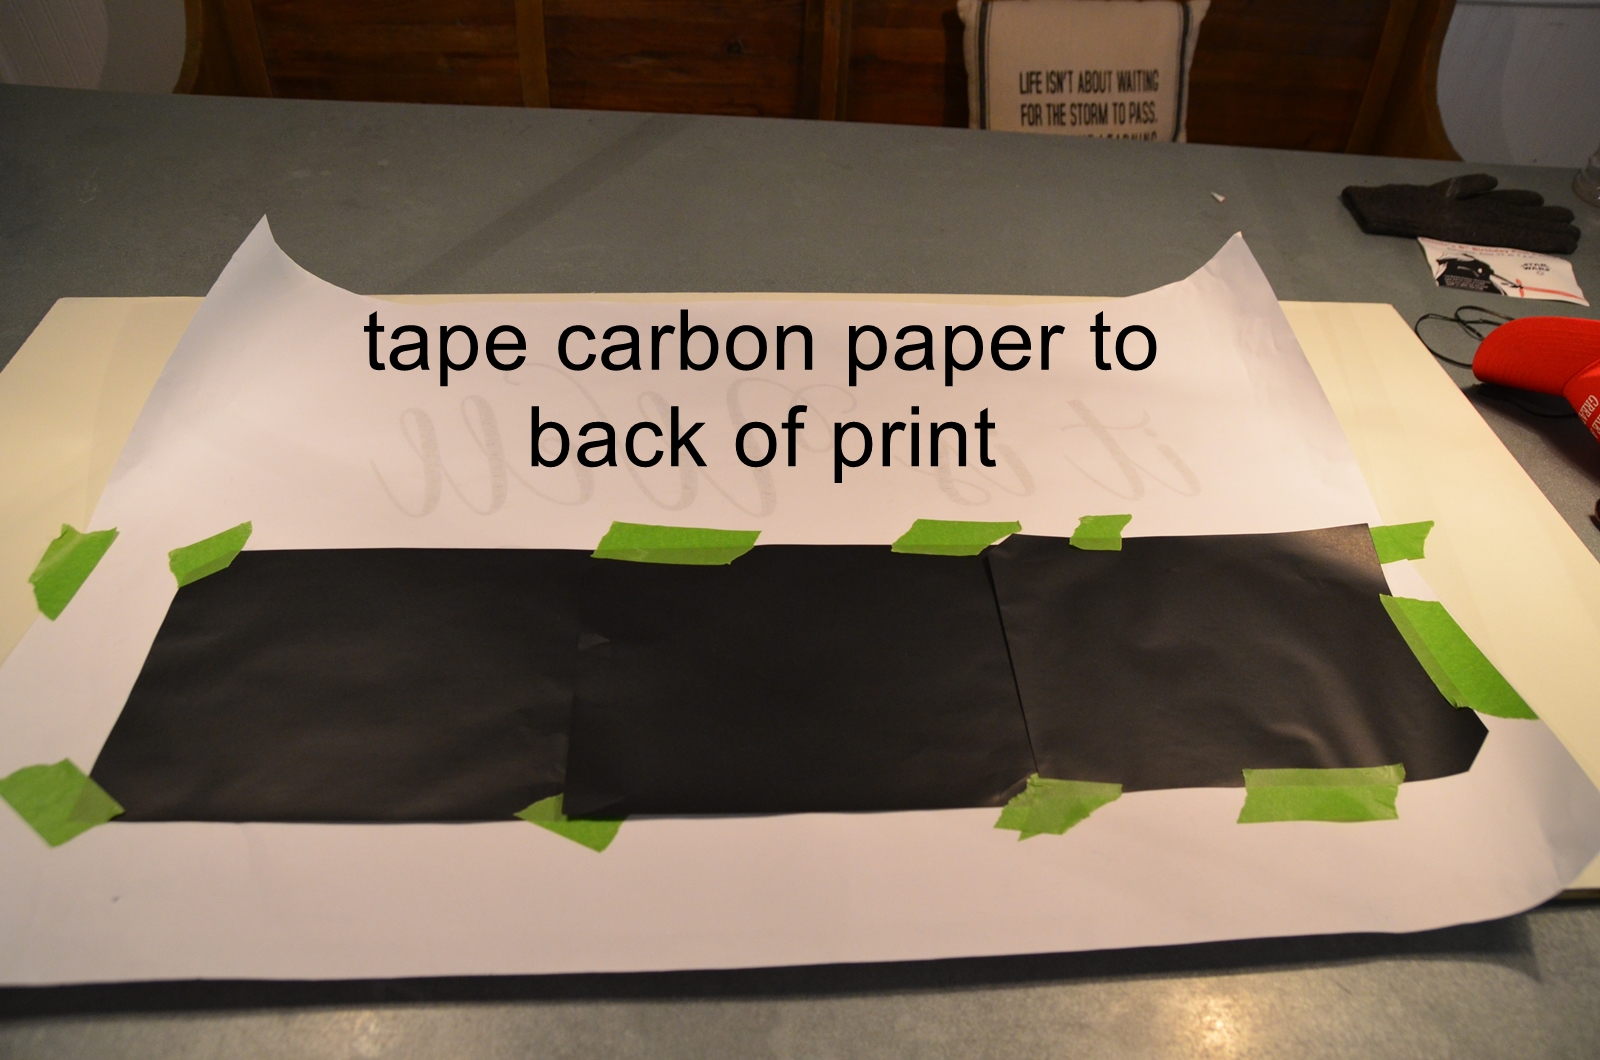
Then I bought some carbon copy paper when I picked up my finished print at Office Max, and taped it to the back of the print.
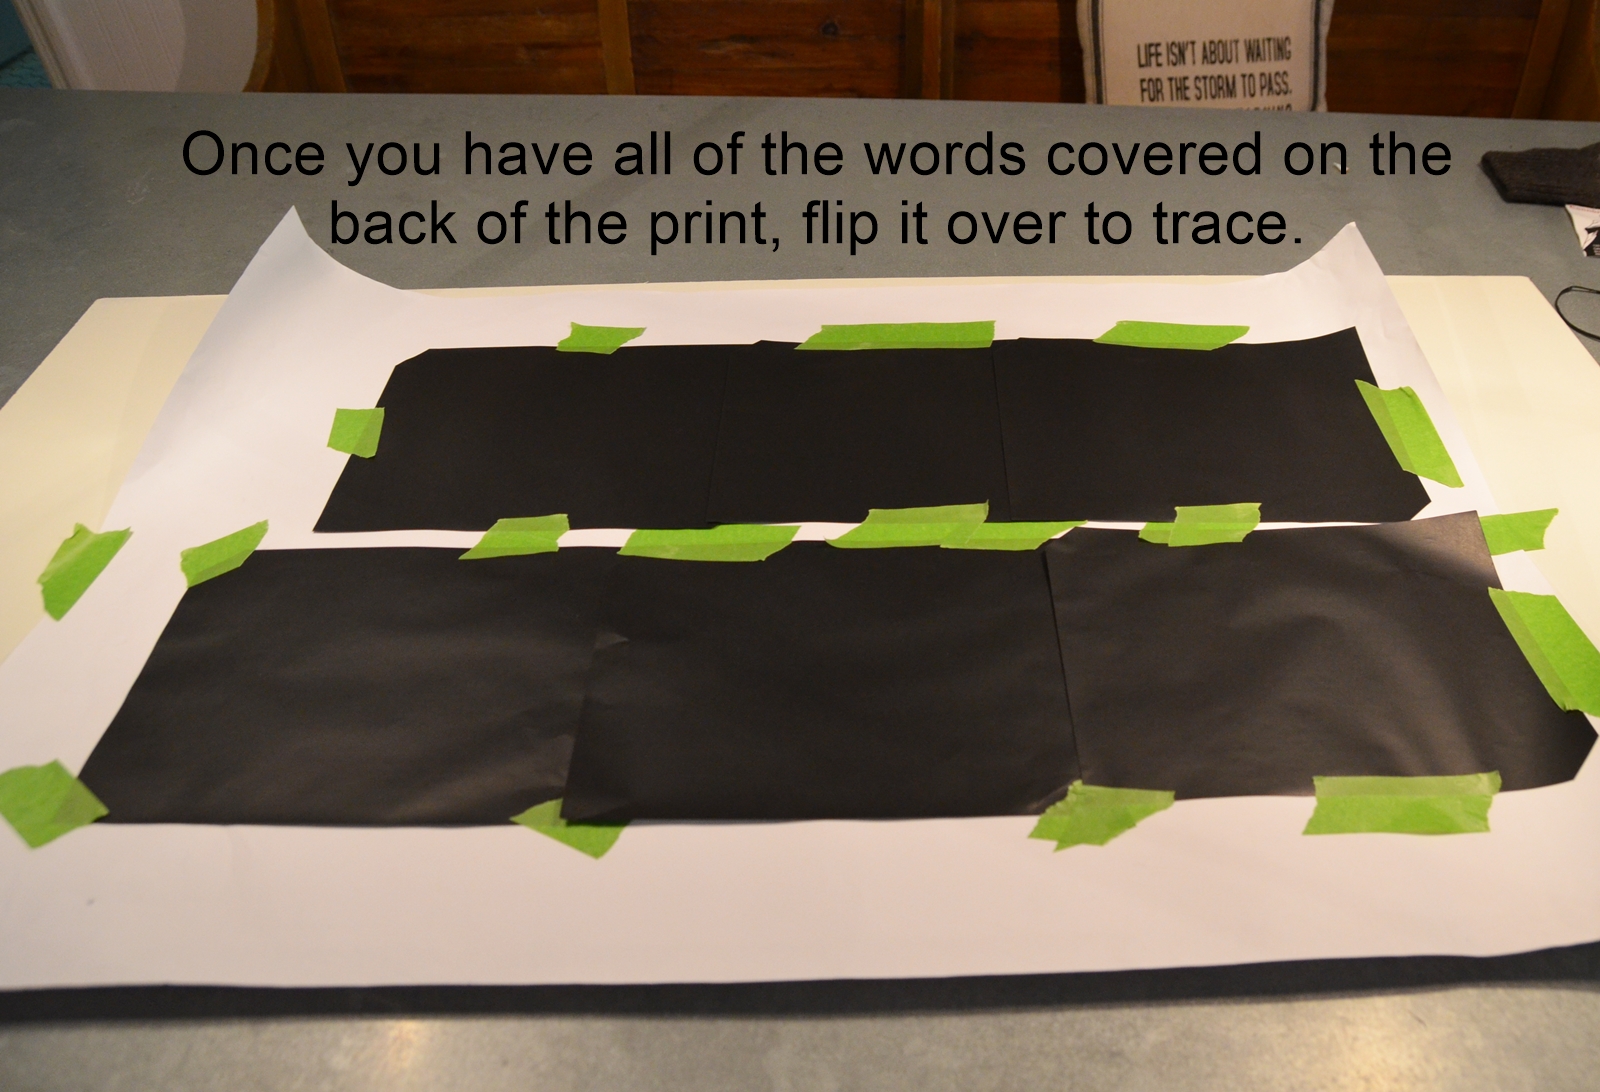
Once the carbon paper was taped on, I flipped my print over and taped it to the left side of my board (to make it easier to cut down the right side of the board later.)
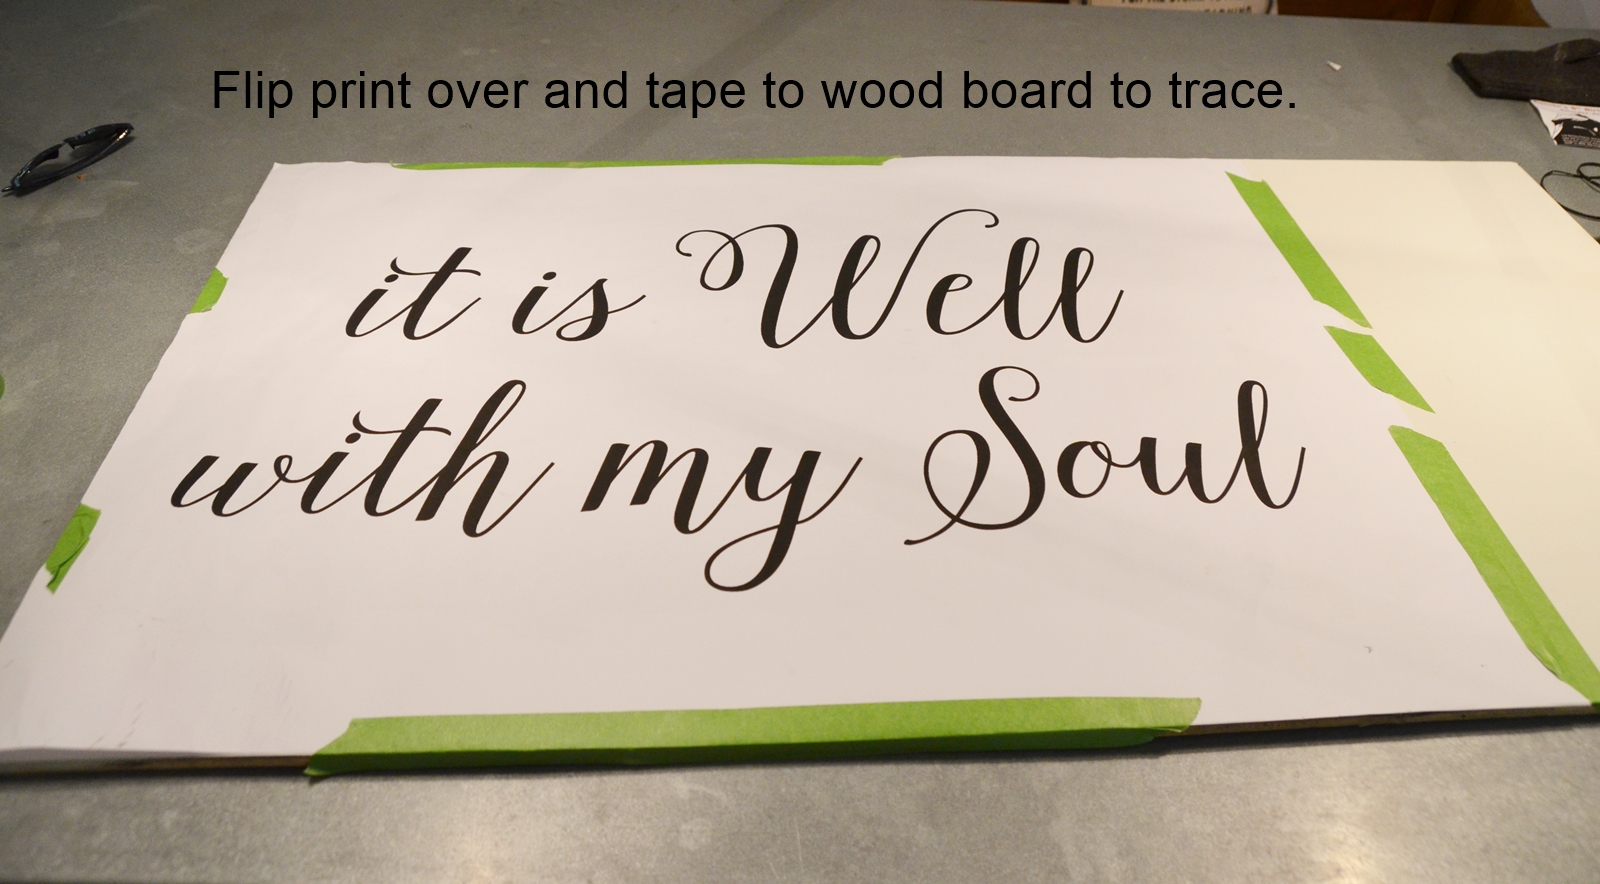
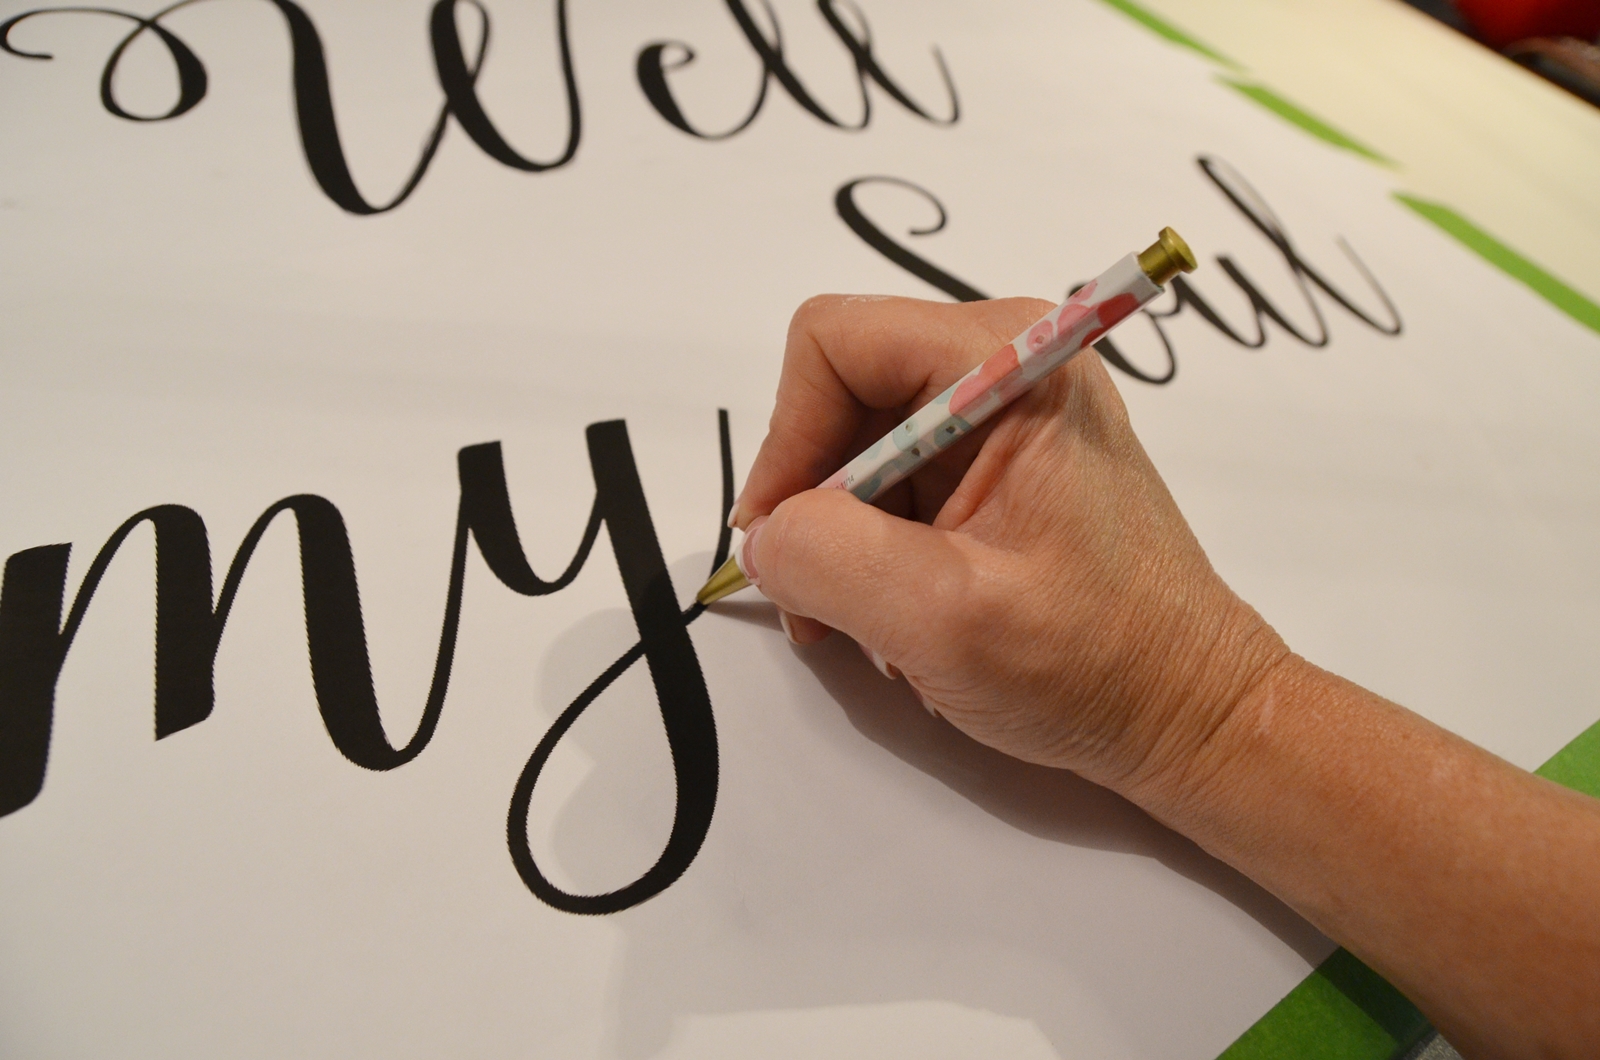
I traced the words with a pen.
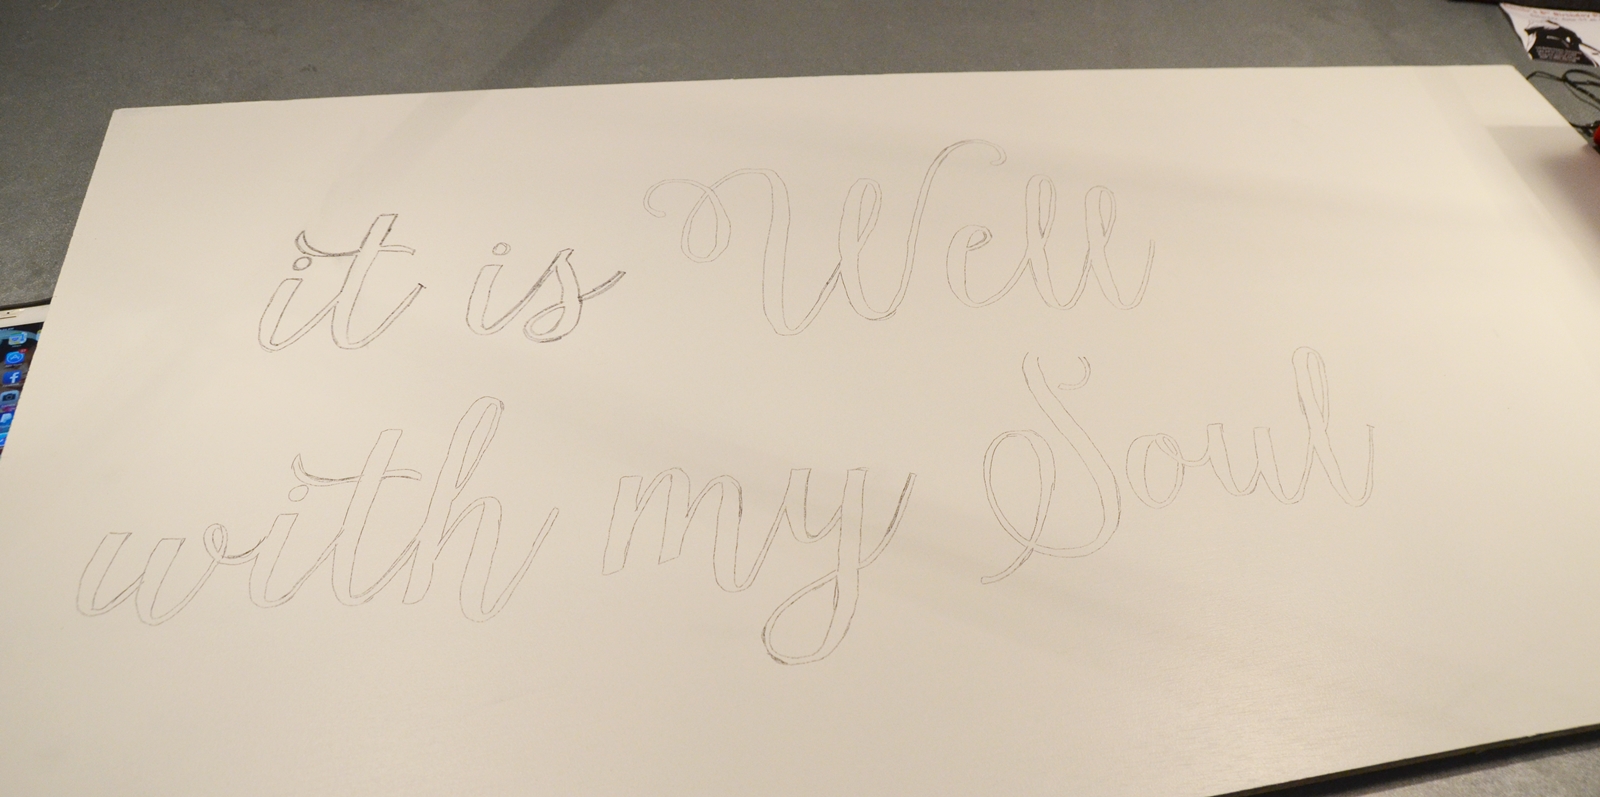
And it looked something like this when I removed the print from the wood board…
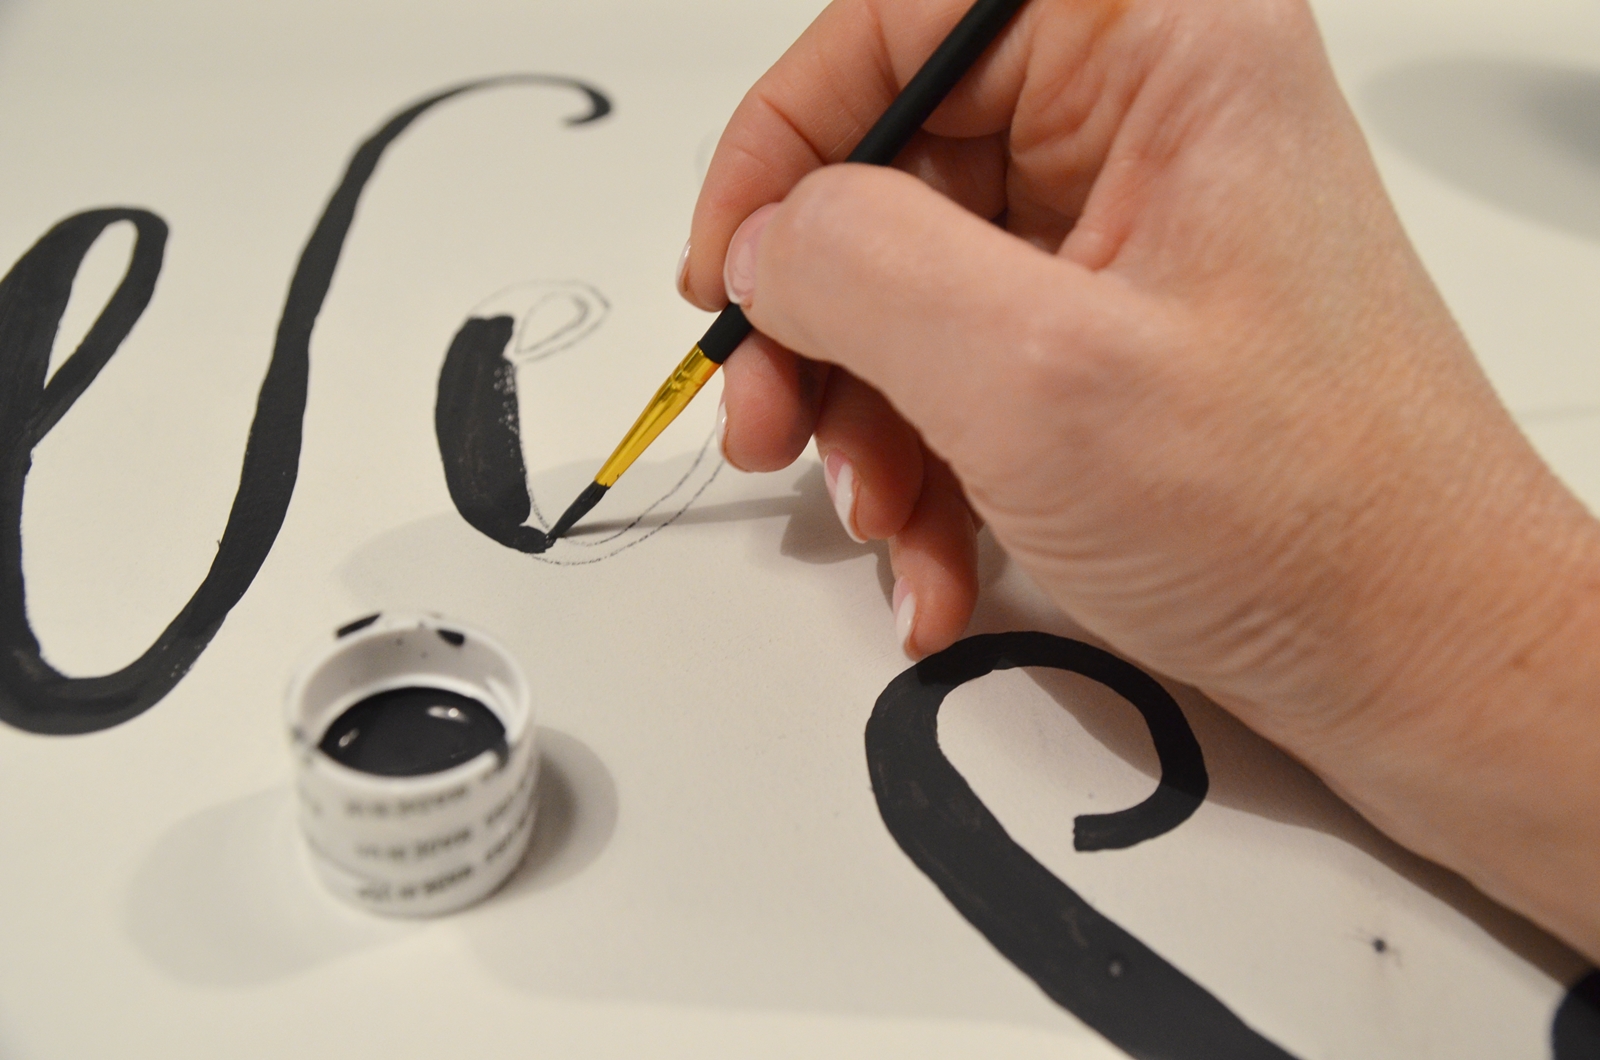
Next, I used a small paintbrush to fill in the outline of the words. For my paint, I used a charcoal gray craft paint.
When I was finish painting the words, Cy cut off the extra wood on the right side of my sign.
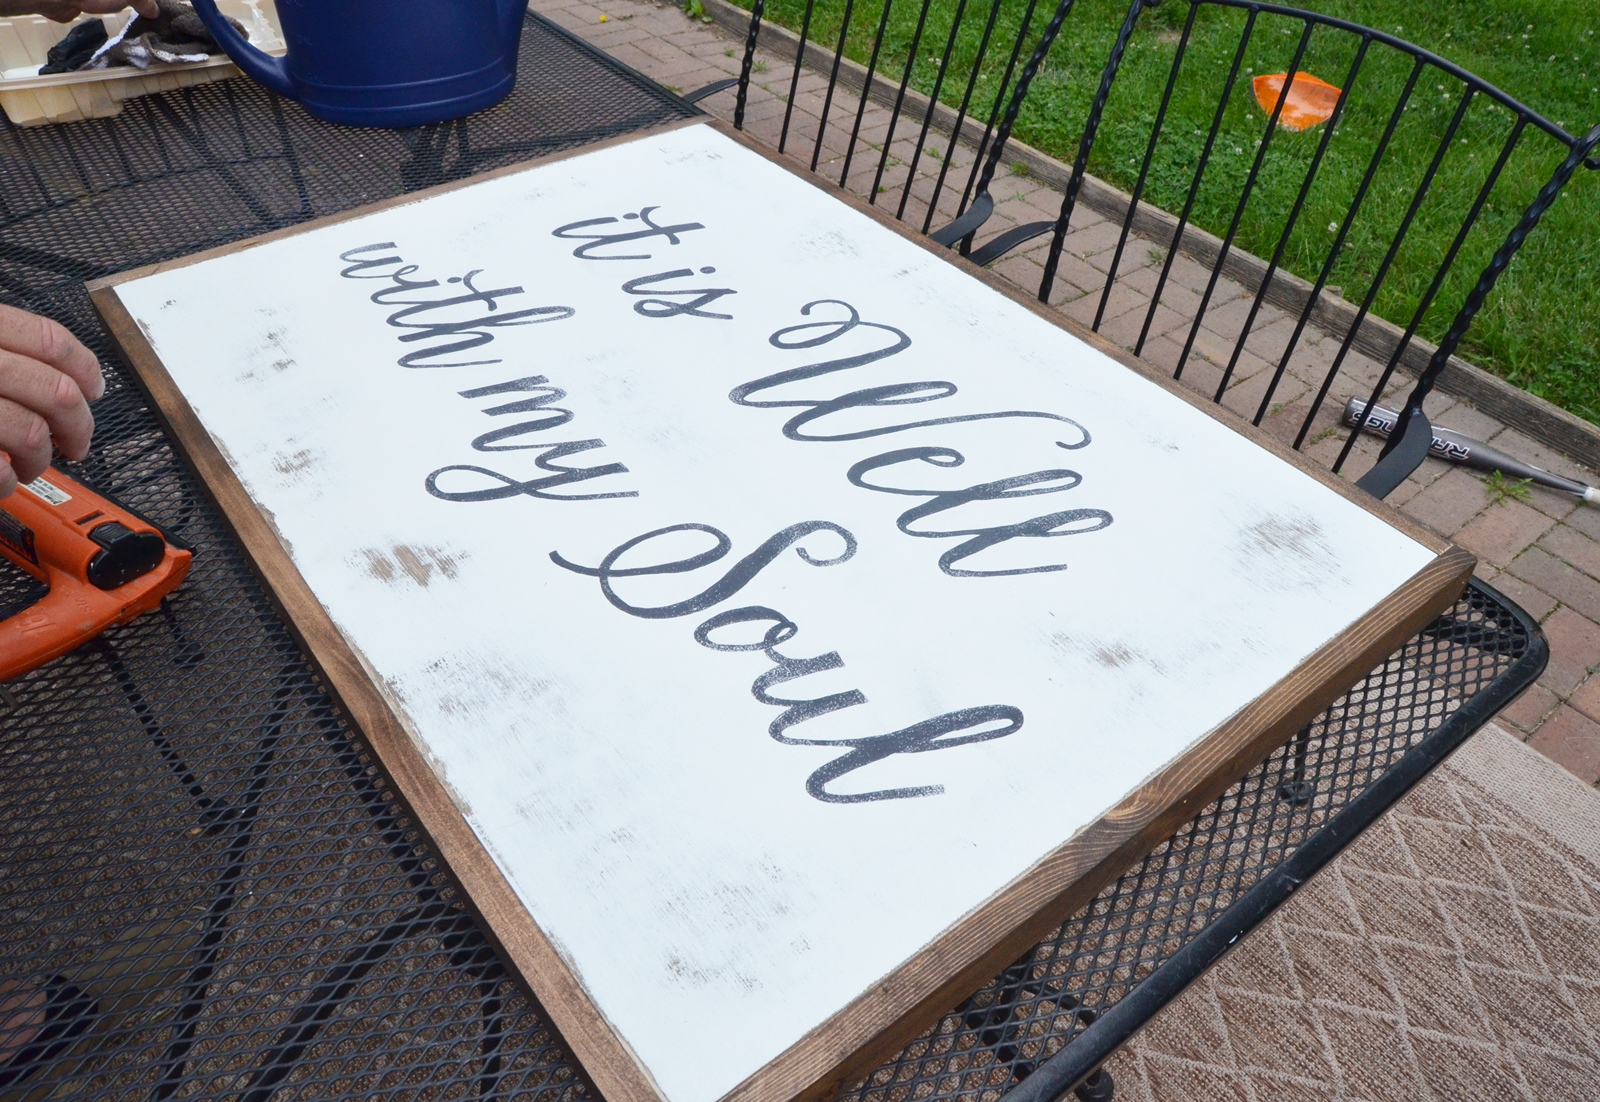
The last two steps were to add the trim and sand the board. We cut and stained 1 x 2’s of the trim. I was planning on sanding the board, but Cy did it while I wasn’t at home and sanded it a little more rustic than I wanted. #thatstinker
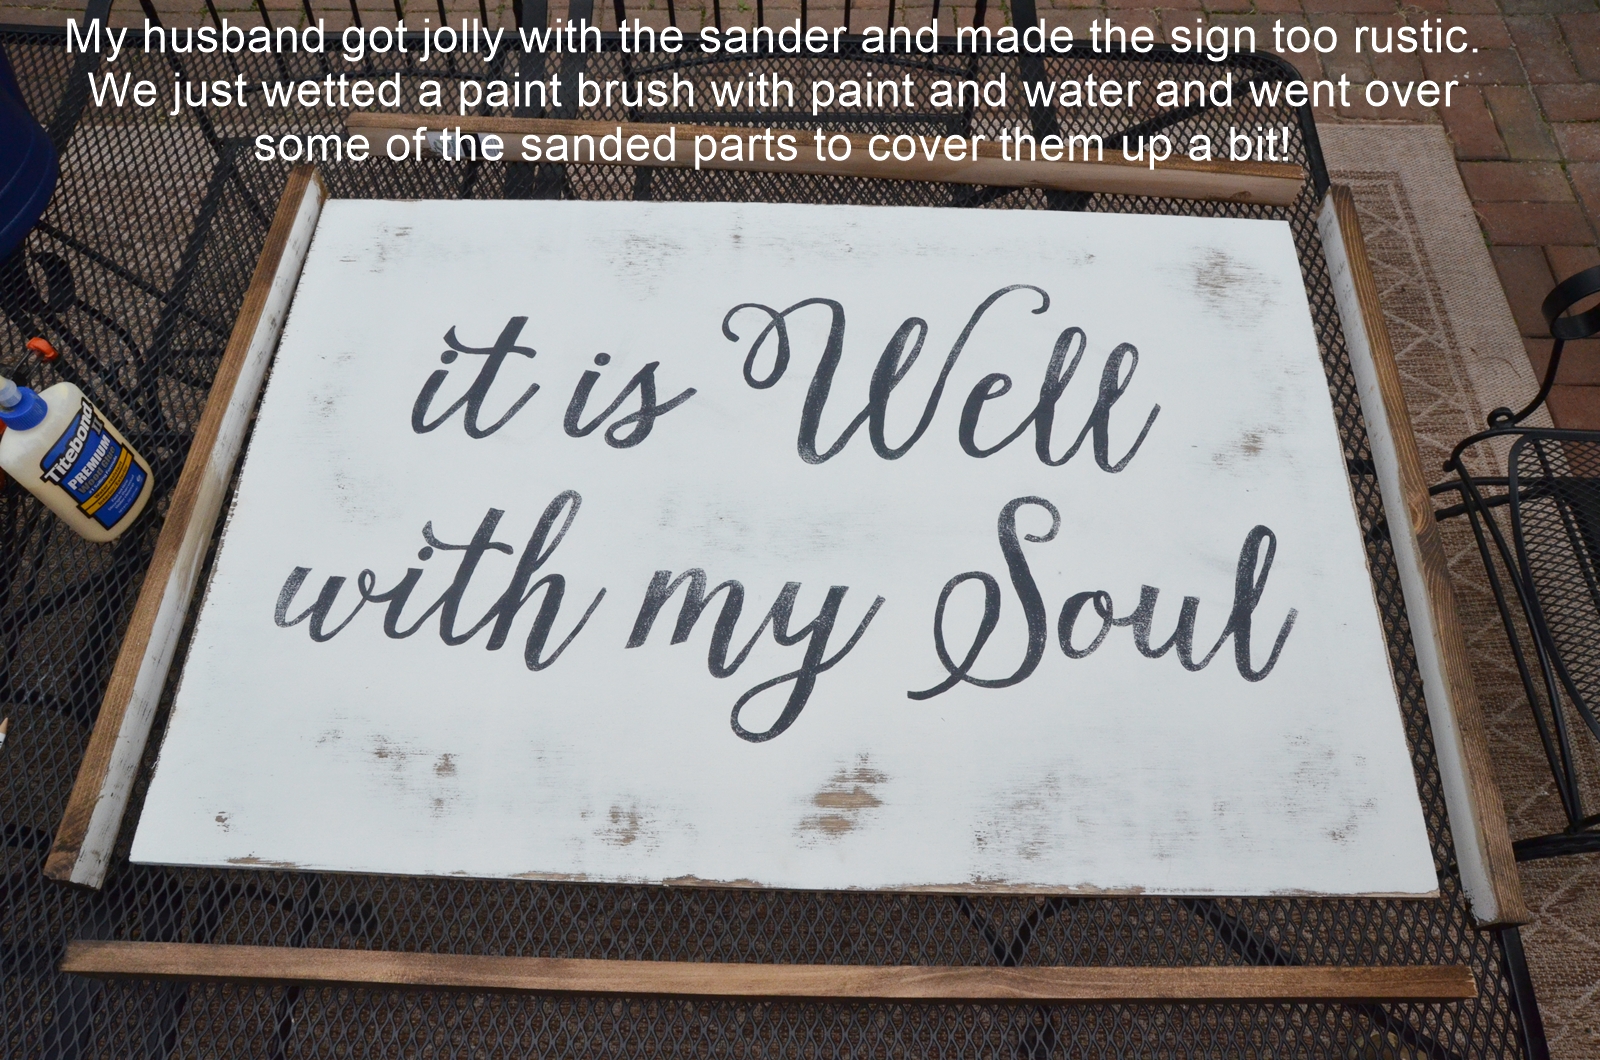
To fix it, I just used the same White Dove paint and mixed it with a little water and applied it to the parts where he sanded too much. It was an easy fix!
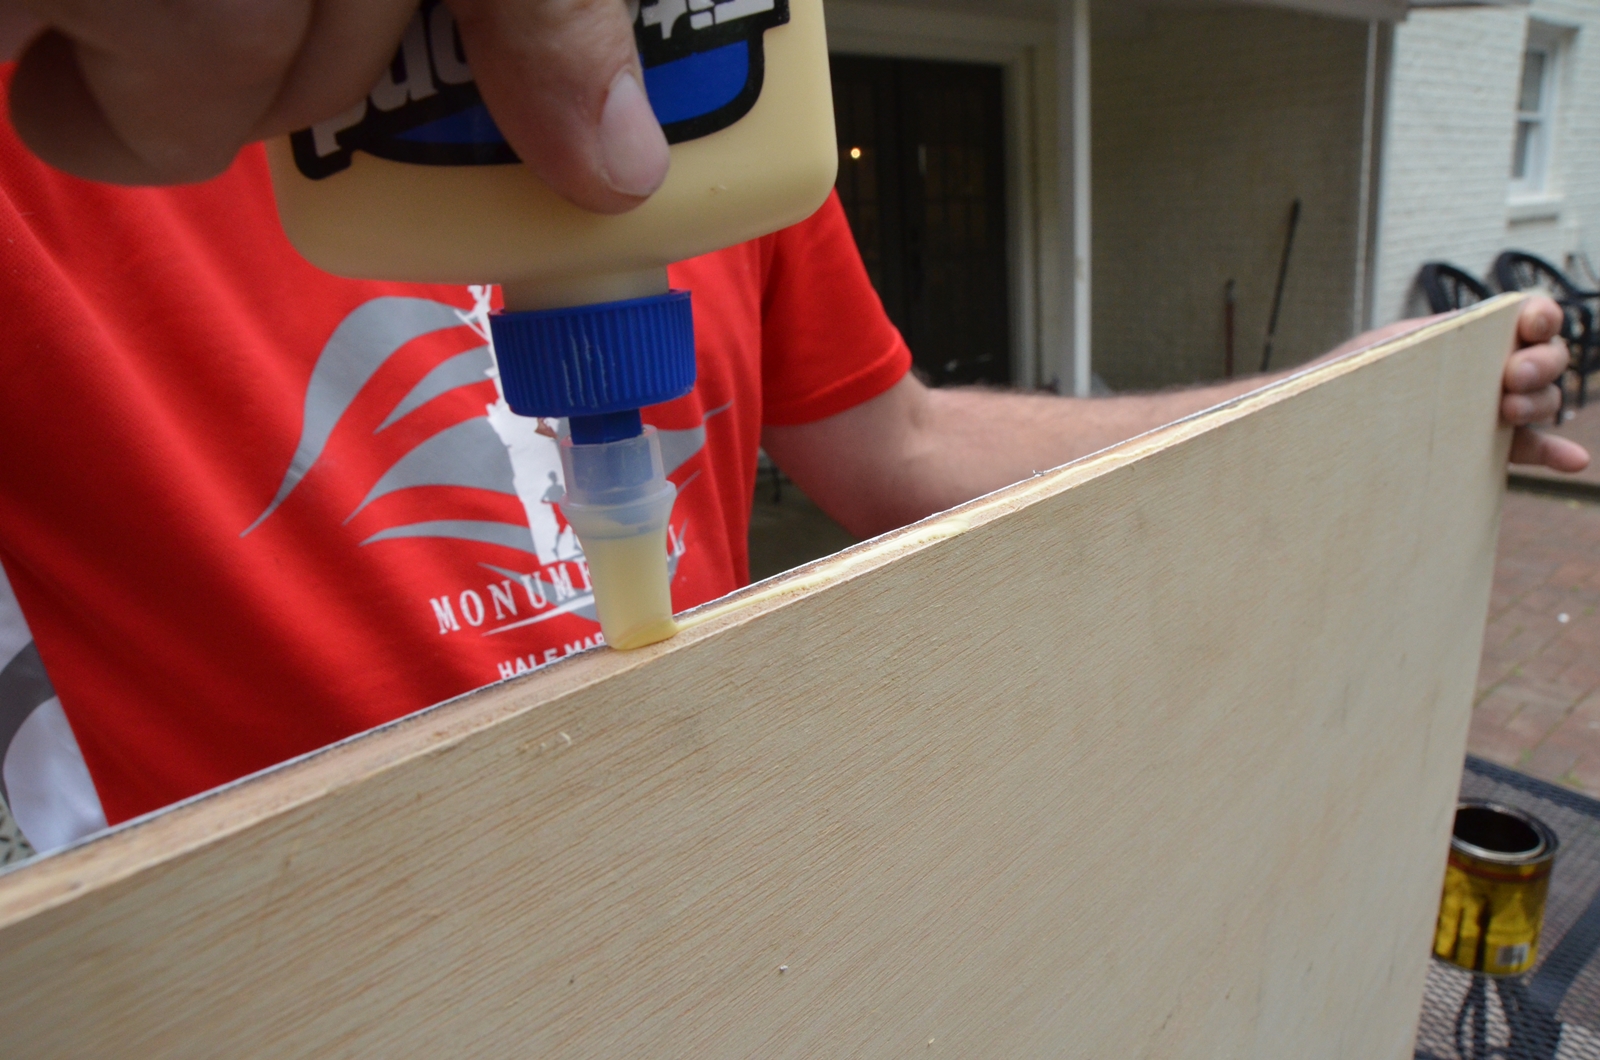
For the trim, we put some wood glue on the edges…
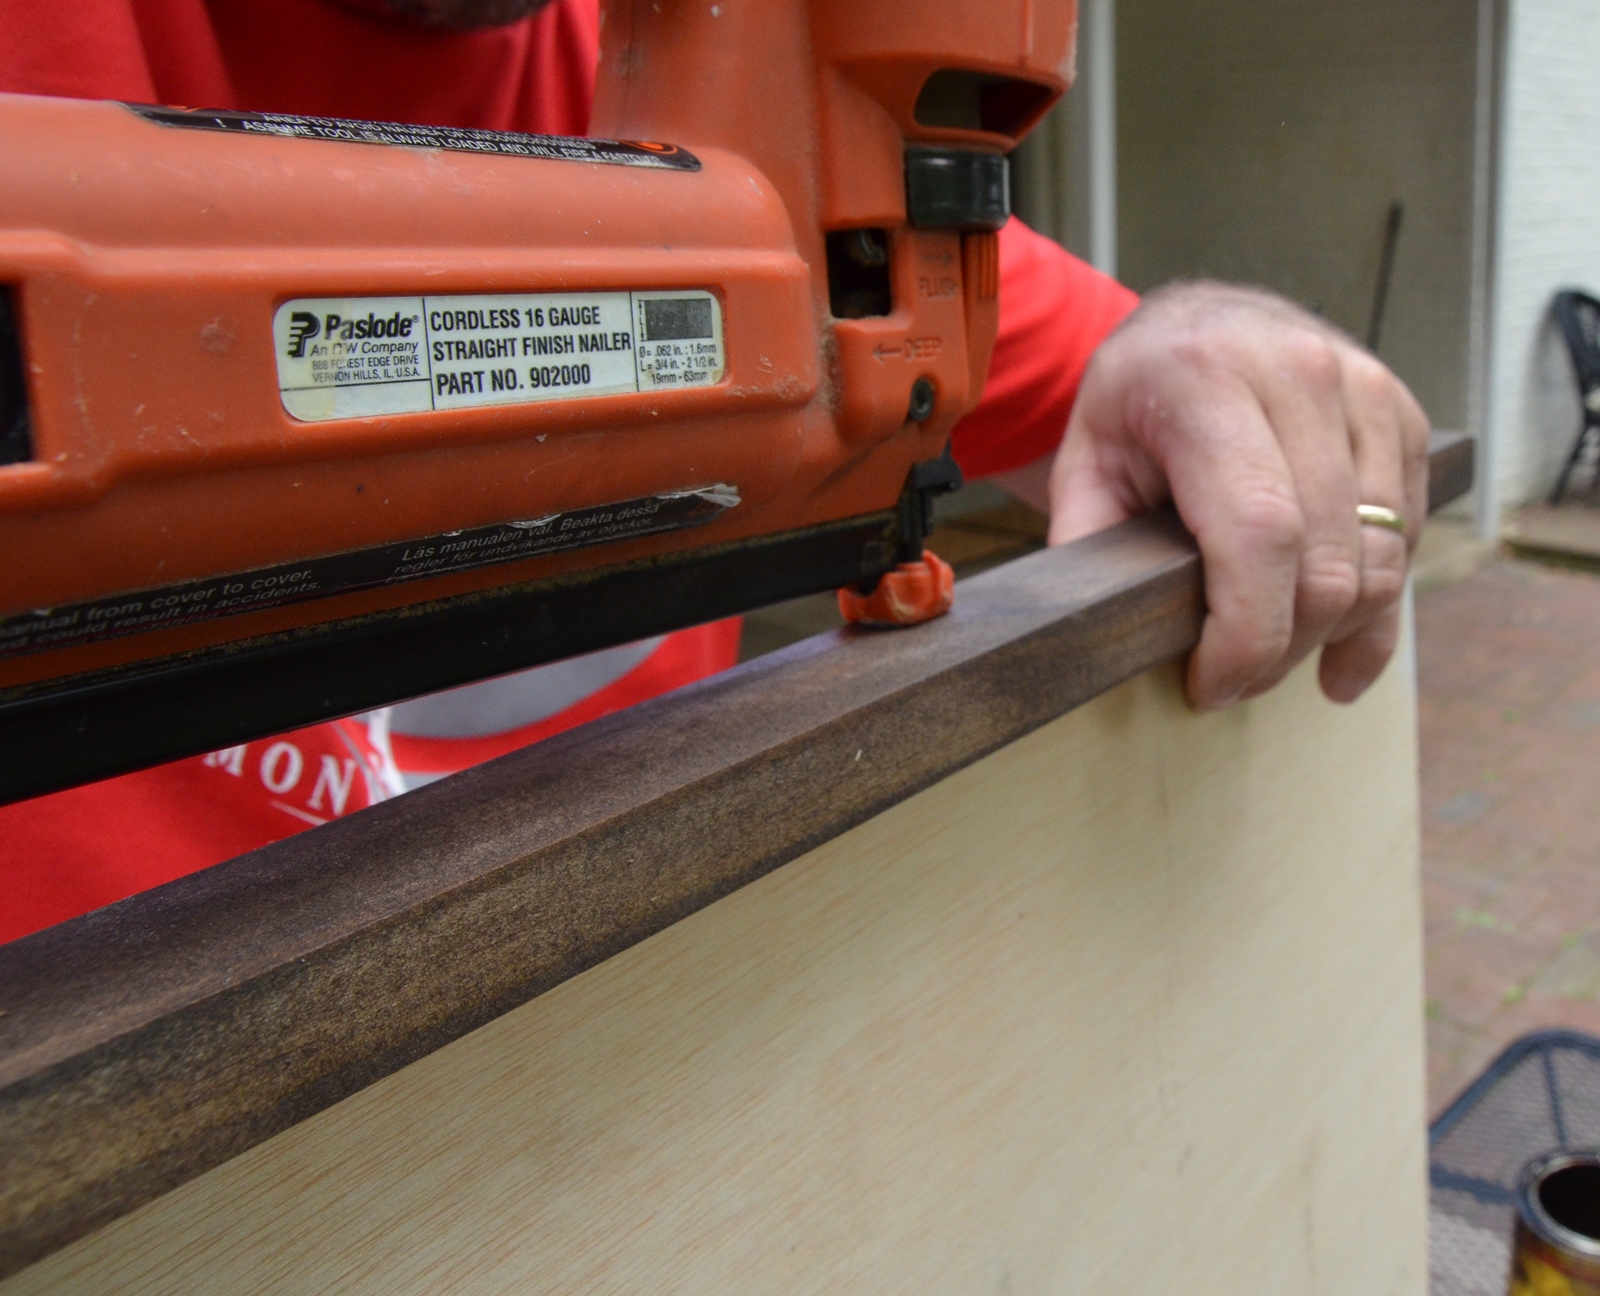
And then we used a nail gun to nail the edges in place.
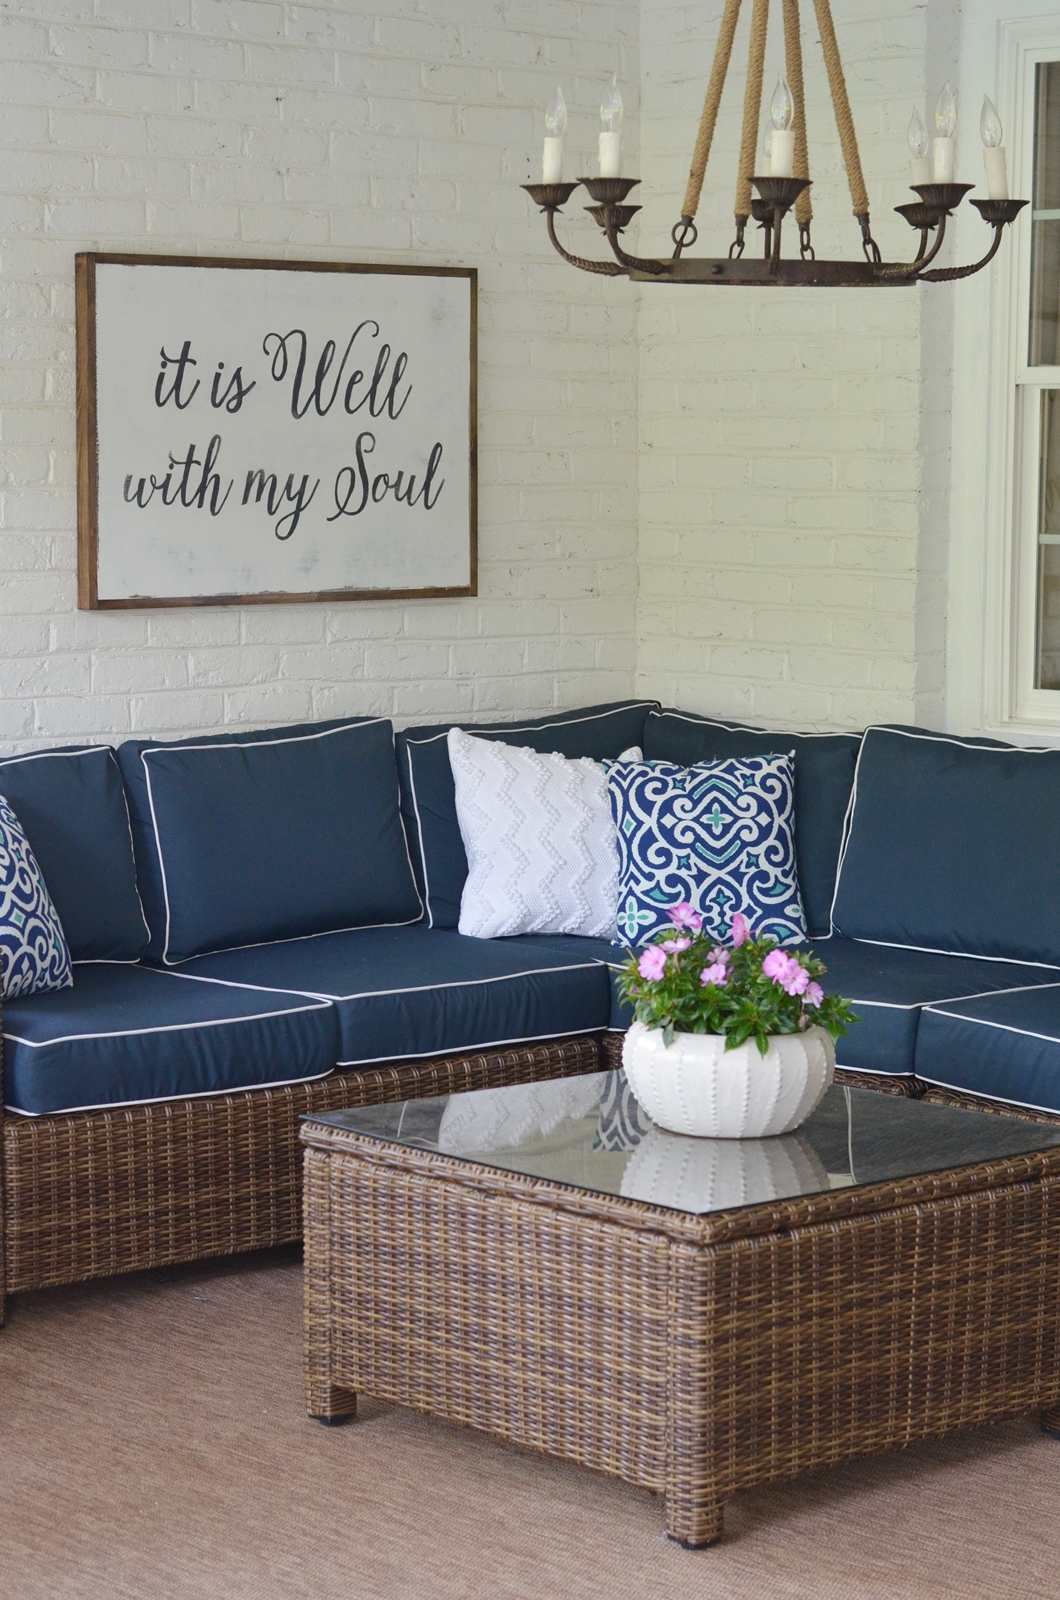
Here is our finished sign before I lightly painted over some of the sanded parts. :)
We are SO THRILLED with how it turned out! It was just what I was wanting for this spot…our peaceful retreat.
Thanks for stopping by! I hope you liked this project! Let me know if you have any questions in the comments!

So pretty Traci! I love this quote so much!! I have it hanging on my wall at work. It’s on a cross. Thx for sharing. Can’t wait to hear more about your girl ;-)
Your sign is very pretty and perfect for that spot. I enjoy seeing your remodels and pretty place.
Congrats on your adoption and God bless.
Great tutorial! Waiting patiently for the adoption update ;)
It’s beautiful! I’m going to make one :).
I love it!! Thinking of you on your big trip. :)
Beautiful! Can you tell me what font you used please?
I love that song. Beautiful job. Glad things r going well. We will keep praying. Can’t wait for the update of your little girl. I would love to make me one but not sure if mine would turn out that well. Blessings. Pam😄🙏
I like your technique! Not at all what I was expecting. I’m another fan of “it is well with my soul”. It is one of my all time favorite hymns.
Can’t wait to see the pictures of your girl and big, happy family!
I love it! I’ll have to figure out how to use pic monkey and make one, too. Thank you!
Carbon paper! Genius! :) I love your sign. And I can’t wait to read all about your adventures with your girl accompanied by LOTS of pictures!! xxoo
Would you share the file you took to have printed? This is one of my favorite songs and your sign is wonderful,
Hi Trish! Just email be at beneathmyheart4@gmail.com and I can send you the image. :)
On pins and needles waiting for “THE” day! It wont’ be long now. BTW, I love your sign!
The sign looks great. It’s not always easy to find carbon paper anymore so as an alternative you – or a bored child – can cover the back of the original paper (in the areas where the letters are) with pencil. You really only need to cover the edges of the letters but a child might just cover everything and that’s fine. Then flip the paper over and proceed just like you did. This method works best on a white or light colored background and sometimes the tracing comes out a bit faint but you can go back over the lines with a pencil or permanent marker before painting.
Good idea! You are right that carbon paper is not as easy to find, but I found mine at Office Max. :)
So cute! I love the font that you chose! Your sign looks fantastic! Thanks so much for the guidelines!
You are welcome! And thank you!
can you send me the pic to take to the copy store. My email is williamskim317@yahoo.com
I love how you traced it with the charcoal paper. It looks really easy to recreate! Thanks for sharing.
Hey Traci,
Such a beautiful sign. I love DIY project! What font did you use anyway? Looks awesome. Thanks sharing this with us.
Cheers,
Oliver