Skip to content
Home
About
Contact
Facebook
Instagram
Pinterest
TikTok
Twitter
YouTube
Email
Trending: Four Gables House Plan!
DIY Projects
Recipes
Makeovers
Expand
Room Makeovers
Furniture Makeovers
Search
Toggle Menu
Home
/
ALL THINGS HOME
/
RECIPES
RECIPES
How to Make the Best Iced Pumpkin Spiced Latte at Home: A Simple, Cozy Guide
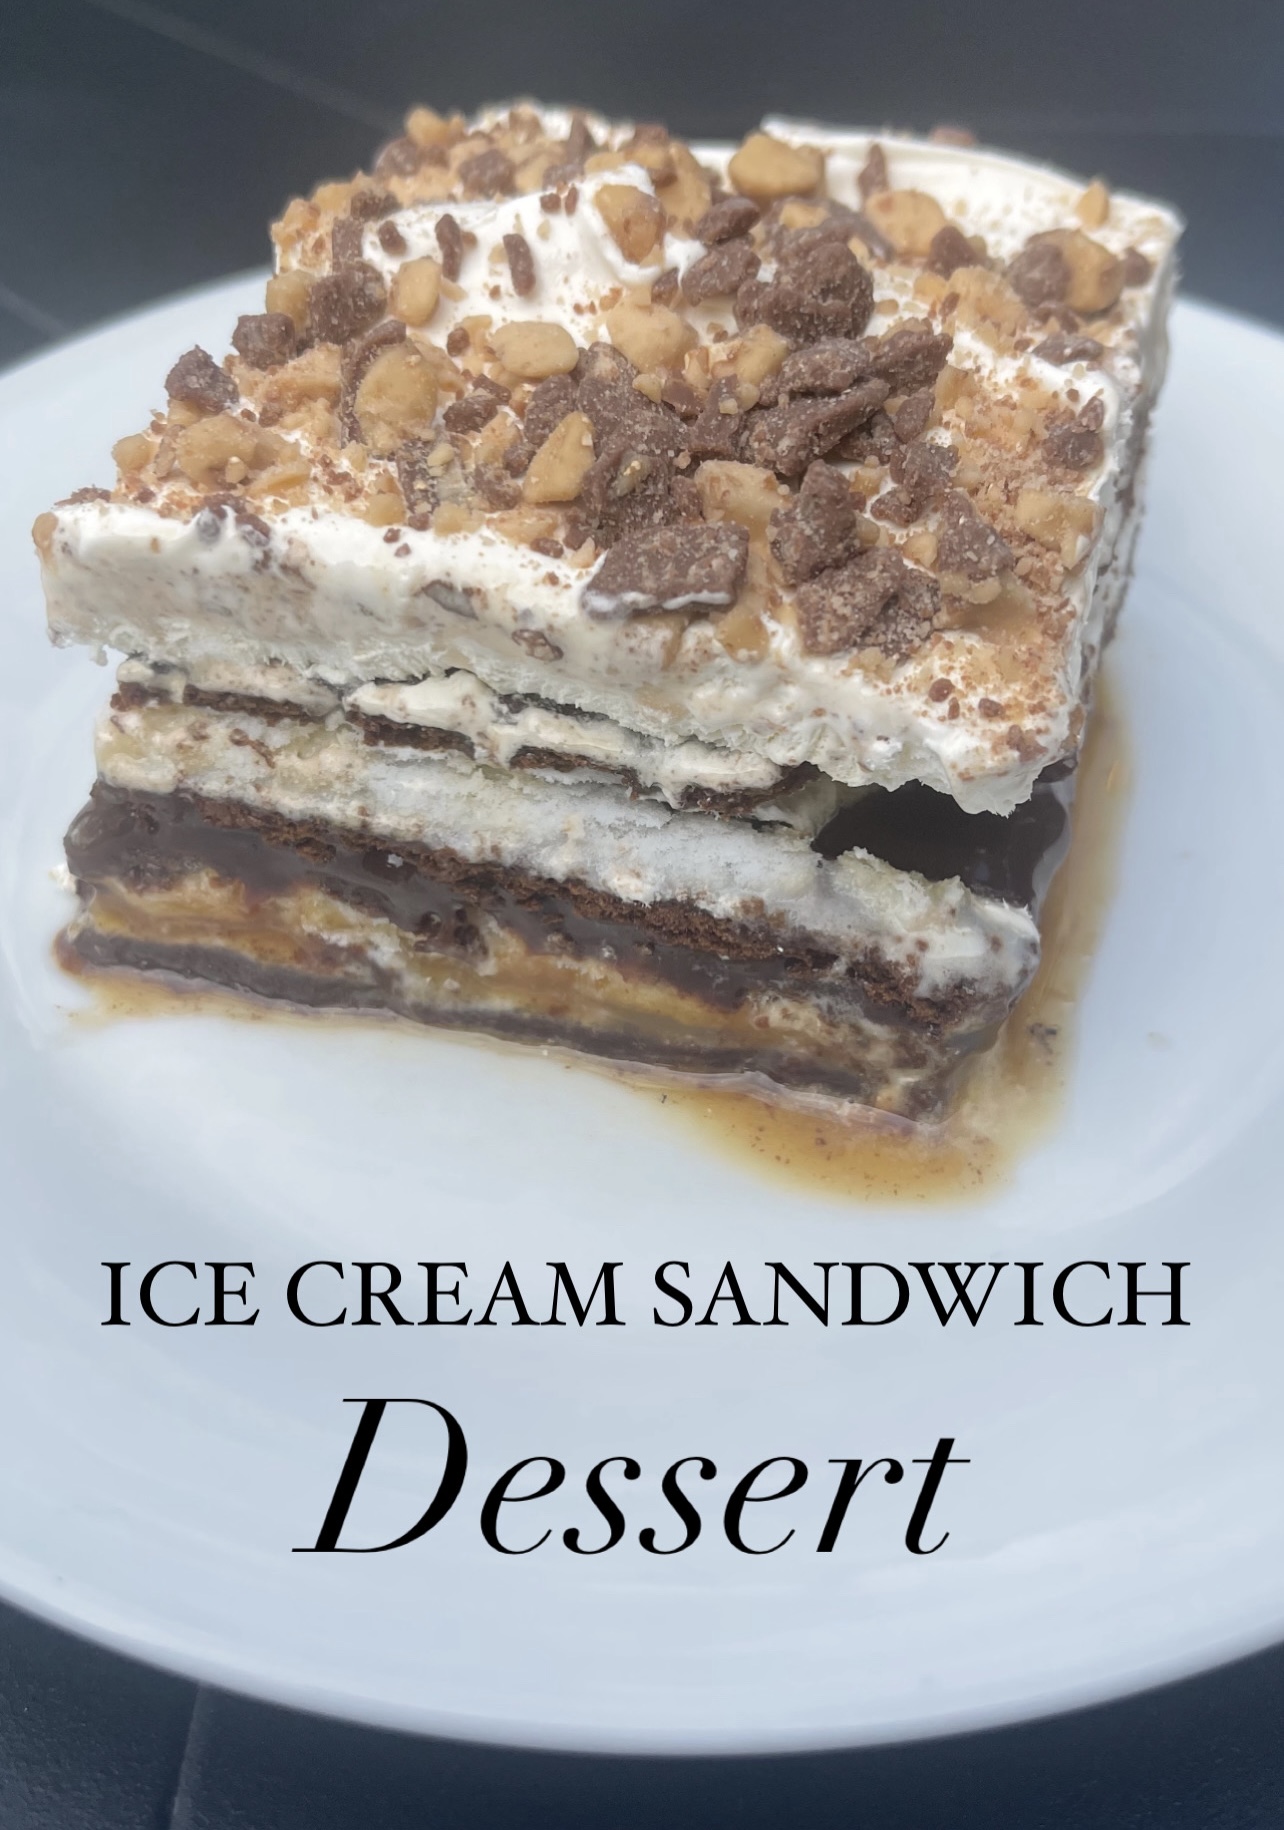
Easy and Delicious Ice Cream Sandwich Dessert!
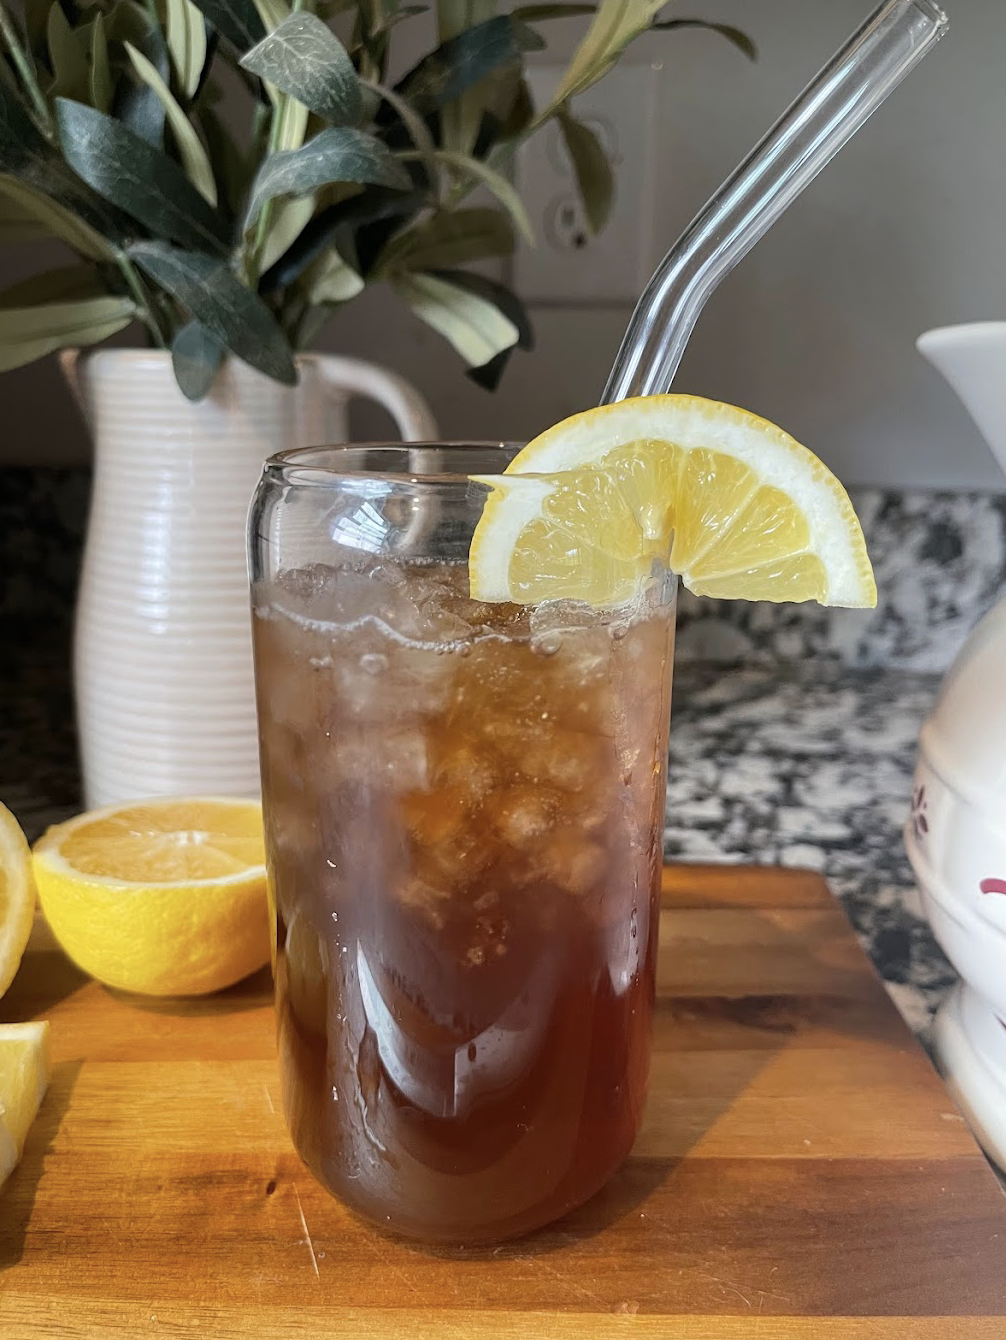
Mama’s Sweet Tea Recipe {w/ Nugget Ice}
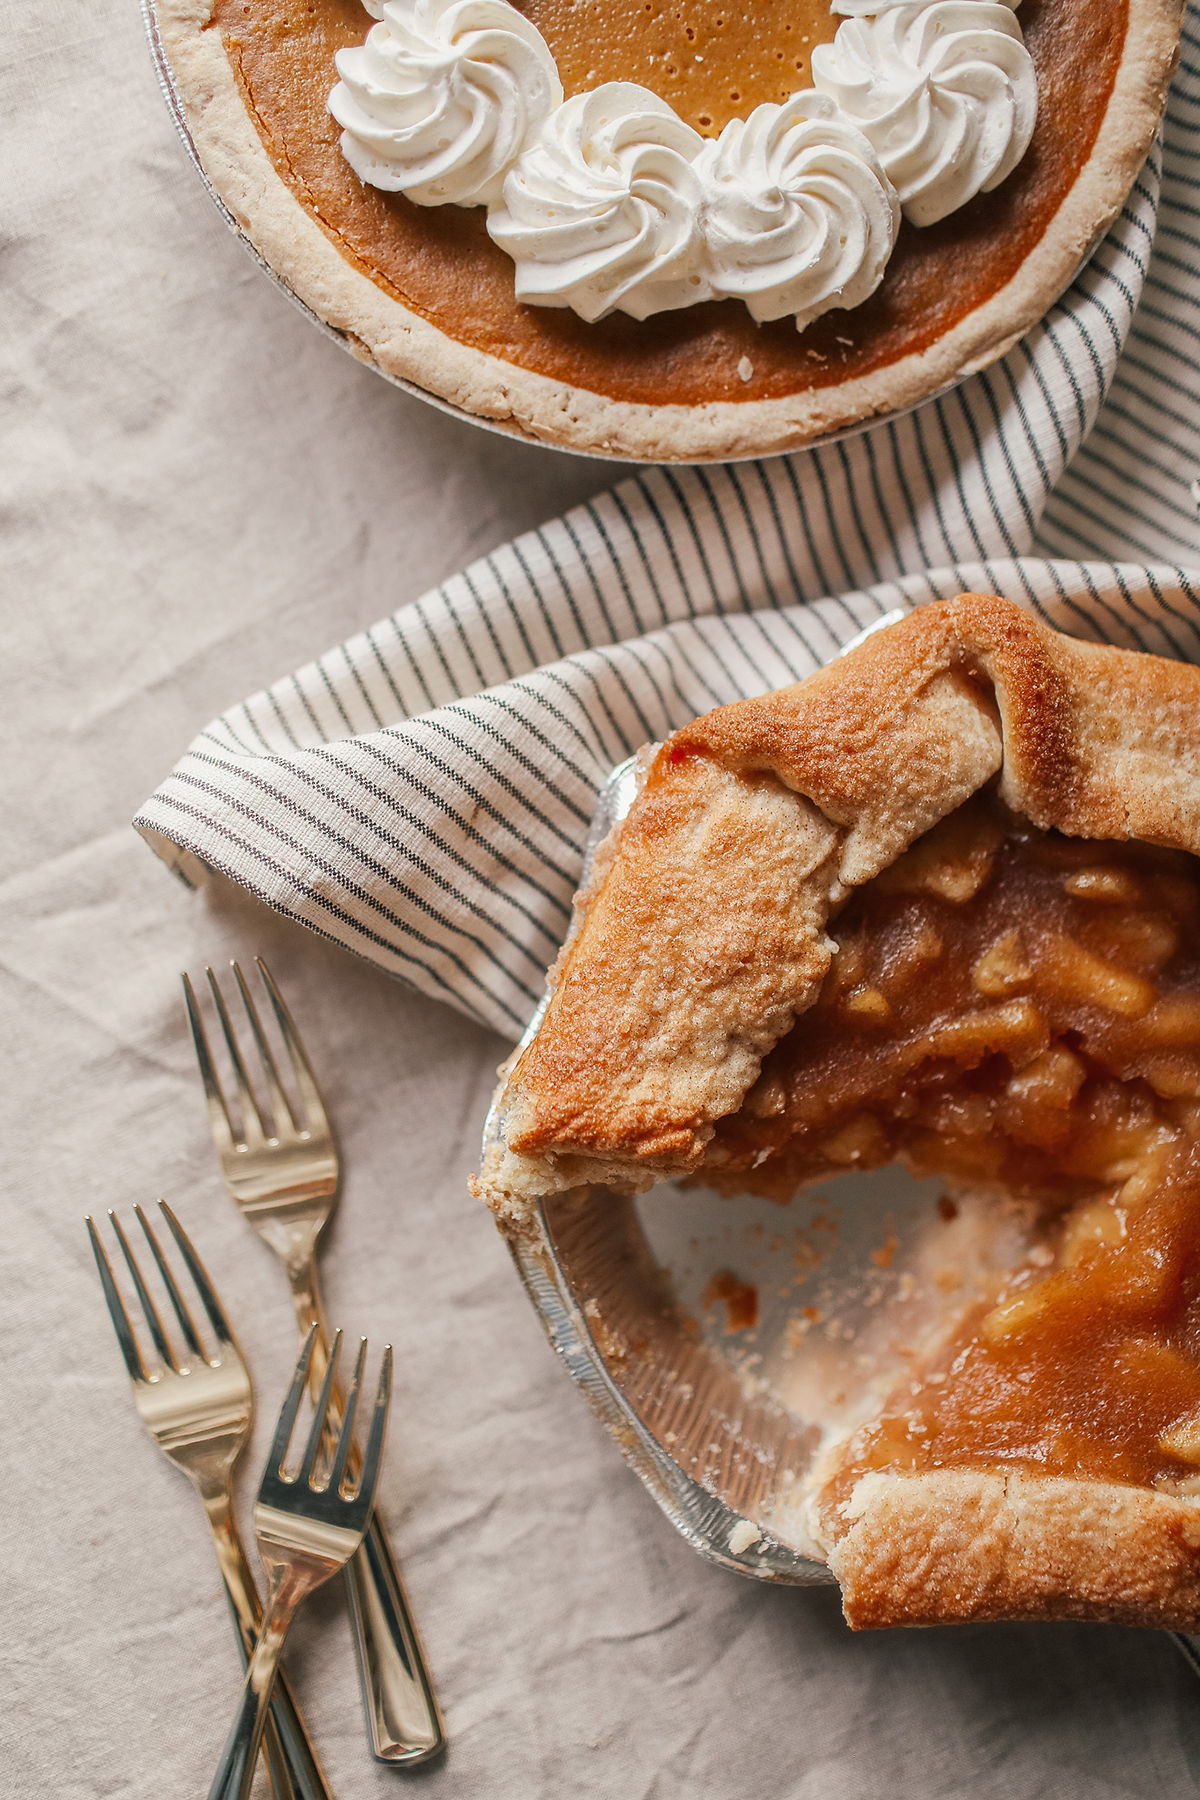
Delicious Apple Pie
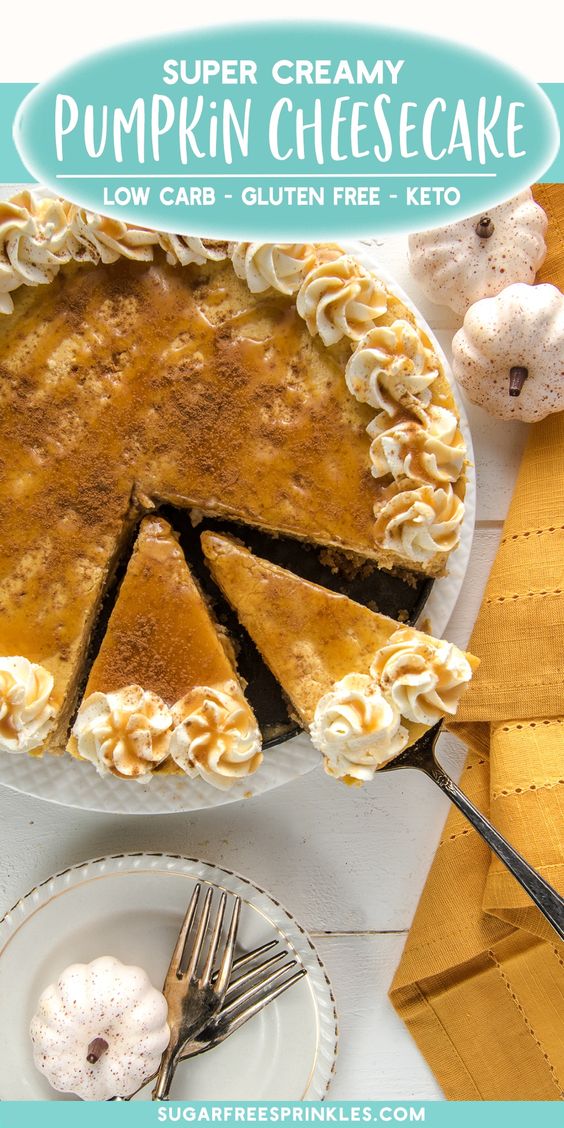
Low Carb Pumpkin Recipes
Page navigation
1
2
3
…
16
Next Page
Next
DIY Projects
Recipes
Makeovers
Toggle child menu
Expand
Room Makeovers
Furniture Makeovers
Toggle Menu Close
Search for:
Search