Coffee Table Makeover {Industrial}
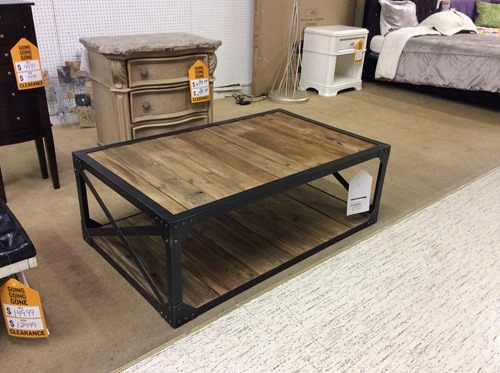
I have been dying for an industrial coffee table in our den. I found one that I loved recently, but it was $350 on clearance.
Ugh. Wasn’t gonna happen.
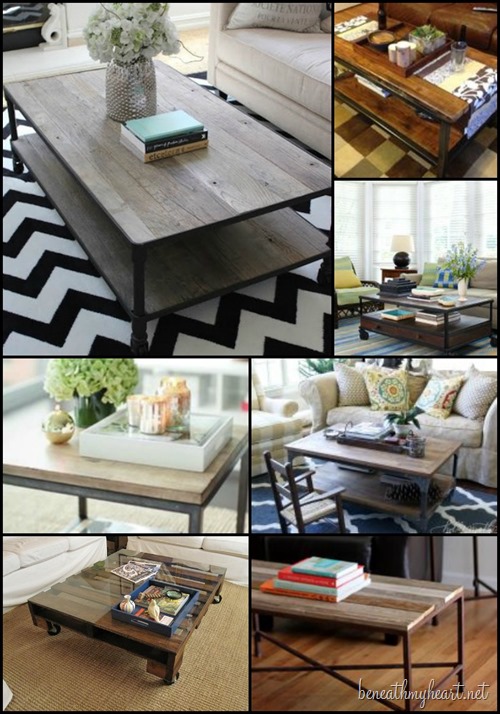
I also found some inspirational pictures on Pinterest.
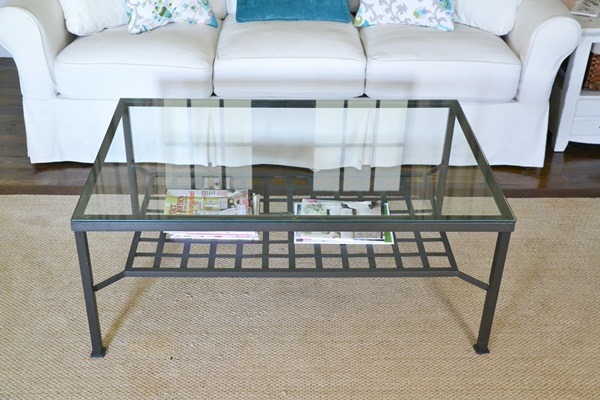
I was trying to figure out how I could make my own industrial coffee table when I found this metal one at the Habitat ReStore in Lexington last week.
I was SO excited! I knew that I could use that metal frame to make the coffee table I wanted.
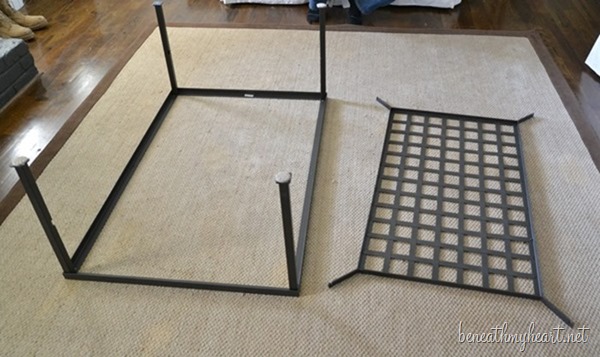
I took the glass off and detached the top and bottom parts.
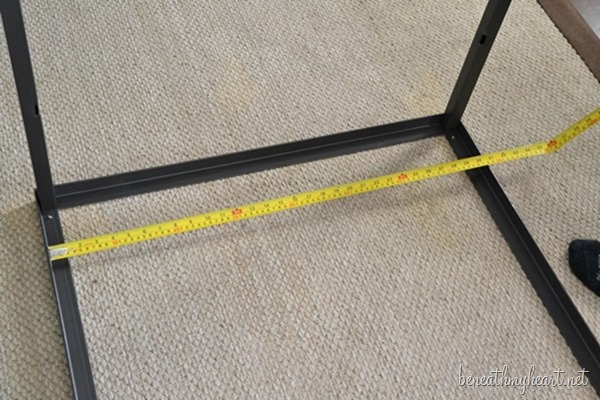
Then we measured the width of the top of the frame.
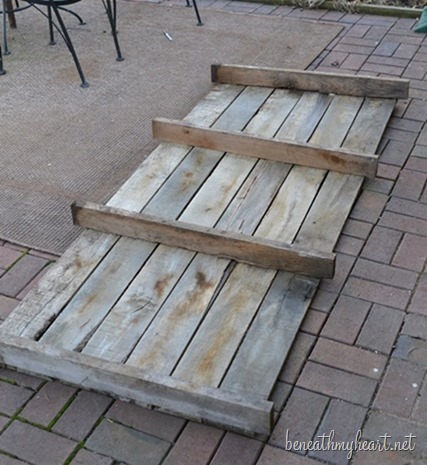
We had some old, weathered pallet wood in our back yard that I wanted to use for the top of the coffee table.
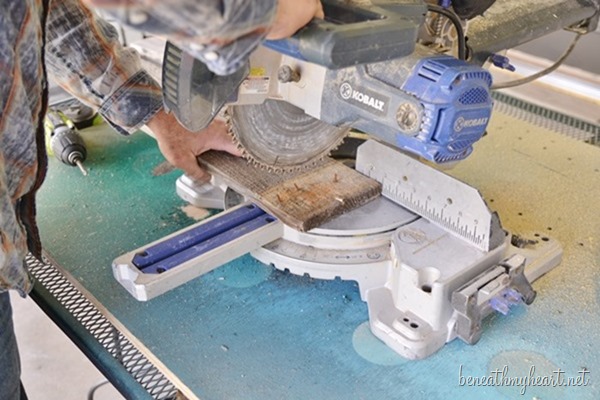
After removing the pallet wood, we cut them to size for the top and bottom of the coffee table.
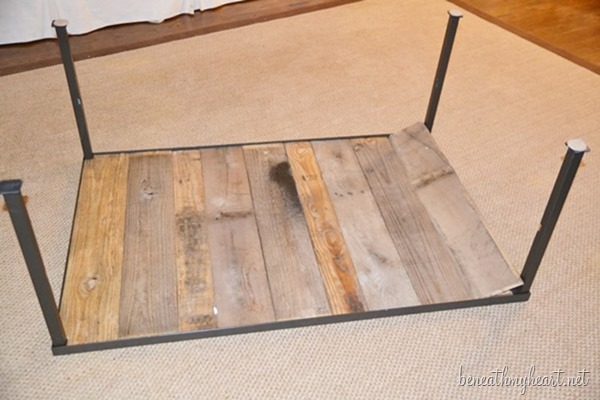
We laid the boards on the table to make sure we had enough.
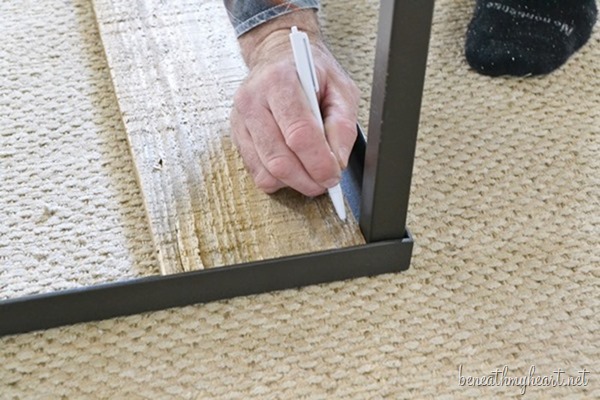
Cy had to mark and cut the end pieces to fit around the legs.
Now here is the part that is gonna to be hard for me to explain. We had to really brainstorm to figure out how to keep the pallet wood on the top of the table.
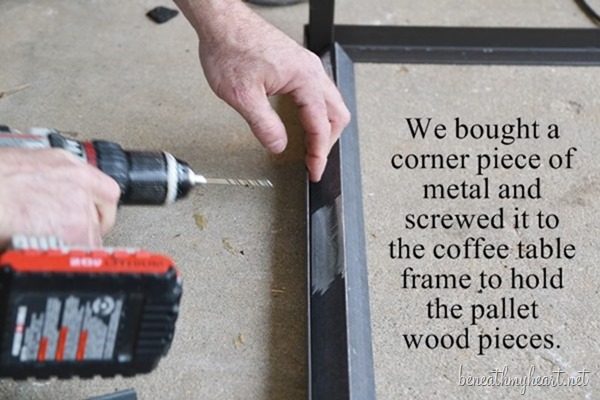
We bought two “corner” pieces of metal for each long side of the coffee table frame.
Cy screwed the metal pieces to the side so that they created a “lip” underneath the sides for the boards to sit on.
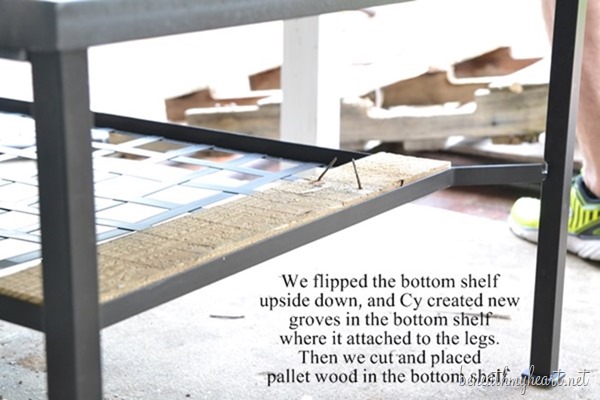
For the bottom shelf, we just flipped it over so that the boards could sit on top. It held them perfectly. The only problem was that the bar that attaches to the legs didn’t work because it was upside down. So Cy used a metal saw blade to create a new “groove” to attach the bottom shelf to the legs.
Lastly, I spray painted the entire frame black. This helped to cover up the metal screws we had installed on the side.
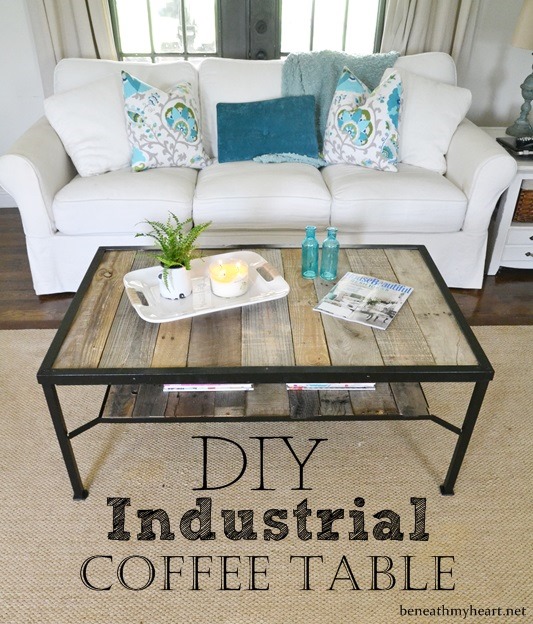
I LOVE my table!!
It may not be everyone’s cup of tea, but I love adding rustic touches to a room.
Paired with my white slip covered couch and pretty pillows, it’s perfect!
I have about $80 in this coffee table, which is a whole lot better than $350!
Here’s another look at the before and after…

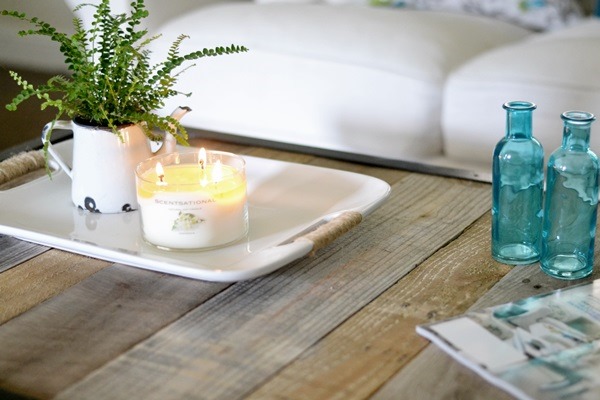
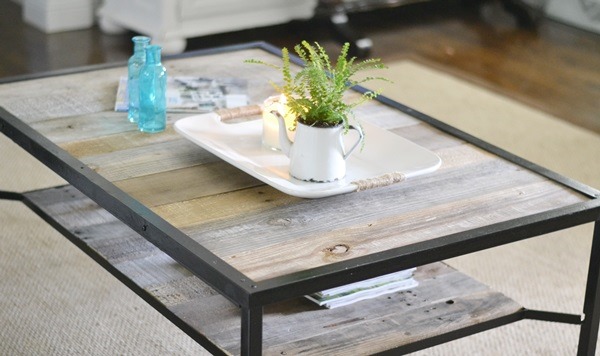
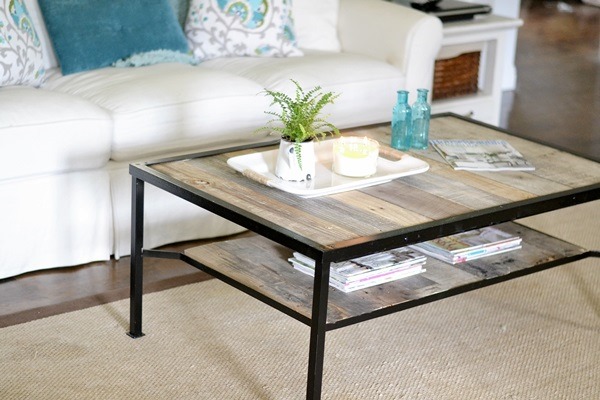
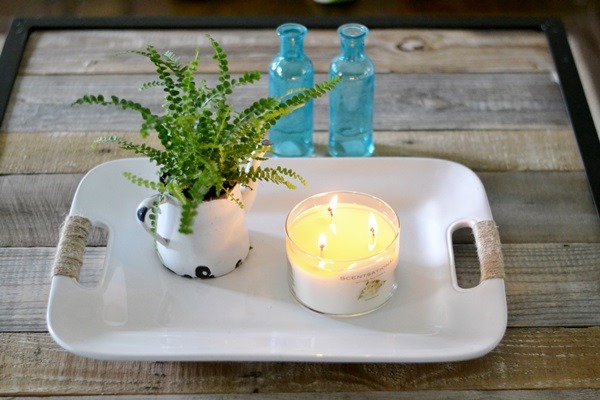
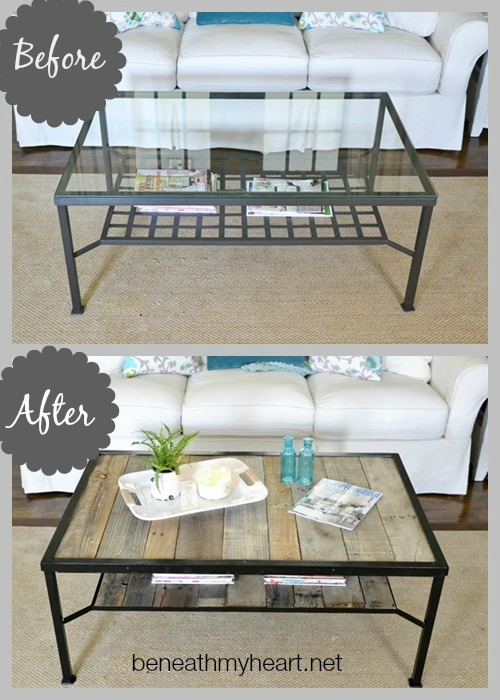
I love it! To me that looks sooo much better than the original. You two make such a fabulous team, and that table is totally boy proof. :)
Please tell me, what did you do with the glsss tabletop from your original Coffee table? I have a piece of cloudy glass, a big rectangle, it’s marred, damaged, not clean looking. scratches,
Any ideas how I could paint it,? Maybe frost it or stain glass it.
Not sure about the cloudiness, though. Will it show?
I love your table btw!💕💖😊
Hi Cheryl. We did not keep the glass to that coffee table. I think my hubby dropped it off at the Habitat Restore. I haven’t tried to paint glass, but maybe you could from the bottom? That way the paint won’t scratch on top? Maybe something like this: https://www.hometalk.com/4702283/painting-furniture-glass-table-top
Wow! It turned out great! It’s super cute and cool! I love it! What a great idea!
It’s my “cup of tea” LOVE it!
I want this table!!!! I think you should sell it to me :-)
It’s perfect. I’m loving how your room is coming along.
Gorgeous.
Love the reclaimed wood with it…perfect!
I love this, Traci! What a great makeover!! :)
Wow! Gorgeous, just like everything you touch, my friend. The perfect addition to your den. Sorry about those Cats, I was cheering for them too! ;(
It looks very nice Traci! Great idea!
How clever! You did a fantastic job – now I feel compelled to keep my eyes peeled for coffee tables with a good metal frames!
Love that! You did an awesome job.
Looks great!
I’m new here (coming over from your sister’s blog, which I also love) and I must say I LOVE, LOVE, LOVE your blog! I am all about thrifty DIY and all things rustic and farmhouse! One question, how in this ever lovin world do you keep your house so perfect with four boys?! :) I have two kiddos and I feel like I’m constantly running circles around them to keep things in place!
Hi Meg!
So glad you found my blog! :)
Believe me, my house is a WRECK 99% of the time. Don’t let the pictures fool you. :) I do try to straighten up before I take pictures for my blog. hee.hee. And every now and then I share a “real” picture of my home because I never want my readers to think I have it all together. You are right, with four boys, it is impossible for me to keep things clean!
Come back and see me! :)
xoxo
Traci
It looks SO lovely and adds the perfect bit of warmth & rustic texture to the space! :) Shared on my FB!
wow, very cool ‘hack’ love it. we have Rehabit store in West Roxbury, MA and I have access to lots of pallet! :)
Traci where did you get that rug? I love it :)
That rug is from Lowe’s. They still have it. I saw it yesterday. :)
Wow. Love! Great thinking. My first question was, “How will they get the wood to ‘stick’ to the top?” You explained it perfectly. :)
Oh good grief!!! It looks SO amazing. I love it!!!
Oh my goodness Traci! I love this! Love the layers of rugged with soft in a room :)
Love the rustic touches in your living room!
Love!
Love, Love this. Super job. Thanks for sharing.
God Bless
You did such a great job with this! Way to think outside the box.
Believe it or not I have the exact metal version in my living room…hate it!!! Love your rustic version. I am a crafter so maybe someday in the distant future.
That looks amazing Traci. Sure comes in handy to have a carpenter in the house.
Yes it does! :)
Awesome! Great idea and it looks wonderful! I love your taste!
Your table looks great….I want one too!
Looks beautiful! LOVE it!
I love your table! I have the same exact table in my house with the glass top! I would like to change it as you have done but I’m a little confused on how to get he wood to stick to the top. I saw you bought a metal corner to act as a lip…..do u know the proper term for that piece and where I can get it? Thank you so much!! Beautiful table
I fell in love with your table redo. I lucked out and found the exact metal table in Austin on CL! My big question…where did you and Cy get the metal corner pieces to hold the wood in place on the top portion? I have looked at Lowe’s and can only find flimsy corner pieces. Help please I love, love, love this table for our playroom update.
Hi Anne-Marie!
I’m not sure what that corner piece is actually called, but it is a long piece of metal that is shaped like an “L” if you look at the end of it. It is found in the metal section at Lowe’s where the sheet metal is. It is silver, and I spray painted it black.
I hope that helps a little. If not, let me know, and I will go to Lowe’s and get the barcode for it.
Thanks!
Traci
Hi Traci,
I just discovered your blog on Pinterest and I have the same table. Is it possible for you to post a picture of the underneath of the table top once it’s all put together so I can see how it is? I think I understand, but I’m having problems explaining it to my husband.
Thanks,
JUlie
I’ve had this exact IKEA coffee table for almost 12 years now, and was planning on buying a new table when I saw your pin a few months back.
TODAY I finally took the plunge and started trying to transform mine.
I was unable to find any pallet wood here in Chicago but I bought some cedar planks at Home Depot that work well.
I flipped the bottom rack and attempted to cut new grooves with my Dremel, but I think I’m going to have to go back over it and cut into it a bit more because it still doesn’t sit quite right.
I cut all of the cedar planks to size and sanded them. Tomorrow morning I plan to stain them all with a dark espresso stain to match my other furniture.
I’m dreading the last step of trying to keep the top row of planks in place…I understand what you did but I just hope I can get it to work.
I’m very grateful for your pics and tips though, and just wanted to say “thank you” :)
(My first time ever commenting on a blog btw! :)
Did you spray the pallet pieces “treating” them before installing them? I have my table in storage- picked it up off of a FB yard sale page for $8. Can’t wait to get started on this project. Look forward to your reply.
Hi Karen! I did not “treat” the boards. :)
Fabulous work! I just love your metal frame rustic style coffee table!!!