DIY Office Desk and Window Seats–Part One
I have so much to show you in my new office room!!!
We have a done a ton of work in this room that I haven’t even posted about on my blog.
There is so much to show you, I am going to have to break it down into several posts.
So today, I am going to start with showing you how Cy made the wall to wall desks in my office.
I LOVE a lot of desk space, so I love having built in desks all around my office.
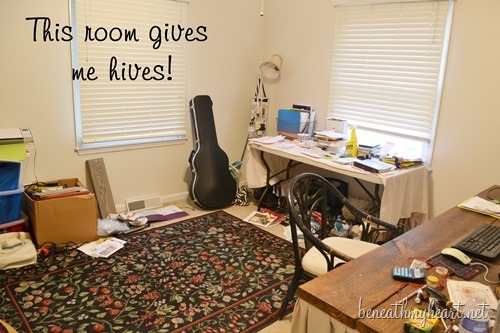
This is about a 12×12 foot room. It was Jonathan and Luke’s room when we first moved into our home two years ago. When Jonathan and Luke finally moved upstairs in the new addition, the office was a “junk room” and looked like this…
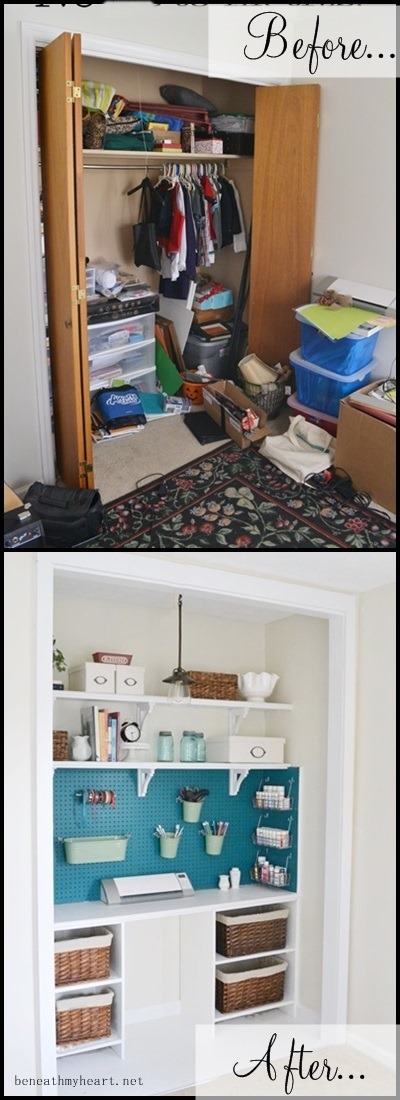
We started working on the closet in this room first. Remember this project?…
Once I finished the craft closet, I couldn’t wait to work on the rest of the room!
So we cleared everything out and ripped up the nasty, stained carpet. We were going to sand and paint the subfloor, but then we decided to cover it with Rustoleum’s Restore.
It’s a durable coating that is usually used on decks and outdoor surfaces. It is an AWESOME product, but we weren’t crazy about it the look of it for my office. Plus, we read on the box after we had already used it, that it was for exterior use only. oops. So we decided to paint the concrete with floor paint. {We painted the floor tan AFTER we painted the desks and window seats.}
We are still not 100% crazy about it, but it is better than the nasty carpet. It’s super easy to sweep up a mess on. Down the road, we may do something different, but not right now.
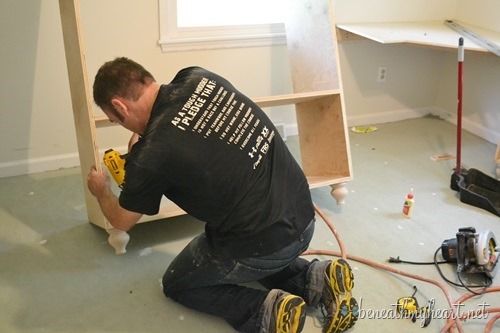
After we finished the floor, Cy got to building me the desk plan that I had in my head. He made me draw it on paper, and then he went to work!
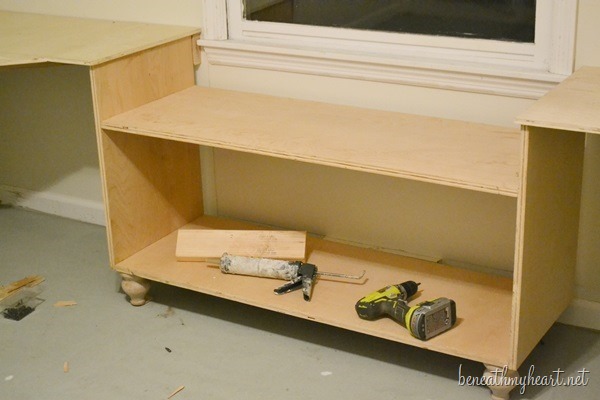
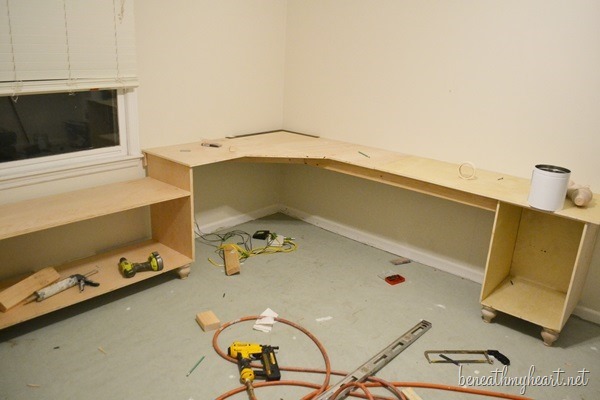
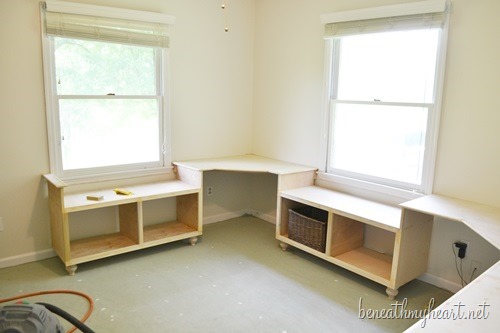
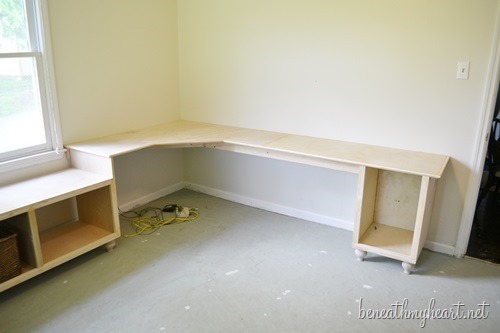
Cy used 3/4 inch birch plywood from Lowe’s to create the desk tops and window seats.
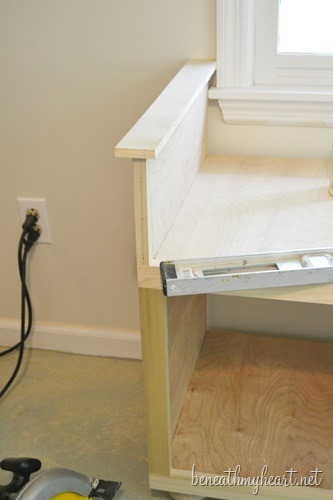
The desk tops are supported underneath by 2×4 cleats that were screwed to the studs in the wall.
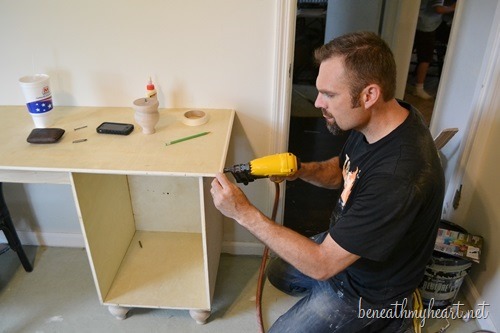
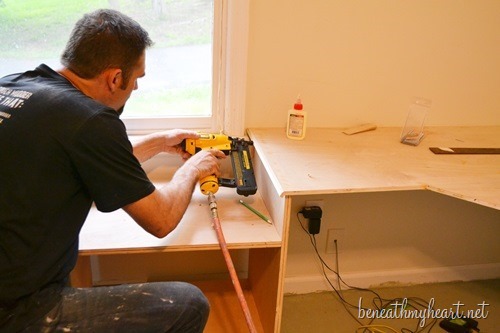
The next step was to attached the trim pieces using wood glue and finish nails. You can use any type of trim piece you want for this part.
All of the edges of the desk were trimmed out with the same trim piece.
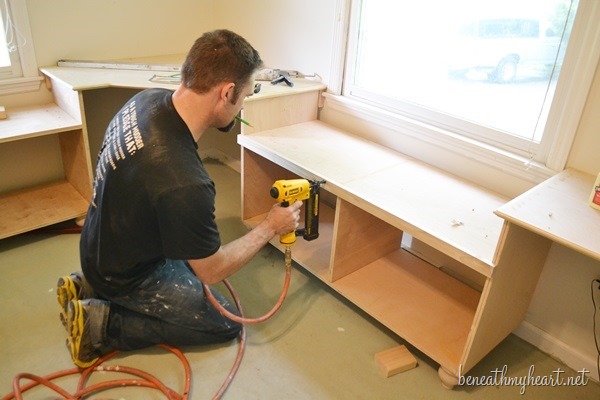
For the trim on the fronts of the window seats, Cy used 1×2 poplar boards.
He added ball feet from Lowes to the bottoms of the window seats, and under the base cabinet on the other side of the room.
He also added the 1×2 poplar boards to the tops of the window seats to create arm rests.
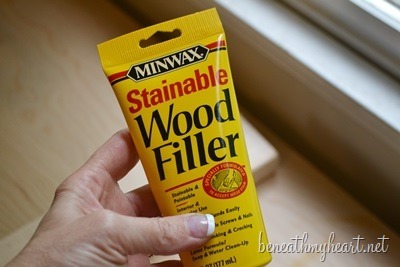
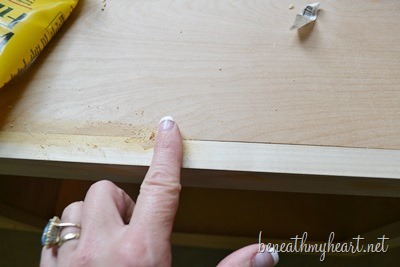
Then I filled all the nail holes and cracks with paintable wood filler.
After the wood filler was dry, I sanded it smooth with 220 grit sand paper.
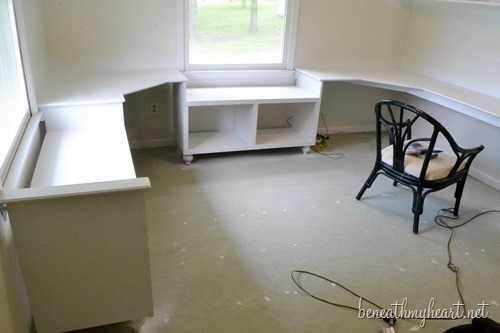
Here is what it looked like before we painted it. This is the corner you see right when you enter the room.
Here is a look at the other side of the room…
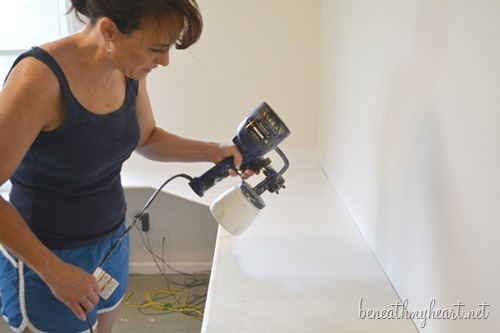
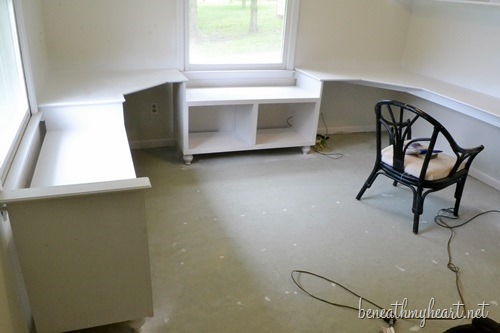
The last thing we did was to paint the desk and window seats white. I used my HomeRight Finish Max paint sprayer to get the job done. It was amazing how quickly I was able to get the whole room painted!
So the bottom part of my office was finished, but I still wanted to add some upper cabinets to this space.
Next week, in Part Two, I will show you how we made some new upper cabinets for my office!
Stay tuned….

Looking good. He is such a handy man and a keeper. I wish I lived closer and I would hire him.
I have just plywood floor in the room I want make a craftroom. We are going to pull up the carpet. How would he suggest finishing the floor. Must be cost effective. God Bless!
Oh my gosh! How wonderful! You will enjoy that so much. I wish you lived closer – I would so hire him for a bunch of jobs! You are very lucky to have someone so talented – but then, I’m sure you know that!
Looking great!
Judy
Traci –
You are so lucky to have such a talented husband to help you with all your projects! I am so jealous and can’t wait to see the finished product. Question, would you recommend the paint sprayer you used to paint the desks for walls? We have a large playroom with vaulted ceilings which is being turned into a bedroom for my two youngest and it will take forever for me to hand roll paint, I was thinking this might do the trick, especially since there is no furniture in there tight now. Any advice would be appreciated. Great job, just love you and your blog! Good luck with school – for you and the boys! :)
Is your hubby for hire? Sure a nice job you will be so happy in your new office, I can tell already now.
Edith YourChicagoConnection
OMG! I LOVE IT! I am so excited to see how you finish it. I called dibs on the den in our new house. (Our house sold so fast we are stuck renting for a few months while it gets finished) but I could totally envision this set up in there. It would add a lot of personality and much needed interest to builder grade boxy room. Too bad ya’ll aren’t in the Seattle area. LoL can’t wait for the rest of your posts!
Looks fantastic!! Lookind forward to part 2 :)
So exciting to see the progress. I do have a question about the sprayer. Was it hard to use? I guess I wondered if it was an even direct spray and did not touch the walls?
Love the wall to wall desk.
Marilyn C.
Your office is looking amazing. Thank you for showing our Finish Max in this post, I was so surprised in a good way. I can’t wait to see the finished project.
I know a couple of you asked questions about the sprayer to Traci, but if you are interested in more information let me know. The Finish Max is fine finish sprayer, so it is perfect for cabinets, furniture and small detail projects that require minimal overspray. If you are looking to paint a wall, our PaintStick would make that project go much faster and Traci also reviewed that product here: http://www.beneathmyheart.net/2013/03/closet-makeover-paint-stick/
Laura Clark
HomeRight
You are welcome, Laura! Thanks for the added info.
Looking good! Can’t wait to see it finished!
This is AWESOME!! Thank you for showing me that we can do this!! (He doesn’t know quite yet… but he will soon!!).. Great step by step directions/suggestions!!
Traci …
You and Cy always inspire me, and this project is no exception. We have a room above our garage that we are turning into my office/sewing room. With a little modification, this setup would be perfect! I do have one question, though … how deep is the longer part of the desk? I can’t wait to get started!
Hugs …
Lani
Hi Traci
New reader here. I love this space. Can you tell me how wide the boards you used are? I know you used 3/4″ birch plywood, but is the depth 12″? 14″?
The bench and desk are beautiful. I have a room almost identical to yours and this is the perfect design. Would it be possible to provide additional pictures to detail the construction and/or any plans used? I would be very grateful for any help.
Kind Regards,
Mike