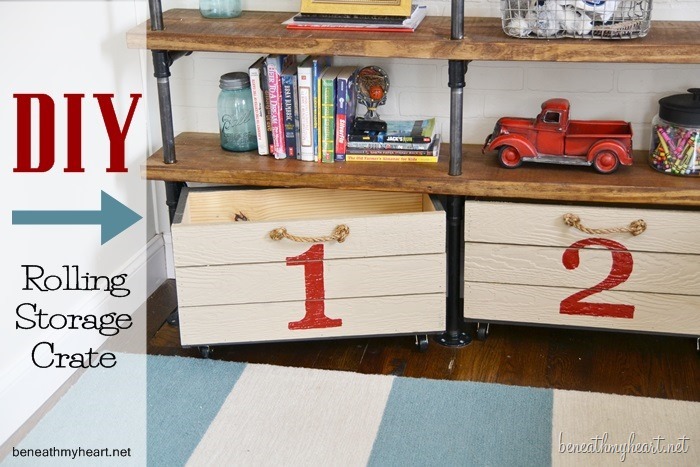
DIY Rolling Storage Crate {for the boys’ room}
I am soooo excited to finally be making progress on the boys’ room!!! Jonathan and Luke’s to be exact. ![]()
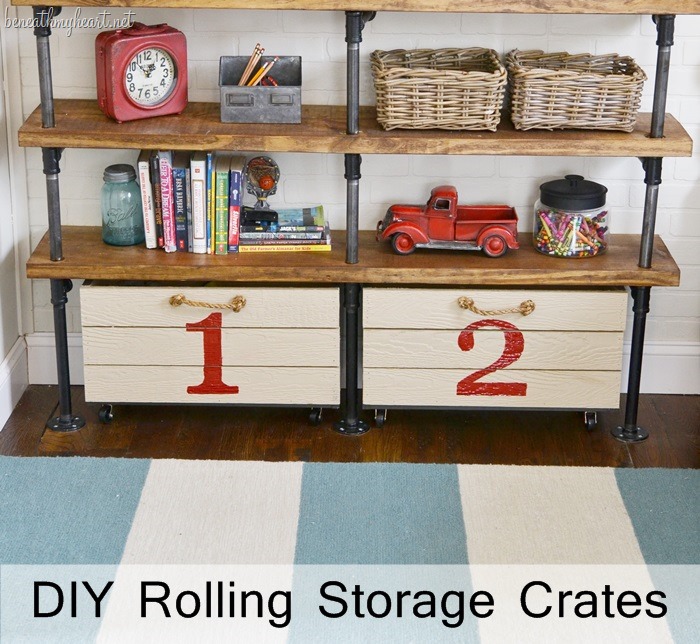
I have created two separate walls of industrial shelves for each of the boys, and I will share them on my blog soon. Today, I am showing you some rolling storage crates that I made for Luke’s wall of industrial shelves.
Since my boys share rooms, I needed to come up with some creative ways to provide extra storage for their stuff.
I decided to make some rolling crates for the bottom of Luke’s shelves. We had a LOT of extra wood left over from making the shelves, so I decided to use some of those pieces to make these crates.
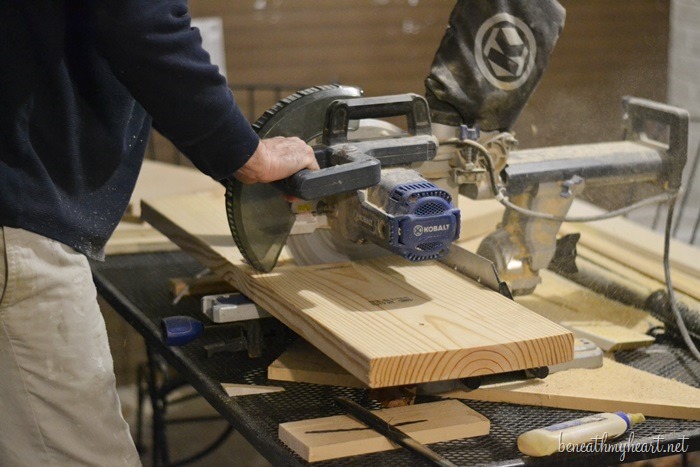
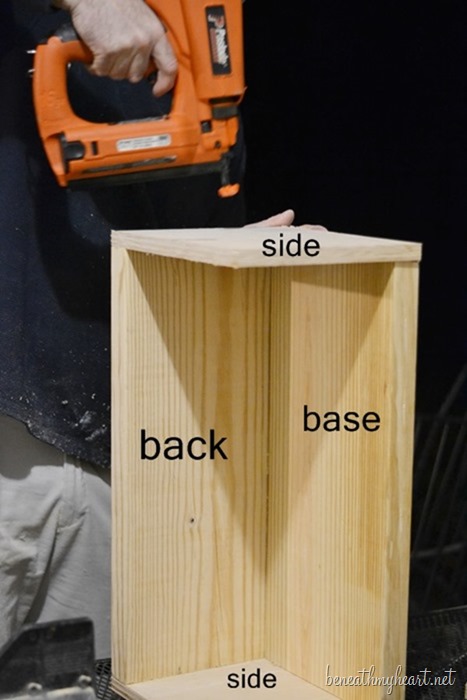
We used our leftover 2×12’s for the bottom and back of the crate. If I was starting from scratch, I would have used a thinner wood.
We had some 3/4 inch birch plywood pieces that we cut for the sides. {I would give you the measurements, but since you may need a different size crate, it doesn’t make sense for me to share the specific measurements. You can create these crates any size you want.}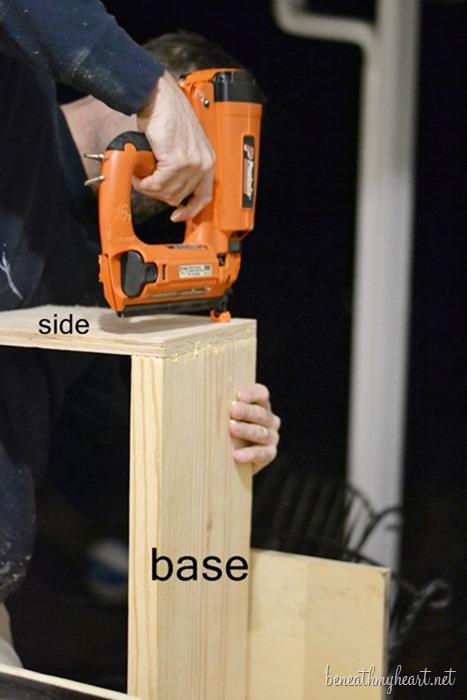
Cy always applies wood glue to the edges of the wood before he nails them together.
You can see in the picture below that we used the 2×12’s for the base and back of the crate, and the sides were made of 3/4 inch birch plywood. If we had had more plywood, I would have used it for the back of the crate as well, but it was late and cold outside, so we were not wanting to make another trip to Lowe’s. ![]()
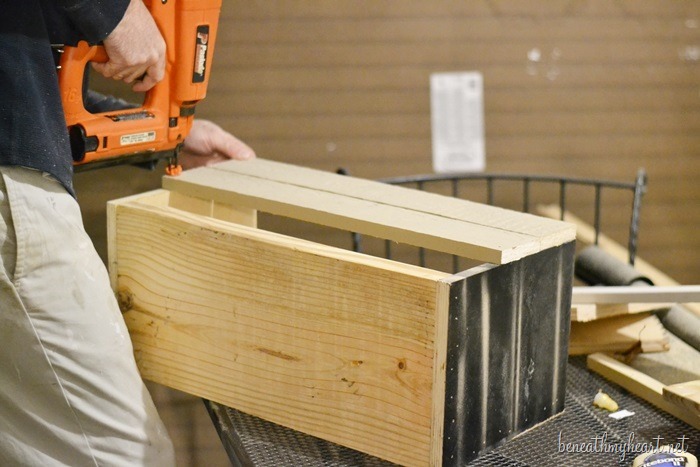
For the front planks on the crate, we used some pieces of 1×4 exterior primed OSB trim that we had leftover from making shutters for our home. You can get these at Lowe’s as well.
Cy nailed them to the front of the crate with a little bit of space between each one.
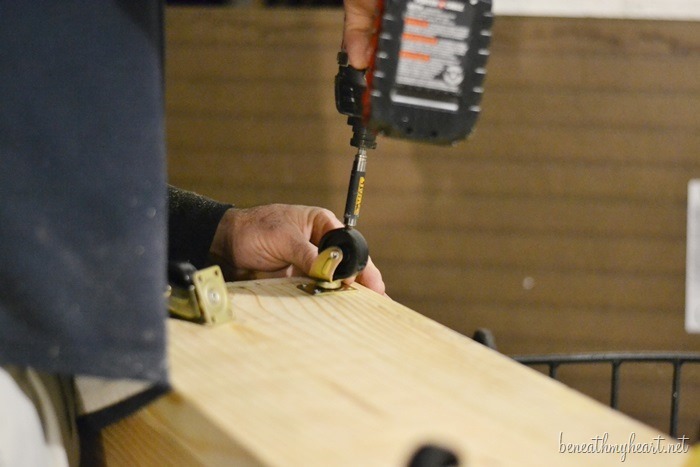
Lastly, we screwed some rolling wheels from Lowe’s to the bottom of the cart. It was about $5 for a package of two wheels.
I was originally going to paint the planks on the front of the crate, but I actually thought they looked good the color they already were, so I left them alone.
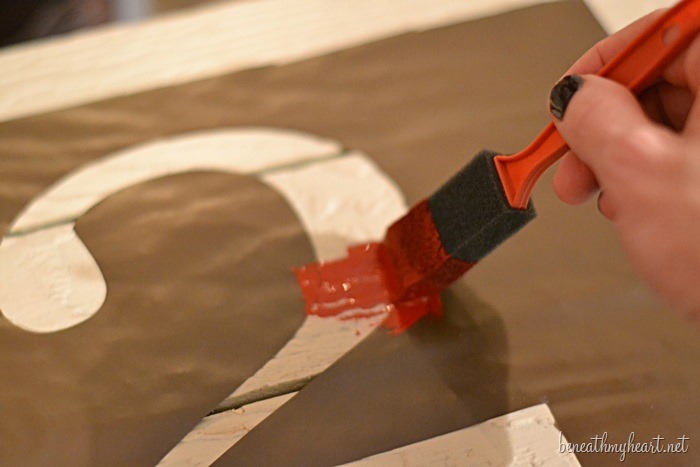
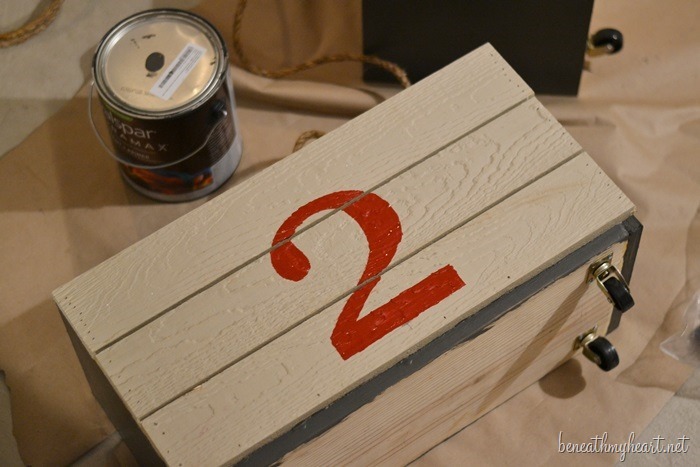
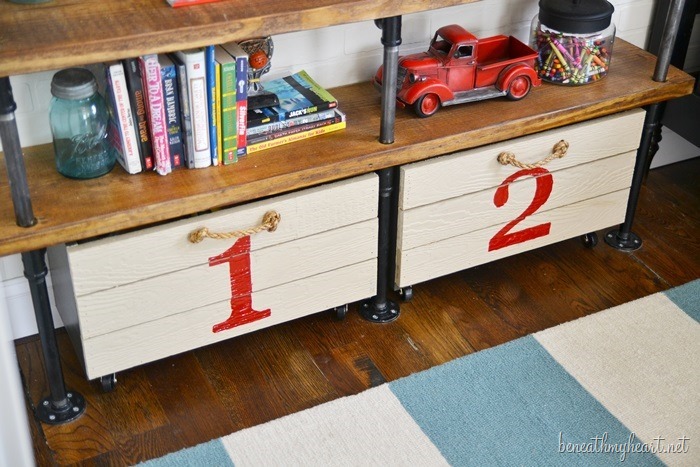
To add a pop of color to the crates, I decided to paint on some red numbers.
I used my Silhouette machine to create a stencil, but you could buy a stencil at Walmart or Hobby Lobby.
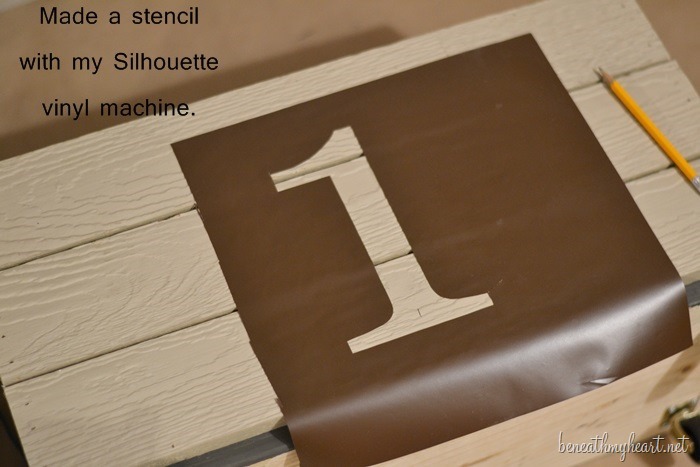
Then I painted the number with some red Rustoleum paint that I had.
The sides and back of the crate I painted with some paint I already had too. It is Valspar’s Ebony Fields.
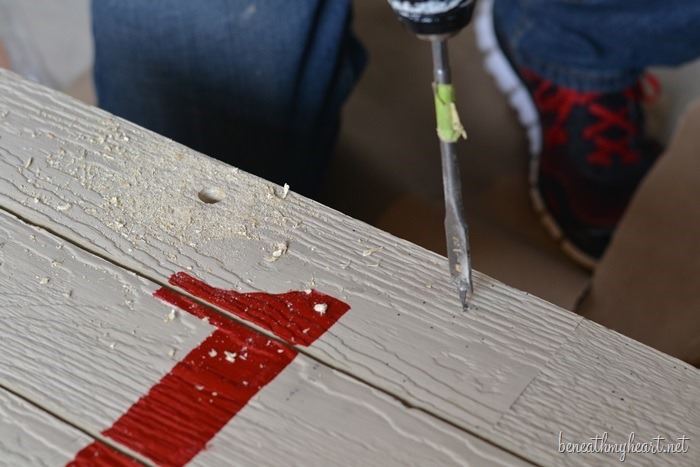
Lastly, we drilled some holes for the rope handles.
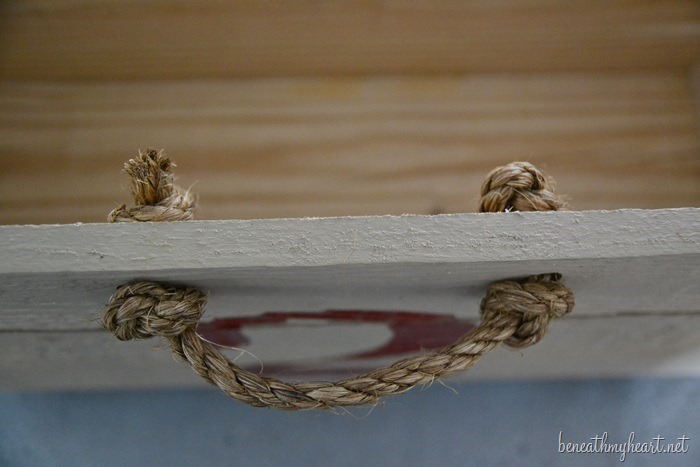
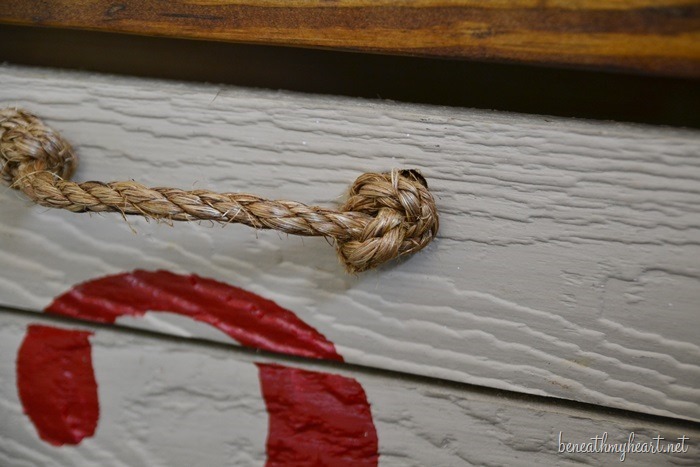
I inserted rope that I got from Lowe’s for an earlier project and tied knots on each side of the crate to create a handle.
I love the look of the rope handle.
That’s it! So easy, but so cute. ![]()
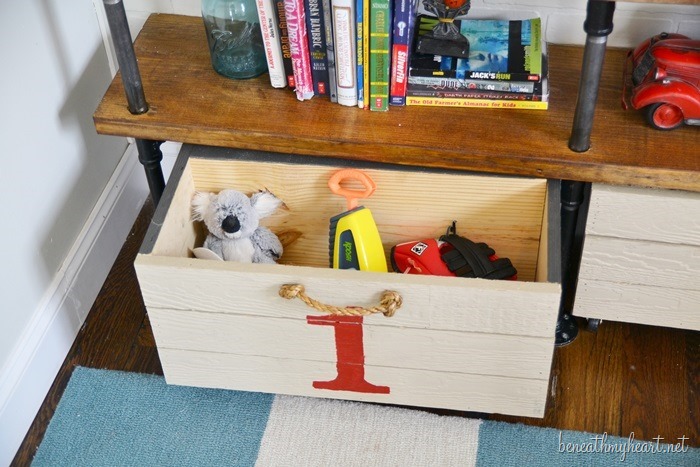
And now Luke has extra storage for his stuff. {Luke wants me to tell you that those are not his toys. ![]() I just put those in there for this post. He’s 12, and well… he said he’s gonna put “cooler” stuff in his crates.}
I just put those in there for this post. He’s 12, and well… he said he’s gonna put “cooler” stuff in his crates.}
Now I need to make some crates for Jonathan’s shelves on his side of the room. His will be smaller, but he needs four of them. I’ll be sure to share them with you when I am finished.
For now, Luke will be enjoying his and rubbing it in Jonathan’s face. Brothers! ![]()
You can find more creative storage ideas from the Lowe’s Creative Idea bloggers !
Be sure to sign up to receive their free Creative Ideas Magazine, which is loaded with inspiration! And check out their magazine app, so you can enjoy inspiration anywhere you go!
Pssss….don’t forget to follow Lowe’s on Pinterest or on Instagram!
Disclosure: Lowe’s provided me with a gift card to purchase supplies I needed for this project, however the ideas and opinions are 100% mine.
**Linking this project to Tutorials and Tips Link Party at Home Stories A to Z.



I LOVE them! Love the look, love their function, love the rope and the stenciled number. Everything you do is so classy and on trend but timeless. I just love your style.
Luke made me giggle asking you to tell us that those weren’t his toys…precious!
Traci,
I love to look at your blogs. They are so neat. I look forward to looking at it each day to see what you are posting next. I have a talented husband(Danny) who is like Ty he can build anything and has built a lot of things in the house for me. He has been at this probably since you and Ty were little children Ha! From furniture to cabinets you name it he can make it. It is so neat to see you both work together side by side on a lot of your projects too. When you have God the head of the household all things are possible through him. keep up the great ventures. Many blessings on your ventures of living. you have some handsome sons too. We have been blessed for Jonathan to share is gift of music with us. He is wonderful.
Thank you so much for your sweet comment. You and I are so blessed with “handy” men. :) Thank you for following my blog. God bless you!!!
Just commented on your side table post and had to comment on this one. Love this idea. Can you tell me if you made the shelving in there and if so how? This would be perfect for my 6 year olds room for his Imaginext toys. I was going to just build out of wood, but I love the look of the dark metal mixed it! Please share!
Hi Kim!
yes, I did make the industrial shelves, but I haven’t posted about it yet. I should be sharing the details within the next week. Thanks!
Thank you for that! I’m excited and the timing will be perfect!
Traci–I love these rolling carts!!! Great job!
These are a great idea! You can never have too much storage, specially in the kids room.
love this look!! You are one gifted and talented chick!!! AND…. I have to say…. I busted out laughing when I read the remark about Luke!!!!!!!! I was wondering ( I admit) if those were “Sentimental Value” type toys….and he just wanted to keep them!!!! LOLOLOL… Boys..they are soooo funny!!!!!!
Thank you so much for sharing. I have two boys that share a room but will be getting their own room and will be starting from scratch for both. I absolutely love these and can’t wait to see how you made the shelves.
These are fantastic! These would also work if you beat them up and added an old-looking stain… :)
Great idea! Love those shelves too.
Question…. Where did you get the striped rug on the room?
Vanessa
i love the crates and your industrial shelves are Stunning, nice nice nice job!
Great job! That whole photo looked like a page out of pottery barn! I love the crates and I love the shelves!
I love these crates. Might be something I can put in my craft room.
God Bless!
Traci,
I scan through all the blog posts in my email until I find yours and read it first.
Love the crates! Great job!
Well, that is the sweetest comment ever! I am so honored. Thank you so much for sharing that with me. :) Bless you!
Traci
These crates are too cute for words! I love the red. Pinning!
Have a great weekend.
Leslie
Thanks, Leslie!
Awesome solution, Traci — loving the industrial look for those boys. :) TGIF!
xo Heidi
You did an amazing job, helps me to continue with my organization……I liked the idea of adding the blue canning jar,I acquired several as gifts this year,they are not just staying in the kitchen…LOL!
They’re awesome, Traci! What a great storage idea!
Nice simple project. Well done. Can’t wait to see the post on the industrial shelves.
I love this whole idea. Especially that vintage truck. Would you happen to know what kind it is and where you got it? Thanks!
Ashley, I believe I got that red truck at Hobby Lobby? I’ve had it for quite a while, so I’m not sure, but I thought I saw one like it there the other day. :)
Very cute! I really like the rope handles!