Skip to content
Home
About
Contact
Facebook
Instagram
Pinterest
TikTok
Twitter
YouTube
Email
Trending: Four Gables House Plan!
DIY Projects
Recipes
Makeovers
Expand
Room Makeovers
Furniture Makeovers
Search
Toggle Menu
Home
/
Organization
Organization
Organizing Paint Tools with Purdy!
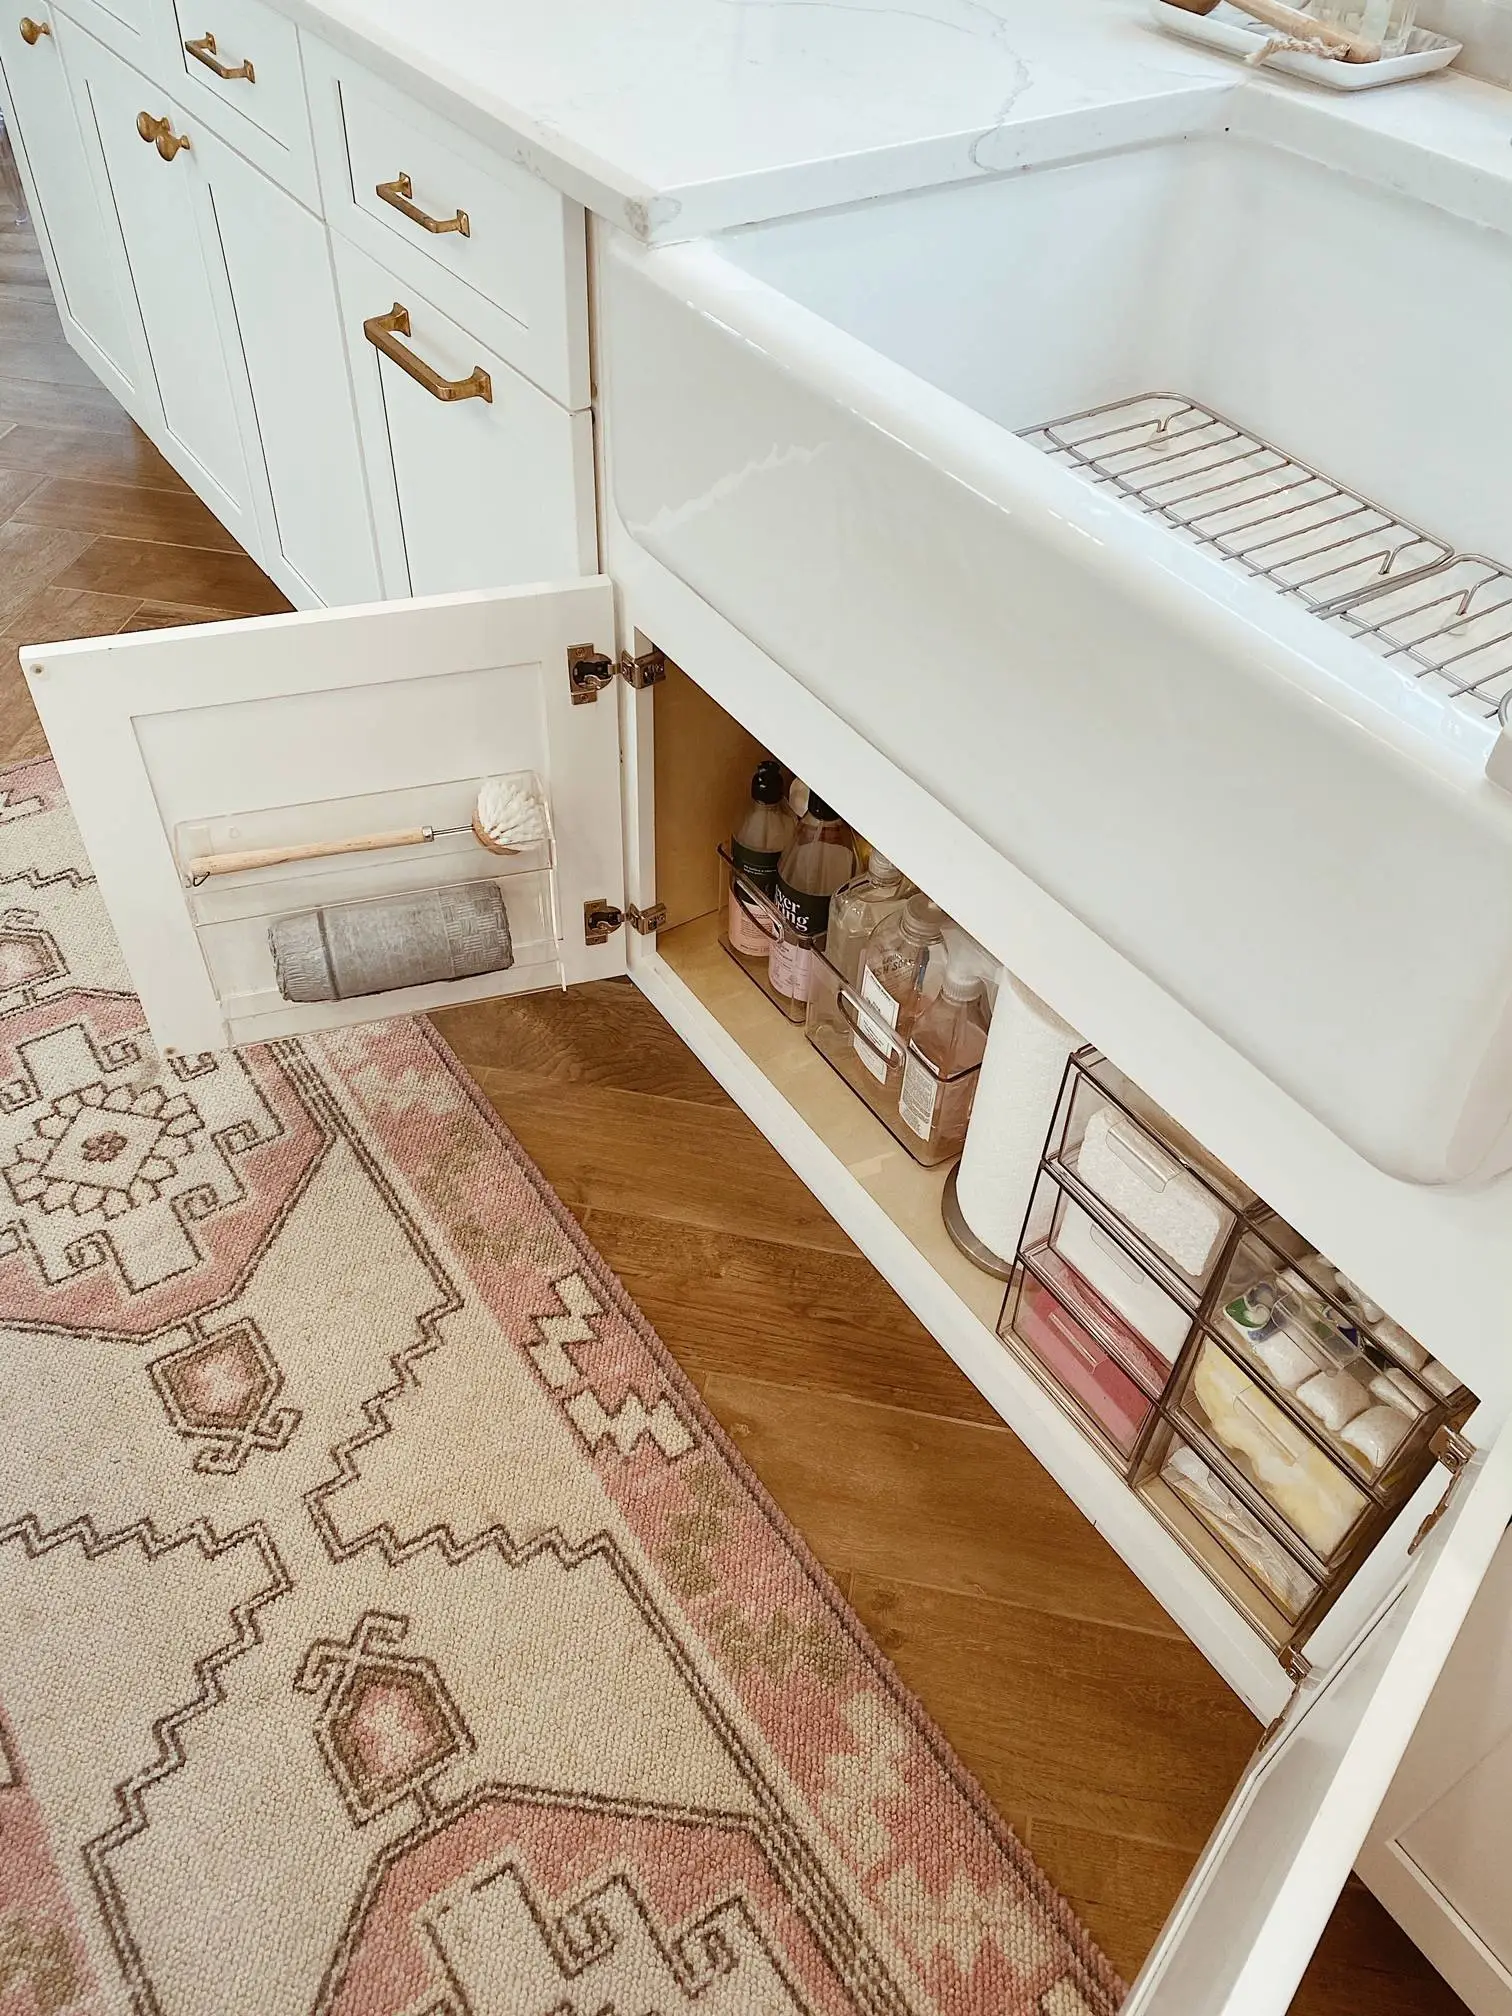
Kitchen Organization Tips ~ Under the Sink!
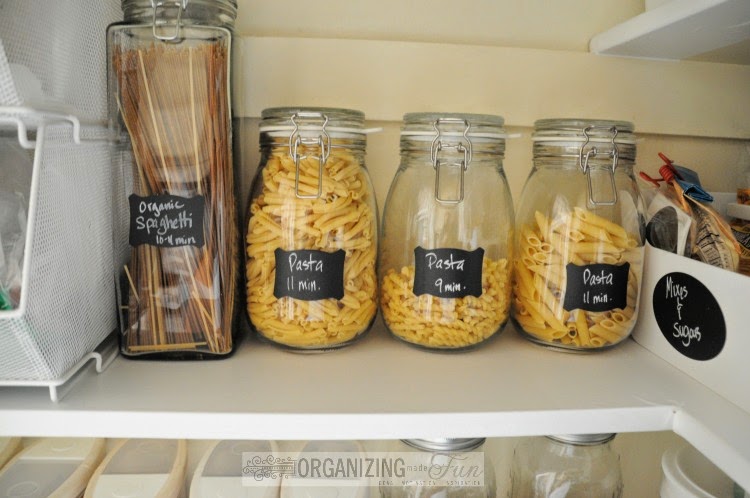
Pantry Organization Inspiration! {Organizing Made Fun}
Boy Mom Madness {Organization}
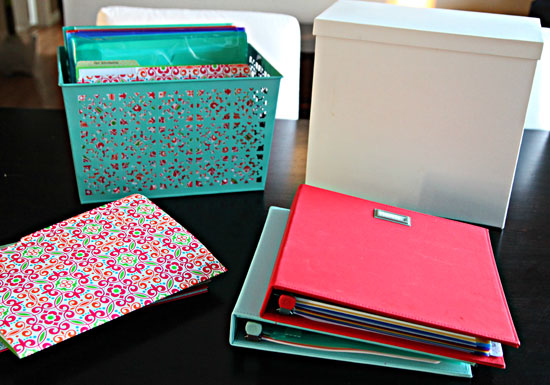
Tips and Tricks to Organizing Your Home Management
Page navigation
1
2
3
…
5
Next Page
Next
DIY Projects
Recipes
Makeovers
Toggle child menu
Expand
Room Makeovers
Furniture Makeovers
Toggle Menu Close
Search for:
Search