Closet Door Makeover Reveal! {Dremel Weekends}
I am so excited to share this makeover with you!! I have been wanting to give my hall closet a makeover, and I have finally done it. Yay!
I completed this makeover as part of “Dremel Weekends.”
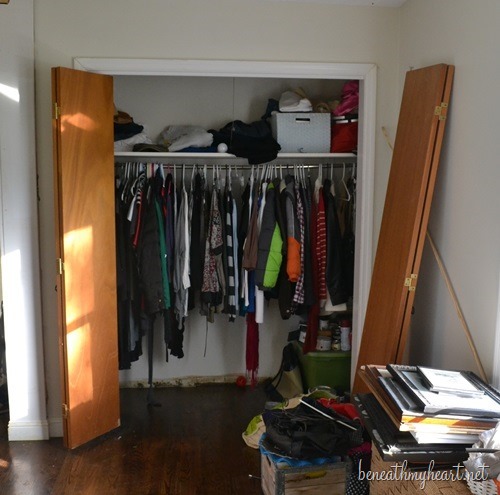
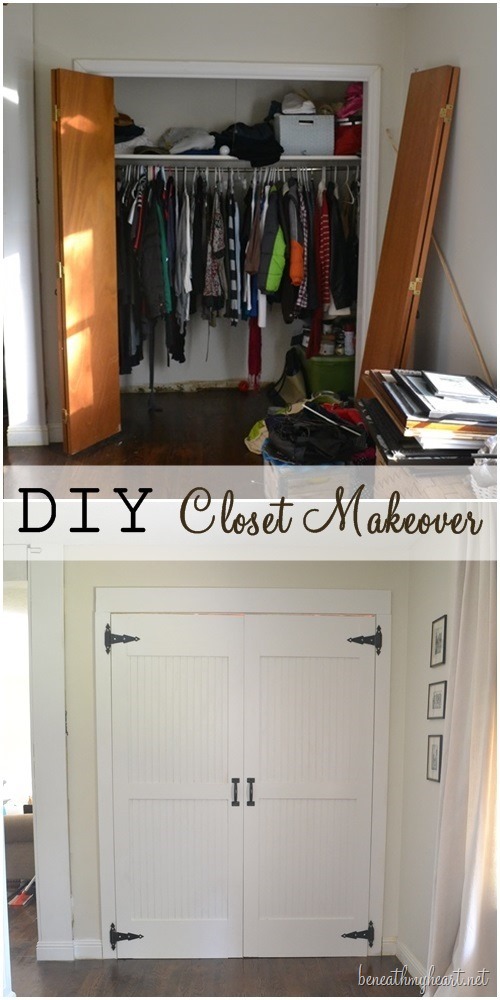
Here is what my closet looked like before…
It had brown bi-fold doors on it that I wanted to get rid of. {This space used to be a bedroom and this was the bedroom closet. But now it is in the hallway because of the way we added our addition on to our home.}
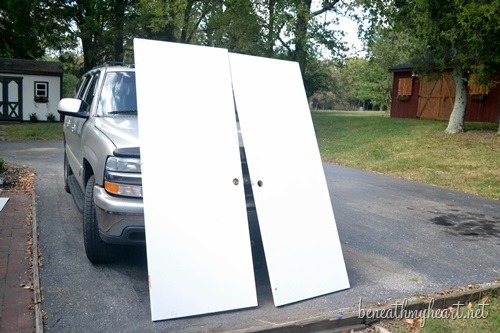
So I found some used hollow core doors at the habitat store for $20 a piece. They were the perfect size for my closet.
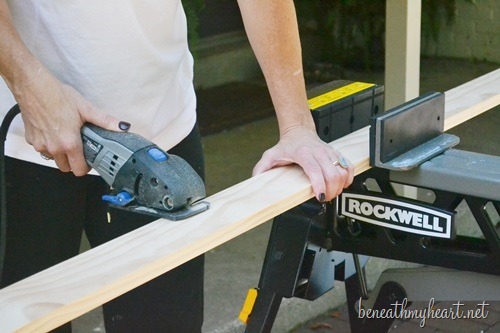
I measured the height of the door and began cutting my 1×4 the same size.
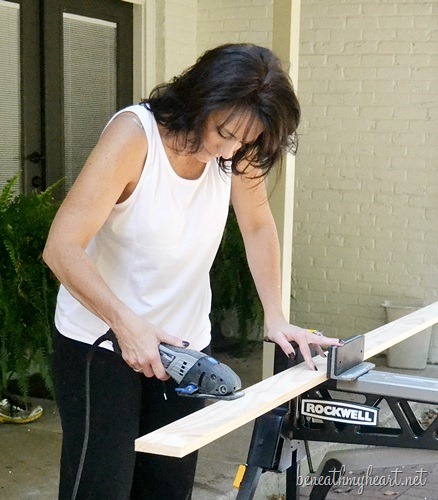
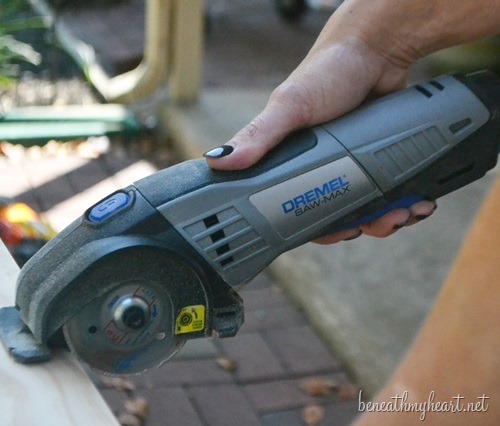
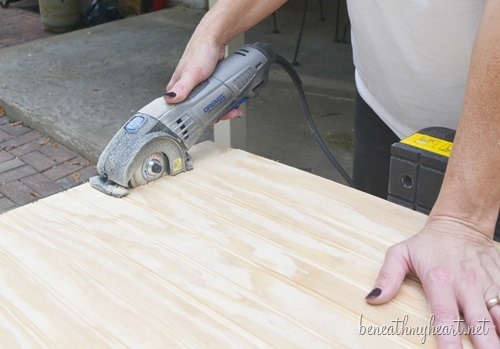
I used my Dremel Saw Max to cut the 1×4’s. I love this thing!
It cuts like butter. ![]() And if you are afraid of using a chop saw for basic cuts, you might really like to try a Dremel Saw-Max™ . It has different blades to cut through metal, tile, plastic, wood, and masonry. {Cy is excited about this!}
And if you are afraid of using a chop saw for basic cuts, you might really like to try a Dremel Saw-Max™ . It has different blades to cut through metal, tile, plastic, wood, and masonry. {Cy is excited about this!}
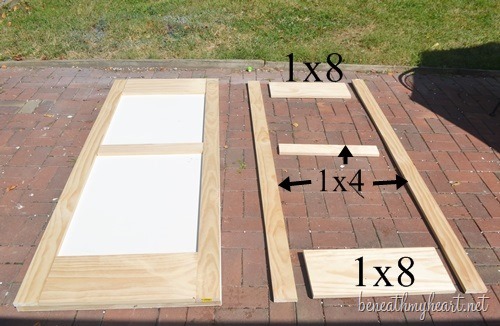
I also cut some 1×8’s for the top and bottom of the door. I am not including the measurements for my door, because your door may be a different size than mine.
But I did lay the pieces out on the ground to show you how the go together.
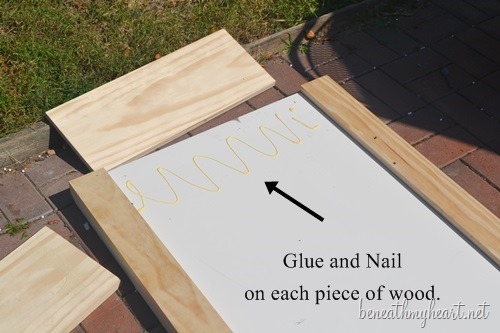
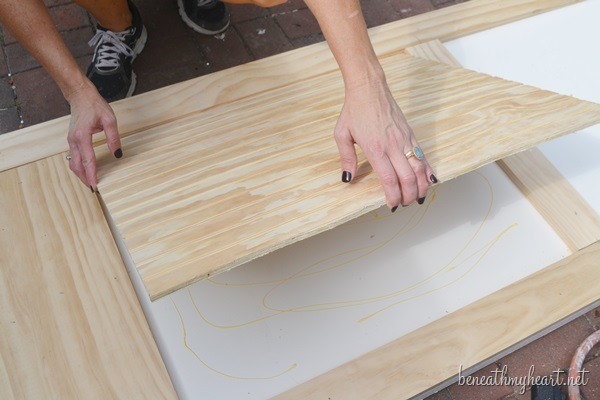
Before I nailed the pieces to my door, I applied wood glue under each piece.
Next, I measured the “white” space left on my doors to get the measurements that I needed to cut my bead board. My Dremel Saw Max worked perfectly on my bead board as well!
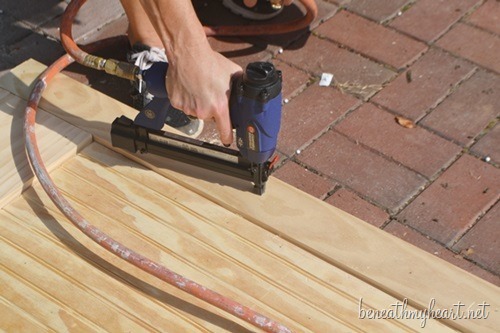
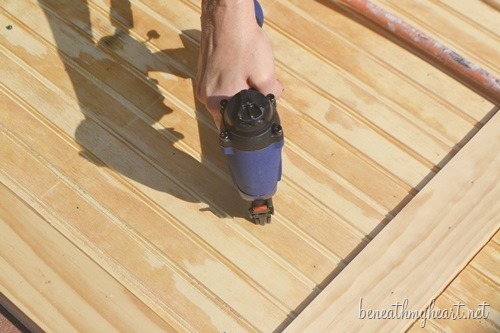
Then I glued the bead board to the door and secured it with nails.
I got an inexpensive nail gun to use for this project. Now that Cy is working in remodeling, he takes his nail gun and compressor with him wherever he goes.
This mama needed her OWN nail gun. This one works perfectly for little projects I like to do around the home.
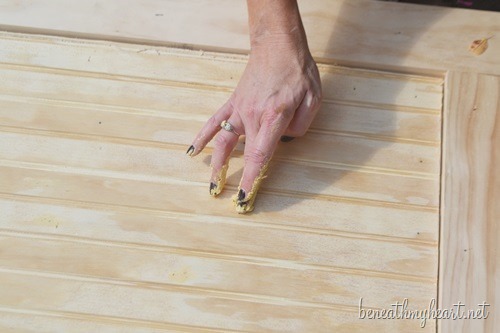
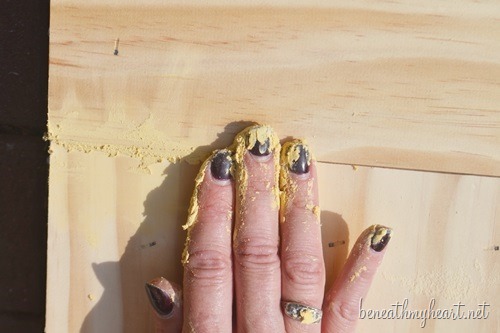
Next, I filled all the nail holes and seams with wood filler.
After the wood filler was dry, it was time to sand.
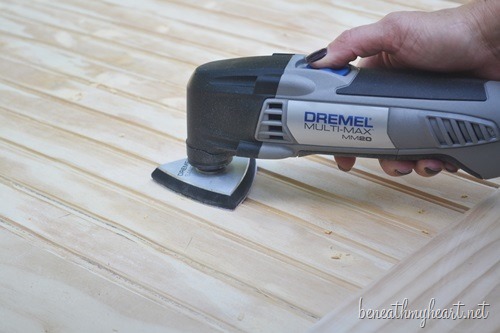
Dremel has a cool multi-tool that I used to sand all the wood filler smooth.
Multi-Max™ MM20
My Dremel Multi-Max has other accessories as well:
- MM610 Flexible Scraper Blade
- MM480 Wood Flush Cut Blade
- MM450 Wood and Drywall Saw Blade
- MM11 Hook and Loop Pad
- MM70W Sanding sheets, wood (8)
- MM70P Sandiing sheets, paint (3)
- Storage Case and Wrench
I’ve already used the Wood Finish cut blade several times on other projects. It’s awesome. ![]()
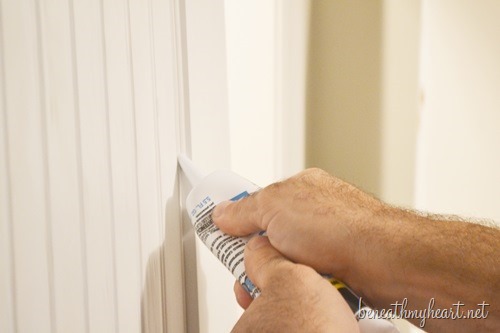
Cy helped me fill all the seams around the bead board with some caulk.
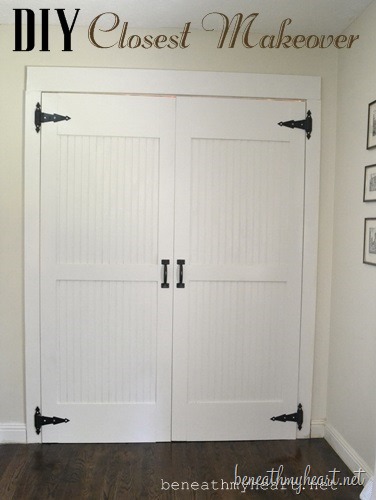
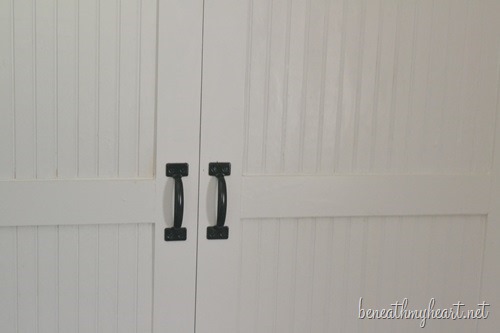
I wanted some black handles, but couldn’t find the ones I wanted. So I found some silver ones and spray painted them black. Voila!
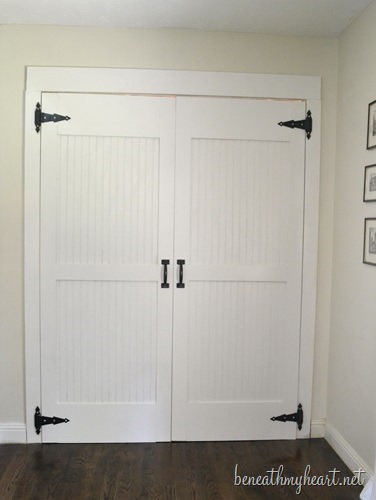
I hung the door with gate hinges because that was the look I was going after.
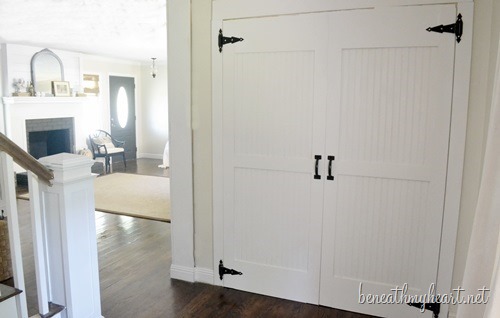
I absolutely LOVE the way my doors turned out!! They fit in perfectly with my home.
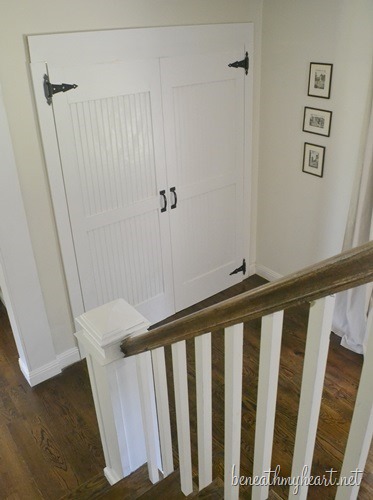
Here is what the doors look like as you come down the stairs.
Have you every given your closet doors a makeover??
*This post was sponsored by Dremel tools as part of their “Dremel Weekends” projects. I received the tools to review and a gift card to purchase my supplies. All the work and opinions are 100% mine. ![]()

Traci, Love your closet door transformation and this little tool sounds like one I need.
xx,
Sherry
So pretty! These came out beautifully. Thanks for the great directions too.
What nail gun did you get (did you buy another compressor as well)? I would love to get a nail gun/compressor for around the house work but am not sure what to look for in one.
This is to Lissa: I found a small air compresser w/gun & brad nailer @ Lowes for less than $80.00
I think its about 2 gals and weighs less than 15 lbs. Super easy to handle and easy to load…Check it out!!!
Oh I love them, so pretty and you are so clever. What a great idea. Beautiful job. Hugs, Marty
Looks great!
Traci, girl you absolutely ROCK!! I love those doors and have the same closet needing that help. If you hadn’t done this post, I never would have thought I might be able to do this too.
Love your new barn/closet doors!
Gorgeous, that closet door is perfect, what a great idea, and I will get a dremel multi max myself, having the right tools is so important. I see you also work with your hands and hate gloves of any kind, oh well, same hear, I have to get close to the job…
You did a wonderful job, and keep them coming.
Edith YourChicagoConnection
That is a very impressive make-over. It’s beautiful and functional – SO much better than bifold doors in any area.
OMG! OMG! I LOVE LOVE LOVE dremels! I don’t have the new cutters but I love their little drill type thing for carving and sanding small things! Your doors ROCK!!! Great job! Who’d-a-thunk it?! Awesomeness!!!
Great job! I am going to get the Dremel Saw for my husband’s birthday (then I can use it).
I know you get sick of me saying, “You did it again”. I love this and I have solid door on my closet that pass each other and it is hard to get thing in the middle. This would sure solve the problem. Thanks for sharing.
These are wonderful! Would love to try this on my foyer closet door. What did you use to keep the doors closed? And after adding the frame boards, did it add much thickness to the doors? Such a nice custom look!
Great idea! You did an awesome job…very professional!
Love what you have done with these doors–so clever and unique. Thanks for the info about your saw!!
Gorgeous! I’m SO impressed! I like having my own tools, too! I want that little saw! ha.
They are amazing, Traci!!! And that tool??? I’m going to need one of those! Adding to my Christmas list :)
Your closet doors are amazing. Such a neat idea. Love that look. A Dremel needs to be on my Christmas list!
Wow!! I am soooo impressed!! Wish I had the talent to do stuff like that! You have an awesome designer vision!!
Looks fantastic Traci!! Awesome job!!
absolutely great job !
you did it again. it looks great and even professional. Better watch out or Cy will be getting you into some coveralls and taking you wth him on jobs.
I have never EVER responded to a blog post, but this is AWESOME! Out of my league, but I aspire to do the same. Thanks for sharing! Gorgeous project.
The details of how you put them together are very descriptive, no stone left unturned very nice job! Inspiring.
This is wonderful! I will keep this in mind.. we need to build custom doors for our upstairs closet!!
WOW!! You did a GREAT job. They are beautiful. I’m impressed how you did those all on your own. You go girl! Like the picture of the closet doors with your living room in the background.
oMG! This is amazing!!! What a fantastic makeover. I secretly wish I had old doors to replace in my home!!!
Wow, girl, you are getting so good with those tools!! I really need to get some new ones myself so I can try more things. I love love your doors!!! Did you dream that up yourself? I’ve never seen that done, what a fantastic idea. Those doors are stunning now! Go Traci!
This is an amazing makeover! I love what you did with the closet doors. Gorgeous!
Leslie
I just love this!!! I would like to try something like this for the closet doors in my guest room but they need to slide as there isn’t enough room between wall and bed to open doors. But this might give me a starting point. Thanks for sharing!
Traci, this is so cool and so YOU!! What an amazing makeover.
And aren’t Dremel tools the best? You’ll never guess why we got our first one. It was to work on cars for a Cub Scout pinewood derby!! Boy, that was a lot of years ago! :)
Love you!
I love it! Great job.
They look lovely! Does it work okay to have closet doors that thick, though? By adding the extra 3/4″, especially of solid material, I would have been worried about how the doors look and swing. I assume that’s not an issue?
These are perfect for my upstairs redo. Curious how you compensated the door/doorframe. If a std. door fits the existing doorjamb, then adding 1x’s would add 3/4″ to the overall thickness of the door and no longer fit into the existing jamb. Could you fill me in on this portion of the project please.
I guess I need to go buy a Dremel Saw Max! HA!
Those turned out great. I haven’t ever done anything to closet doors. But, I am thinking about doing something to the hollow core doors in our home. I’d love to replace them, but that’s not in the budget with the kitchen renovation going on. So I’m going to use some beadboard wallpaper to make them look kind of like what you did with your closet doors.
These came out great! Pinning later :)
Thank you, Jessica!! :)
This project is going right to the top of my hubby’s honey do list. He’s a carpenter, owns a Dremel and I loathe our bifold doors. Perfect match!
Wow What a great idea closet doors are awesome.
i am so impressed you done a great job. Thanku for such a awesome post.
Can you let me now how you hung these?
Just what I was looking for to do on a laundry closet that has no room for regular hinge. Could you explain what the doors close against, is there door stops inside? Thanks so much for the awesome ides!
Where can I get those exact hinges and are they strong enough that doors won’t sag in time?
Wow! Love them. They look so expensive.
Thank you!
I love this, I want to do all my inside doors like this!!!!
The closet doors are my favorite of 2013. Can’t wait to see what you accomplish in the next year.
This is such an amazing transformation! Today I’ve clicked on a few projects from Pinterest that I really liked and so far they are all yours. Needless to say, you have a new follower! So excited to keep looking around and build some stuff! :)
What hardware did you purchase to keep the doors closed?
They stay shut on their own.
I love these doors! Can you tell me how you hung the doors? I have a closet with bifold doors that are on a track. I would love to take these down!
The doors are hung with the back hinges you see in the picture. Thanks!
do the doors still operate as bifold or does each side swing out? I love the look but don’t have a lot of room for swing out.
Lori, the doors swing out. They are not bifold doors anymore.
I love these! Especially that you used upcycled doors. It looks like you must have changed the trim around the door frame before installing these? You would need a trim with a flat profile, correct? Then is there a catch of any kind to keep these closed? Thanks in advance.
Do you have to buy doors, or could you just add the wood and bead board to the top of the folding doors? Of course the won’t fold anymore, but that is what I want. Just wondering if this could be done without buying different doors.
I love this! We have a two door closet in our home which has two Louvre “slats” type doors, which has yet to be tackled, this is great inspiration, thank you so much x Have pinned for later, hugs xx
Thank you Rosie! Be sure and snap a photo of share when it’s all complete!
What kind of seal did you use around the bead board and why? Was it after you painted all white?
Wow, I love this idea! It turned out beautiful.
http://ruthiebellhome.com/a-farmhouse-kitchen-renovation-part-1/
How does door latch?
white color make the door look vintage style,,cool
It’s so refreshing to see a makeover I think I could replicate, one worthy of replicating. This is a beautiful job, and you make it seem so doable. Thank you for sharing.