DIY Zinc Top Kitchen Table
Happy KnocktoberFest!
Have you been hopping all around blogland this week checking out all the great Knock Off projects from many talented and creative bloggers?
They are amazing, and I can’t wait to make a few of those projects myself. I LOVE getting the look of designer items for a lot less cash!
That’s why I jumped at the chance to participate in this year’s KnocktoberFest hosted my Lindsay at Makely School for Girls.
And I knew exactly which item I was going to Knock Off.
This little beauty…
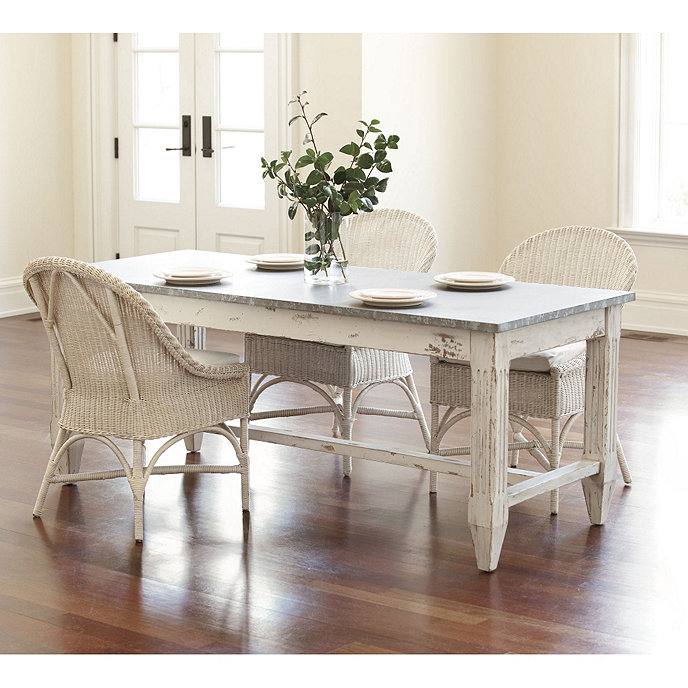
Messina Dining Table
$799.00
I’ve been wanting to do a makeover on my kitchen table for a couple years now because my boys had destroyed the top of it.
I would love to purchase this Ballard’s table but I didn’t have the over $800 to purchase it.
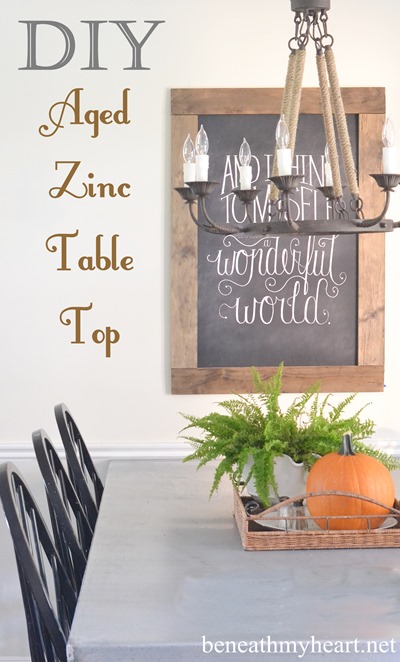
So with some creativity and some help from my husband, I created my own zinc top table!
Why buy it when you can make it, right?!!
{I used this post from VanHook & Co. as my inspiration for this project.}
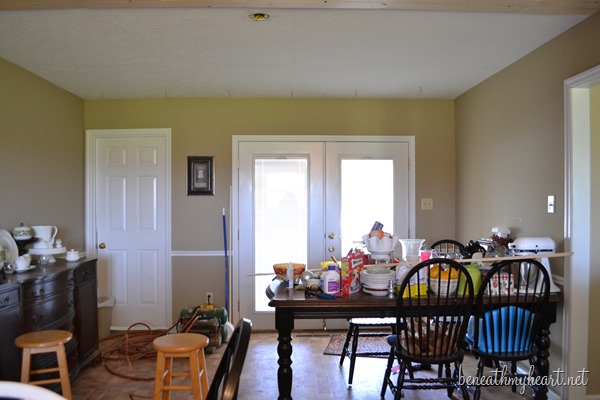
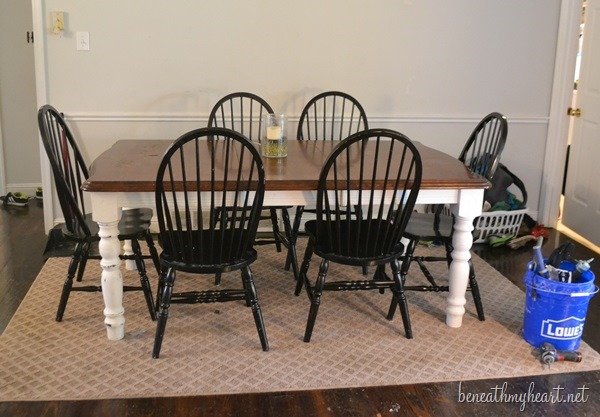
Here is what my table originally looked like…
Y’all, that picture makes me cringe because it was when we first started our kitchen makeover when we moved in over two years ago! This is the only picture I could find of the table with black legs.
I used Annie Sloan white chalk paint to paint the legs of the table first.
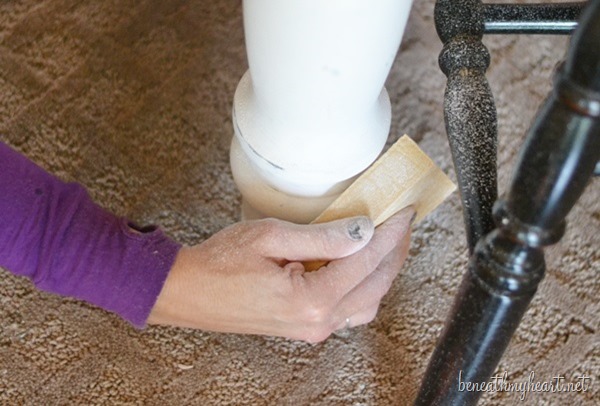
Then I sanded the legs with a sanding sponge and sealed them with Annie Sloan clear wax.
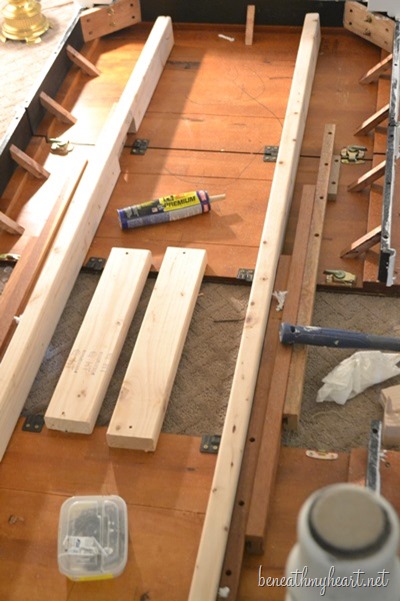
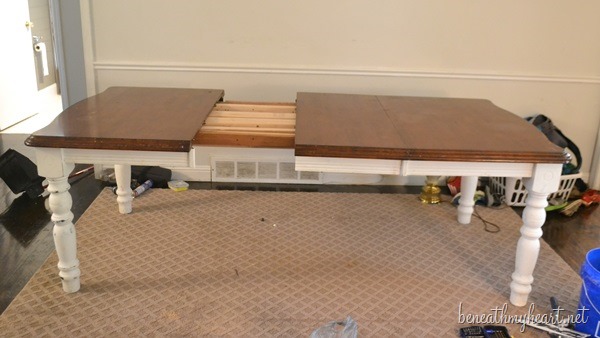
Have four boys that are continuing to grow everyday, I wanted to make our table as big as I could. So I asked my husband to help me lengthen it. 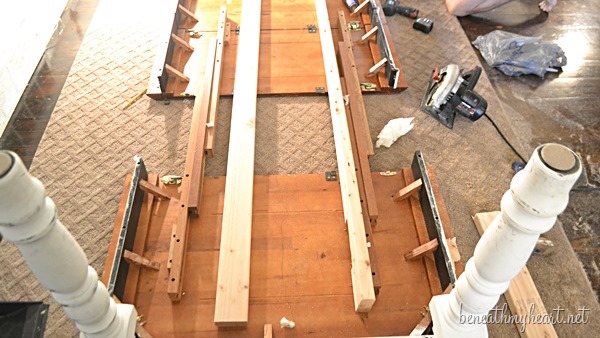 We pulled the table out farther than it normally extends and supported it with 2×4’s.
We also attached some 2×4’s in the middle of the table where the gap now was.
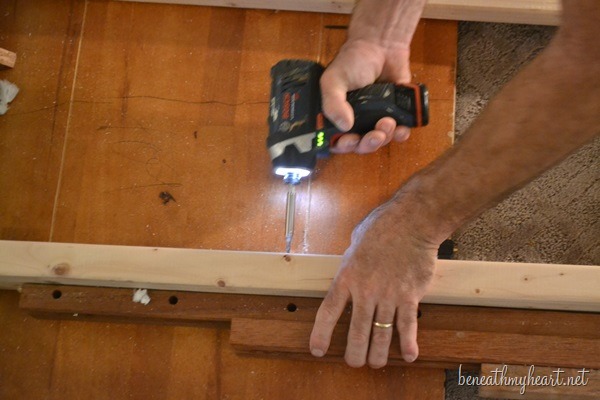
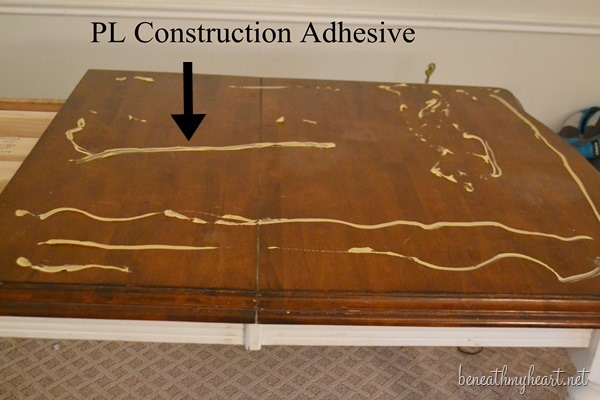
We always apply PL Construction Adhesive to every board before we screw it to the table to make it extra strong.
This is what our table now looked like…
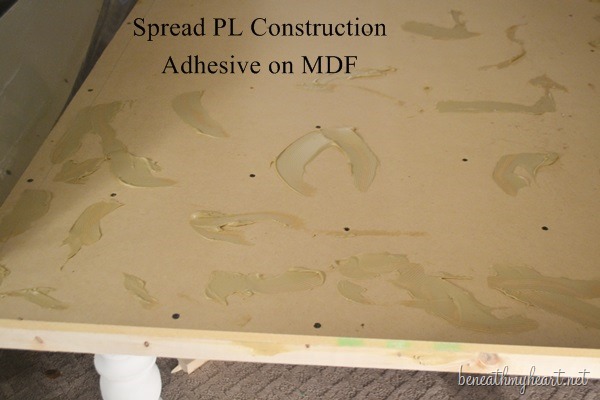
Next, we spread PL Construction Adhesive {available at Lowe’s} to the entire top of the table.
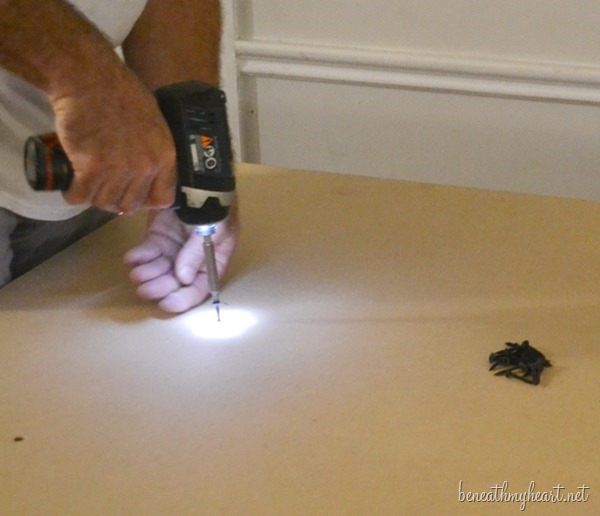
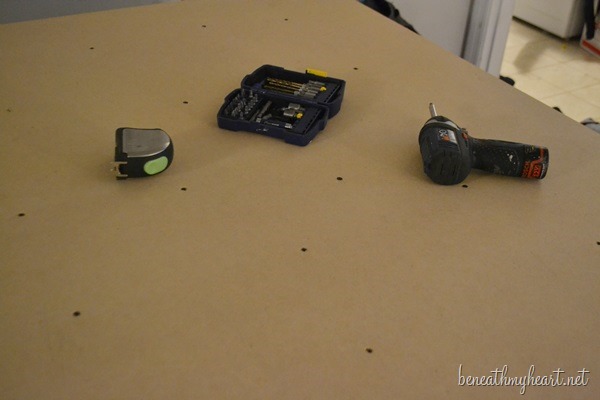
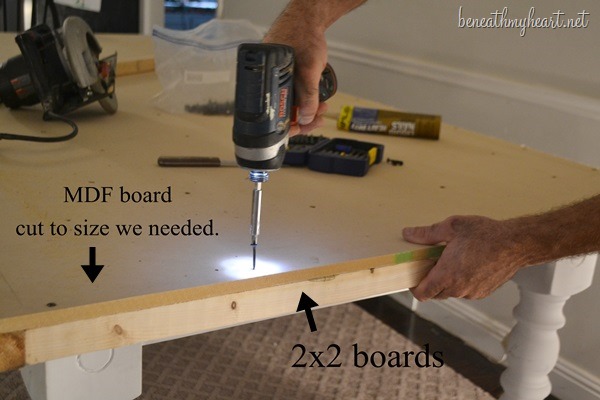
Then Cy screwed a large sheet of MDF board to the top of the table.
Our table measured almost 4 ft x 8ft, but you would cut the board to whatever size you want your table to be.
To the edges of the table, we glued and screwed 2×2 boards.
Then we spread more PL adhesive to the top of the MDF board.
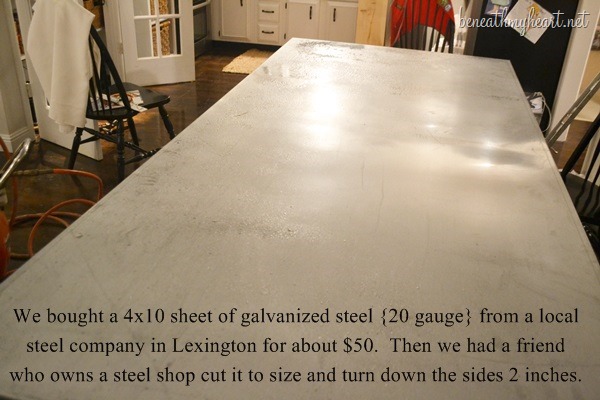
We bought our piece of galvanized sheet metal from Harbor Steel in Lexington, Kentucky, and a 4 ft x 10 ft piece cost about $50.
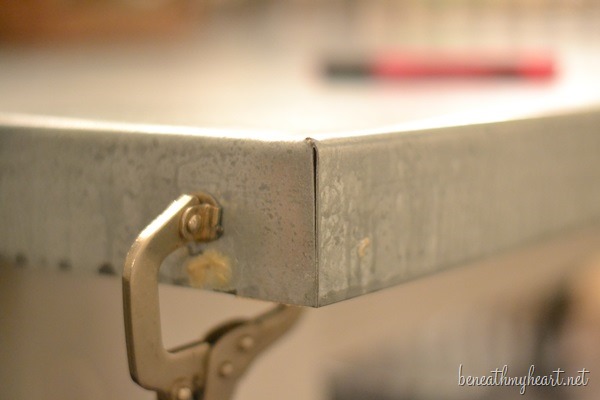
Now here is where things got a little tricky. We needed our galvanized steel to cover the edges of the table, so we took it to a friend of ours who owns a steel company, and he has a huge machine that does it perfectly. And get this….he did it for us for FREE! Woohoo.
Check out your local steel shops to see if you can find someone to do it for you for a small fee. It should cost less than $100 to do.
If you want to see a tutorial of how to bend the sides of the steel yourself, click HERE.
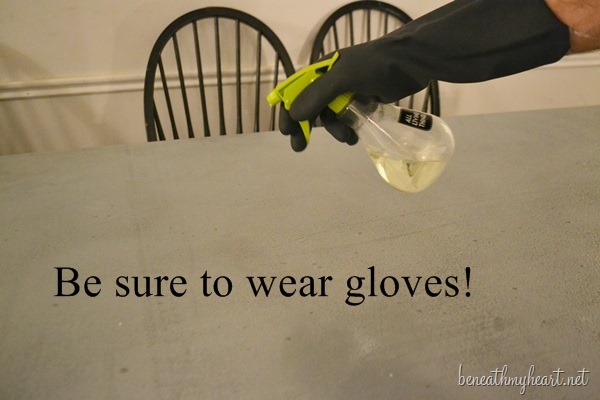
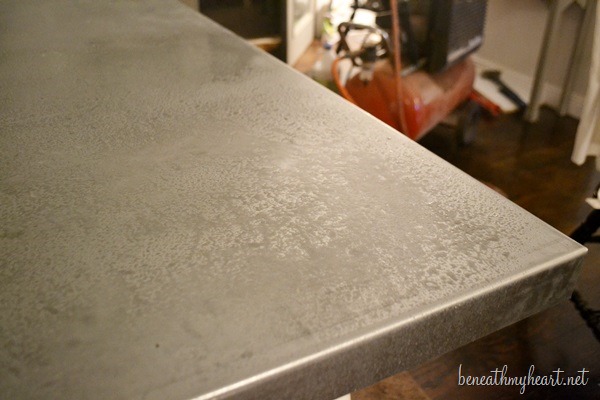
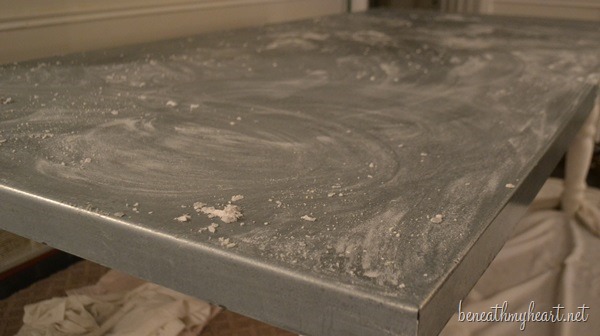
Next, we sprayed the table top with Muriatic Acid to give the zinc an aged look.
CAUTION: Muriatic Acid is VERY DANGEROUS!! Be sure to wear gloves and preferably use it outside. It was raining the night we did this, so we had to do it inside, but we had all the doors and windows open.
You can also brush the acid on, but I wanted the look we got from spraying it on.
We left the acid on the table for about an hour, and then we neutralized it with baking soda and wiped it off.
I was already thrilled with the results.
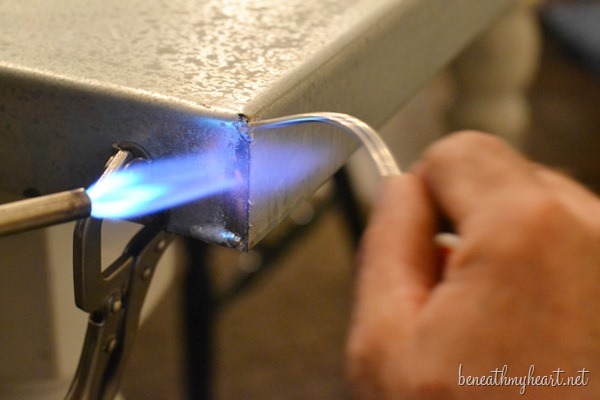
Then we needed to solder the edges of the table.
We used a gas torch and some flux, but we should have used a paste as well. There is a better tutorial of this process at VanHook & Co. Click HERE to view it.
{Side note: I am going to buy some paste and re-do the edges later.} ![]()
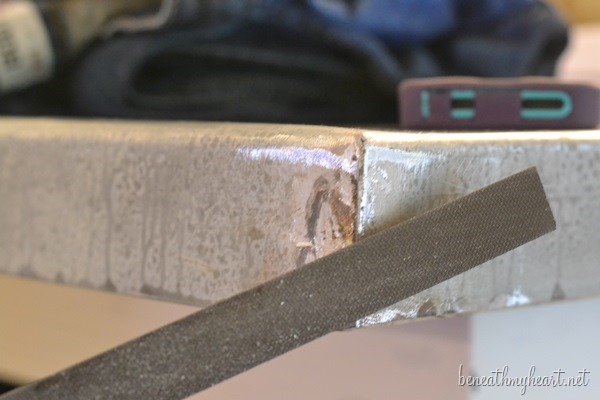
After the corners are soldered, file them smooth.
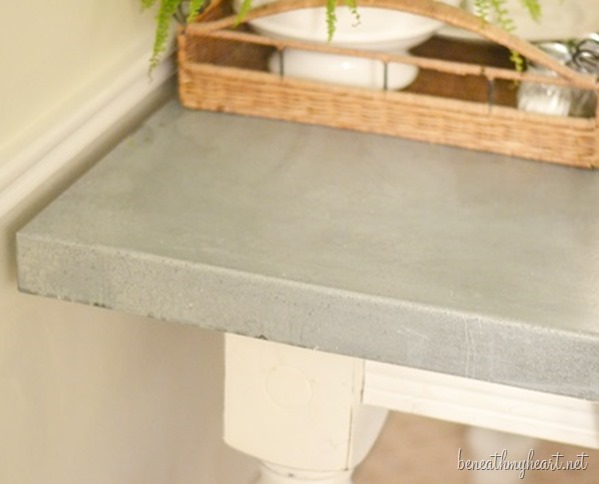
Last step is to seal the table with wax. We used Butcher’s Wax.
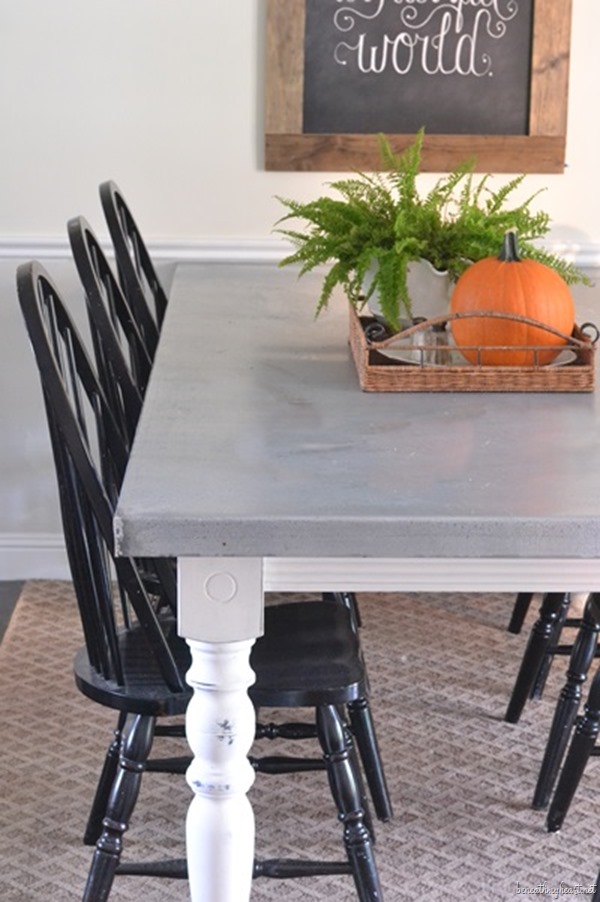
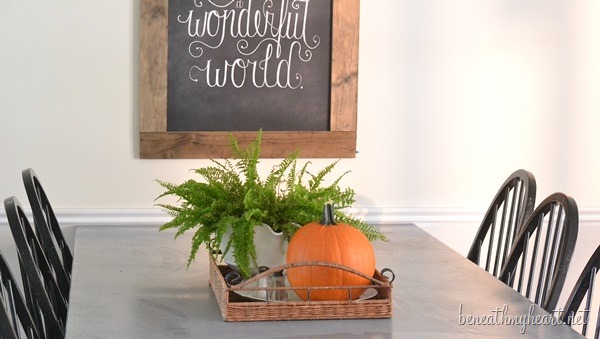
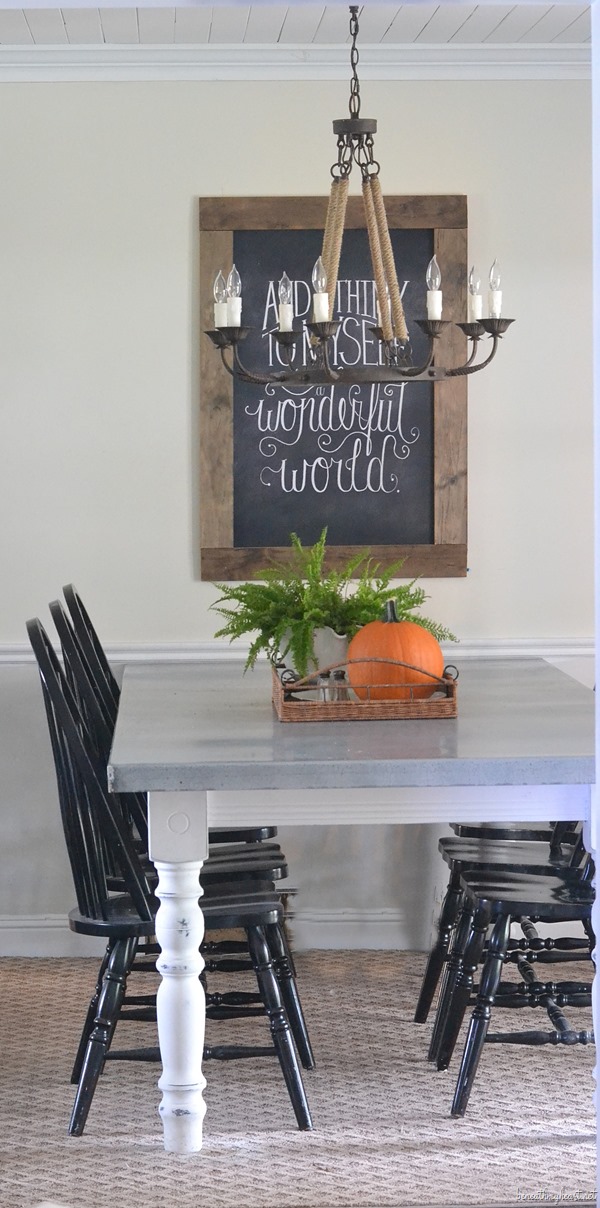
And now we have a beautiful, LARGE table to enjoy in our kitchen!
I am so very happy with how it turned out, and you will be seeing this table in a lot of furniture posts from now on! ![]()
Won’t it look beautiful at Christmas?!
If you were stopping by from Not Just a Housewife, THANK YOU for visiting me!
Next stop on the KnocktoberFest tour is my buddy Brooke, from All Things Thrifty!
You can check out all of the KnocktoberFest participants by clicking on the links below:
Please check out the other lovely projects:
|
Monday, October 21
1. Lindsay – Makely School for Girls
|
|
2. Beth – Home Stories A to Z
|
|
3. Gina – Shabby Creek Cottage
|
|
4. Beckie – Infarrantly Creative
|
|
5. Emily – Decorchick!
|
|
6. Wendy – The Shabby Nest
|
|
Tuesday, October 22
1. Donna – Funky Junk Interiors
|
|
2. Jess and Monica – East Coast Creative
|
|
3. Jackie – Teal and Lime
|
|
4. Jen – Tatertots and Jello
|
|
5. Carmel – Our Fifth House
|
|
Wednesday, October 23
1. Chris – Just a Girl
|
|
2. Lindsay – The White Buffalo Styling Company
|
|
3. Melissa – The Inspired Room
|
|
4. Ana – Ana White
|
|
5. Marianne – Songbird
|
|
6. Karianne – Thistlewood Farms
|
|
Thursday, October 24
1. Roeshel – DIY Showoff
|
|
2. Sandra – Sawdust Girl
|
|
3. Jamie – C.R.A.F.T.
|
|
4. Cassity – Remodelaholic
|
|
5. Melissa – 320 Sycamore
6. Mandi – Vintage Revivals
|
|
Friday, October 25
1. Ashley – The Handmade Home
|
|
2. Stacy – Not JUST a Housewife
|
|
3. Traci – Beneath My Heart
|
|
4. Brooke – All Things Thrifty
|
|
5. Laura – Finding Home
|
|
6. Sarah – Sarah M Dorsey Designs
|
Have a blessed day!
P.S. We still have a gap in the side of our table where we lengthened it that I need to fill in with wood, but I ran out of time this week. I will update this post as soon as I get that part finished. ![]()
Linking this project to Home Stories A to Z’s Tutorials and Tips Linky Party!


Wow gorgeous job on the table!
This is beautiful, Traci! I am really impressed! You and Cy have some skills, girl! XOXOXO
I. Love. This! I have been crushing on that table (and the zinc desk) for awhile now! Yours is beautiful! Well done!
Love this! Great job.
My mother and I are currently ogling this fabulous table transformation Traci. She’s writing a Home Depot List for my father as we speak :). Seriously this is the coolest Dining table transformation I’ve seen yet! Thanks for sharing all the tips and tricks.
Amy*
Oh Swoon! I love it! I also love the art behind the table. That’s my favorite song. Did you make that too?
LOVE LOVE LOVE the table! You did an amazing job. And love that light fixture. Looks beautiful!
I’ve been coveting that table for AGES and have the VanHook & Co tute bookmarked! I’ve just been too timid to jump in and TRY to do it! I’m on it now! Thanks for the inspiration!
Love love!!! Forgive me if I missed it but where did you get this light?
You did a great job with this, if I had the time I would probably just copy all your ideas. Thanks for sharing your hard work with us.
Great job on the table and I love that light fixture as well. Would you share the source?
Just gorgeous my friend!!
This is so amazing. What an incredible way to give your table new life!
Hi Traci! I have been coveting that Ballard table for over 2 years. I love your knock off.
I live in Lexington too. Can you tell me which Steel company you used? My husband used to own Southeast Steel in Lexington before he died, so I know Harry Gordon Steel. Were they the ones who cut it for you? Thanks, I appreciate it. I would love to do this too. Great job!
We got our steel from Harbor Steel in Lexington. The friend that bended the metal for us is in Nicholasville.
Thanks so much for the info!
This is fabulous!!! You are so blessed to have a husband that can do most anything. By the way, how is Champ?? Please let us know.
It’s gorgeous! Interesting read too! I love that you also lengthened it. Beautiful work! :)
This is breathtaking! Great job!
Love it….already thinking about trying it on our worn out table..Thanks….love your chandelier by the way!
Beautiful!
Beautiful job! Just wondering where your beautiful chandelier is from?
Thank you! Ballard’s Design!
I saw the table at the Ballard outlet in Cincy yesterday for $399. Their design is bad because tall people like my husband ( former pro basketball player so he’s tall) can’t get their legs under it. This is my dream table. Thanks for the instructions. My hairdressers husband is a sheet metal guy. I’m sure he can do the top for me. Wil find a table on Craig’s List.
I didn’t know that about the Ballard’s table.
I like the way we made this table because you can find any table you want and do the same thing. I hope you find a table perfect for you and your tall hubby! :)
Hi Traci.
I LOVE the table. I have a piece that I would like to turn into a kitchen island. Is the galvanized steel food safe? I would want to use it for rolling out dough and such.
Carol
So fabulous, Traci! What a cool trick on lengthening that table! You’ll love the metal so much, you can’t hurt it if you try! My metal kitchen island top will last forever!
Hi Traci, What a wonderful project. LOVE it! And I love how fearless you are to try new things.
Warmly,
Michelle
LOVE THIS! wow! Will you share your “wonderful world” artwork source? I really love it!
The table looks awesome and the bigger size will come in handy with all those guys.
The table looks amazing! You did such a great job!
I’ve had my eye on that exact table, Traci — love your knock-off! I see hours of enjoyment around that table coming your way. :)
xo heidi
It turned out wonderful!
OMG- This table makes my knees weak! How absolutely phenomenal! Beautiful work!
Fabulous transformation! I love it.
Love the table!! My husband is working on the table as we speak!! When you said you used the Butcher’s Wax, did you use the bowling alley wax they have?
Clearly, I’m a little late to the party. But that doesn’t mean I don’t L-O-V-E this! I’m wondering if I could paint something to look like this on my countertops. It looks beautiful!
wow! just found your blog through pinterest… I can already tell I’m going to be spending a lot of time here this rainy day browsing past posts… :)
your table looks great! When you had your friend make the bends in the table did he make two 90degree bends (one for the top and another to wrap around the apron?). If so, how did you ‘unbend’ it to put it on the table? I talked to someone in a sheet metal shop who will make the bends for me, but then I’m wondering how to get it around my table top. Does that make sense? Thx!!
Again something amazing that your hands create!
Just curious to how the zinc is holding up? How often do you have to reapply the wax? I have 2 messy boys and need to be able to scrub the table clean.
wow, I’ve only just seen this. Such a fantastic transformation – I love the final finish of the table. I’d really like to try something like this myself :)
Thank you, Kate!
Your ‘how to’ in this table is awesome! Thank you so much for sharing!! Quick question, how heavy is your table with the steel in it?
It’s pretty heavy. It takes two of us to move it. :)
Hi love this! I so want a steel top table, my family is very hard on wood tops :/ Between art projects and water rings are table has taken a beating, How is clean up on these? Any issue so far? Thanks!
Super easy to clean up! I love it. :) Anything acidic, like ketchup, leaves a mark if you don’t clean it up quickly, but that doesn’t bother me. I like the look of the stains and all. Gives it character and charm. :)
I had cold rolled steel put on a table top. Do u know if the Muratic acid will work on it? Thanks!
Wow, what a beautiful table!! We are looking to purchase a table with a zinc top, and I was wondering if you could tell me a little bit about how yours has held up to your children?! Does it scratch easily? We have three little ones, and I’m trying to decide between a metal top and wood! Thank you!
Hi Charlie! I love our zinc table. It does not scratch at all, it only shows stains if you get something acidic on it and it sits for a while, like ketchup, etc. But that doesn’t bother me, because I just think it gives the table a nice patina. :)
I have four boys and our table has survived…that’s saying a lot! haha!
Just stumbled upon this! Love it! Wondering where you got your light hanging above the table?
That is from Ballards Designs.