More DIY Storage Crates {and Cameo Winner!}
*Silhouette Cameo winner announced at the bottom of this post.
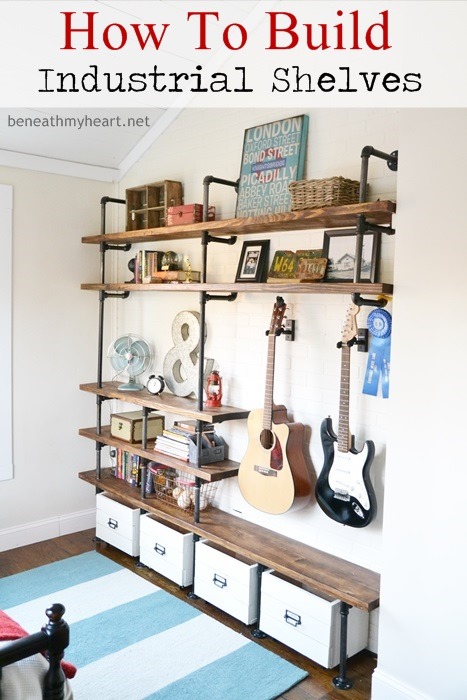
Remember Jonathan’s Industrial Shelves that I showed you a couple of weeks ago?
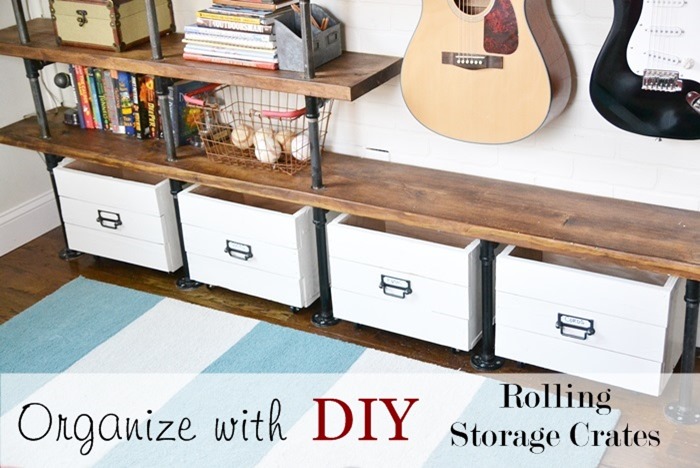
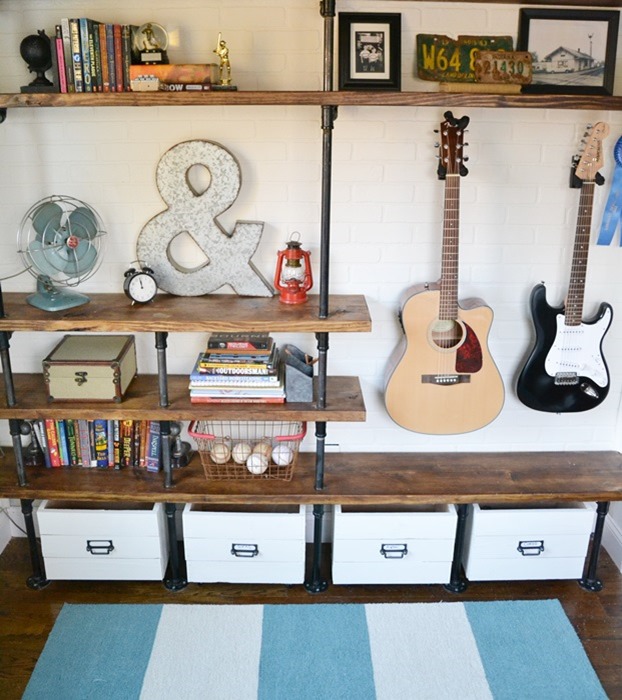
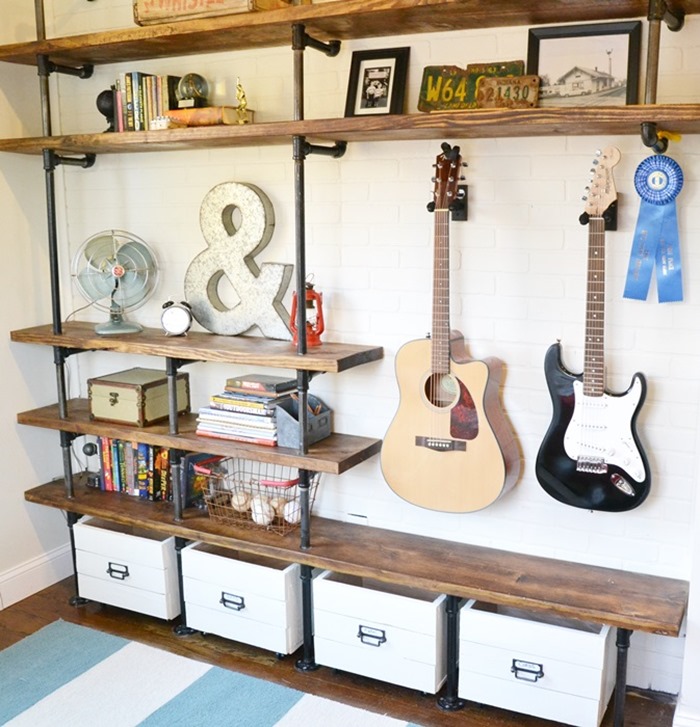
Well, I wanted to share with you how I made the DIY storage crates for his wall.
The first thing I had to do was figure out how big I wanted to make my crates. Once I came up with my measurements, I went to Lowe’s to purchase a large sheet of 3/4 inch oak plywood. I gave the measurements to the employee at Lowe’s in the wood cutting section, and they cut the board to the sizes I needed.
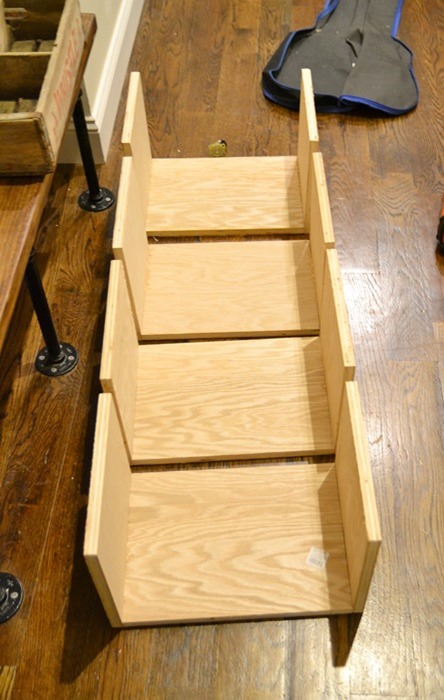
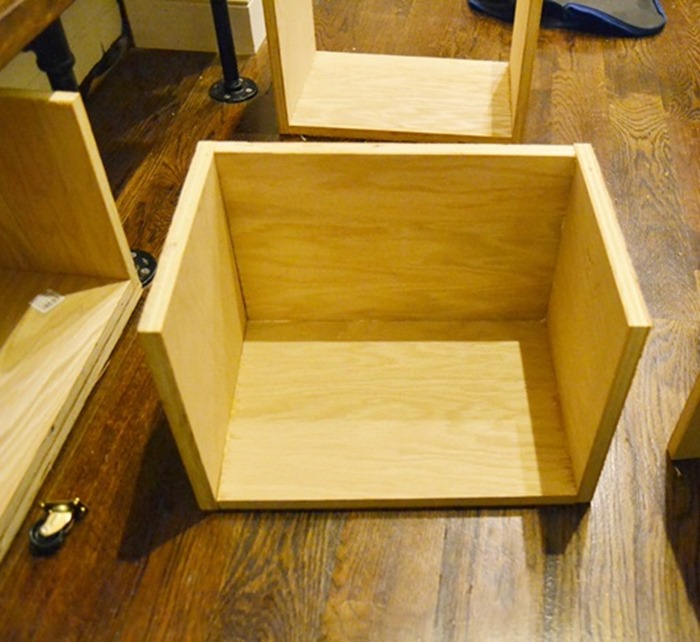
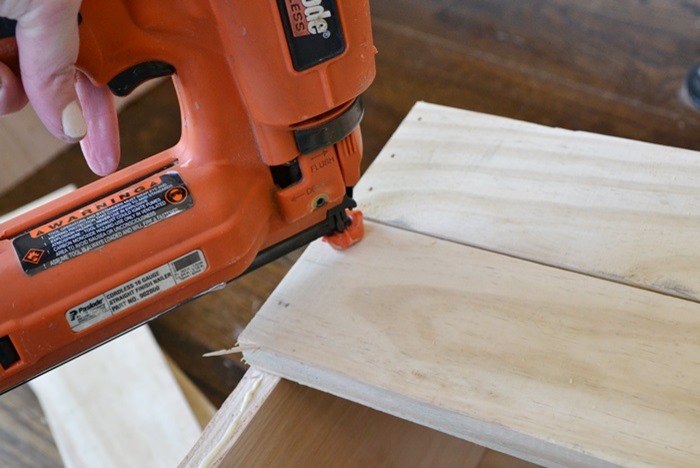
Then I took them home and started putting them together. You can see in the picture below how I nailed the sides to the bottom of the crates.
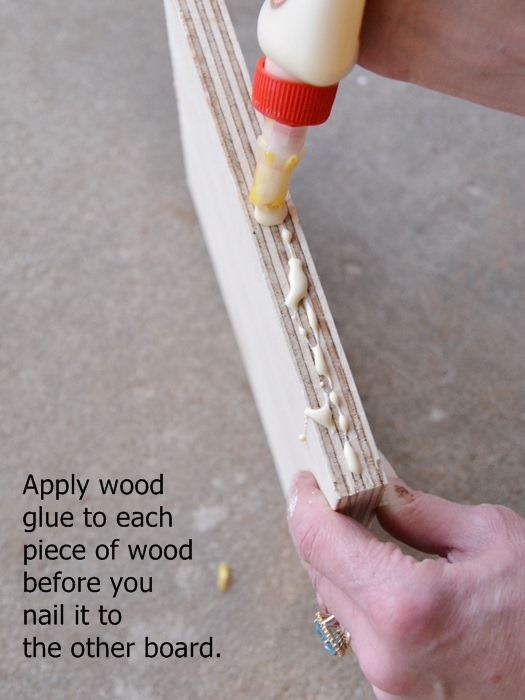
I always add wood glue to each piece of wood before I nail it to another board to add extra strength…
After I nailed the sides on, I added the back piece of wood to the crate…
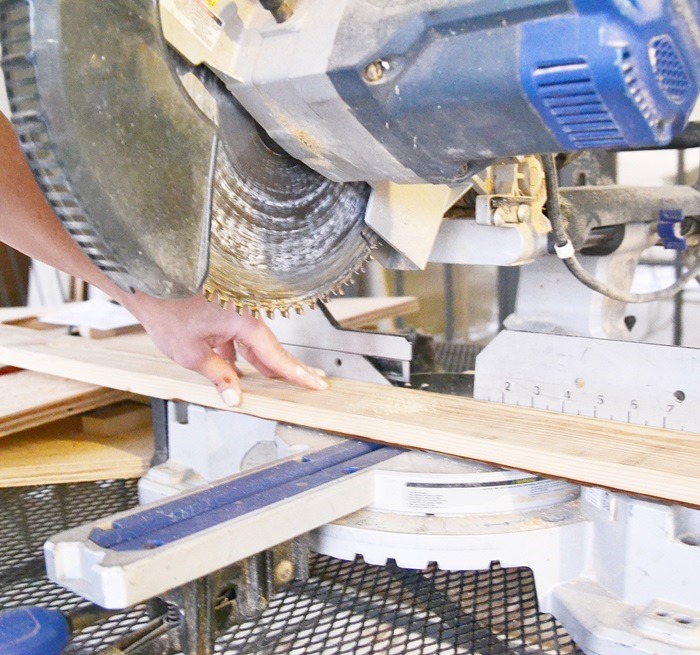
For the front of the crates, I used 1×4’s. I cut each 1×4 to the size that I needed and then nailed it to the front of the crate.
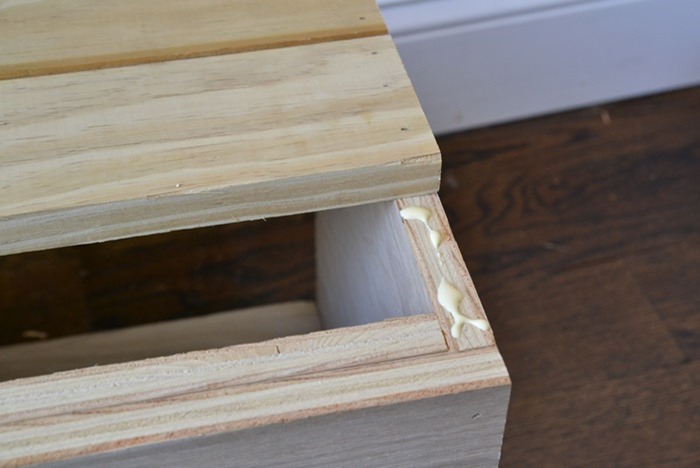
Adding wood glue, of course, before I nailed each board.
I also left a little space between each board before I nailed it.
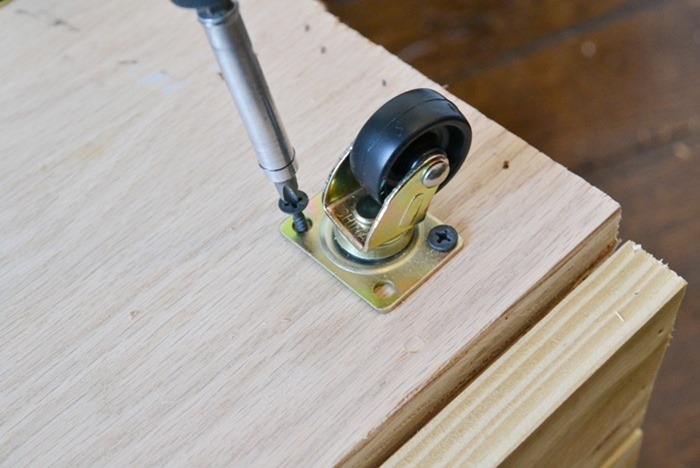
Next, I added some wheels to the bottom of the crate. This will make the crates super easy to get in to and will keep the crates from scraping the wood floor.
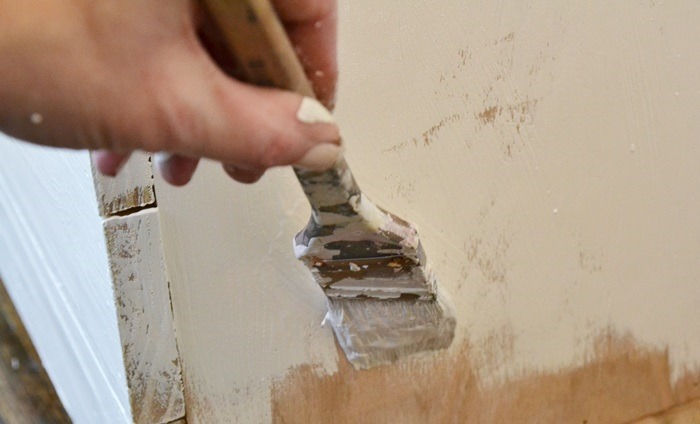
I added a coat paint to the crate that was the same color as the walls. I didn’t sand the wood before I painted because I like the “worn” look, but if you like things to have more of a clean look, you may want to sand your crate before painting. I also didn’t use wood filler to fill in the nail holes because I like being able to see the nails in the wood, but that is just a personal preference. ![]()
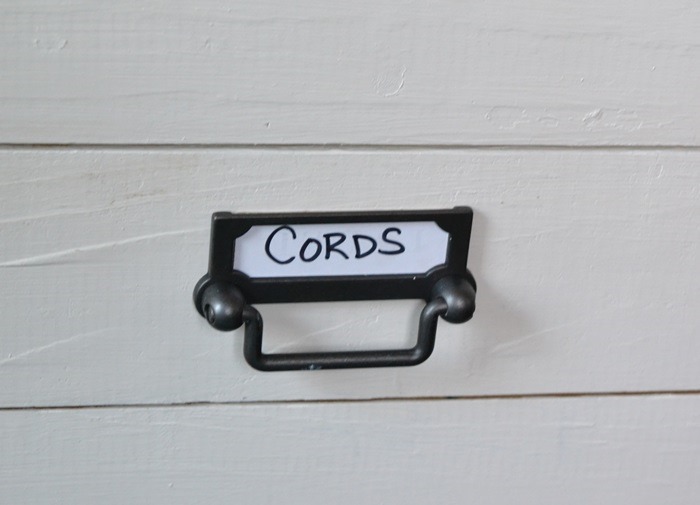
For the front of the crates, I added these cute little handles that I found at Target. They come in packages of two.
That’s it! Super easy, but super cute!
Jonathan loves his new shelves and the extra storage! The crates under his guitars hold his guitar cords and music sheets. The other two crates hold his socks and shirts.
Did you miss the tutorial of how I made the storage crates for Luke’s wall? I went with a different look on his wall because I wanted each of their spaces to be unique, just like them! ![]()
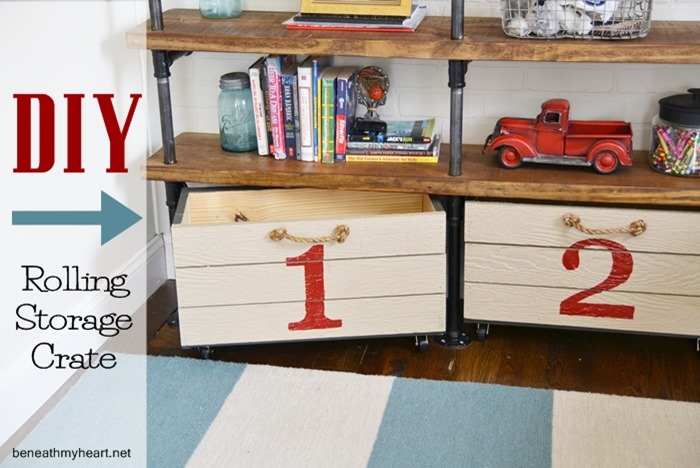
You can see that tutorial HERE.
Both of these projects will also be featured on my organizing blog, Organize and Inspire.
O & I is FULL of great organizing projects for every room of the house from talented bloggers from all over blogland!
You can visit O & I by clicking HERE.
If you have an organizing project that you would like to be featured on Organize and Inspire, you can submit it HERE.
***********************
The winner of the Silhouette Cameo is…..
Katie McRae!
Congratulations, Katie!! I will be contacting you by email today! ![]()
Have a blessed day!


hey how about some comments from those fortunate young men about their new rooms ???
they got the goodies and we got the great tutorials. thank you
Look at you go, Mama! Loving these — itching to get my “build” on these days. ;-)
xo Heidi
PS: Stay warm!
Great project, Traci. Impressive! I’ll bet pallet wood would make great material for these, too.
I love your crates you made and love the handles! I’m going to have to go to target and get some. For what? I don’t have a clue, but I’ll find something to use them on! You are such a great mom! Your boys are lucky they have a talented mom! Both rooms are so cute!
This is so beautiful AND functional! Brilliant! Thanks for the inspiration.
Thank you, Laura!
Just looking for the final dimensions of your shelf. I know the piping adds quite a few inches and the width looks just right to me.
I really like the stain on the shelves! What did you use?
Thanks!
That’s MinWax Provencial.