
Steps to Staining a Deck
*I partnered with Purdy for this project. All opinions and ideas are 100% mine.
I’ve been DYING to stain and seal our new deck, and we finally did it! And of course, I used my FAVORITE products….PURDY… to do it RIGHT! Be sure to check out my supply list further in the post to find links to all of the Purdy Products I used!

If you remember, we built a large deck on the back of our home last fall. We unfortunately had a few hiccups with planning and zoning for the final approval, which delayed us staining and sealing the deck until now. But once the deck was officially approved, and the weather warmed up enough, we were finally able to stain the deck!
We were excited to get this done because we are looking forward to spending a lot of time relaxing and entertaining on this deck during the warmer months!
Today, I wanted to share with you the steps we took to stain our deck.
Since our deck is brand new, we knew it needed to be sealed, but if your home has an older deck, try this simple test to see if it needs resealing:
- Sprinkle some water on the wood: if the wood absorbs the water within 10 minutes, you need to plan to stain as soon as possible. However, if the water pools on the wood surface, the need for exterior stain is not as urgent. Typically, a stained wood deck requires maintenance every one to three years.
STEPS TO STAINING A DECK
STEP ONE: CHECK THE WEATHER
Because you will need 24-48 hour periods of time for each step of this process, you will need to check your local weather to make sure there is no rain in the forecast. You also need to look for temperatures between 50-90 degrees.
STEP TWO: CHOOSE A STAIN
There are so many different types of stains and sealants available for decks. You want to find an exterior wood stain formulated to repel water, preserve wood and protect against harmful UV rays.
There are oil based stains/sealants and water based stains/sealants. Choose the one that best suits your wood decking.
- Note: If your deck has previously been stained, remember that oil-based stain can go over water-based stain, but water-based stain cannot go over oil-based stain. For the best results, use oil-based stains over old oil-based stain and water-based stains over old water-based stain.
You can also purchase stains separately from sealants, or you can buy them as a two-in-one product. We decided to use a product that had both a stain and a sealant in it, by Valspar.
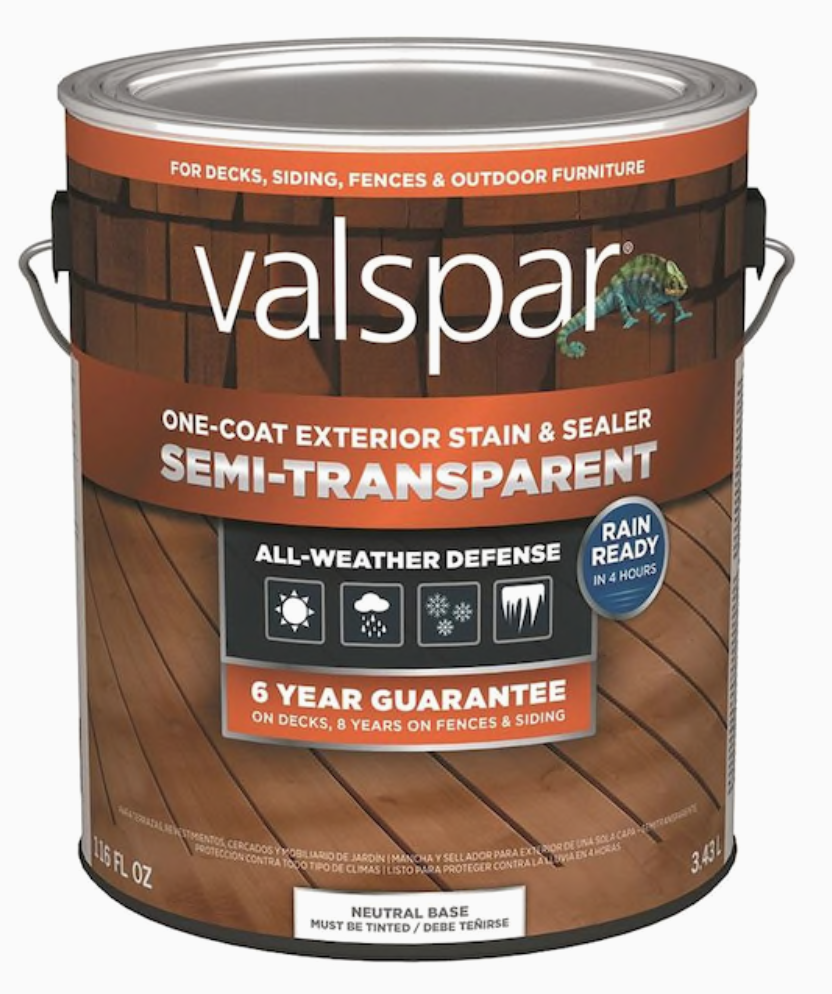
Depending on the product you chose, you may need to decide whether to use a transparent, semi-transparent, or solid stain. We ended up choosing a semi-transparent stain because I wanted a little more coverage on the wood than transparent, but still wanted the wood grain to show through.
Luckily, you can get sample sizes of the Valspar Stain and Sealer for less than $4 a can, which really helped me in making my decision. I asked for the fine helpers at Lowe’s to mix up four different stains for me, and I took them home to try out on an extra piece of wood.

I’m soooo glad I did this because stains often look different in real life than they do in the picture on the pamphlet in the store. Seeing the stains on the wood helped me in my decision of which color to choose. The semi-transparent color that we ended up going with was called “Monticello Tan.” It is a grayish color that allows the brown tones of the wood to show through.
STEP THREE: PREPARE YOUR DECK
Once you have picked out the stain/sealant you want to use, it’s time to remove all furniture or items from your deck.

After removing everything from the deck, inspect the wood decking to see if there are any repairs you may need to make.
If you find splinters, you can sand them down with 80 grit sandpaper. Since our deck was new, we were able to skip this step.
Use a broom or leaf blower to remove all debris and dust from your deck.

If you have any landscaping close to your deck, you may want to cover them with a tarp or sheet to prevent any chemicals from getting on them.
STEP FOUR: CLEAN THE WOOD
Next, it’s time to clean wood. This is a very important step. You will want to make sure to remove all dirt or mildew from the wood so the stain doesn’t trap any of those imperfections.
We started with pressure washing the entire deck and letting it dry for a full 24 hours.


Then we used this Valspar All-in-One Wood Prep to clean the wood really well before we stained it.

Cy bought a pump sprayer to apply the cleaner. He sprayed it over small sections at a time, let it sit a few minutes, and then sprayed it off with the pressure washer.

We actually didn’t think our deck was that dirty, but after applying the cleaner, we were shocked! We couldn’t believe how much cleaner it looked!

Once we cleaned the whole deck, we let it dry overnight before applying the stain.
STEP FIVE: STAIN THE DECK BOARDS
Here are the supplies we used to stain the deck…

Made of 100% lambswool, Lambskin roller covers pick up, hold and release a great deal of paint
or stain. These roller covers are also abrasion-resistant for a longer life. Suitable for oil- and
water-based coatings, Lambskin roller covers are best with oil-based products and are perfect
for staining and painting decks, wood siding, porches and masonry.
A premium frame that is durable and provides smooth rolling. Its lightweight design and comfort
grip handle help to reduce arm fatigue. Designed for use with Purdy® POWER LOCKTM pole or can
be connected to any standard acme threaded pole.
Chinex® EliteTM brushes have pre flagged bristles for better coverage and fast application.
Preflagged means the ends of the bristles are split, which allows them to pick up more paint and
apply it more smoothly, like split ends on hair opposed to a sharpened pencil point. They offer
greater pickup and smooth release with superb cleanability. Chinex Elite works great with
heavy-bodied, low-VOC paints.
- Paint tray
- Valspar One-Coat Exterior Stain and Sealer (Semi-Transparent, “Monticello Tan”)

I used my Purdy Chinex Elite brush to paint around the edges of the deck where it met the exterior of our home, in between the cracks where needed, and on the toe kicks of the stairs…

We used the Purdy Lambskin roller cover to apply the stain evenly to the deck. You want to apply one coat of stain in long, even strokes.
Once you have applied the stain, allow it to dry for at least 24 hours.
After the stain is dry, you can place your furniture or items back on your deck and ENJOY!
Here is what our deck looked like BEFORE…

And here is what it looks like AFTER…

BEFORE…
AFTER…

The stain definitely gave the wood on our deck a more smooth and uniformed look.
Here is the herringbone pattern rug that my husband created BEFORE….

and AFTER…

BEFORE…

AFTER….


I love how this stain is grayish in color, but the brown wood tones are still present beneath as well.

Staining our deck protects it from fading, natural wear, and water damage.

I’m looking forward to MANY fun summer nights on our newly stained deck!

If you have any questions about this project, just let me know if the comments!
Check out more Purdy products near you, right here!
It turned out great!!!
Thanks, Becca!
Y’all do such good work! Gorgeous as always! As my husband would say “the right tools make all the difference”.
Amen! Thanks, Joy!
The stain (or paint) is peeling on the deck of the house we bought last year. It is on our list to redo, but it is going to take a lot of work. The painter’s opinion was that they did not allow it to dry out long enough after cleaning before applying the paint. Is 24 hours long enough? Does it depend on the paint that you use? Our neighborhood requires the deck to be painted the same color as the trim or siding on the house, so I’m not sure we could use any type of stain. And if it is painted already, I think we can’t stain over it – is that correct?
Lots of questions, I know. Thank you for sharing your experiences with these projects!!
Hi Kim! The drying time also depends are the weather where you live. If temps are in the 90’s, the wood will dry faster than if it is in the 60’s, so it really depends. If the temps are cooler, I would let it dry out longer. If your deck is painted, you can’t really stain over it without sanding ALL of the old paint off first, which is a lot of trouble. I would just get a durable deck paint to paint over what is already there. Just be sure to lightly sand away the peeling of the old paint before you apply any new paint. Let me know if you have any other questions! :)
Looks great!
Thanks, Cathy!
Wow! It looks fabulous! Thanks for sharing all the different steps and products you used.
Thank you, Melissa! You are welcome!
Looks great!
Thanks, Lynda!
Love it! I was hesitant about gray, but the wood shows through beautifully and that changed my mind, especially against the black!
Thank you, Guerrina! I was so nervous about choosing the stain, but I think it worked out! :)
I love the color you used and how you can still see the wood grain. A nice change from the redwood color everyone feels obligated to use.
Thanks, Suzanne! I was a little worried at first, but I love how it turned out!
Wow!!!! It looks awesome!!
Thanks, Amanda!
That looks great! I love how huge your deck is and especially love the herringbone “rugs” Cy built. Another GREAT job!
Thank you, Gina! Yes, the herringbone rug was a fun addition! :)
Looks wonderful!
Thank you, Chris!
Another beautiful job. Purdy products are great, we use them on your recommendation.
Awesome, Sue! Yes, they are the best! :)
I love it!! It’s so pretty!
Thank you, Lisa!
Perfect timing! We need to stain our deck this year. Thanks for the tips! Looks great!
Thank you, Susan!
Just beautiful…and so inviting!! Thanks so much for sharing!!
Thank you, Joanne!
Wonderful and so enjoyable for your family! I remember the ugliness that was there when you bought it. Such an amazing transformation!
Thank you! Yes, I’m ready to start making some memories! :)
Tracy and Cy, your deck looks beautiful and I love the paint color you chose! The herringbone patterns were awesome! Great job!!
Thanks so much Sherlene!! xoxo
Wow!!!! That turned out so great. I love the color you chose. The roller worked perfect.
Thank you, Kathy!
It looks so good you two did an amazing job
Thank you, Daphne!
Absolutely beautiful! Perfect in everyway, and I LOVE the herringbone rug!
Thank you so much!
Beautiful work. I will definitely try Purdy on our next project.
Thanks, Cathy! You will not be disappointed!
Beautiful! Great neutral color. My husband always uses Purdy brushes.
Thanks, Carol!
The deck plan and finish is beautiful. You two have an eye for design for sure. Like the other viewer, I wasn’t sure about the gray, but it’s lovely. I wasn’t sure about the black house either until I saw the finished version. You have a talent for design and color I am utterly lacking. You two are pros! I’m sorry about all the planning and permit problems with the shed and deck. I hate living in cities or towns because of the restrictions and money grabbing bureaucracy. It’s quite obvious you’ve improved the appearance and value of your home tremendously. Thumbs up to a talented duo.
Hi Deb! Thank you for your sweet and encouraging words! I have never considered myself to have a design eye, but encouragement from people like you make me believe in myself, so thank you! xoxo Traci
The deck looks great!!! I clicked on the Purdy link, they have a Purdy’s painter’s backpack, who knew?!
Hi Peggy! Yes, I have that backpack and it is the coolest thing EVER! The boys want to use it for camping trips because it has so many cool pockets and features. haha!
Looks great!
Wow!! Your deck is so beautiful! My prayer is that you and your family will make many amazing memories on your deck in the coming years. Have a blessed and joyful day! :)