DIY Drop Cloth Skirted Wood Desk
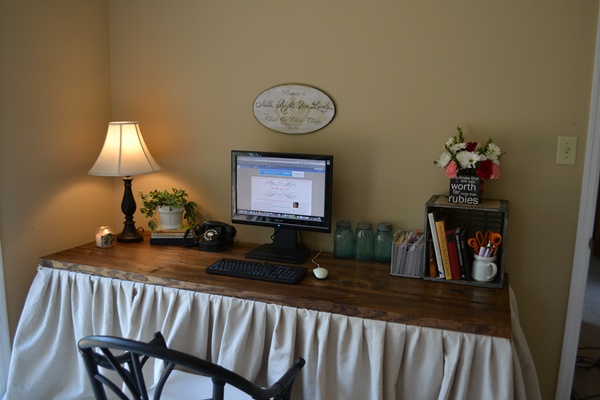
I was needing a creative storage and work space in our new home, so I built a DIY DROP CLOTH SKIRTED WOODEN DESK.
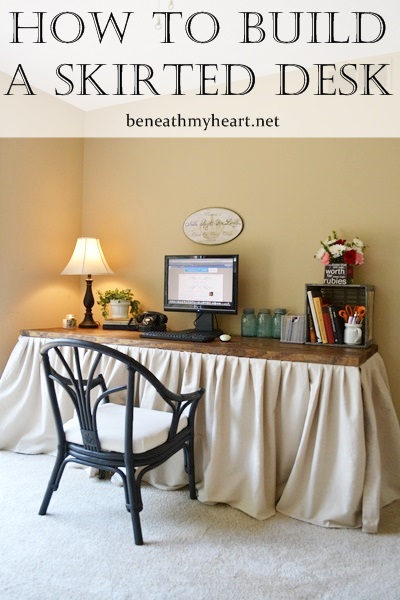
(I am going to paint the walls a different color. This is the color that was already on the walls when we bought the house two months ago. I think a lighter paint color will help the desk stand out even more!)
I love this desk/table because there is sooooo much room to work! And I love the way the drop cloth skirt hides all my “uglies”…

I bought those storage bins at Walmart, and I am going to buy two more for the other side of my desk when I have the money.
It was so much fun organizing all of my crafty stuff!
Now just in case ya’ll go thinkin’ that I’ve got it all together, and my room is so neat and organized now, here’s what the other side of my room looks like….
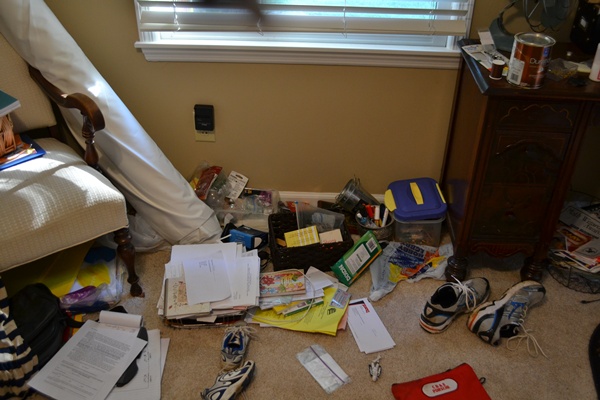
See why I need more storage bins?
I am DETERMINED TO GET ORGANIZED now that the boys are back in school!!
If you missed my guest post over at Shanty2Chic, and you want to know how to make this desk yourself, here is the tutorial.
(Believe me… if I can do it, you can do it too!)
I purchase three 2x10x8’s from Lowe’s and place them on our saw horses…
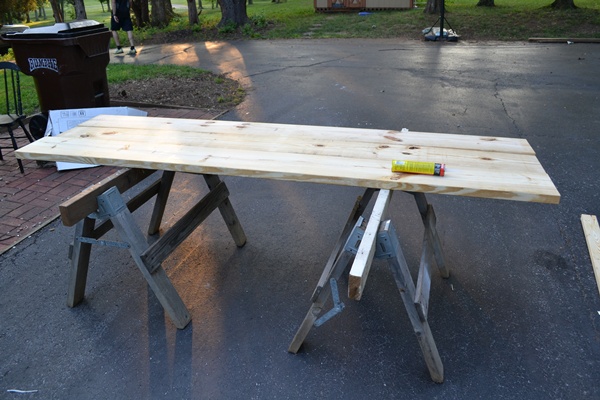
Then I cut each board 82 inches long. (You could cut them as long or as short as you need them.)
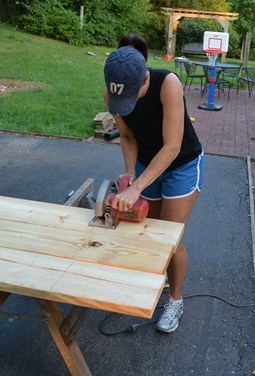
Then I cut 2×4’s to make a frame smaller than the top of the table.
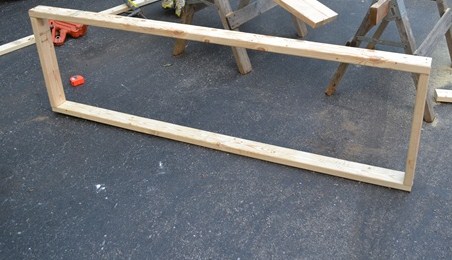
I used PL adhesive caulk at the end of each 2×4 before I used my nail gun to nail them together.
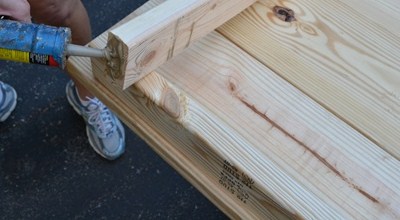
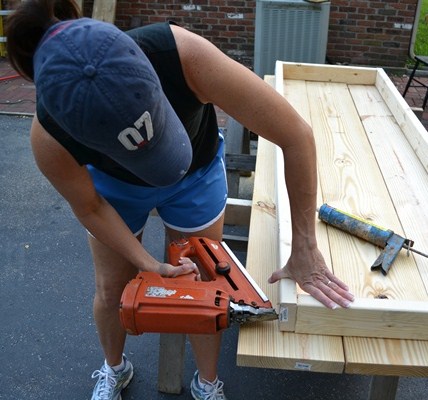
I also used PL adhesive caulk on the frame before I nailed it to the top of the table…
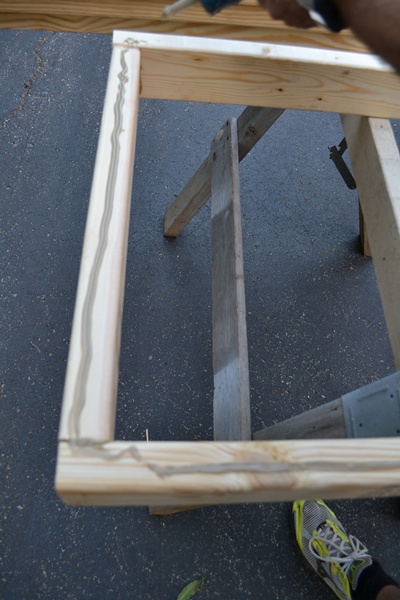
I place the three 2×10’s on top of my 2×4 frame and nailed them together.
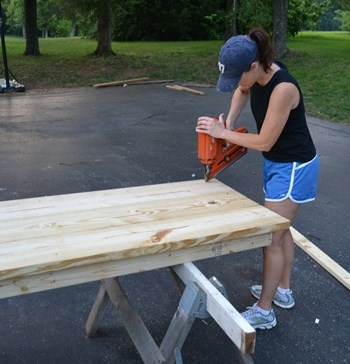
Next, I cut some 2×4’s for the legs of the table and nailed them to the frame. It didn’t matter if my table had ugly legs because I knew I would be covering them with a skirt.
I made my table 30 inches high.
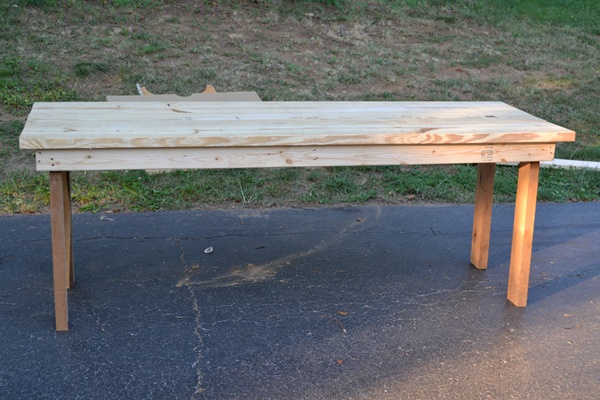
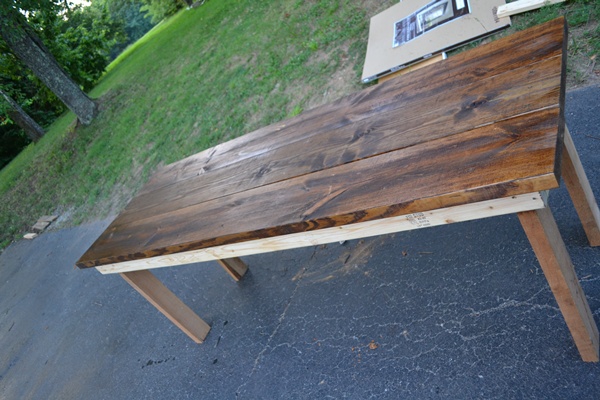
Then I used a clean cloth to wipe on the stain…
It is called Provencial from Minwax.
For the skirt, I cut strips from some drop cloths 31 inches long…
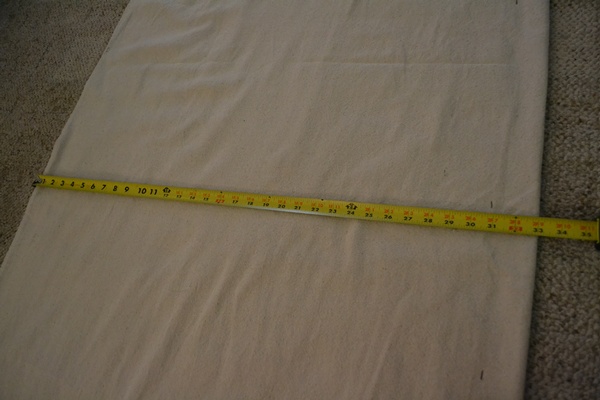
I LOVE drop cloths! I especially love that they are already hemmed on one side, so I didn’t even have to break out my sewing machine for this project!
Next, I stapled the drop cloth to a 1×2 board that was cut 82 inches long (the length of the front of the table.) I gathered the material every couple of inches to create my skirt.
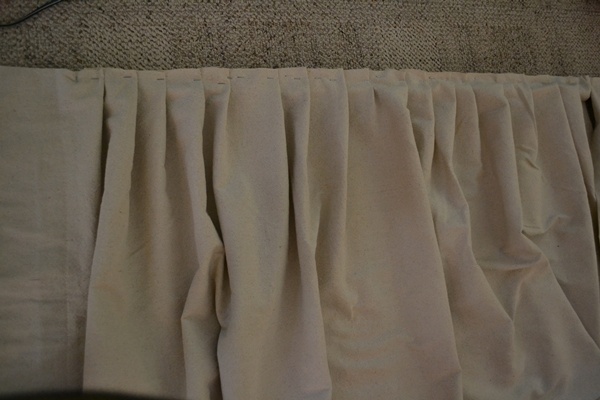
Then I attached the skirt to the table by screwing the 1×2 into the table top. (I used 2 inch wood screws.)
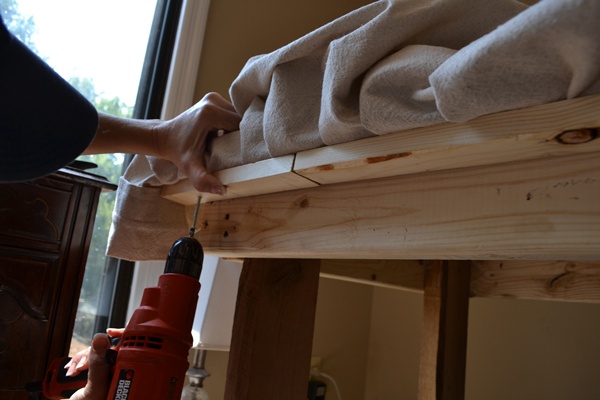
Then the material lays nicely between the 1×2 and the table top!
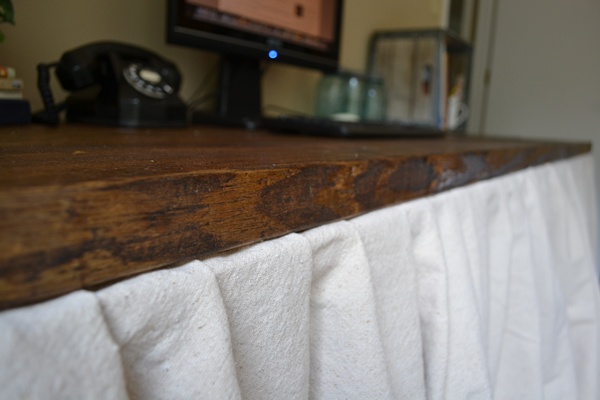
I did the same thing to the sides of the table too!
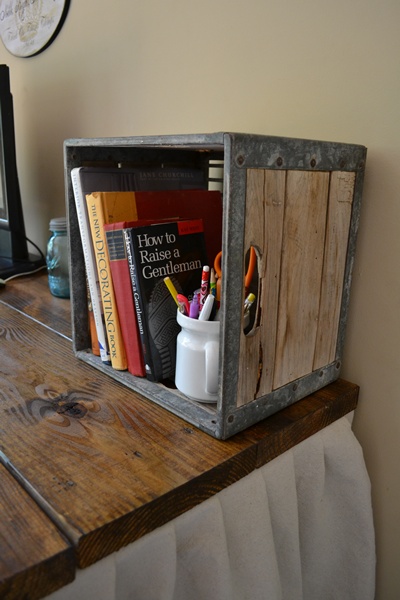
This skirt is perfect for hiding my craft supplies in my office.

I grabbed some accessories from around my house to decorate it for now. Of course, I may change it around a bit still.
But for now, I am really going to enjoy this roomy desk!
If you have any questions about my desk, just let me know! :)

love it! I love the texture of the cloth against the rustic top. Beautiful!
Beautiful and creative idea! Love the contrast of the stained wood and the drop cloth.
oooh I like it! I might have to do a skirt for my desk :D
What a SERIOUSLY beautiful desk! You did such a great job. I love the amount of storage space, the rustic top, and the feminine skirt. I also loved your other accessory – Coke! ;) Gotta have that when you’re working for sure!!
P.S. I noticed the book – How to Raise a Gentleman. What do you think of it? I think I need that!! I’m always trying to teach my boys to be good, sweet boys.
I love how it turned out. You did a beautiful job. I’ve been wanting to hide all the cords and such under the kids computer desk upstairs. I think I need to make a skirt. I love the wood stained top too. The Home Decor and Organizing link party is going on right now. I’d love for you to link this if you get a chance.
the desk turned out great!
Appreciate seeing the in-action pics. Inspirational!
You’re a go getter and I like this!
Noticed your book on raising gentlemen….Traci, I know that there are so many out there concerned about their daughters being proper, but seldom do I hear about mommas wanting their sons to be gentlemen. Proud of you and cheering you on.
God bless,
d
It looks great and by making it yourself you saved a ton of money and have the size that is just right for you.
Awesomeness!! We have plastic storage drawers we’ve used in all of our houses the past 11 years of moving with the military- I hate being unorganized and they help to get us out of boxes and chaos!
Awesome job!!! It looks great and I love all the storage “under cover”. Those plastic bins provide such great storage, but dang they aren’t very pretty are they? I just love your solution for hiding them!
Super cool DIY. I would love to know how much it all cost in the end.
Love this! I am redoing my office right now and using a folding table under a window as a printer stand with plastic drawers underneath…I think hubby and I could totally make this, thanks for sharing.
I saw this on S2C. I love this. Right now I have one of those 6′ plastic tables and it bows in the middle. This would be the perfect solution. Inexpensive too.
That is a gorgeous desk!!!!
Gorgeous!! I love the stain on the table and the drop cloth skirt makes it amazing! Don’t you love drop cloth?! I just made some awesome curtains this weekend with it.
That is a gorgeous desk!
This idea is genius, Traci! I love that I could just stash all of my stuff underneath–and it still looks pretty!
OMG…I love this desk! It’s beautiful! I’m so glad you posted the tutorial b/c I didn’t realize you made the desk AND the skirt. I’m showing this to the hubs to see if he would make me one!
You are SO stinkin’ talented…and your desk is SO stinkin’ adorable.
Way to go my friend…you did a FAB job!
Ahh! This is so beautiful! I’ve been into dropcloths lately too!! Great job!
Can you post what that little sign says on the desk…something about rubies? I’d love to know!
What a beautiful job you have done on your new desk. I knew the DH and boys know their way around tools, and power tools, (well learning at least), but I must say, I was somehow surprised to see you pick up the caulk/glue gun and the power nail gun. You go girl, Mom would be so proud!!
I love it..What a great way to hide all of the items underneath..Fabulous job..
Janet
Oh, my goodness, Traci! How beautiful is that?!? I love it!
Since your computer is underneath the desk and covered with a skirt, will it over heat because of no circulation?
Your desk looks great. It’s wonderful that you have room to fit a desk that size. Love how the skirt hides all the storage.
Ruth
the desk looks great! i love the mix of textures. where did you get that fabulous crate on your desk?!
I love it, Traci! What a great solution when you need a large desktop AND storage. Honestly, you ARE the queen of drop cloths! :)
The desk turned out beautifully! Where did you buy your drop cloths?
First – this desk is beautiful! You did an amazing job! And second – I love that you showed that photo of the other side of the room. That made me laugh out loud. I keep dumping all of my craft stuff out in the garage and it is a disaster!
Great idea!! Very clever and good choice of color on the wood stain, combined with the drop cloth. You are a drop cloth artist :) I think you will need a couple cross-braces, to keep the table from falling sideways, or maybe an L-bracket at each corner. I wish you had stained ALL THE WOOD like the top is, even though it doesn’t show when the drop cloth is down. ….Maybe on the next one, you’ll do that, to make your excellent idea even better :) This reminds me of the vanity ladies used in years past, for their make-up and perfumes, which I never liked for myself. But this, this is something I would like to have. EXCELLENT idea, good for you, making it yourself :)
Just great! I love it.
Traci, that is amazing!! I want to do that now! I just bought a desk but it’s not very cute. Yours is! I love it. Thanks for the inspiration. Oh, and I wanted to say that I’m so excited you’re a contributor to Haven! I wish I could move time ahead 10 months and know what was going on. Life is up in the air right now, but oh how I’d love to be there. That is the ultimate, all of you ladies there. Is it sold out yet?
Love this desk!! We’ve been working on a sewing/craft area for me upstairs and every desk/workspace we come up with just doesn’t seem to fit but I really love what you’ve done.
Stopping by from Susan’s a BNOTP. Come by and visit me sometime.
Blessings,
Laura
Hi,
Love the colour of the top. Can you tell what is the wood you started with? I guess the stain wood give different results with different wood. But that’s just a guess, haven’t done any woodwork before. But about to! Would appreciate your answer :-)
Hi Traci! I wanted to let you know I used your tutorial to make a skirt to hide some cubbies in my laundry room-I linked back to you in the post. Thank you for the inspiration!
Melissa
Post-http://www.thehappierhomemaker.com/2012/05/laundry-room-makeover-and-no-sew-sink.html
Good Web-site, Keep up the great work. Thanks for your time!