DIY Nursery Word Art {for my niece!}
My sweet niece, Courtney, is expecting her first child this September!
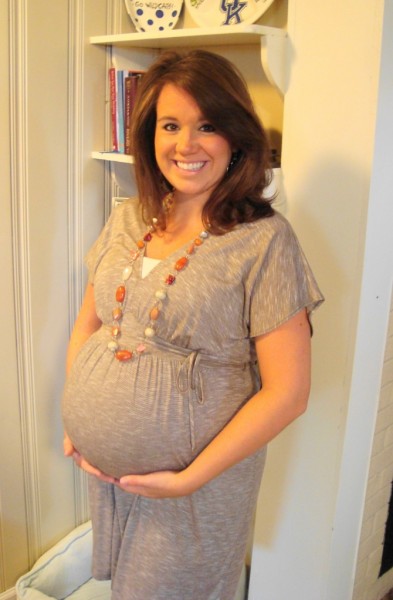
She is having a baby boy! {I love boys.}
And I will be a GREAT Aunt Traci! {I’m too young for that title, right?}
It’s all my sister’s fault.
Despite my denial that I am too young to be a Great Aunt, I am extremely excited about the arrival of Colt Allen!
My Aunt Pat and her daughter, Kelly, hosted a baby shower for Courtney this past weekend, and as always…they were amazing hostesses!
Here is some beautiful eye candy from the party…
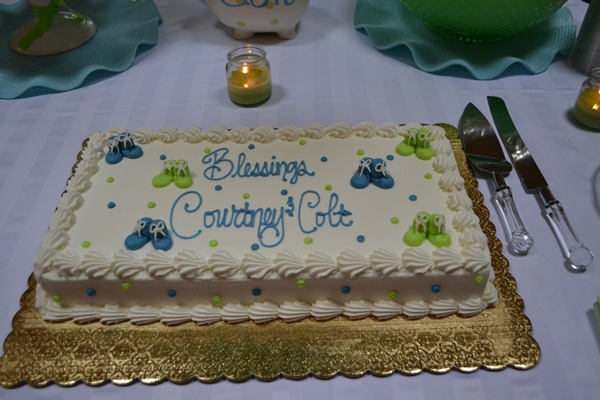
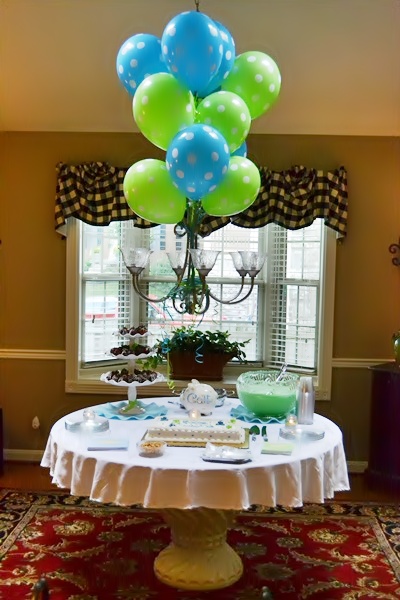
Aunt Pat and Kelly created the cutest little candy bar…
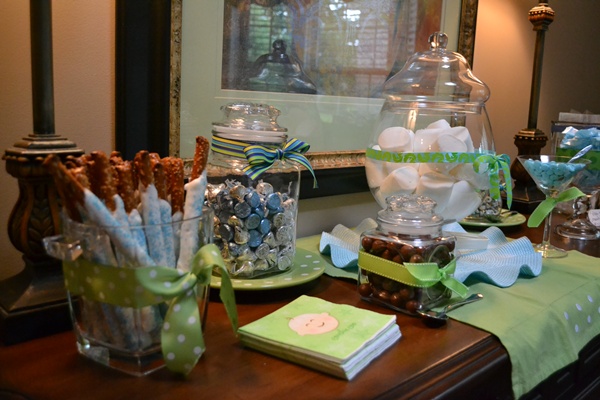
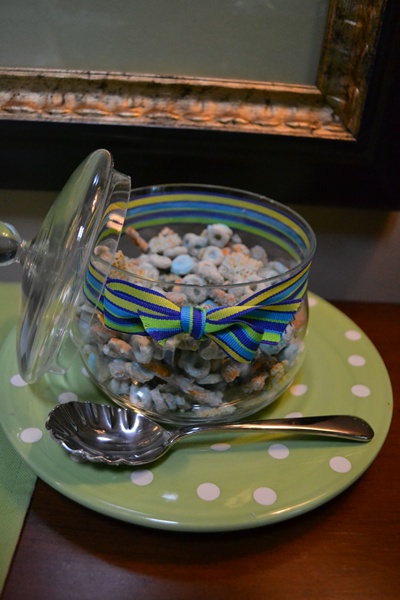
The food was delicious and the fellowship was fabulous!
Courtney has loved all the Nursery Word Art she has been seeing in blogland, and she was wanting something for Colt’s room. Of course, she asked me to make one for her. {She definitely wasn’t going to ask her mama…she knows better.} :)
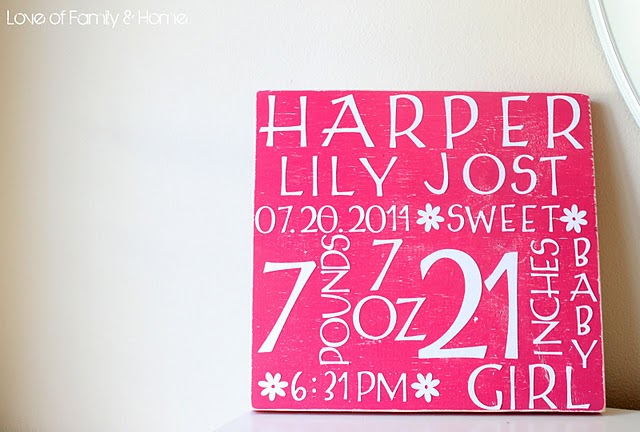
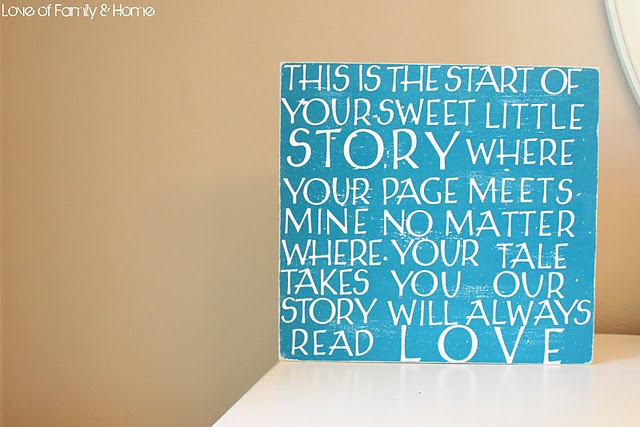
She showed me the beautiful boards that Tonya, from Love of Family and Home, has been making, and asked me if I could do something like them.
(click on each picture to see how Tonya made hers.)
Here is how I made my board…
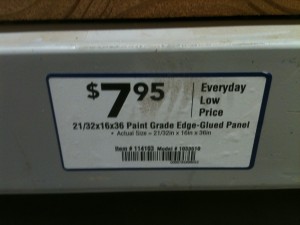
First, I went to Lowe’s and purchased a 16×36 paint grade edge-glued piece of wood.
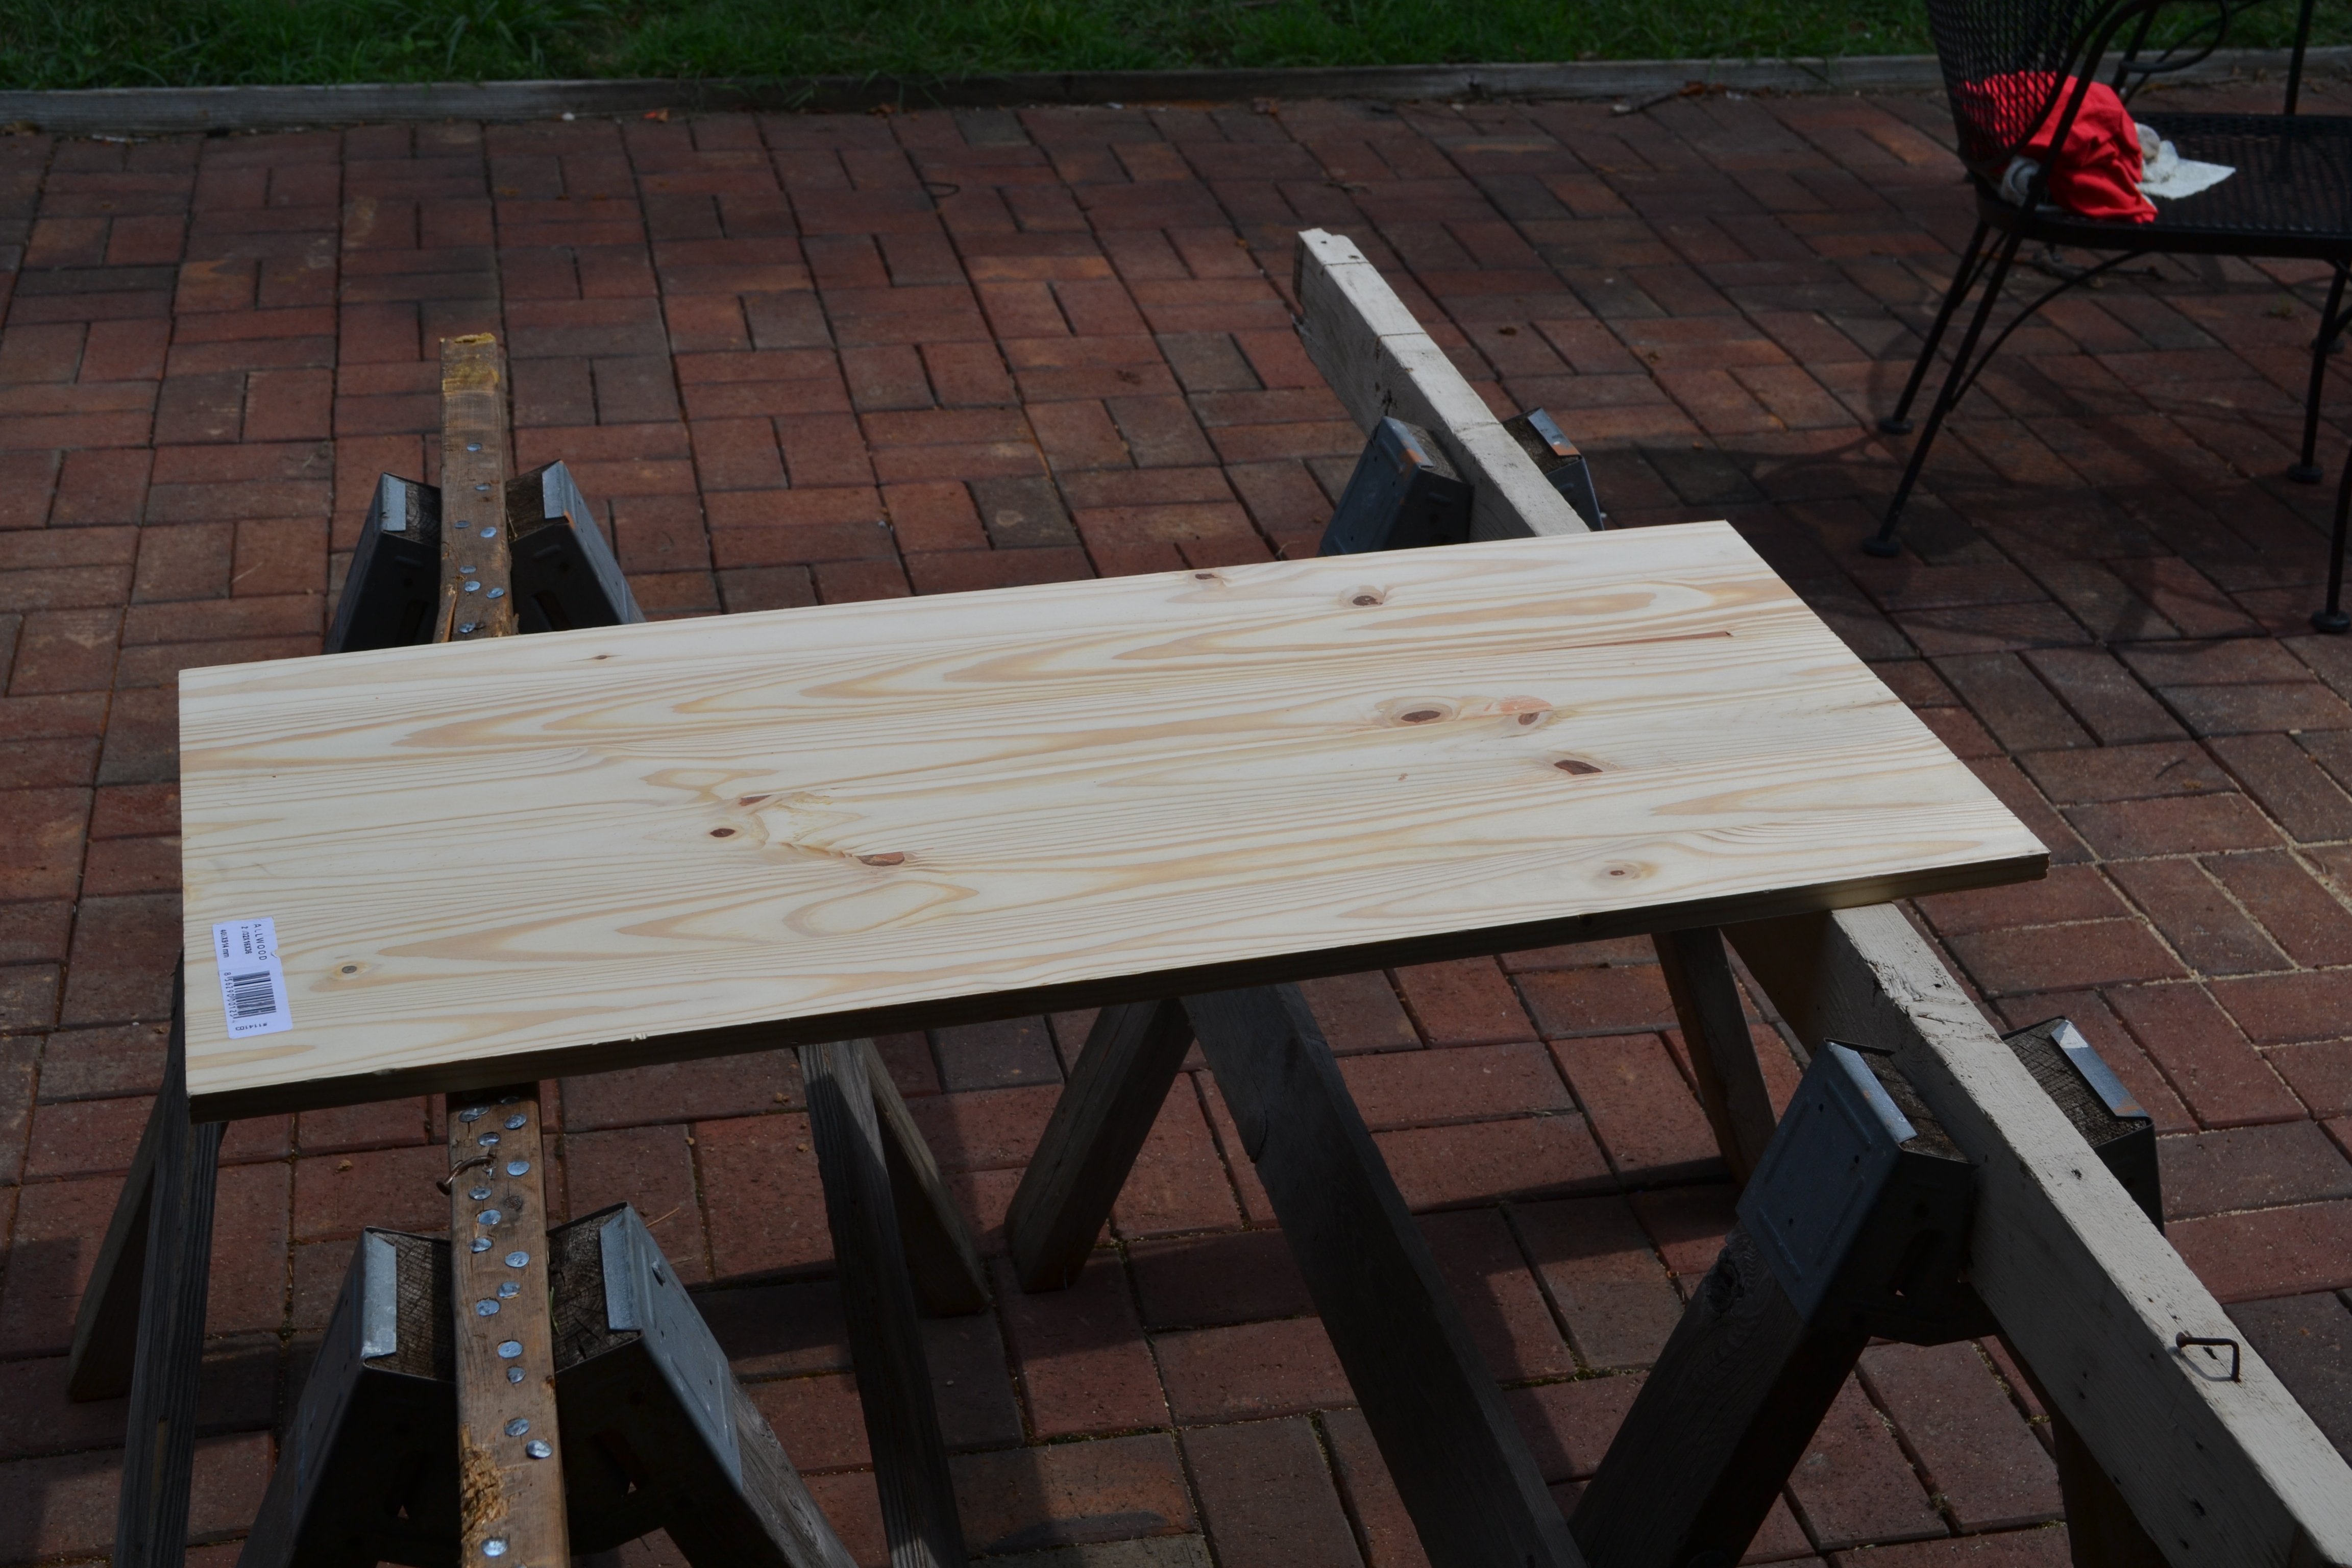
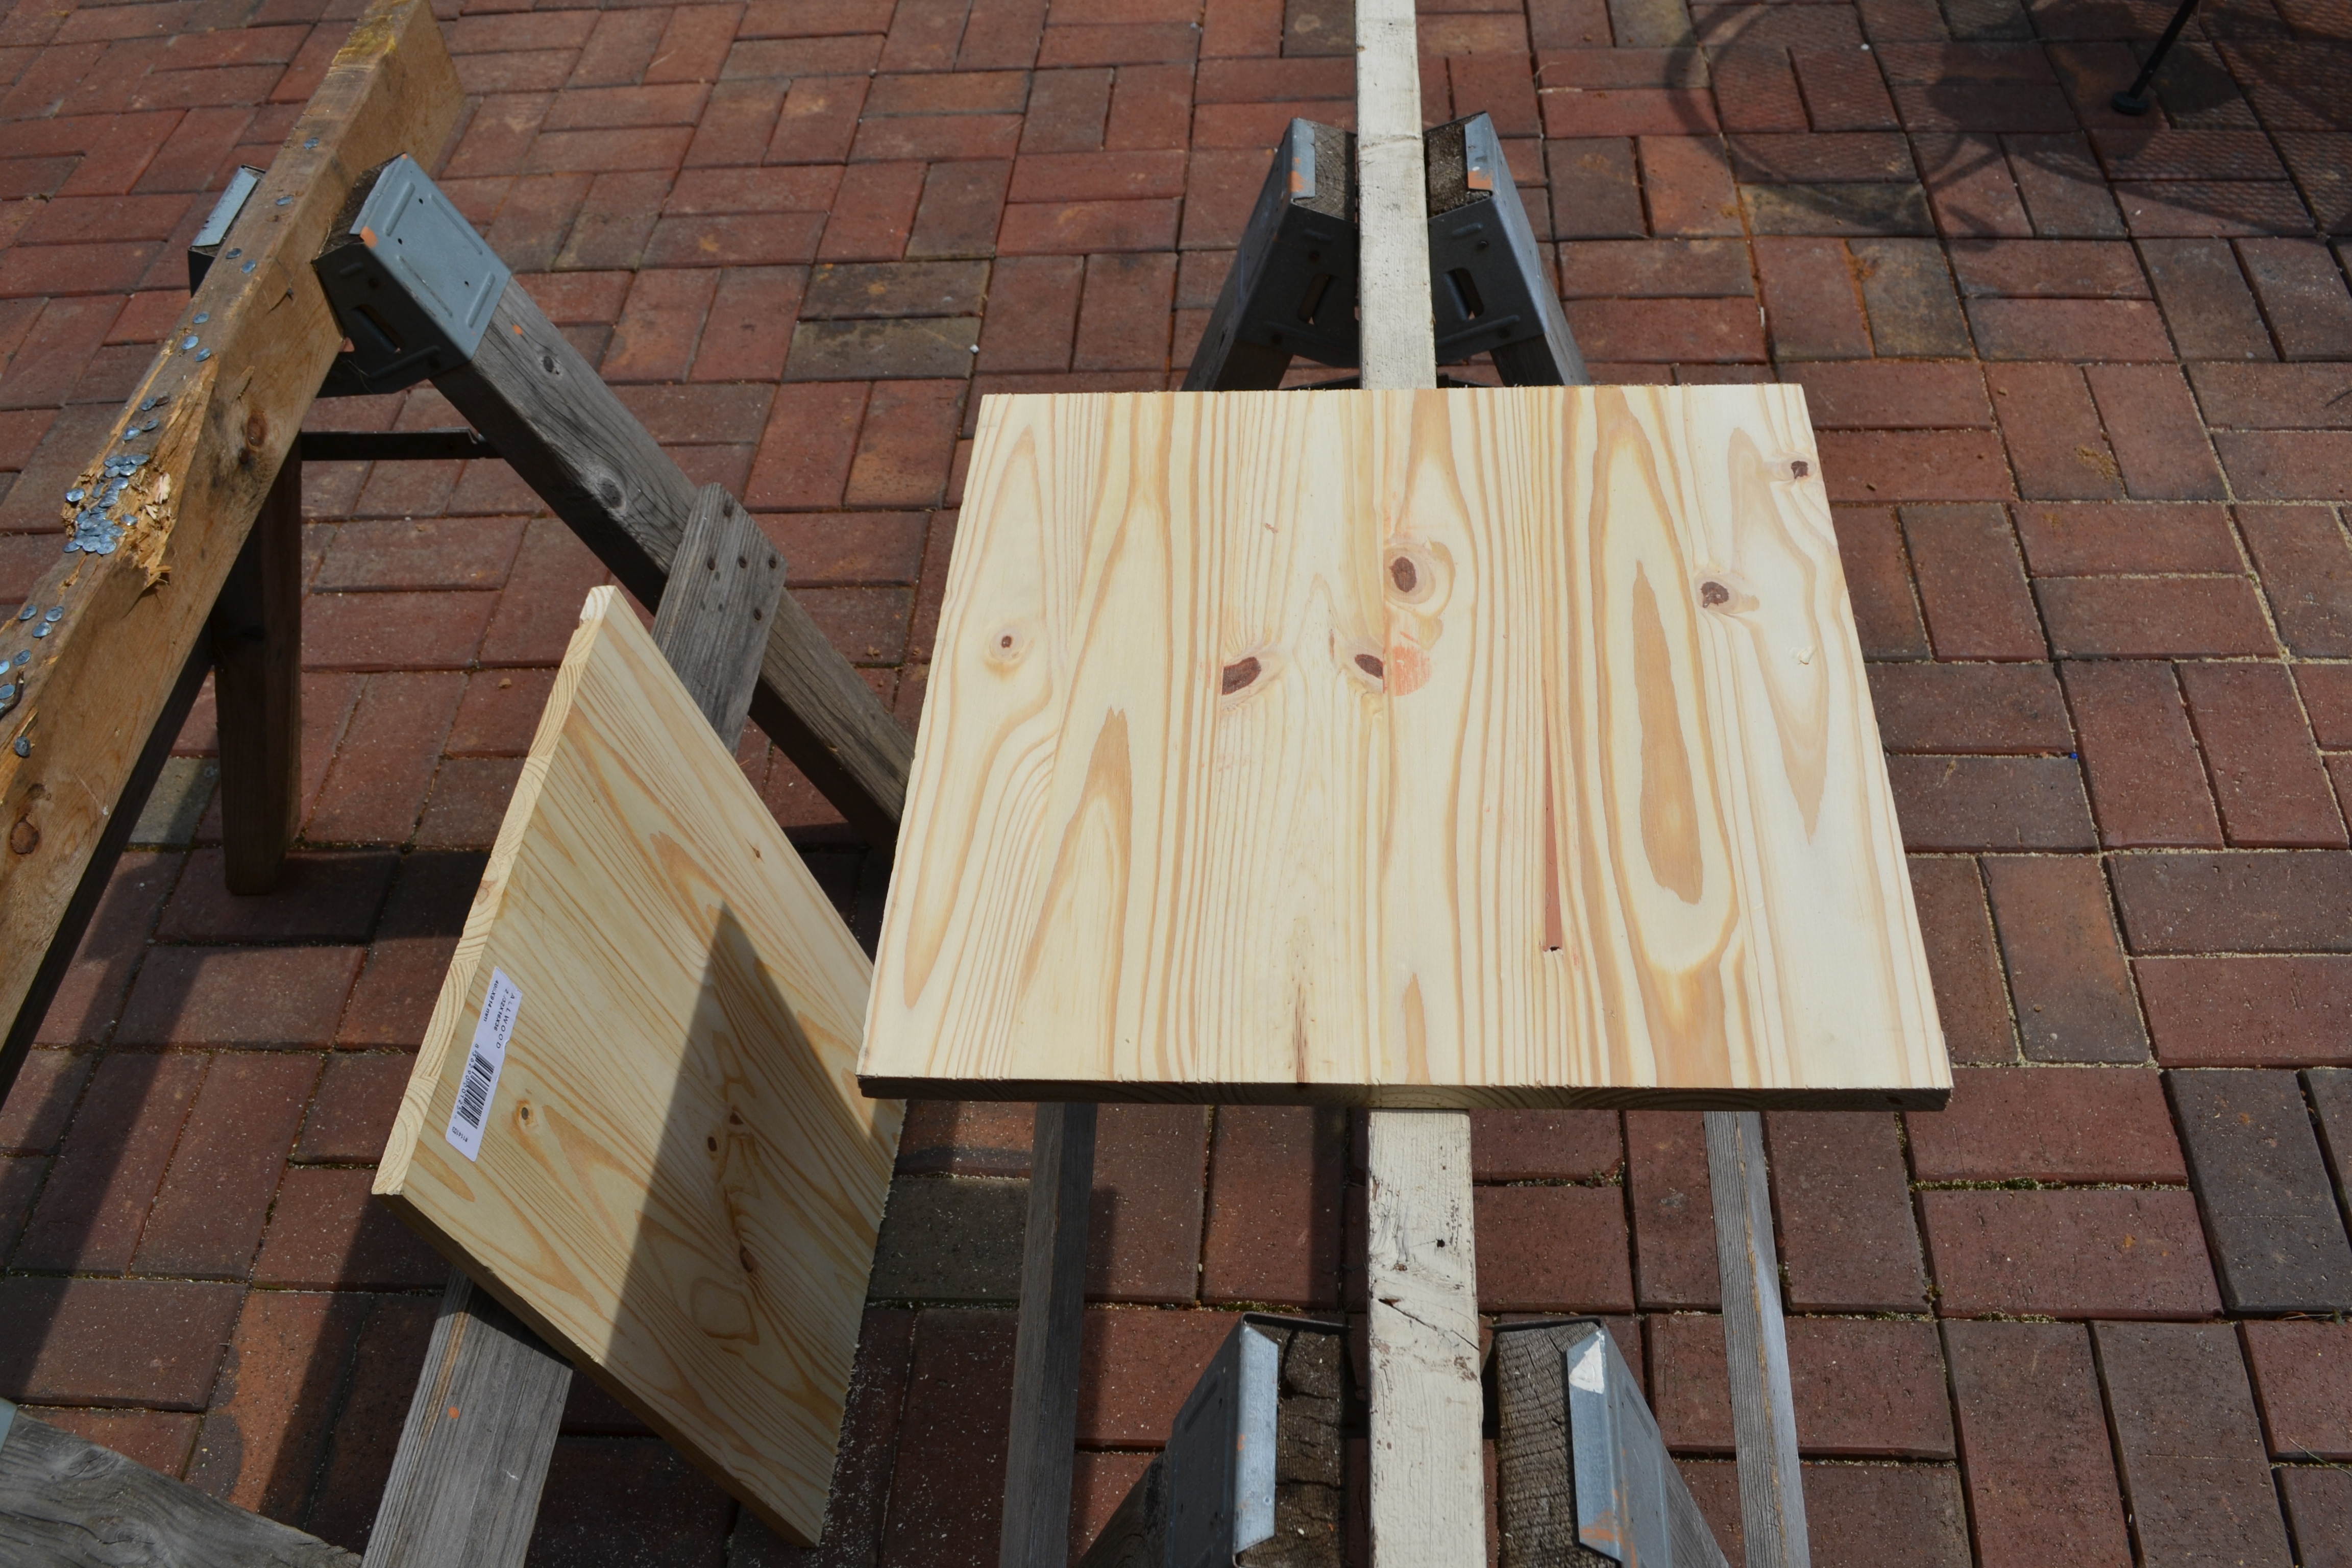
The board measures just under 16 inches wide, so I used my skil saw to cut the board 16 inches high as well, creating a perfect square board.
Next, I sprayed two layers of KILZ spray paint on the board.
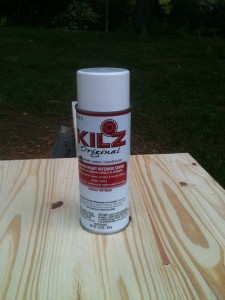
Courtney is decorating Colt’s nursery in blues and green. She gave me a swatch of the green fabric she will be using in the room. I used it to pick out my color for the board.
I applied the green paint and let it dry.
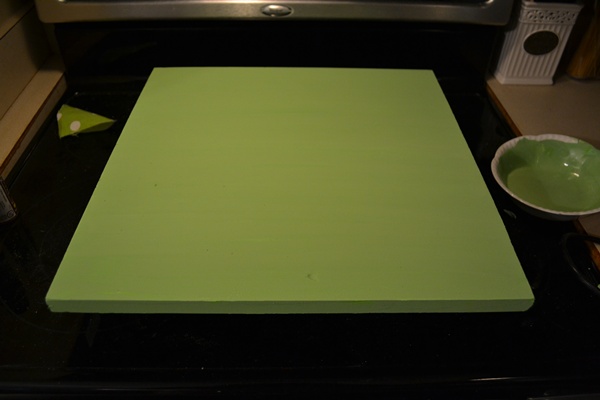
Then I sanded it with my sander. (You can use sand paper or a sanding sponge.)
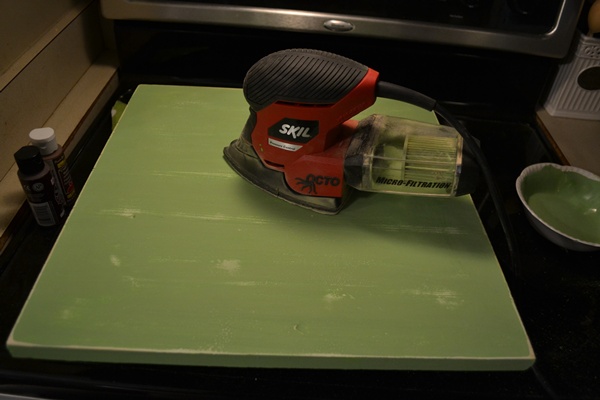
The sander took some of the paint off, but let the white primer shine through underneath.

Next, I used my silhouette machine to cut out the letters of the saying that Courtney had picked out for her board.
(She loved this saying because it used the word “blessing”, and that reminds her of my mom, Nana. Mom would have definitely been calling her first great-grandchild a “blessing”.)
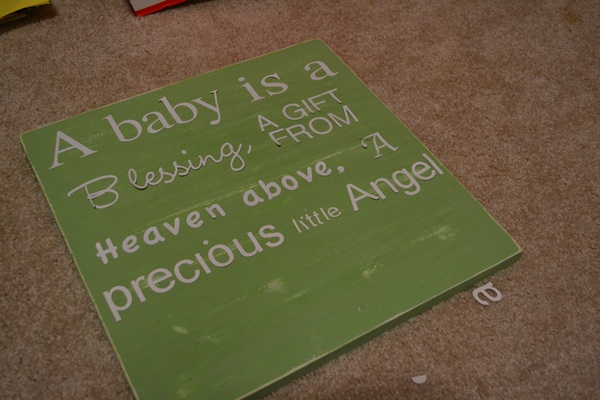
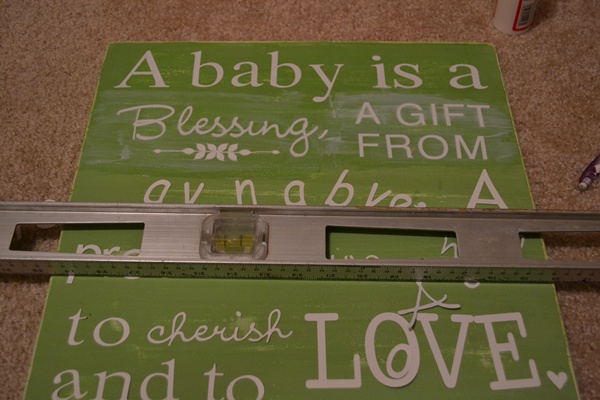
I laid them out the way I wanted them, sometimes using a level and a pencil to help me keep the words straight.
When it was time to adhere the words to the board, I put a layer of Mod Podge on the board with my sponge brush, laid the words on the wet Mod Podge, and then applied a second layer of Mod Podge on top. You can see in the picture below how the mod podge hasn’t dried yet.
This was my first time trying this project, but I was really pleased with the way it turned out.
And Courtney loved it!!
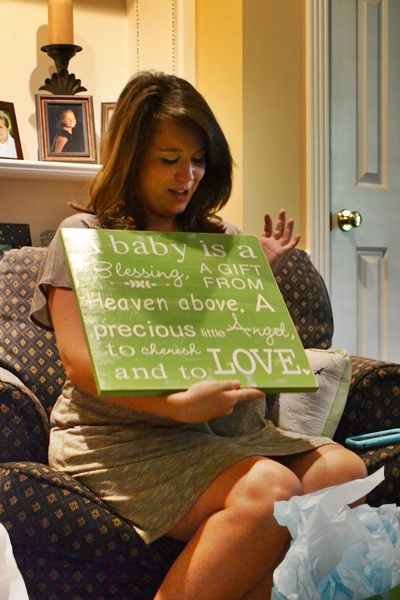
She said it was even better than she expected!
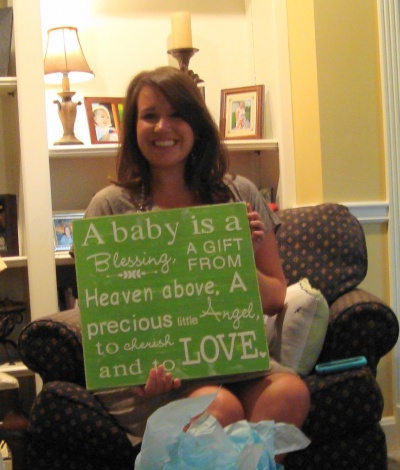
And that’s all that matters. :)
(I love you, Courtney! You are going to be a GREAT mom!)
I can’t wait to see it in baby Colt’s room.
And I can’t wait even MORE to kiss sweet Colt’s face!
BLESSINGS!
Reminder:
Tickets for Haven 2012 go on sale on August 15th!!!

This is adorable, Traci! You make projects look so simple!
I’ve been meaning to make one of these word art boards for my kitchen for several months now (I actually have it all planned out but haven’t actually made it). My issue/fear was using vinyl with my Silhouette and making a mistake (and having the letters stuck in the wrong spot). I never thought to cut out the letters with paper and use Mod Podge. That makes it less scary for a Type A person like me. ;) Thanks for the idea.
Laurie
P.S. My sister was only 25 when she became a great aunt. I don’t think it bothered her too much but thinking that she ‘could’ be a great great aunt in her late forties may hit her harder lol. Congrats to your family!!
You did a great job on Courtney’s sign!! I’m sure it’s going to look fabulous in Colt’s nursery!! Thank you so much for sharing my projects with your readers!! I really appreciate the shout-out!! :)
Nice party! And I love the idea of using Modge Podge. I have a Cricut but seldom use it & had never thought of using it for the letters. I want to make a genealogy themed board with family names. Maybe you have inspired me! Have fun being a “great” aunt!
Oh, my goodness! So cute!! I can’t wait to give this idea a try. Thanks for walking us through it. Just. so. cute!!
BEAUTIFUL!!! Traci, you did an amazing job on Courtney’s artwork! Another baby in the family is a blessing from above – I know your mom would have loved to see him. You’ll be a super great-auntie (yes – you are too young!) and you can tell him lots of stories of his Nana. HUGS!
So cute, yet so simple. I love it. You are going to be an awesome Aunt!
Great job !! I have been wanting to make one of these 4 ever jsut haven’t found the time yet. I hadnt even thought of using paper either, thanks for the tip!!! What setting did you use for the silhouette? I have always just cut vinyl with mine, never paper! Craftvinyl.com is a great place to get lots of colors of vinyl at a fabulous price if you wanna check them out……. Thank for sharing
You should have a craft workshop at Relevant!!!!
You did a great job with this! I’ve been admiring Tonya’s work, too, just can’t wait to make something for my girls’ room! I’m sure you will be a wonderful Great Aunt! Blessings to Courtney as she prepares for the wonderful job of motherhood!
I think you dogged me twice in that post! It does look good in Colt’s nursery. Now be nice!!! :-)
I saw this on Cyndi’s blog; I knew you’d made it even before I read the post! It just says “Traci made me!”
Okay, there is no way in the world you’re old enough to be a great aunt. And no way that Cyndi’s old enough to be a grandmother. But there you are. You’ll just have be great and grand even though you’re both youngsters. :)
And by the way, you already are a GREAT aunt to Courtney. . . now the great is just official.
This turned out SO cute! What a fun gift idea!!! I am sure it’s something they will treasure for a long time!
Love it! I think it’s great! What did you use for the letters? Cardstock? There is a website out there that you punch in the words you want and it arranges them for you and in different fonts and sizes. I had to reformat my computer so I do not have the name! If any of your followers know, please let me know! Are you going to Haven? If you are, I may sign up. I would love to me you! Love your start on the backyard too. Cannot believe you have lived there only a few weeks and you are already starting an addition. Who would have thought that you would be here six months ago!!!
Congrats to Courtney the momma to be and congrats to you on soon becoming a Great Aunt! What a sweet project. I would of never thought to use paper and modge. I love those silhouettes, but haven’t broken down to buy one. So expensive. I have entered many a giveaway, but have never won one. They are so versatile. You can make so many things with them. I really should work a coupon or something.
Great job, Traci! I LOVE the wording on the sign. You could sell tons of those! Your talent never ceases to amaze me.
That came out so nice for your first attempt..I am sure it will look lovely in the nursery..
Janet
GORGEOUS!!! what a special moment and special gift!
very sweet gift idea!
you did super,
d
Traci
I sooo gotta do one of these! What type of material did you use for the lettering, vinyl? You did an awesome job. Hmmm, I am thinking my fav scripture. Prov. 3:5-6.
Thanks for the inspiration
Marilyn
P.S. Courtney is adorable. Best wishes to her and the little one.
Traci, I love this project! I have been wanting to do one of these for my grandson’s nursery! Did you keep your silhouette files for this project? If you did, could you email or post link on your blog? I just love the fonts and layout of this project! Thanks so much
Colt is going to love is Aunt Traci!!! It looks so good in his nursery! I can’t wait for you to see it! Love you!!!
Not to be a creeper, but I sold you that piece of wood and primer at Lowes, if I acted all weird it was because I was attempting to keep it cool and not jump all around and I was a little embarrassed :) Eli was sooo cute with his crackers. I felt like SUCH a weirdo saying that I read your blog daily to you there though. But I went home and told my husband about it and he said I was being a dork and that you’d LIKE to know you have local readers. So I’m fessing up here :) I was SO excited to recognize you too. :)
It did turn our wonderfully. Great gift and the pictures the babies room is cute. I love the combo of blue and green. You can already tell that baby is loved.
My firstborn’s name is Colton, so of course I LOVE the name! and LOVE LOVE the picture. I will have to do that for our next child!
It’s absolutely a wonderful gift and I know what I am doing next week! I can’t wait!
Thank you so much for the tutorial! I have been wanting to know how to do it!
I am going to have to buy a Silhouette. I have been wanting to make one of the subway type signs for my home and my grand-niece is having a baby. Seems like it might be the perfect time.
This is so cute and you’ve made it look so easy. I have 3 baby gifts I need to take care of soon. This will be perfect! Thank you so much for sharing!
it is beautiful art, tutorial for new born.
also, beautiful, lovely written …
good idea for new born baby…
I came across this on Pinterest and love it. I would love to do a board like this for my daughter who is due in September. I have a Silhoutte machine also. Would you mind telling me which font you used? Thanks!
Sandra,
I am so sorry. I did that piece about three years ago and didn’t save it, so I do not remember which font I used. You could really just use a font that is similar, and it would still look great! Congrats on your daughter! :)