Skip to content
Home
About
Contact
Facebook
Instagram
Pinterest
TikTok
Twitter
YouTube
Email
Trending: Four Gables House Plan!
DIY Projects
Recipes
Makeovers
Expand
Room Makeovers
Furniture Makeovers
Search
Toggle Menu
Home
/
master bedroom
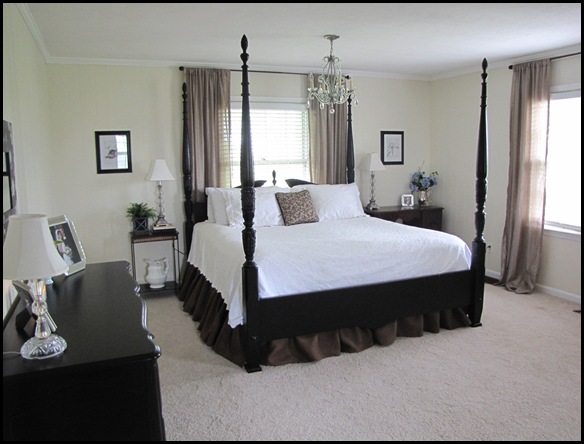
master bedroom
Before and After pictures of my master bedroom.
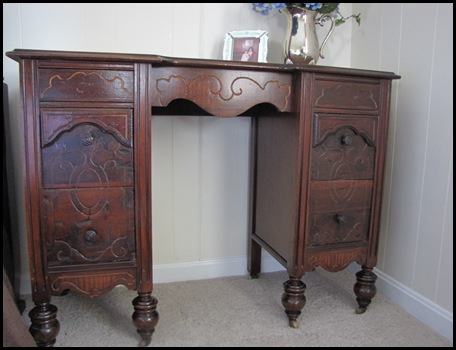
I found a side table that I love!!!!
Bling for my Room
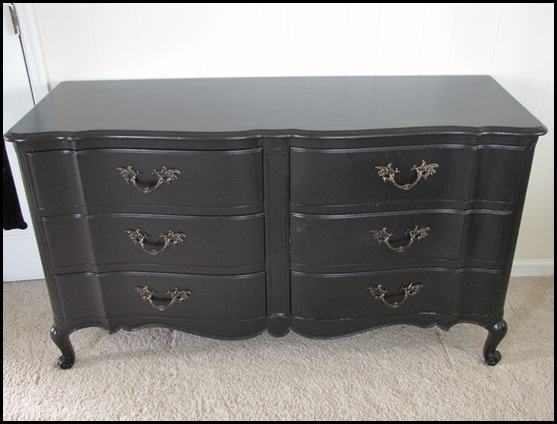
Black Dresser for my Bedroom
Master Bedroom Progress
Page navigation
1
2
Next Page
Next
DIY Projects
Recipes
Makeovers
Toggle child menu
Expand
Room Makeovers
Furniture Makeovers
Toggle Menu Close
Search for:
Search