Wisteria Catalog Inspired Chalkboard Placecards
I am so excited to have Tricia from Simplicity in the South guest posting on my blog today!
I found Tricia’s blog when she linked up her project to my monthly linky party! I fell in love with all of her amazing DIY projects on her blog, especially in her boys’ rooms.
She’s the adorable mom of three boys. Yay for moms of all boys! :)

So I asked Tricia to guest post for me, and she said, “yes!” Yeah!
She is sharing with you a great, easy project that I think you will love. Thank you, Tricia, for being here today!
Show her some sweet Beneath My Heart love today, mkay? And when you are finished reading this post, be sure to hop on over to her blog, but be warned, you might be stuck there awhile. :) It is so full of inspiration!
*****************************************
Hi! I’m Tricia from Simplicity In The South. I was so excited when Traci asked if I would like to do a guest post on Beneath My Heart! I fell in love with her blog the moment I laid eyes on her beautiful kitchen!
My absolute favorite things to share on my blog are DIY projects, especially catalog knock-offs like the Restoration Hardware Inspired Industrial Pendant Light that I made for our teenage son’s room.
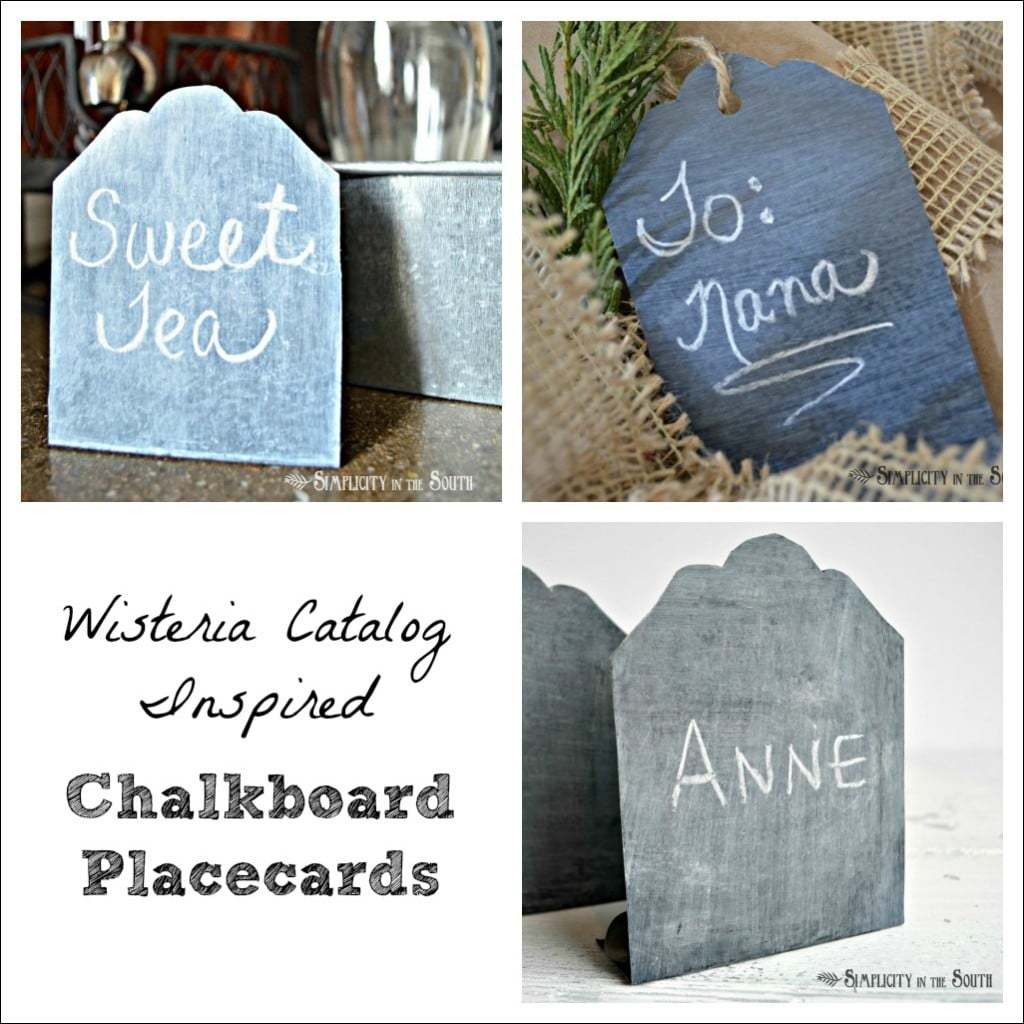
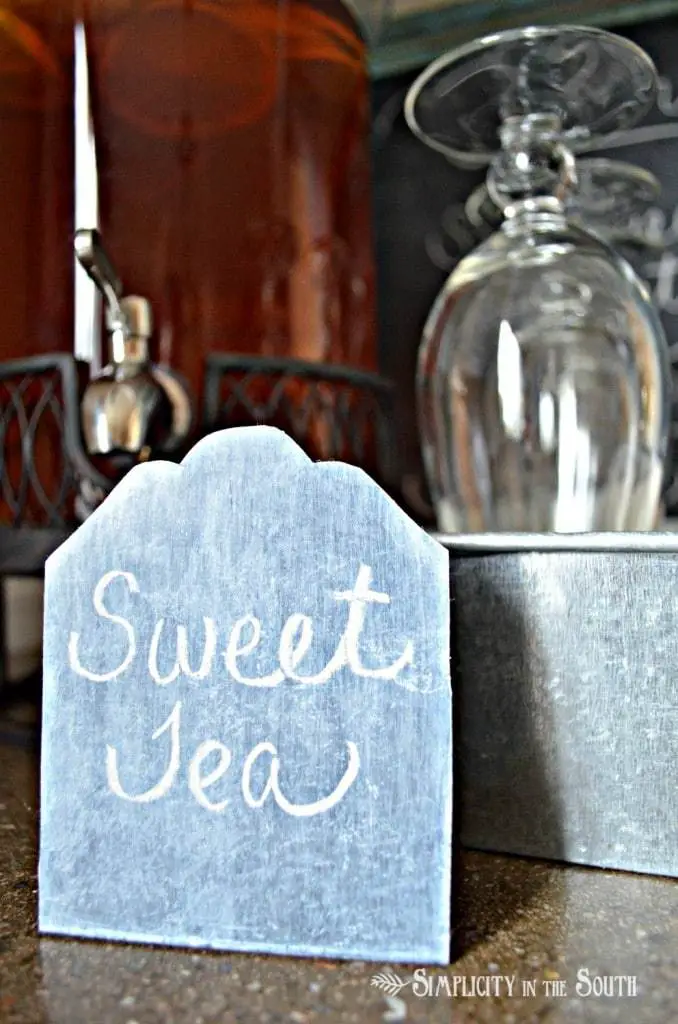
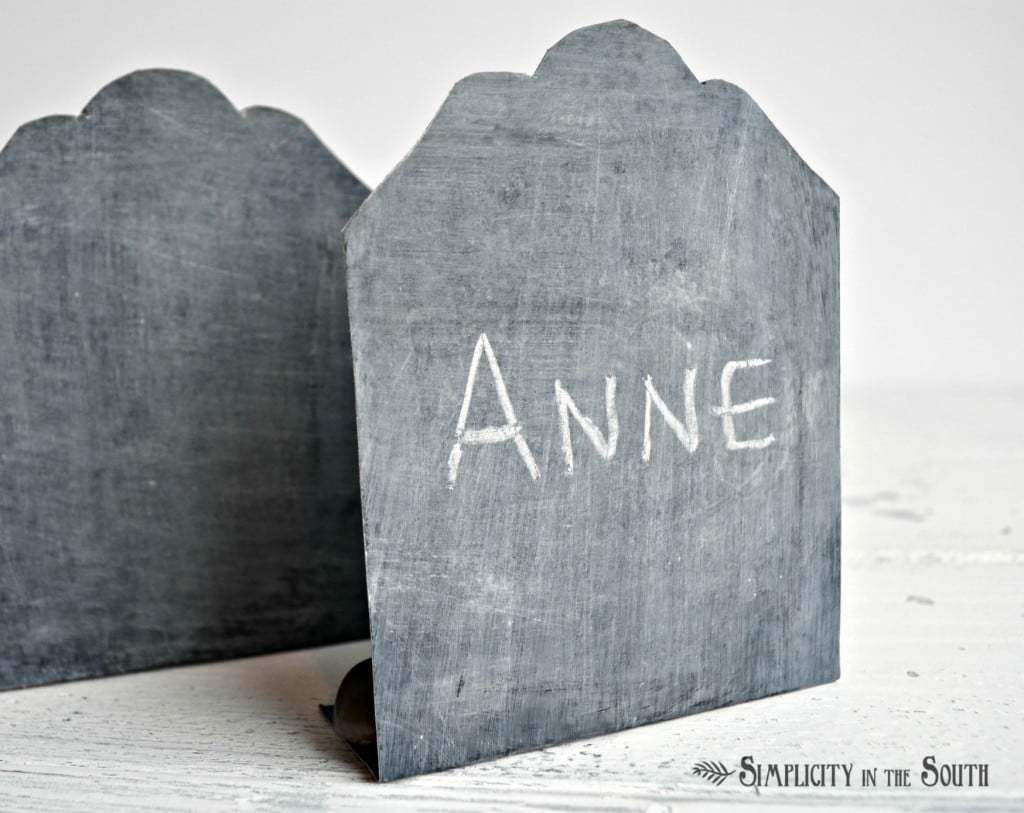
The other thing I love are faux finishes, so when I saw the Wisteria Catalog’s iron plaques, I knew I could figure out a way to make the same chalkboard contact paper that I had on hand to resemble the look of iron.

Wisteria’s iron plaques sell for $19.00 for a set of six, but with a few supplies you can make your own for about $0.30 a piece.
So what’s the secret behind making chalkboard contact paper look like iron?
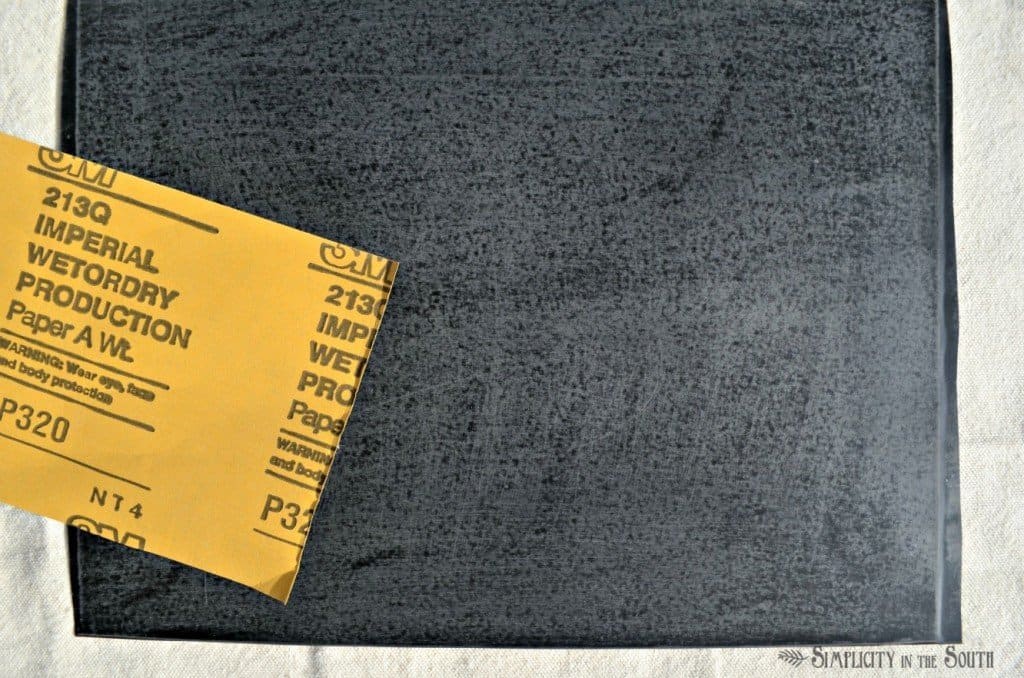
Well, did you know that you can sand and faux finish contact paper? Neither did I until I did a little bit of experimentation!
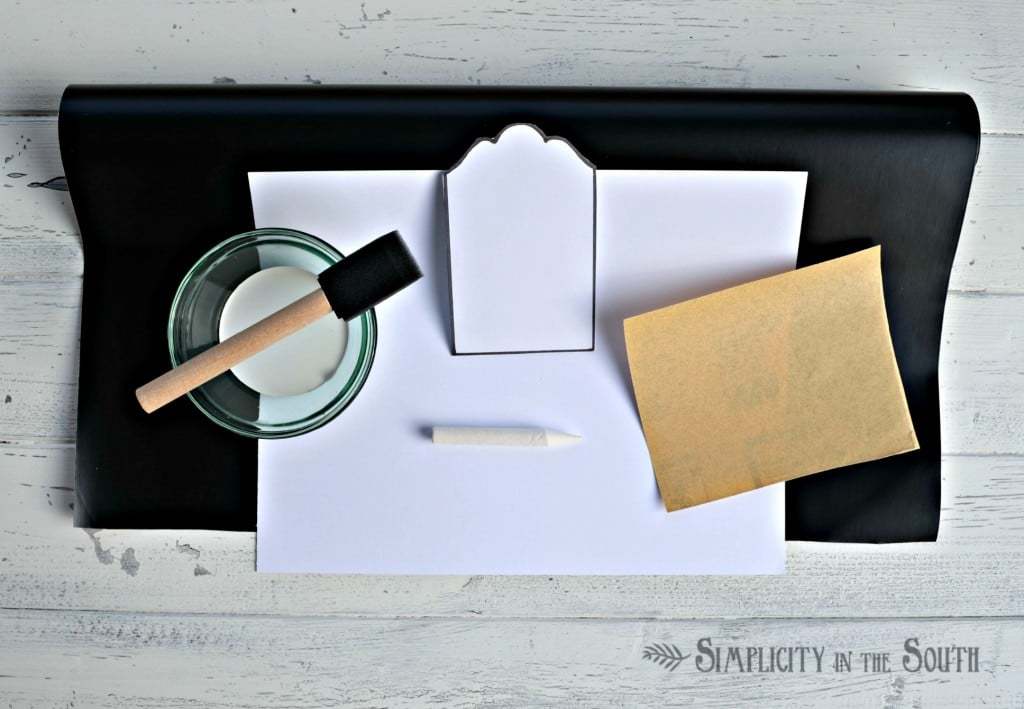
Here are the supplies that you will need:
2. Heavy card stock paper
3. Fine grit #320 sandpaper
4. White latex paint
5. Template for the place card (found below)
5. Other supplies such as scissors, a paint brush, paper towels and chalk.
The How-to:
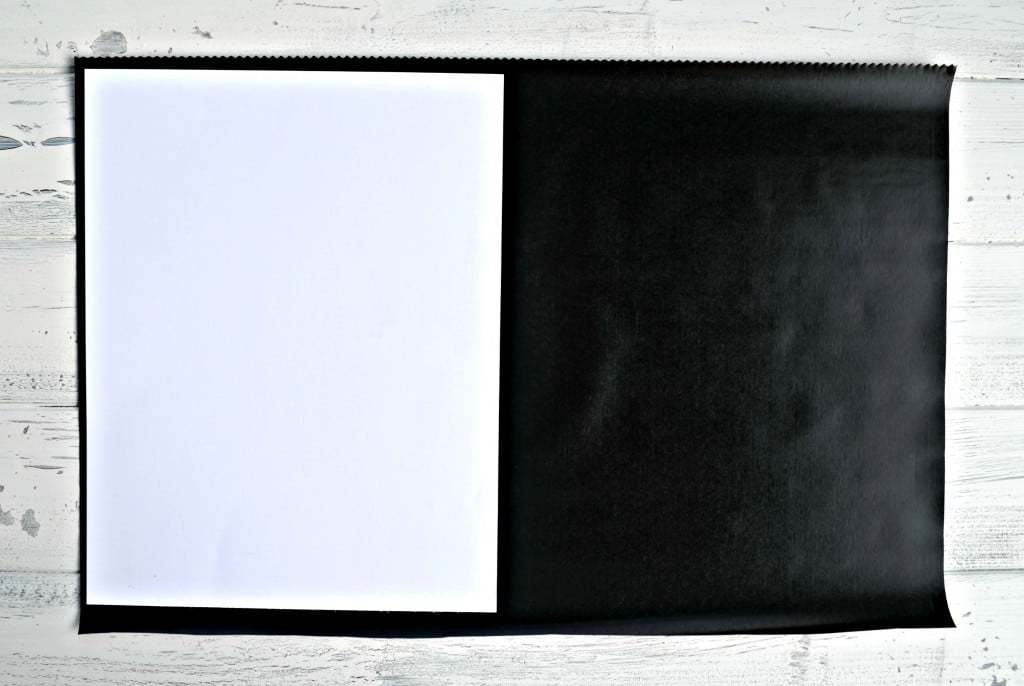
Cut the contact paper slightly larger than the card stock. Laminate the card stock with the contact paper and smooth the wrinkles out with a credit card.
Sand the contact paper on the front and back with the #320 sand paper till the sheen is gone.
Apply a whitewash solution of white latex paint. The ratio of water to paint is about 1:4. (Leave about a inch unpainted on the sides so the paint doesn’t seep to the other side.)
As soon as you apply the paint, wipe it off with a dry paper towel. Allow this to dry for about a minute and repeat on the other side.
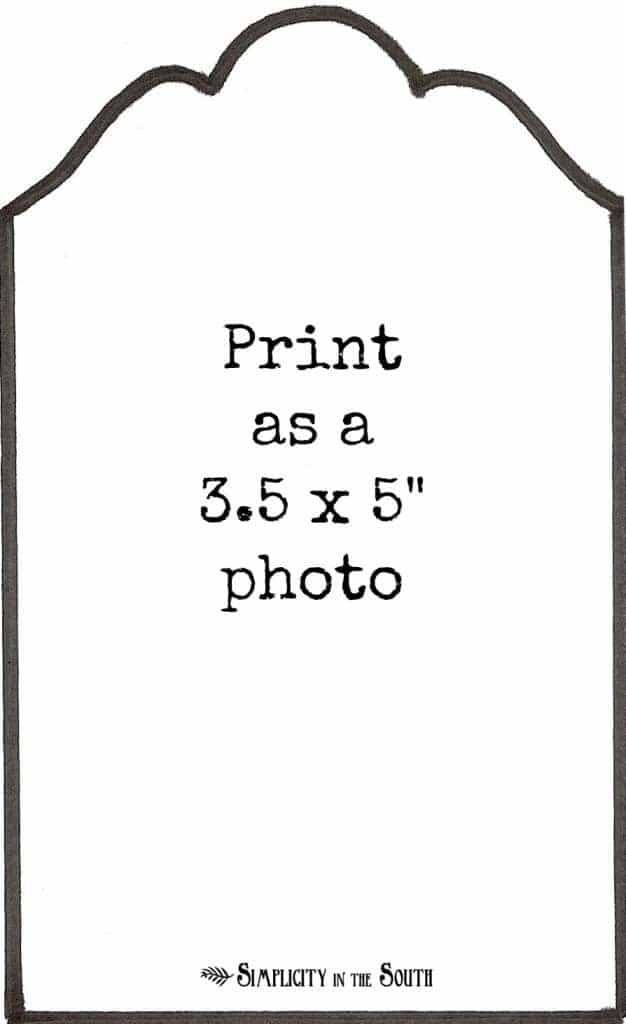
Print this template out as a 3.5 x 5″ photo.
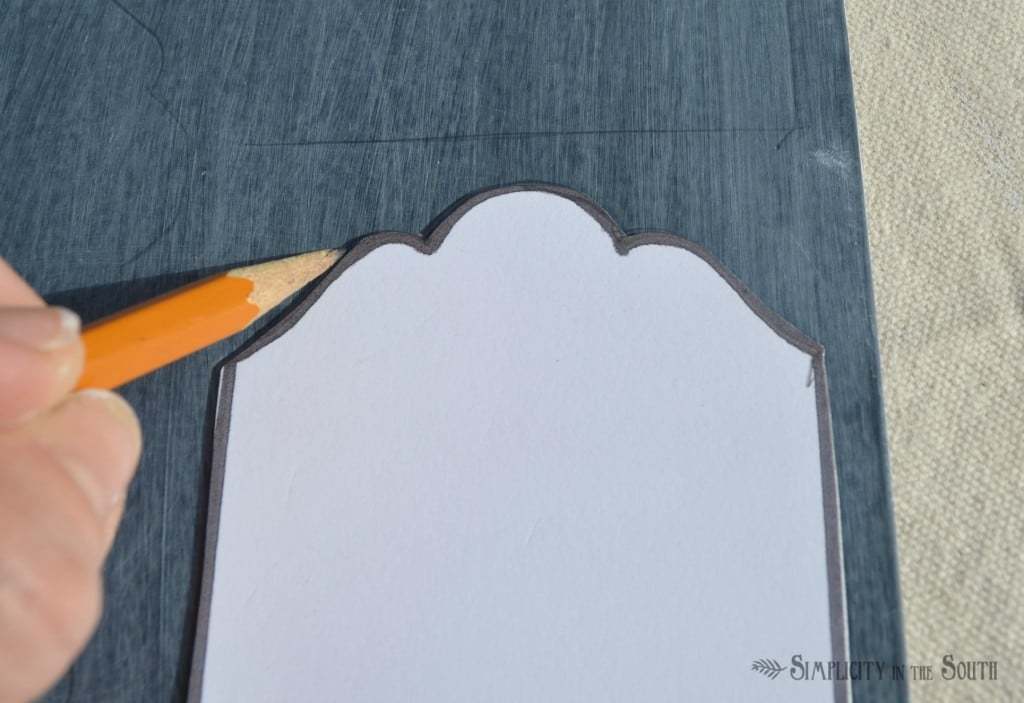
You will be able to trace this shape five times onto the contact paper. Once you cut it out, measure one inch from the bottom and fold to make a stand.
I love how versatile they are! I plan on using them for our next family get together over the holidays.
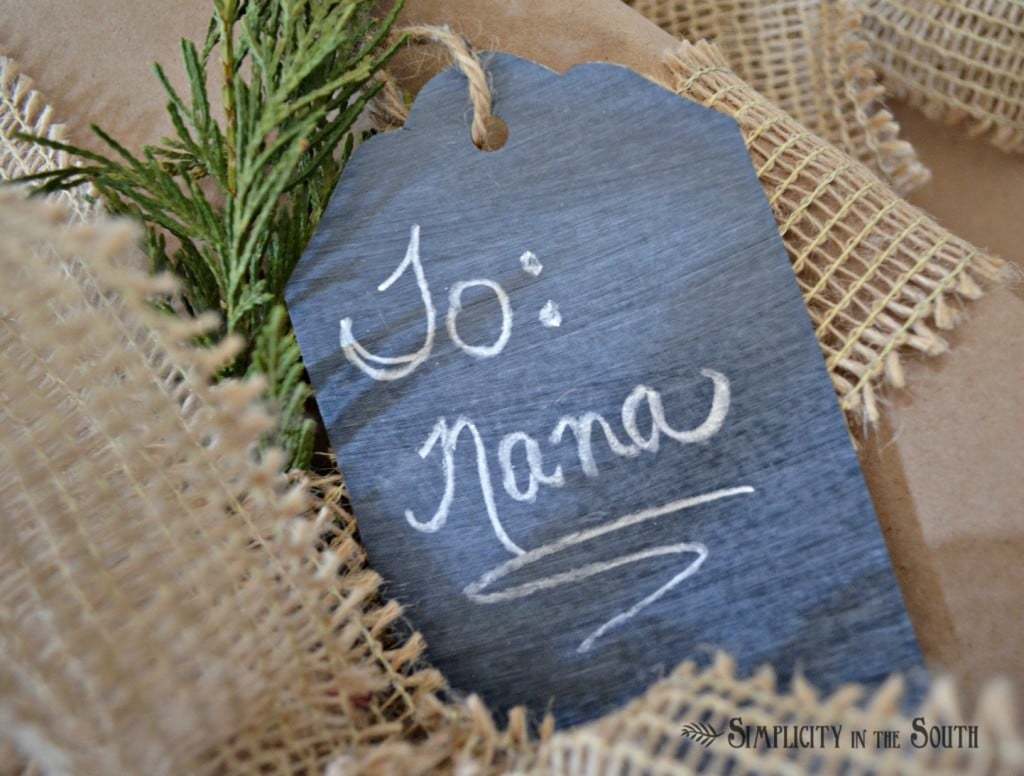
And one is going on my Mom’s gift from the boys.
I’m making some more for our family reunion next summer.
{Here’s a little tip: place a pebble behind it to keep it upright since they are so lightweight.}
I’m sure there are a few more uses for them I haven’t mentioned!
Thank you again, Traci, for letting me share my tutorial! I hope you all can stop by Simplicity In The South to see my most recent posts!






I LOVE these place cards!!!! I’m really loving the gift tag idea too. Thank you so much for sharing Tricia! :)
Your welcome, Myra! I’m glad that you liked my project! I’m so glad I got to share it over here!
I love those! Can I feature them on Knock Off Decor? It is amazing what a little imagination can do. I would have never thought to do that!
I’d love for you to feature these! Thanks, Beckie!
Those are really cool! I never would have thought to sand the contact paper. Cool. Thanks for sharing Tricia!
Ummm, totally LOVE these!! I would have never come up with that idea. So cute! I also love that your a boy mom of 3 (me too)! Heading to check out your blog now!
Thanks, Mandy! I just saw that one of your boys is named Parker also! I love your vlogging series!
Super cute idea! So creative! I was just looking at chalkboard contact paper to make tags and you idea is genius! Thanks for sharing, Tricia!
Hi Traci! :)
Hi, Roshel! Do they sell the chalkboard contact paper in the craft stores? I’ve had to buy it twice and the only place I could find it was on Amazon.com. I’m glad you liked the tags!
What a darling idea!
So cute! I especially love the gift tag version!
Tricia,
These are simply adorable and so creative! Liked you on FB so I can keep up with your cute blog.
Love,
Amanda
Wow – I absolutely love those. What a cool idea. I am also liking you on FB so I can see more of your ideas!
xoxox
Love these! I would never have even thought to sand down the contact paper — I love the look! Great gift tag idea too.
Very cute!! :-) Chalkboards are my favorite!
I seriously can’t get over how cute these are! And they look JUST like the original! Love an inexpensive knockoff!! Great job and thanks for sharing it with us!
So cute! Great job girl. Love the idea of using them for gift tags!
These are adorable! What a darling idea :)
I love this tutorial! What a wonderful idea!
Will definitely be giving this a go, lil project for me and the kids I think!