
DIY Stencil Wall {in Sania’s room}
I’m so excited to share this DIY project with you! I partnered with Purdy to do a DIY project I have never done before!
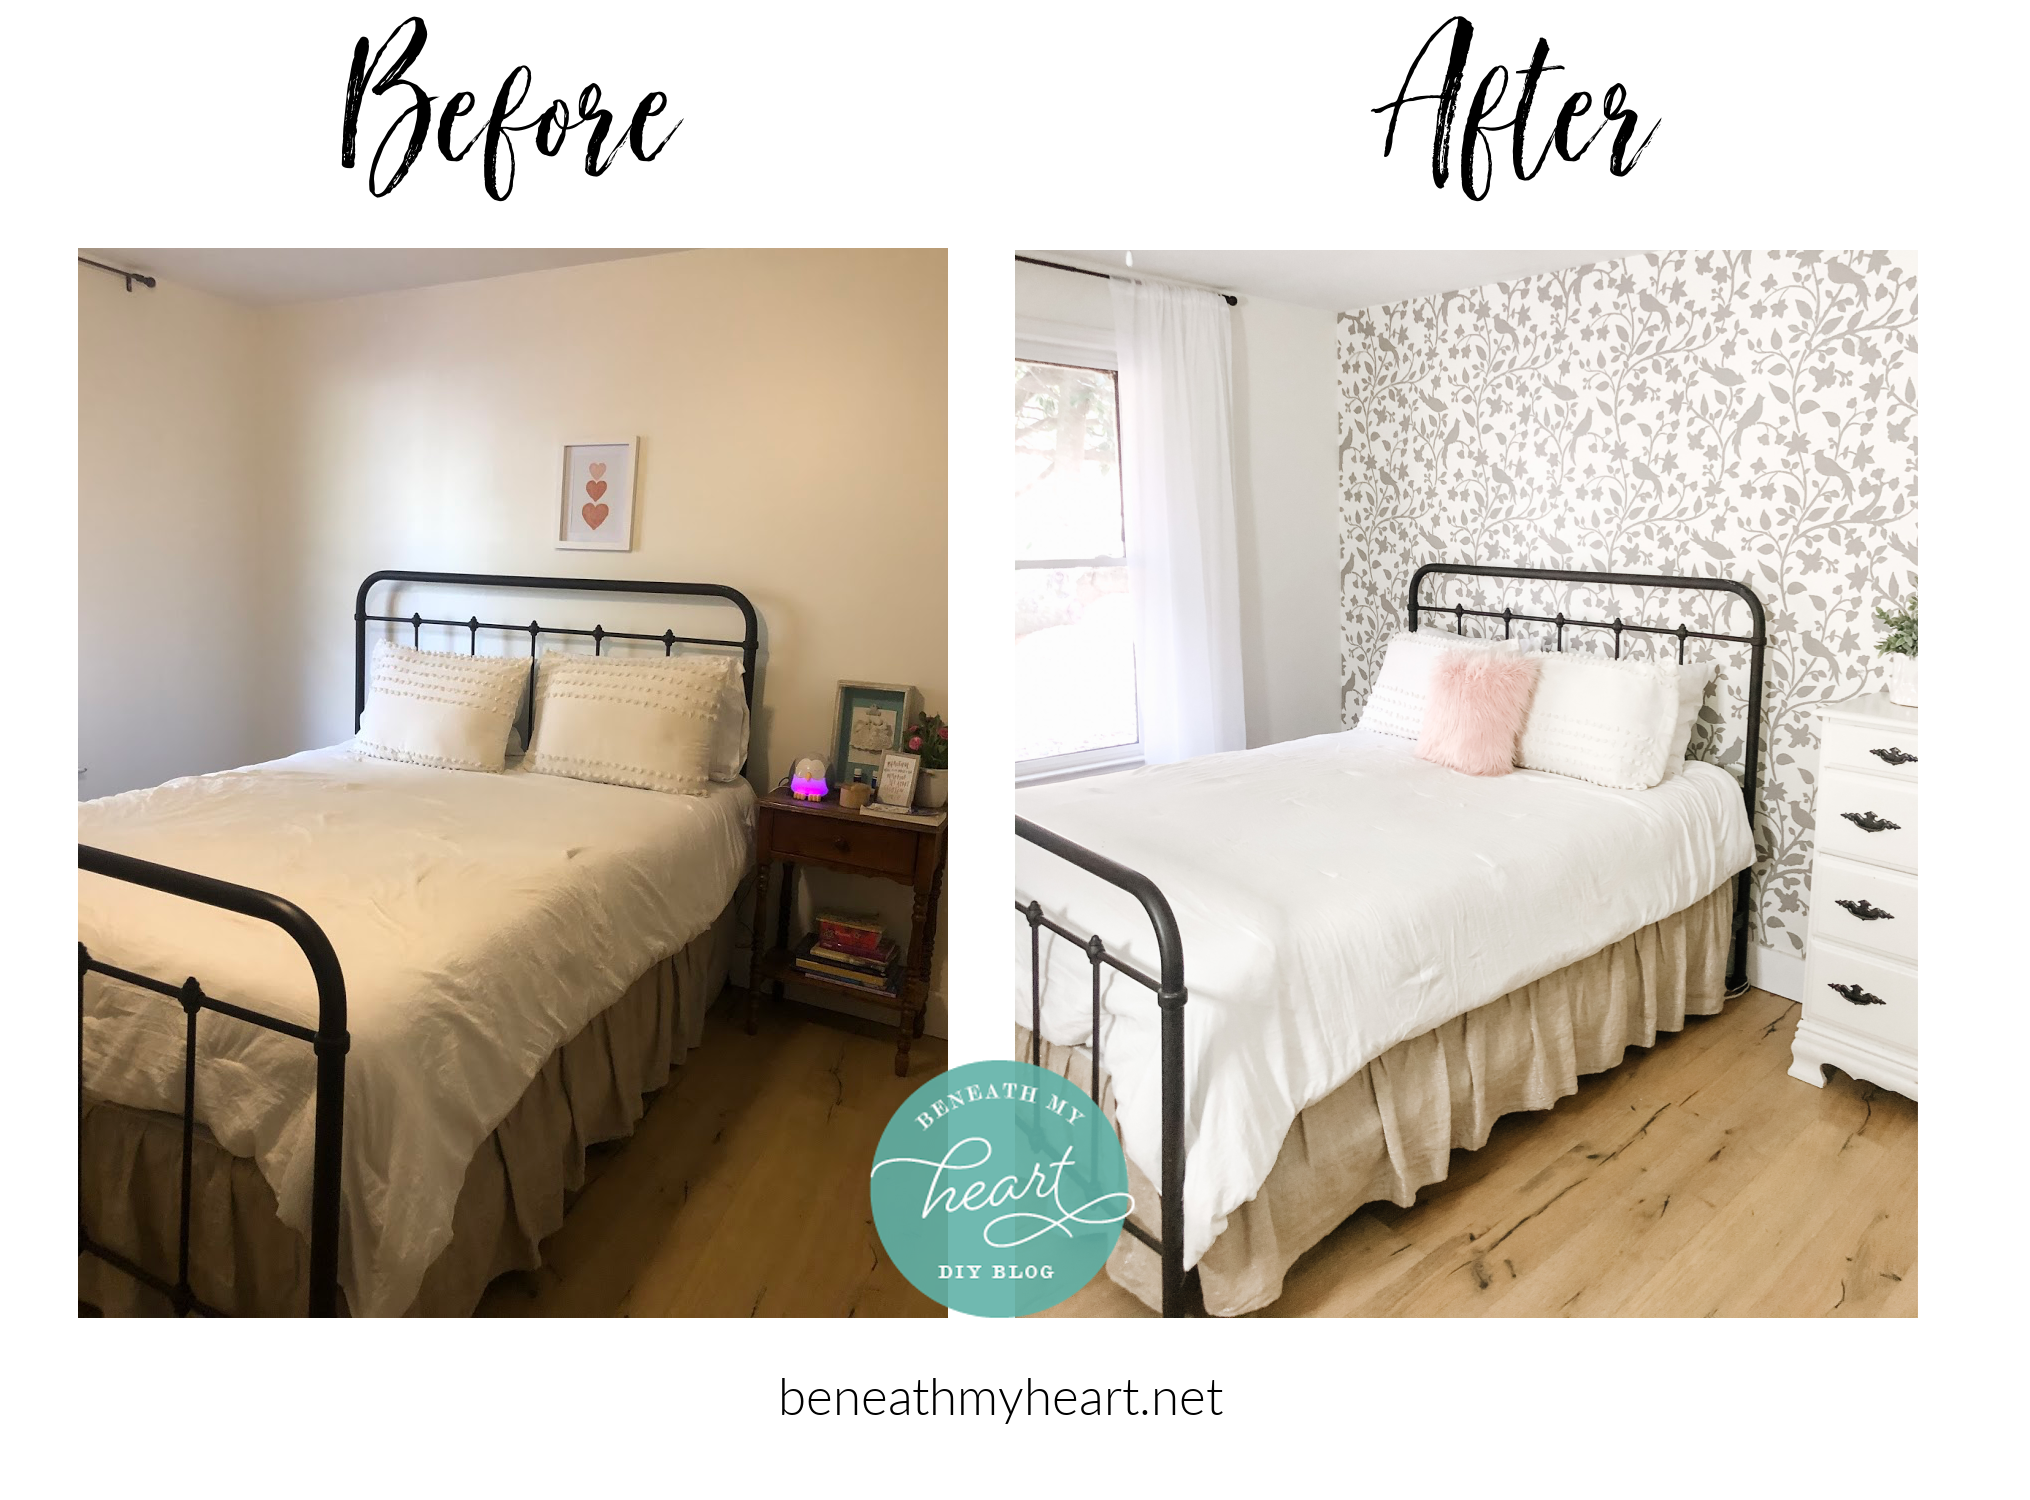
I have never stenciled an entire wall in any of my homes, but I am absolutely LOVING how Sania’s room turned out!
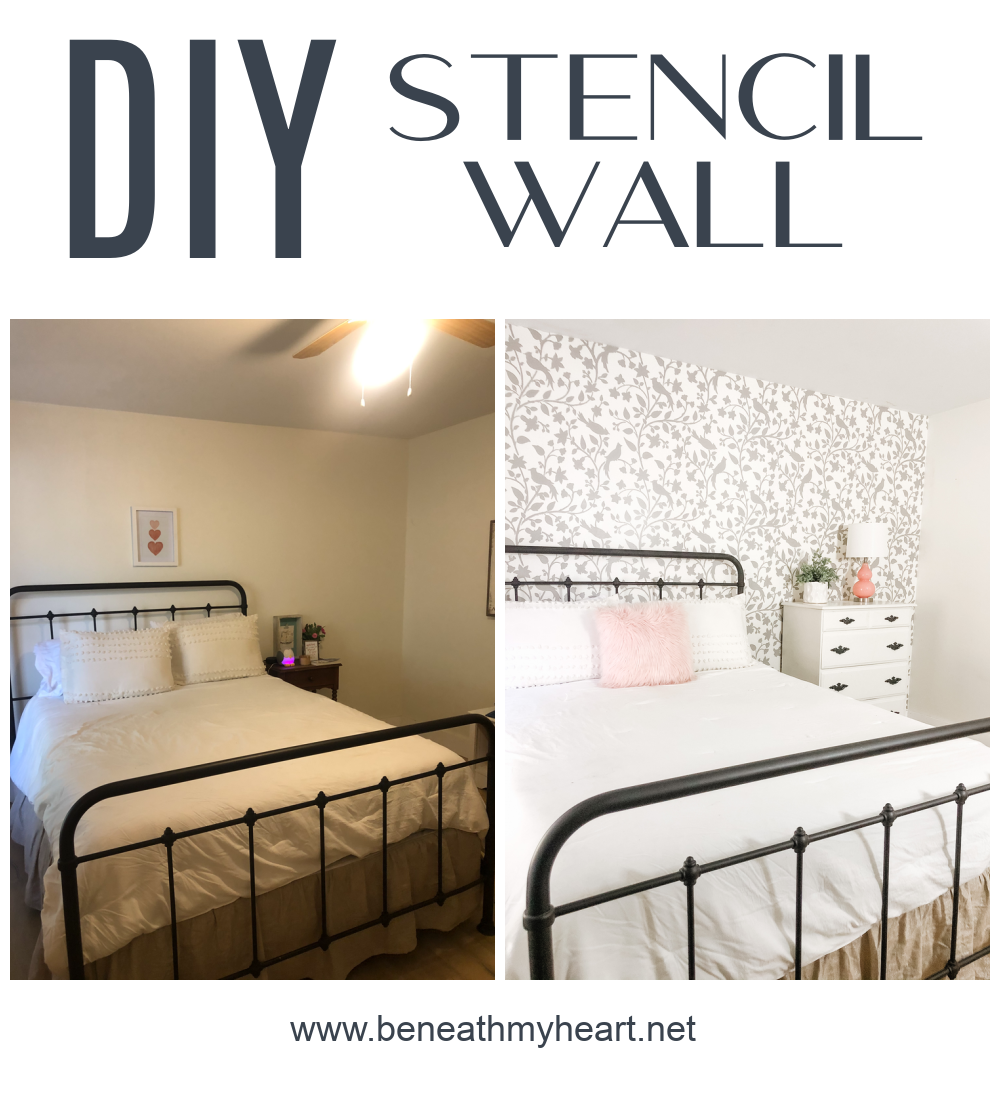
Today, I want to share with you some pictures and a video (bottom of post) of how I stenciled a wall in my daughter’s room.
First of all, I gathered all the supplies I needed for this project.
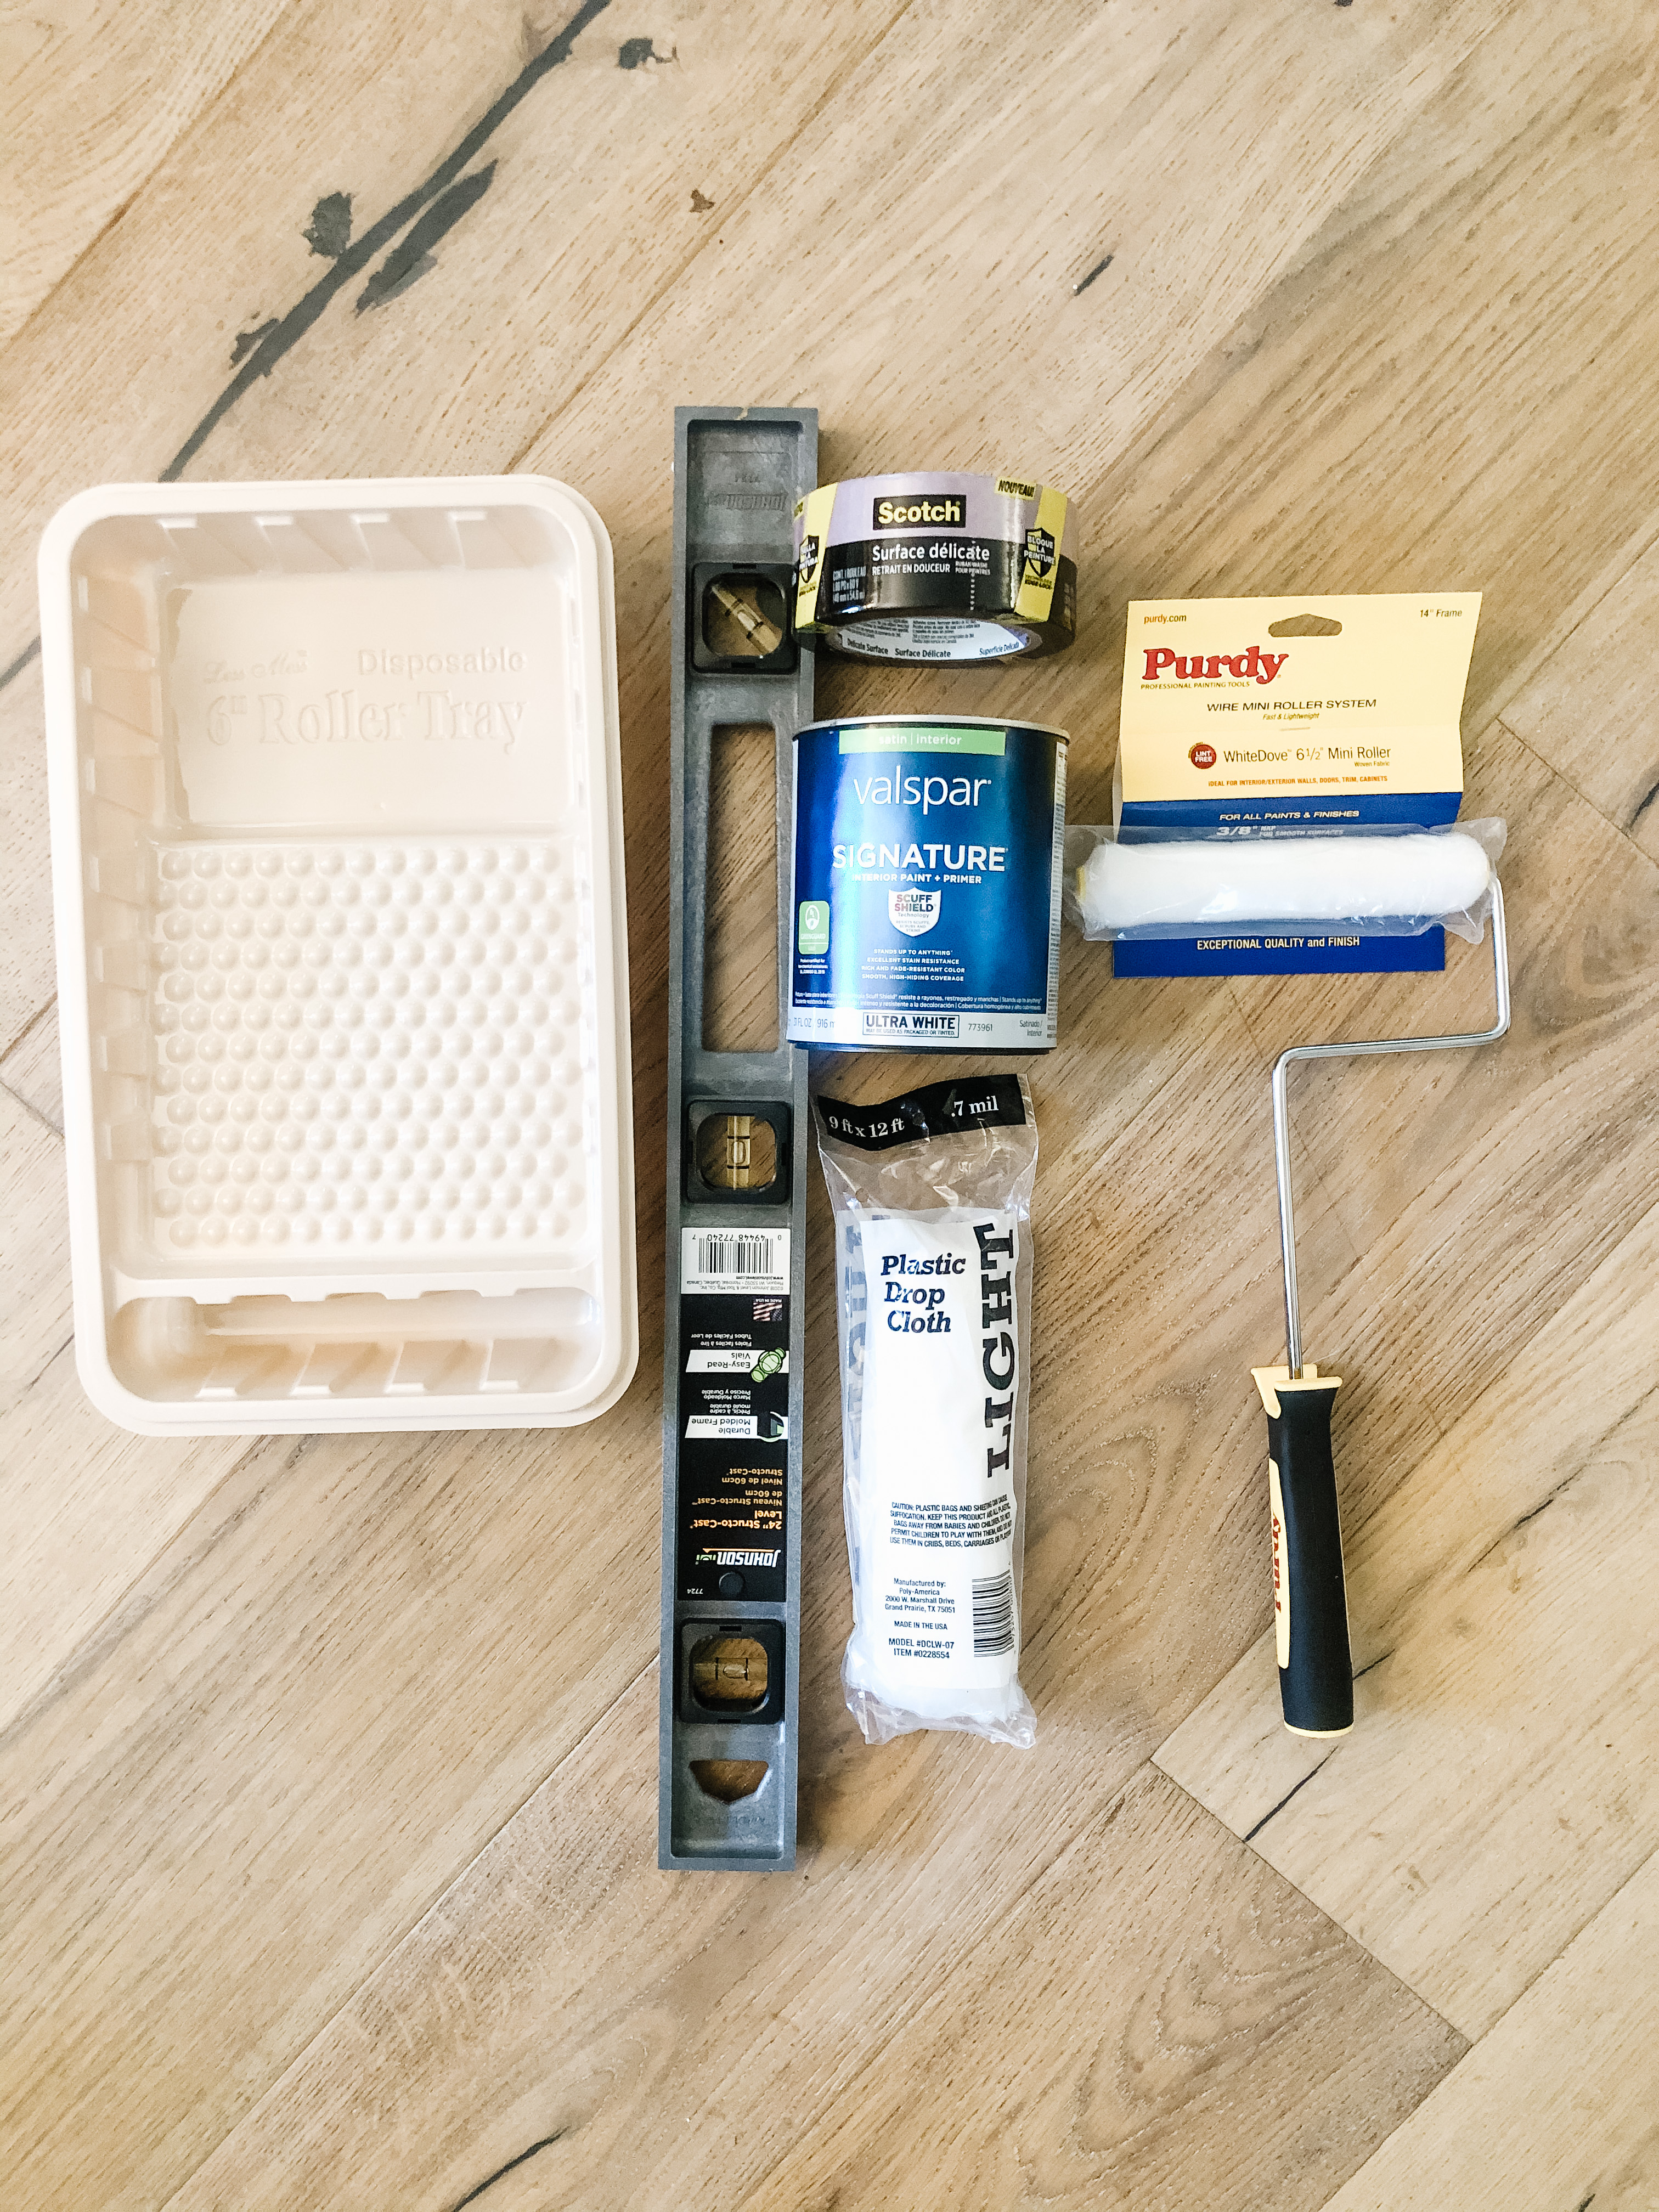
SUPPLIES:
-
paint
-
paint tray
-
level
-
painter’s tape
-
Purdy 3/8″ mini roller
-
drop cloth

Next, I took a damp cloth and wiped down the wall to make sure it was good and clean.
Then I took the painter’s tape and taped off the baseboard, the side wall, and the ceiling.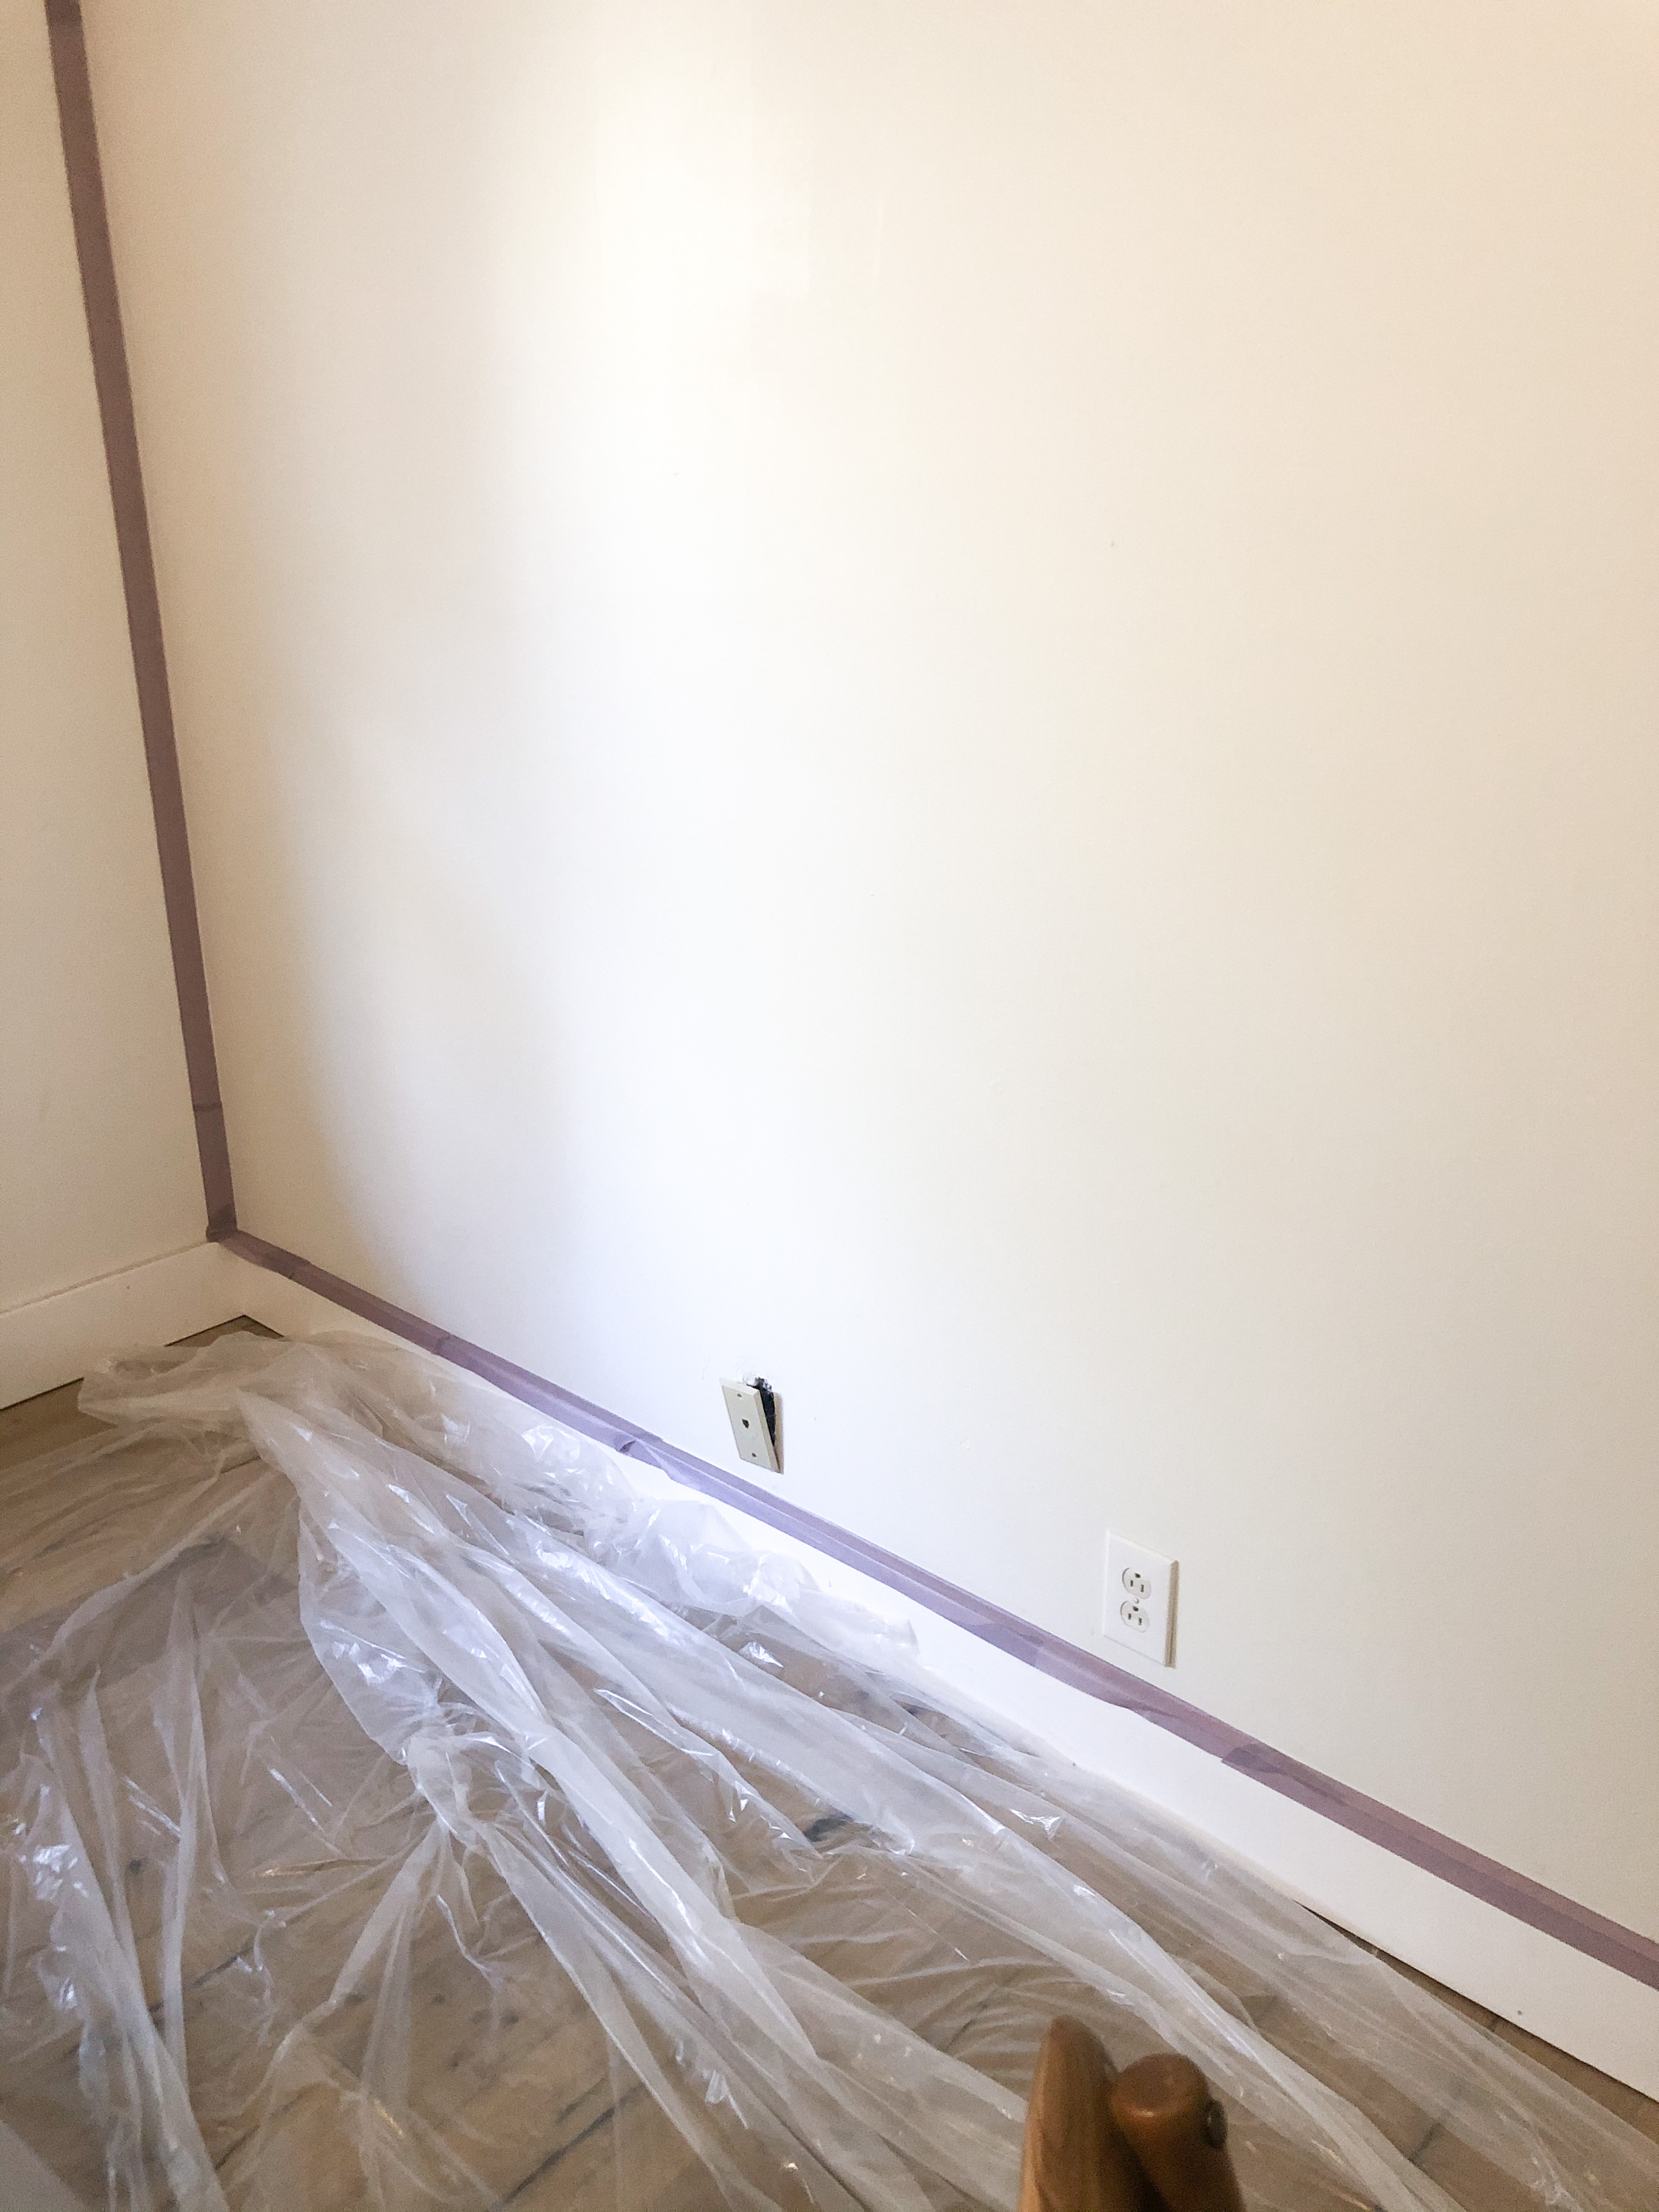
I also added a dropcloth below where I was painting.
The stencil I used for this project is called “Bird on a Vine” by Cutting Edge Stencils, and I found it on Etsy.
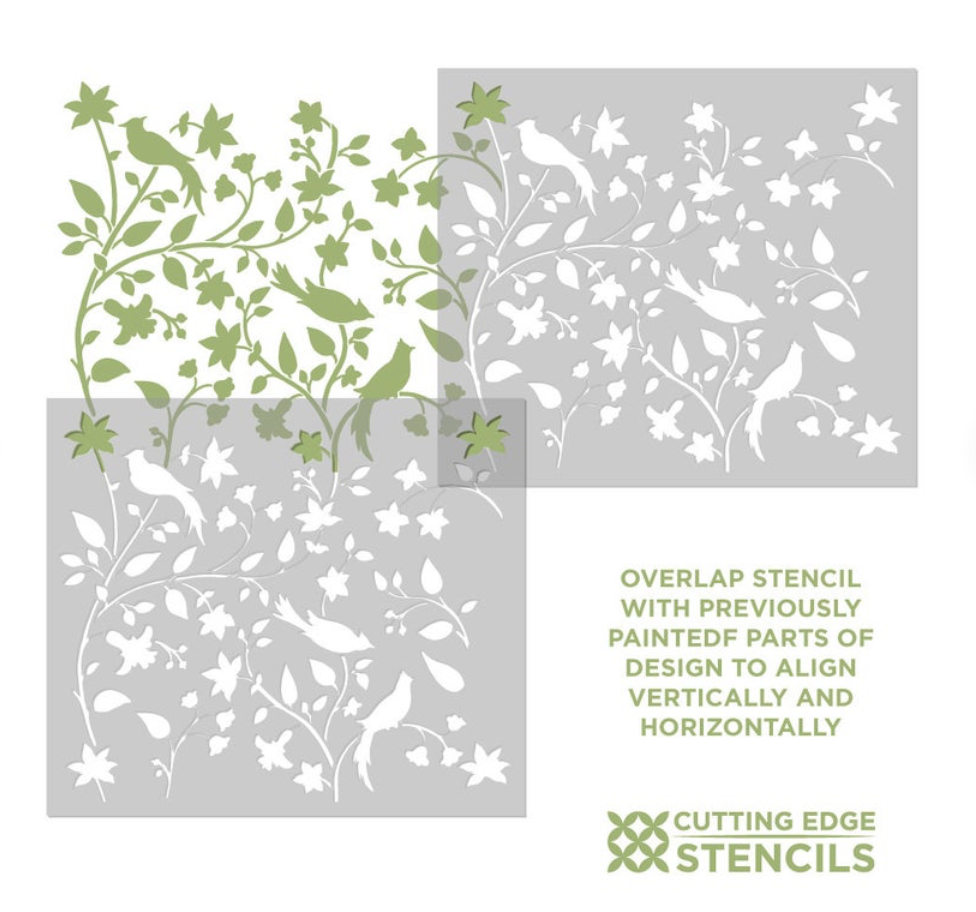
This is a very LARGE stencil!
To begin painting, I positioned the stencil in the middle of the wall, lining it up at the top of the wall.
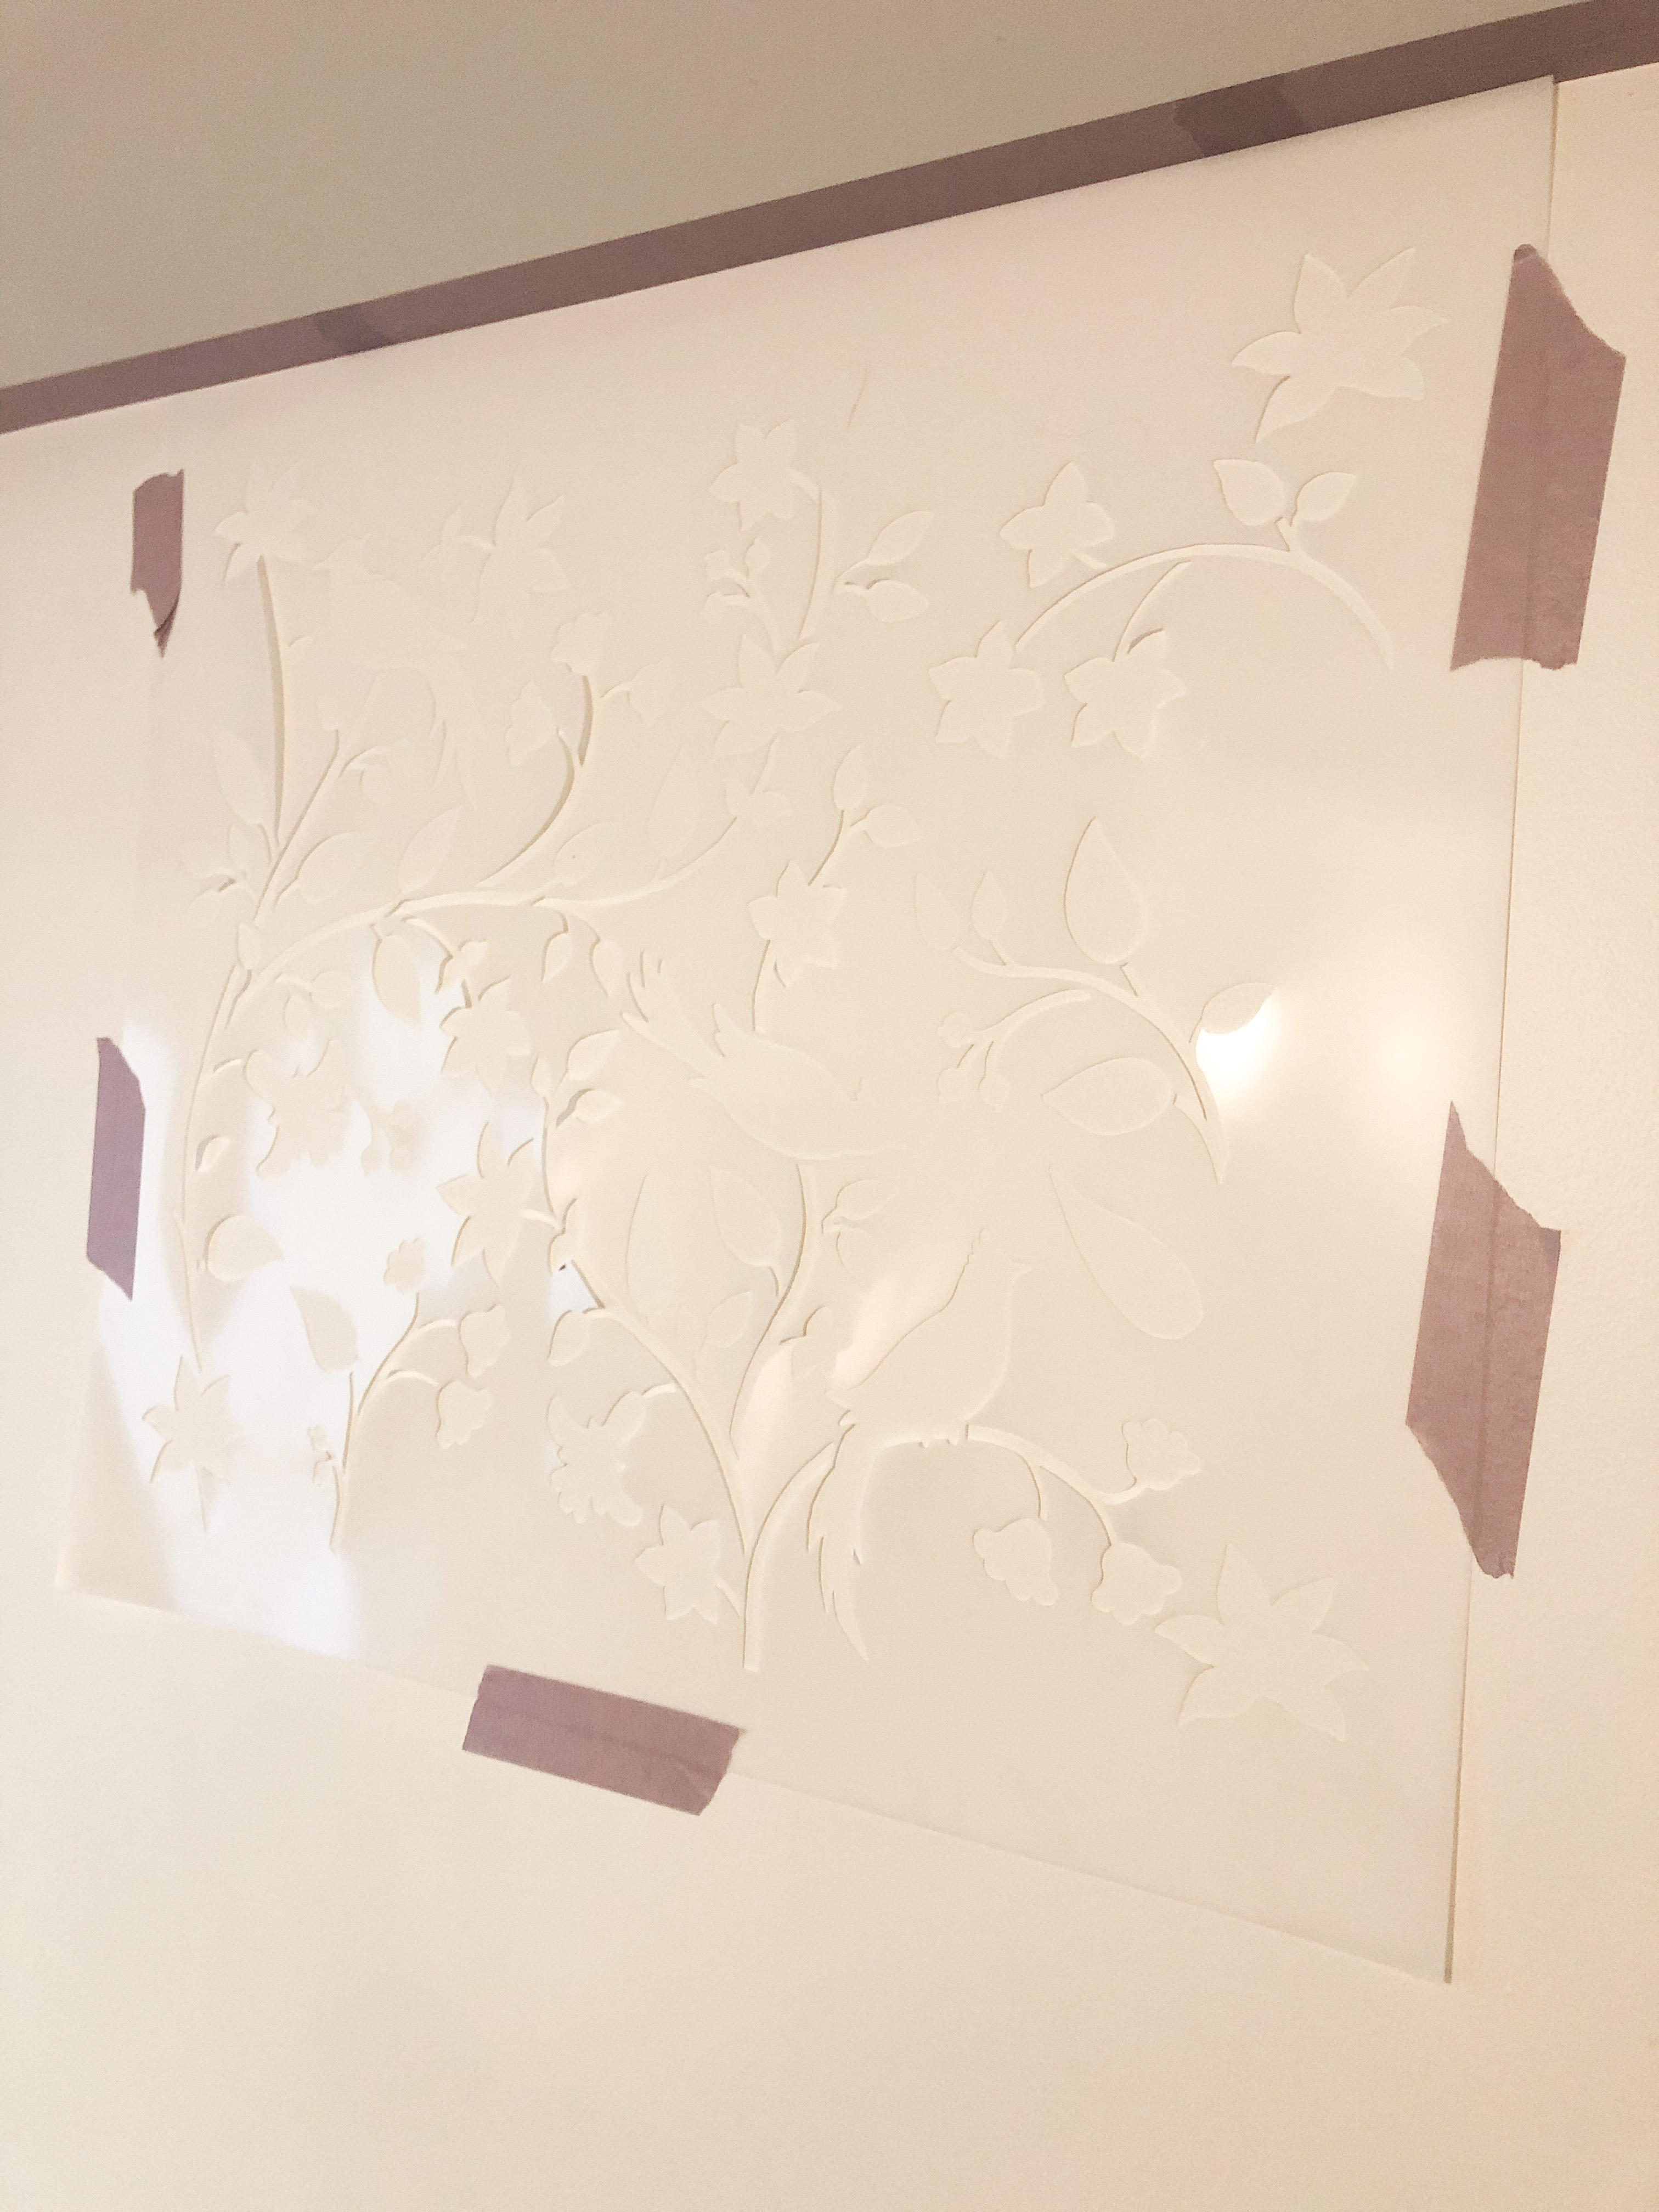
After taping the first stencil to the wall, I used my level to make sure it was level. Depending on the stencil you are using, you may want to check and see if it is level frequently throughout the process.
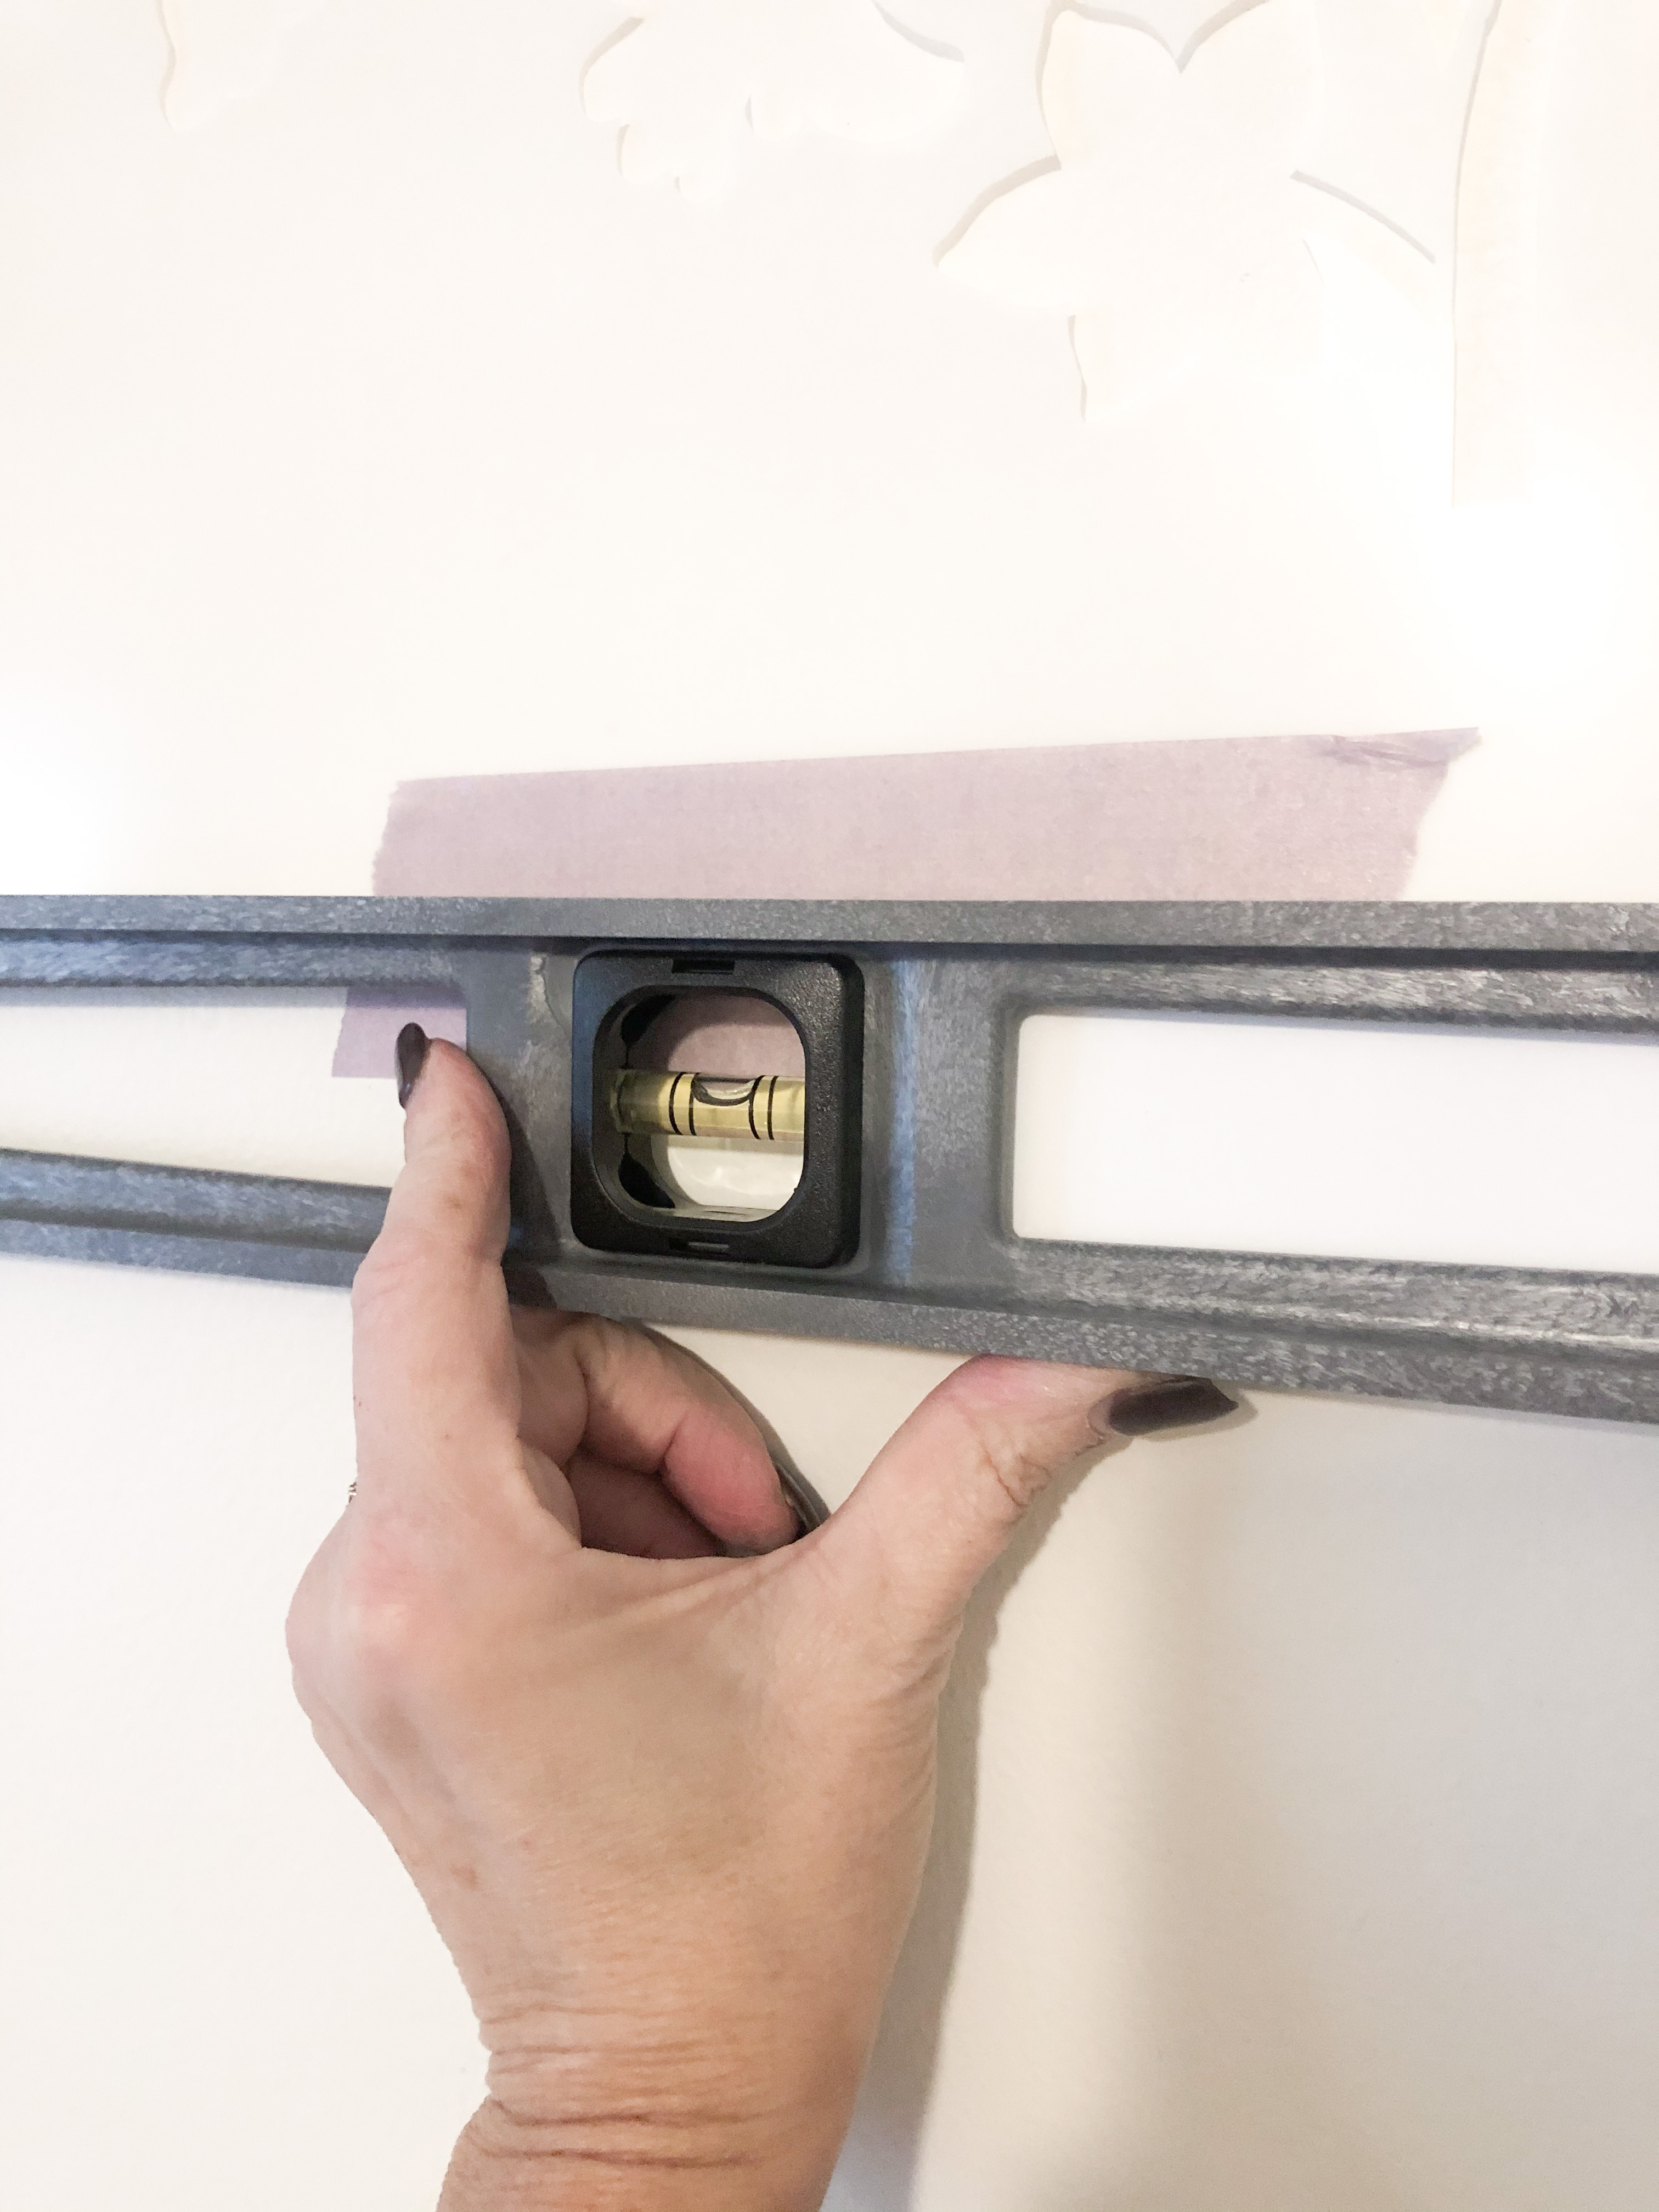
Because I used a “busy” stencil pattern, it would be less noticeable if it was not level. So I only checked to see if it was level a few times during the process.
The paint color I used was Dorian Gray by Sherwin Williams. I LOVE this warm gray color.

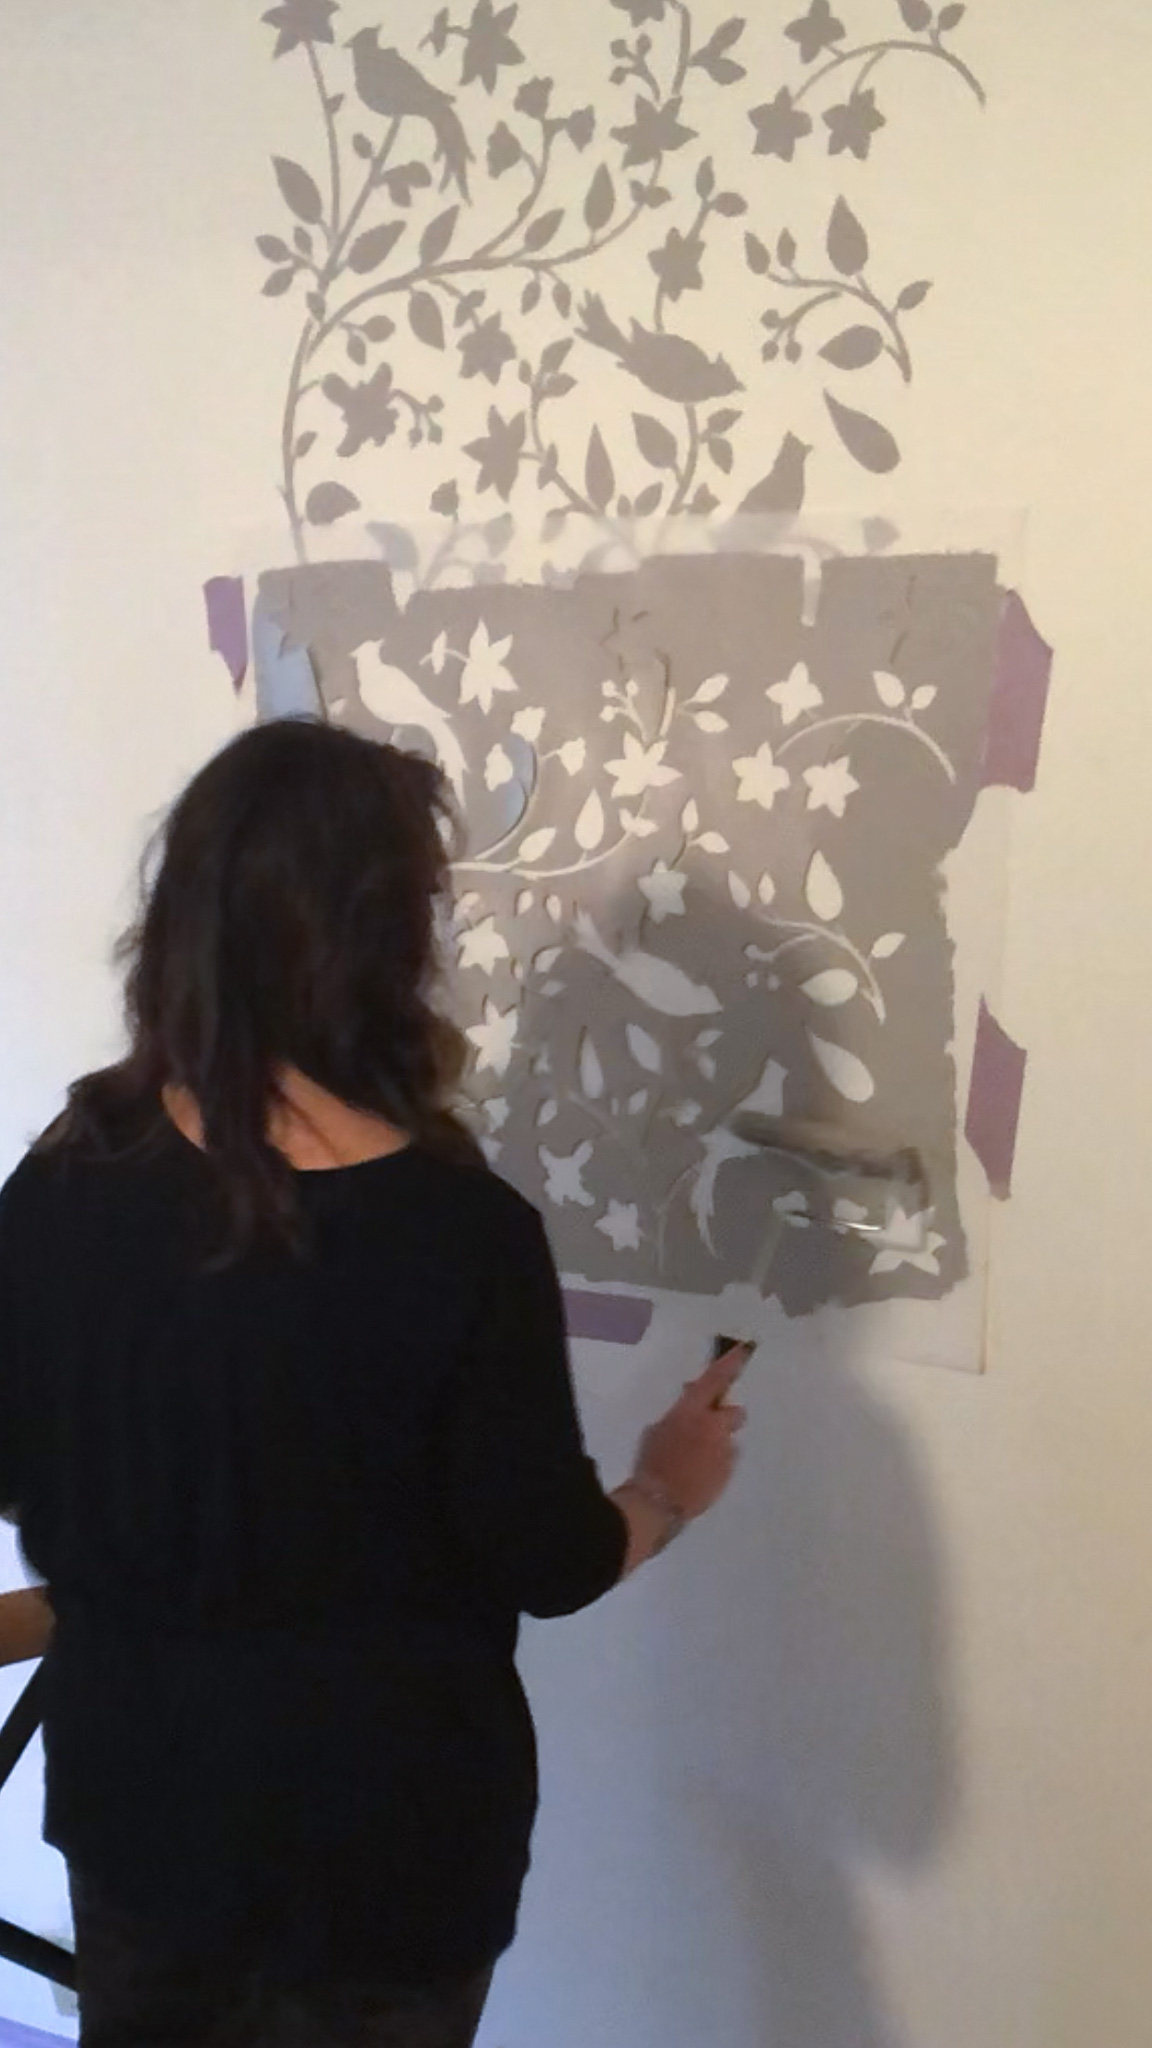
To apply the paint, you want to use a roller with a very low nap. I used the Purdy mini roller with a 3/8″ nap.

I would dip my roll brush in the paint to get it saturated, and then I would roll the brush a few times on a piece of large piece of painting paper on the floor to remove the excess paint before I applied it to the stencil. (You can see me do this in the video.). This helped to prevent excess paint from seeping under the stencil when I rolled.
Once I rolled the first stencil on the wall, I carefully removed the stencil, positioned it below the first, and continued to paint down the wall.
To position the stencil each time you move it, you want to overlap it and align the pattern. On my stencil, the two flowers at the top is what I used to line up the stencil on the previous pattern. (If that doesn’t make sense, be sure to watch my video where I demonstrate how to do this.)
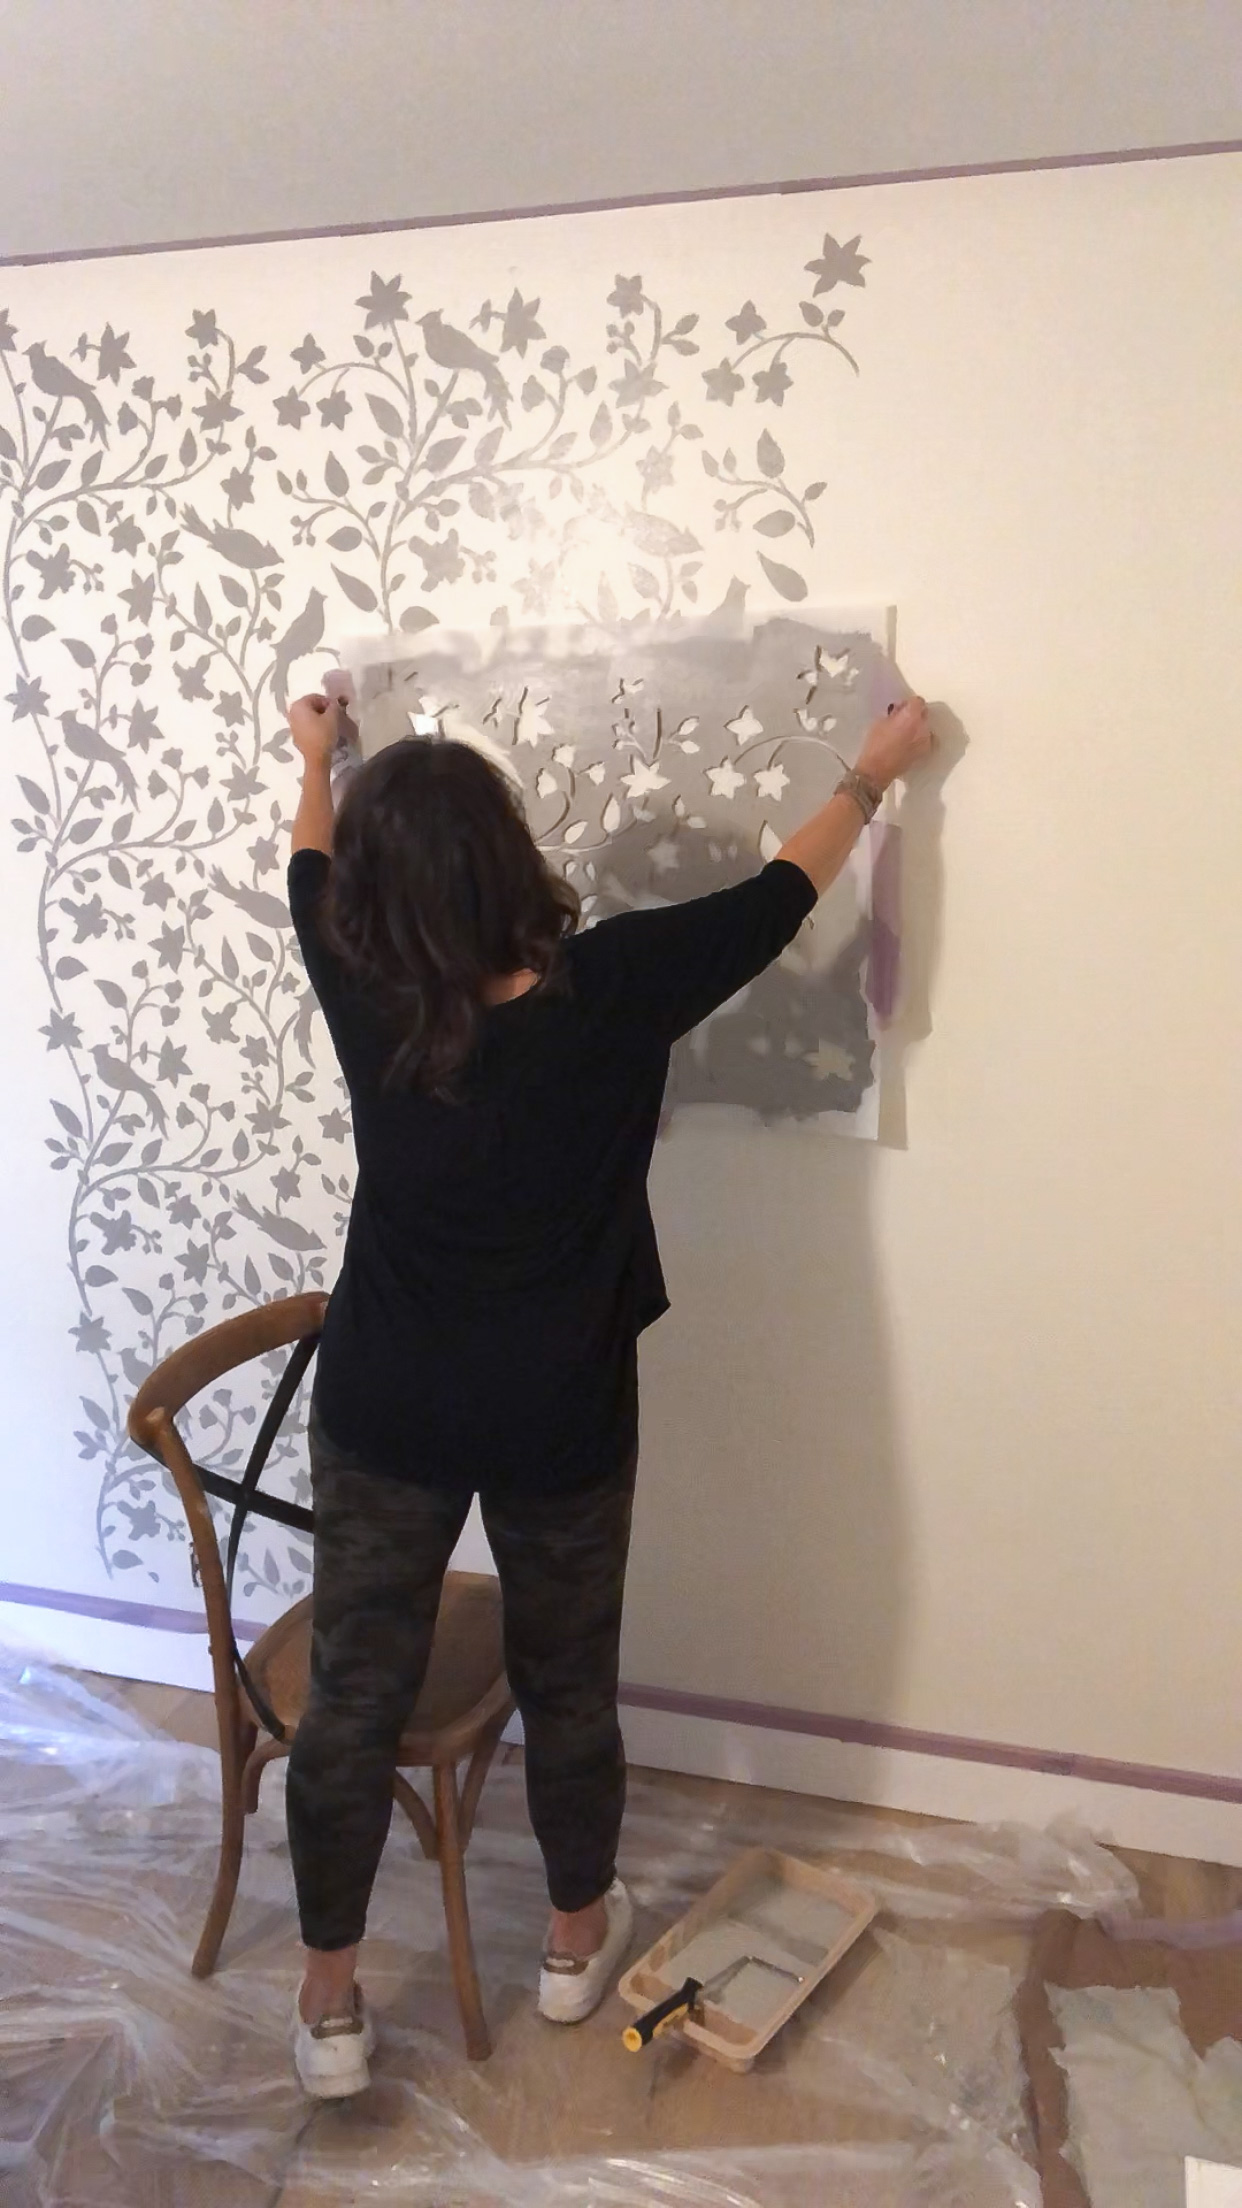
I repeated this process across the wall until I was finished.
The trickiest part was painting up to the corners. In the instructions, it says to bend the stencil in the corner, and paint up to the wall.
My stencil was so large, it keep falling down, so I actually cut my stencil in half so that it lined it to the corner more easily.
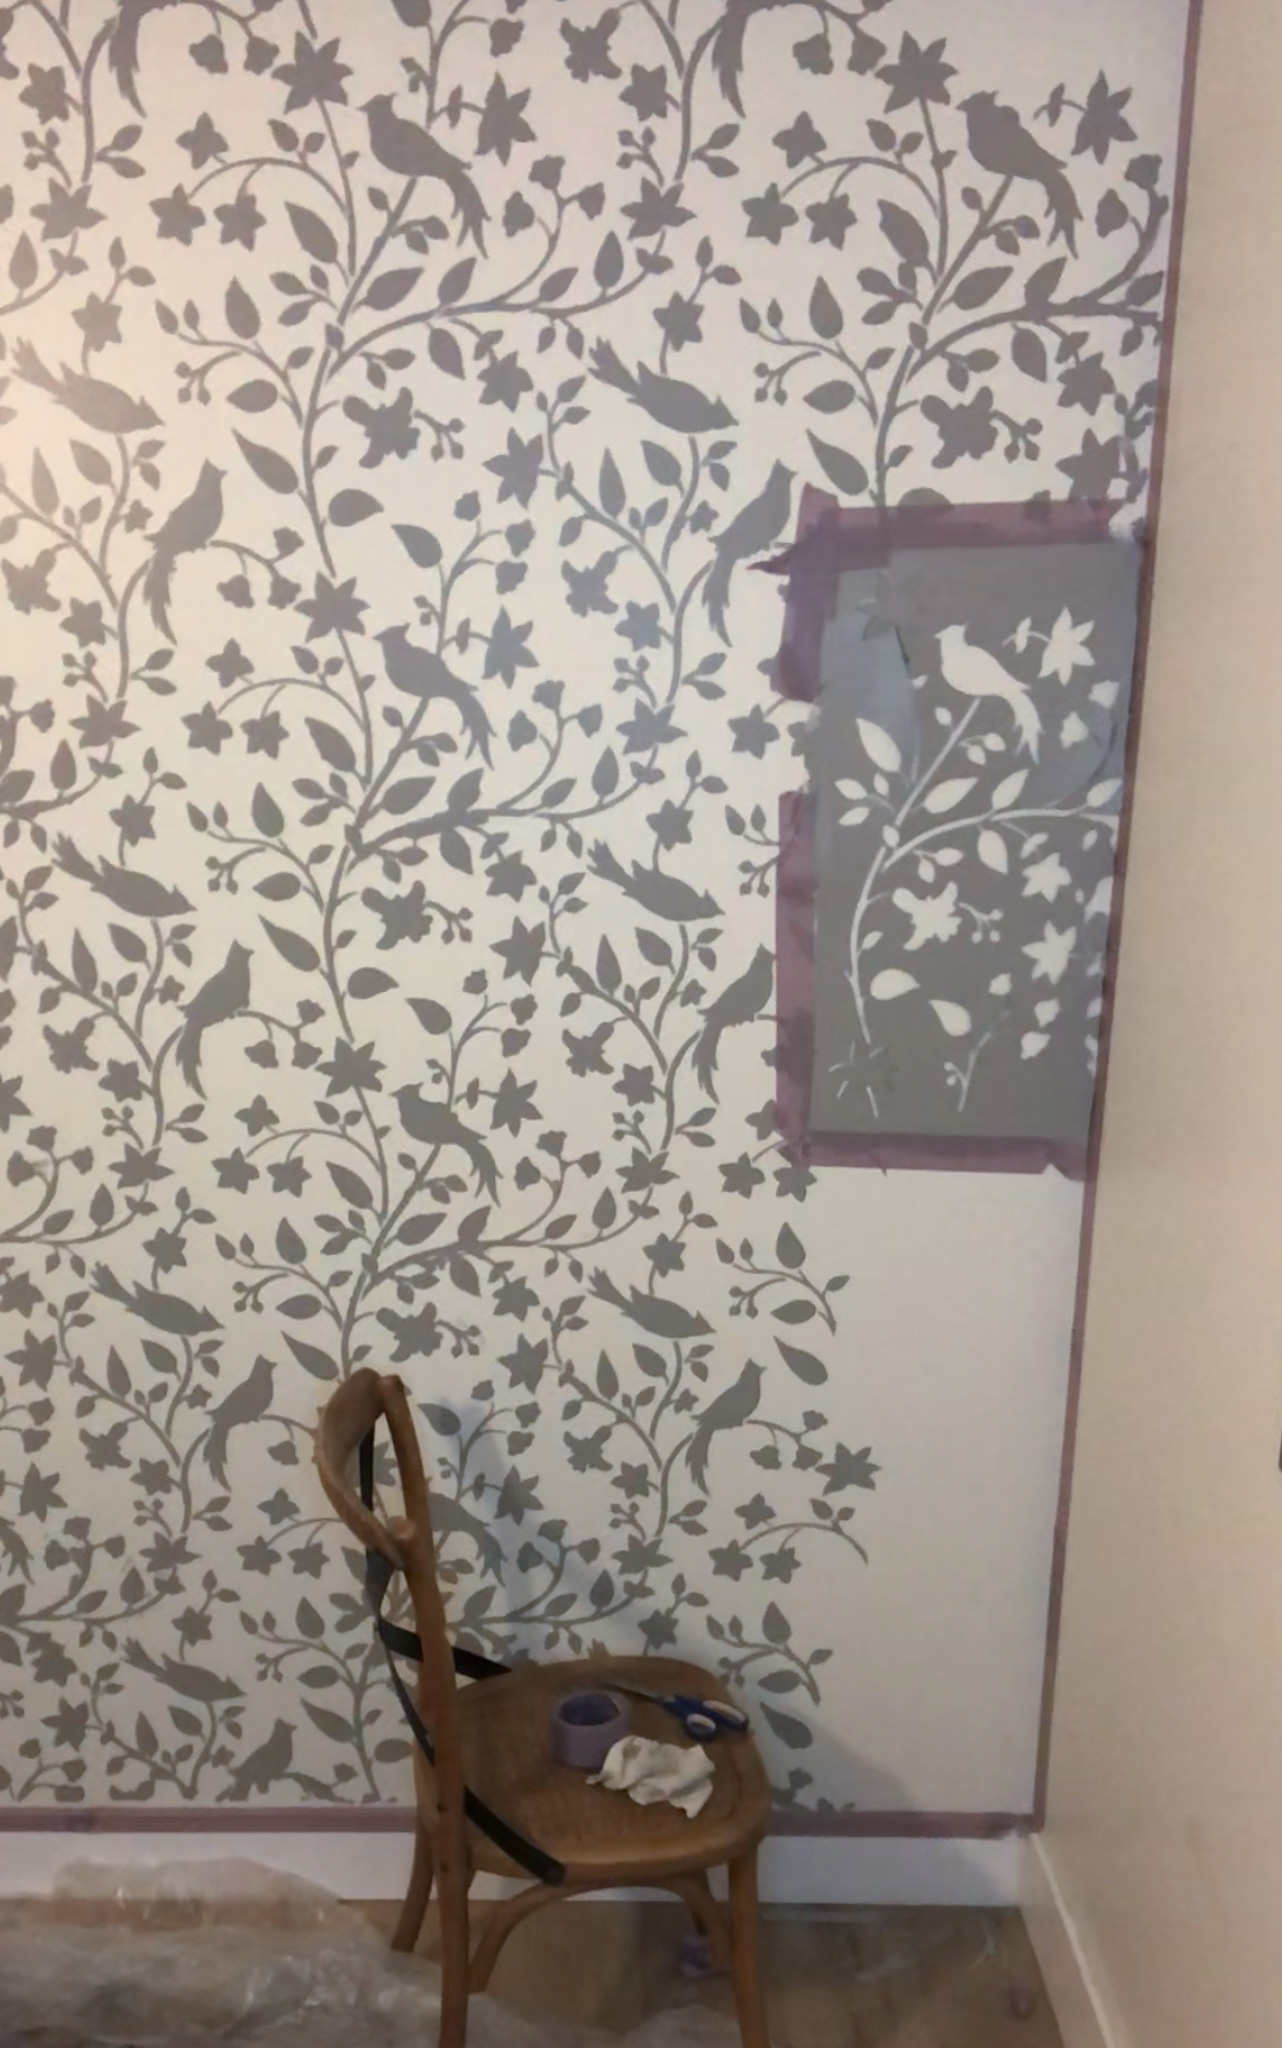
I rolled as close as I could to the wall, and then when I removed the stencil, I used a small craft brush to fill in any spots next to the corner wall the roll brush didn’t reach. This was the most time consuming part of the project.
Remember when using a stencil, you will not get a perfectly painted look on your wall. It will have a more “hand painted” look. I am a perfectionist, and at first, the little mistakes made me nervous.
But when I was finished with it all, I was amazed at how good it looked! I LOVE the way it turned out.
The best part of it all was seeing my daughter and the rest of my family react to it.
“MOM! YOU DID THIS?!” haha!
They couldn’t believe how professional it looked and what a dramatic statement it made in the room.
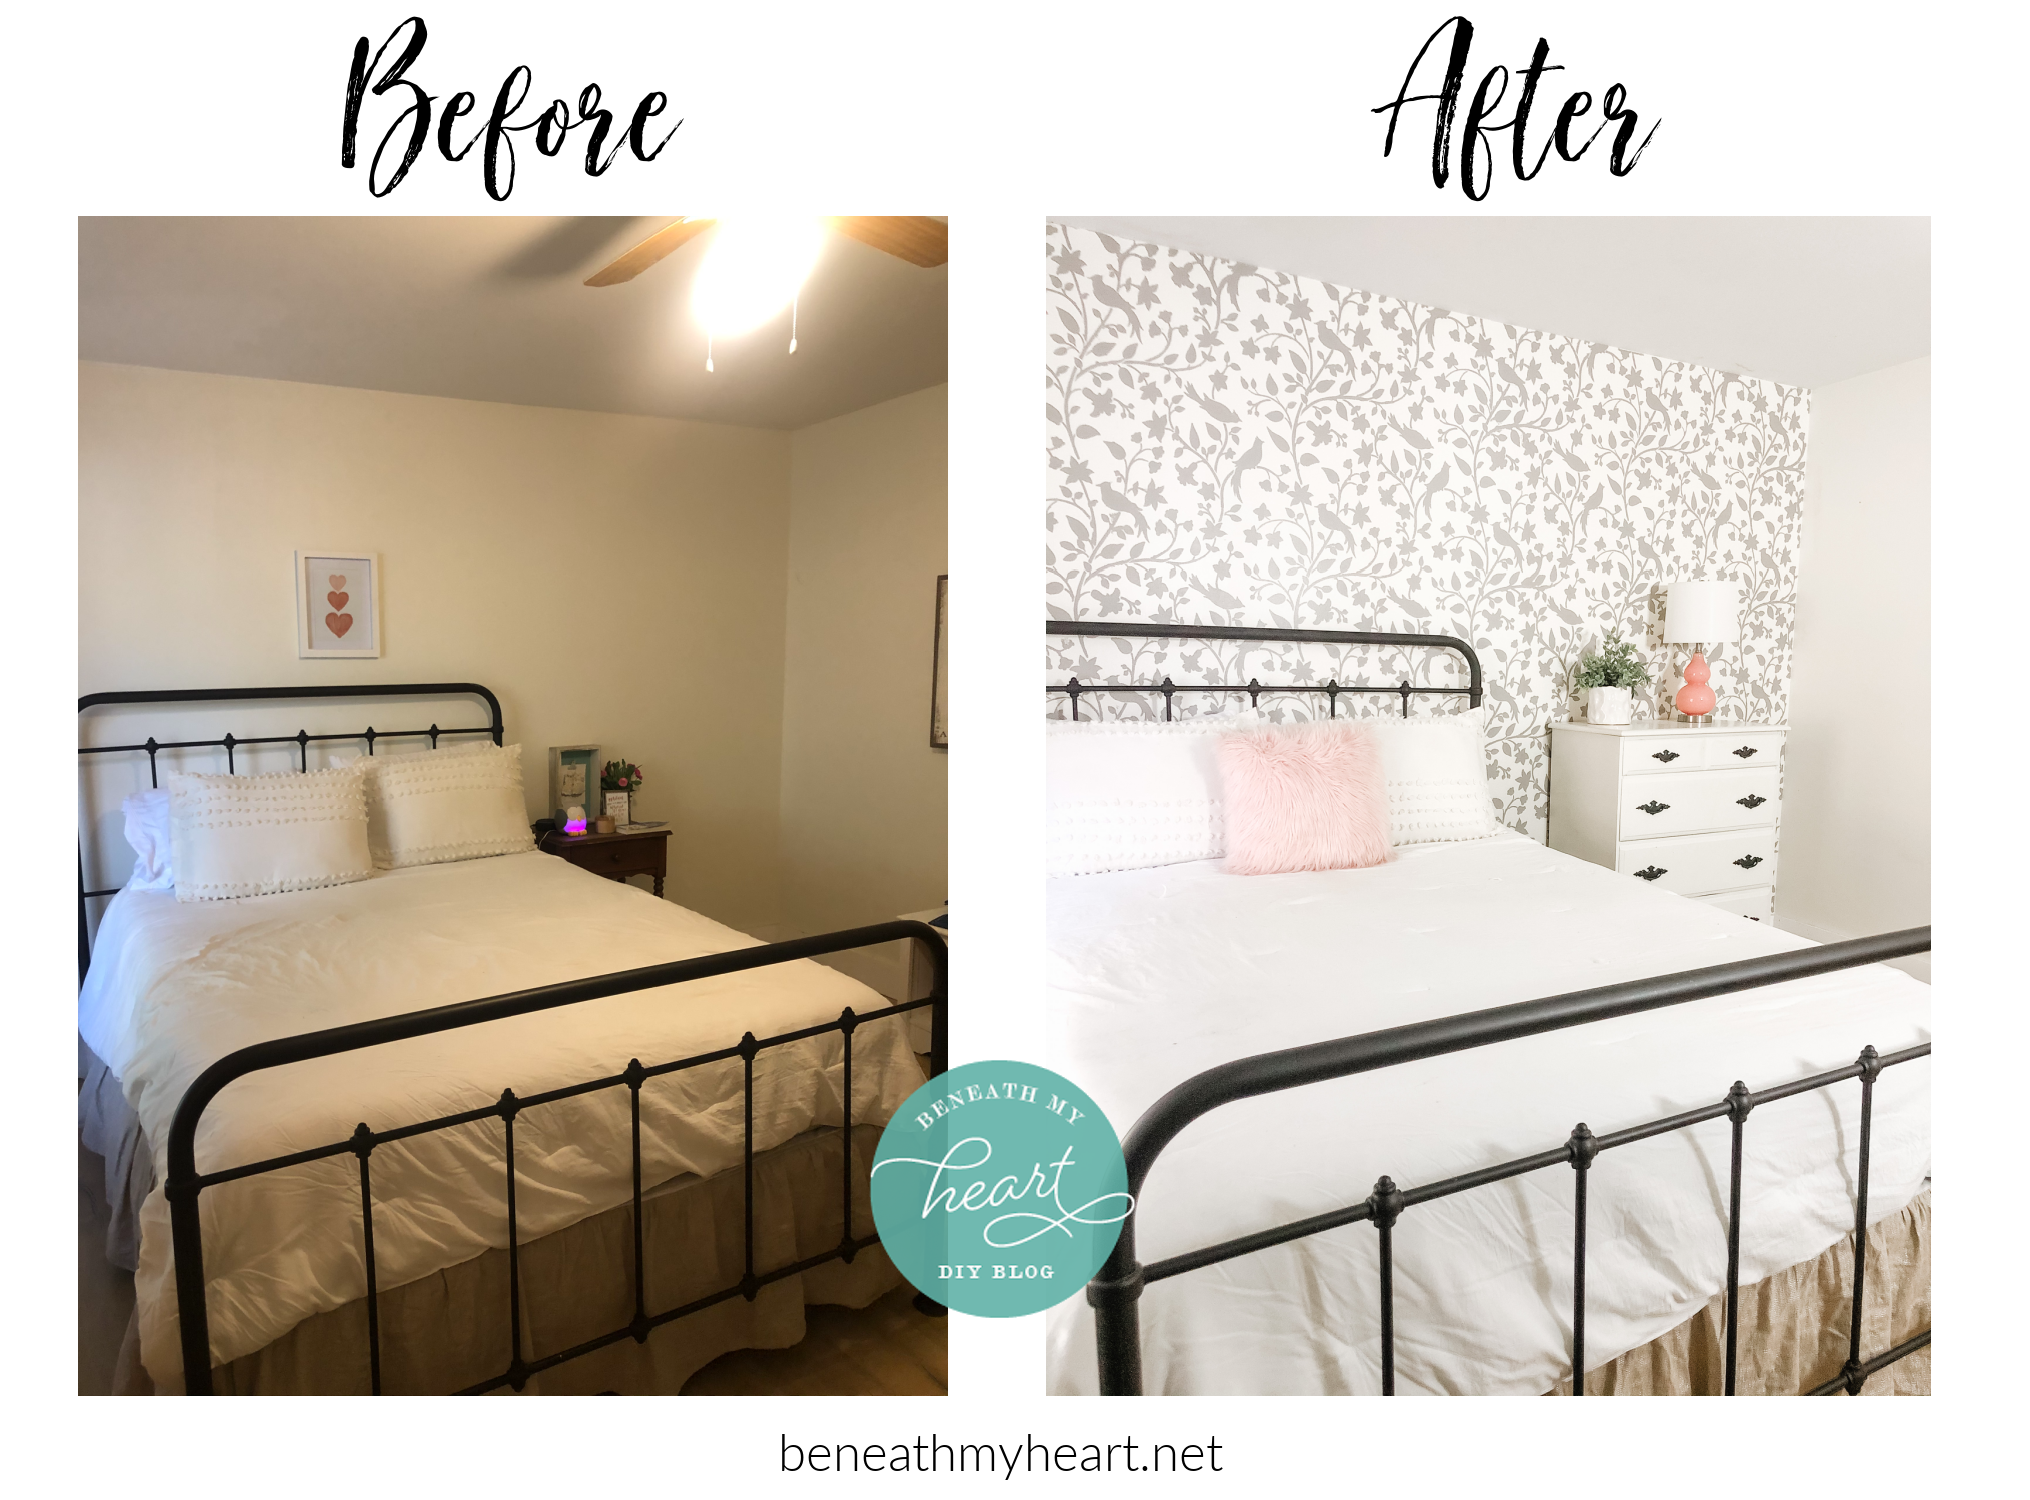
This project only took me a few hours, and yet it made such a huge difference in this space! Worth every second I spent on it!
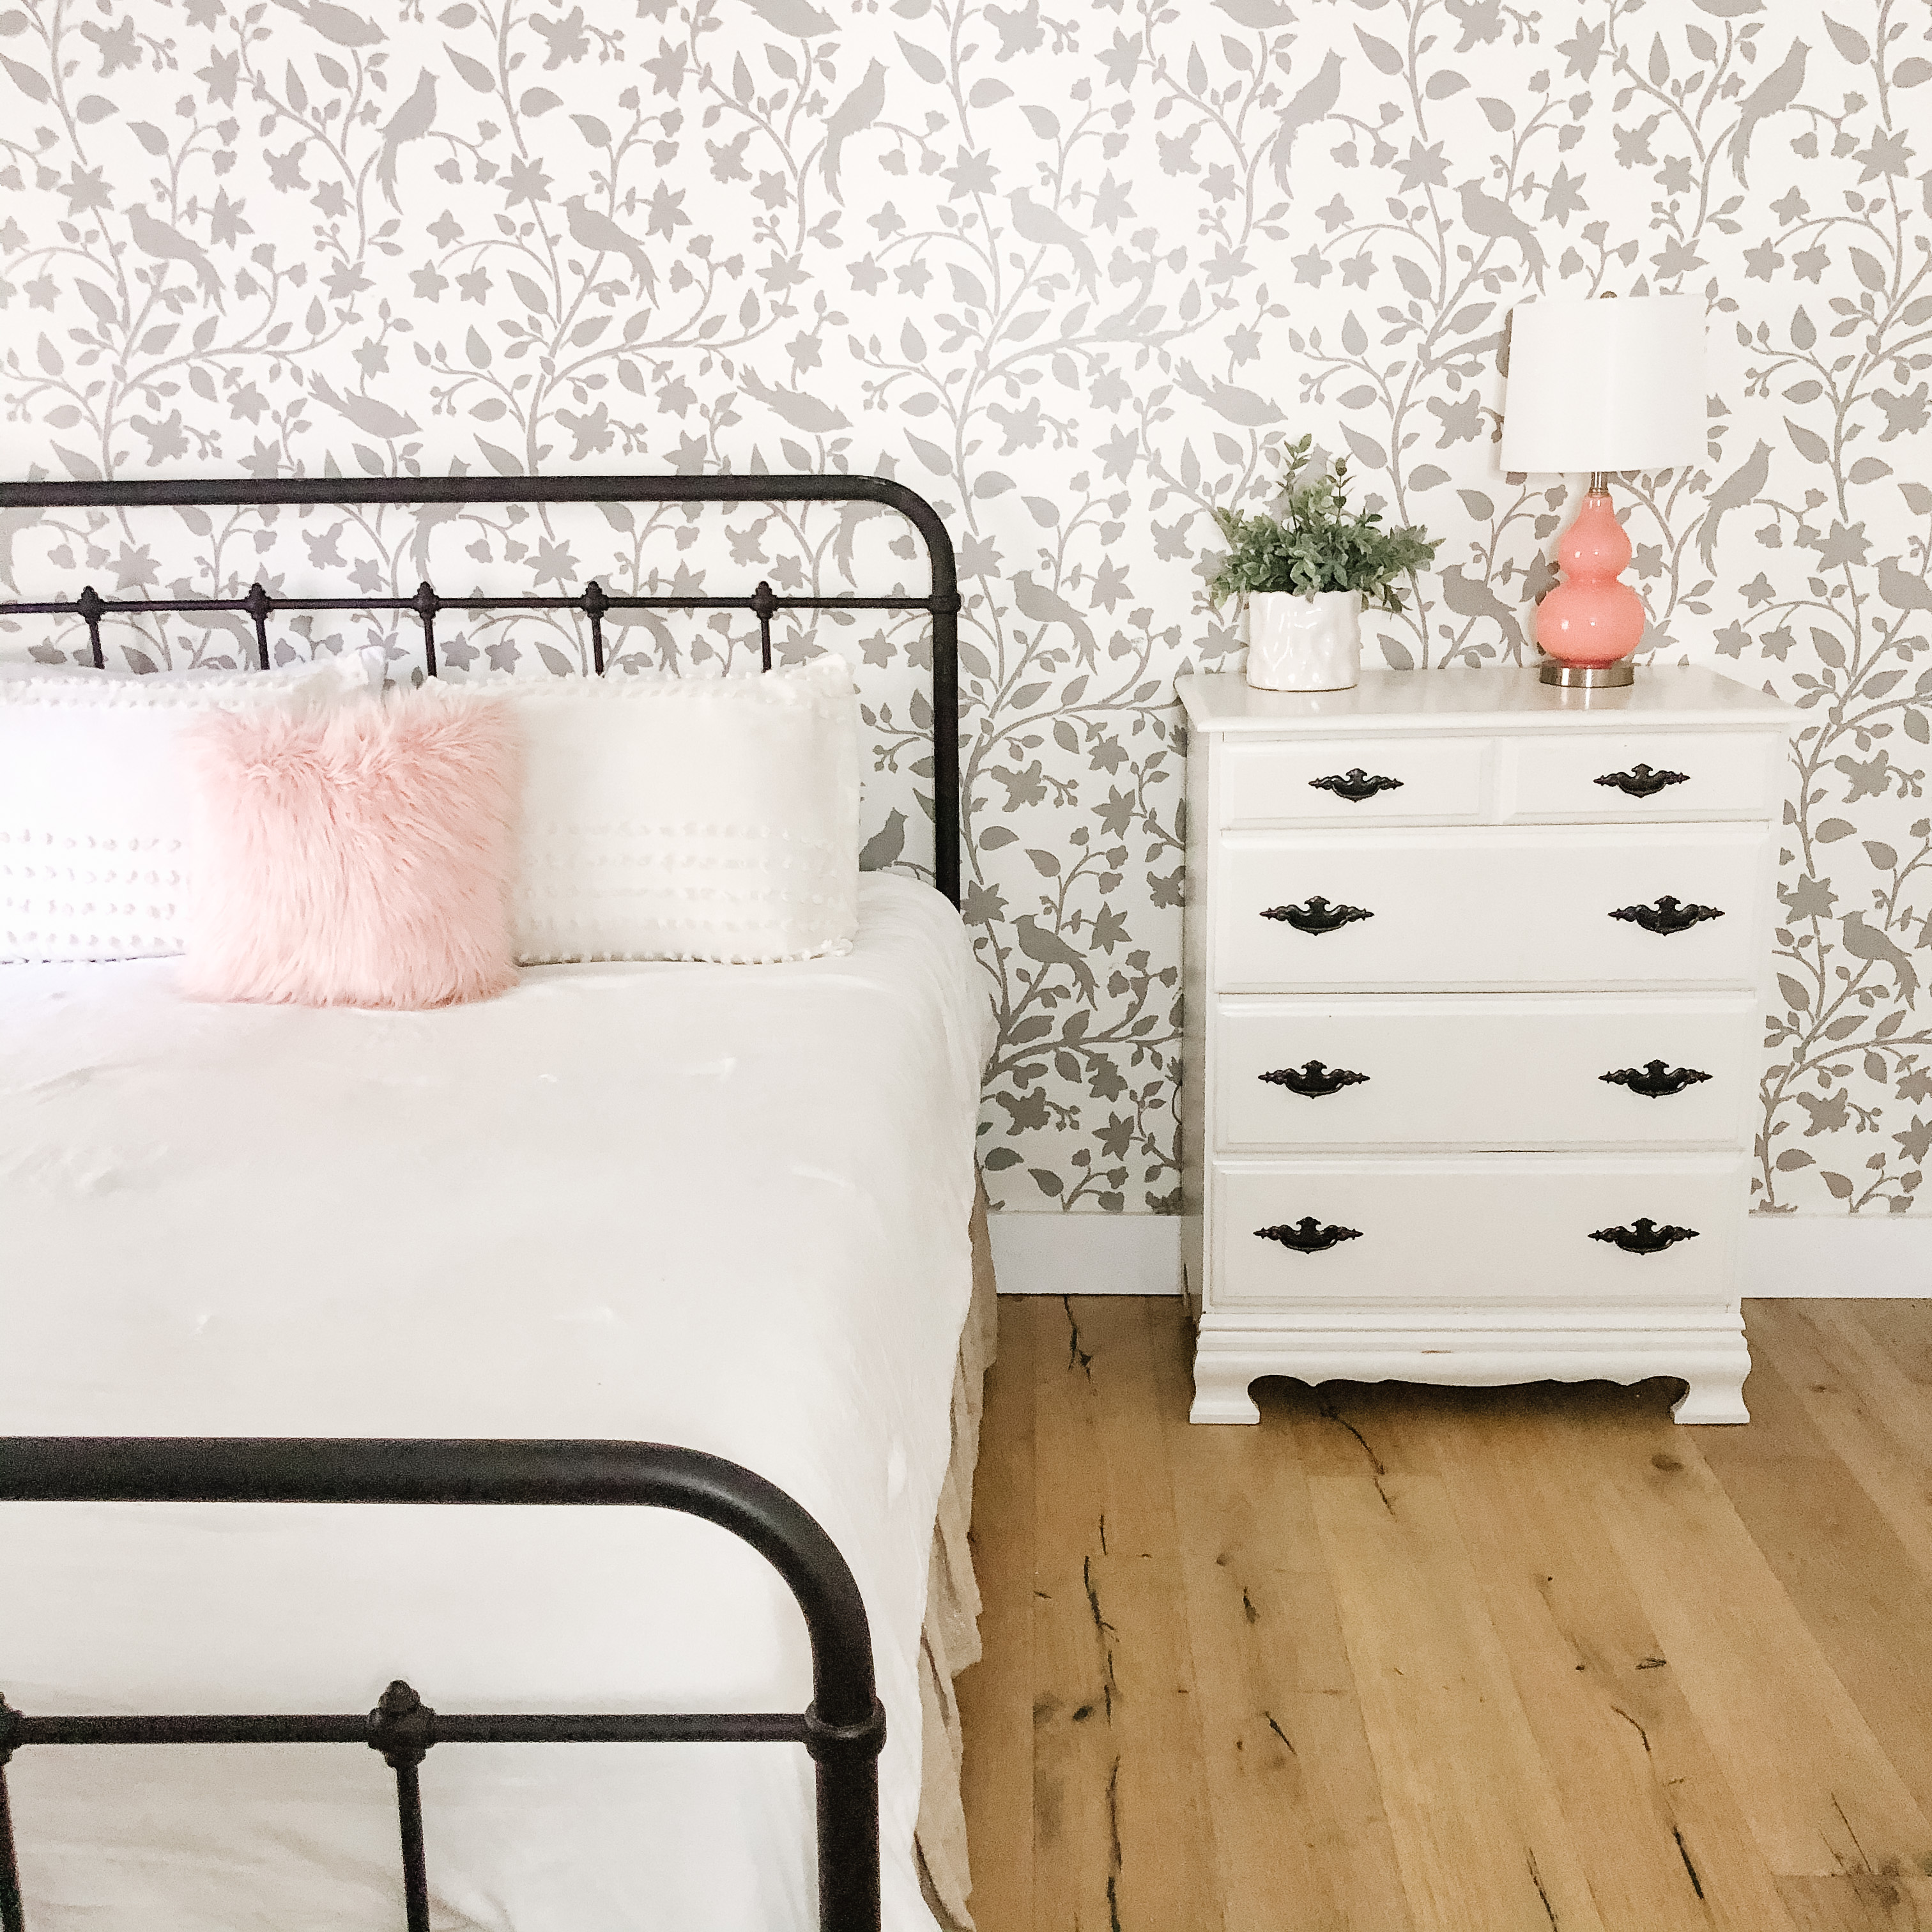
I moved Sania’s white dresser to this wall because I loved the way it looked up against the beautifully stenciled wall.
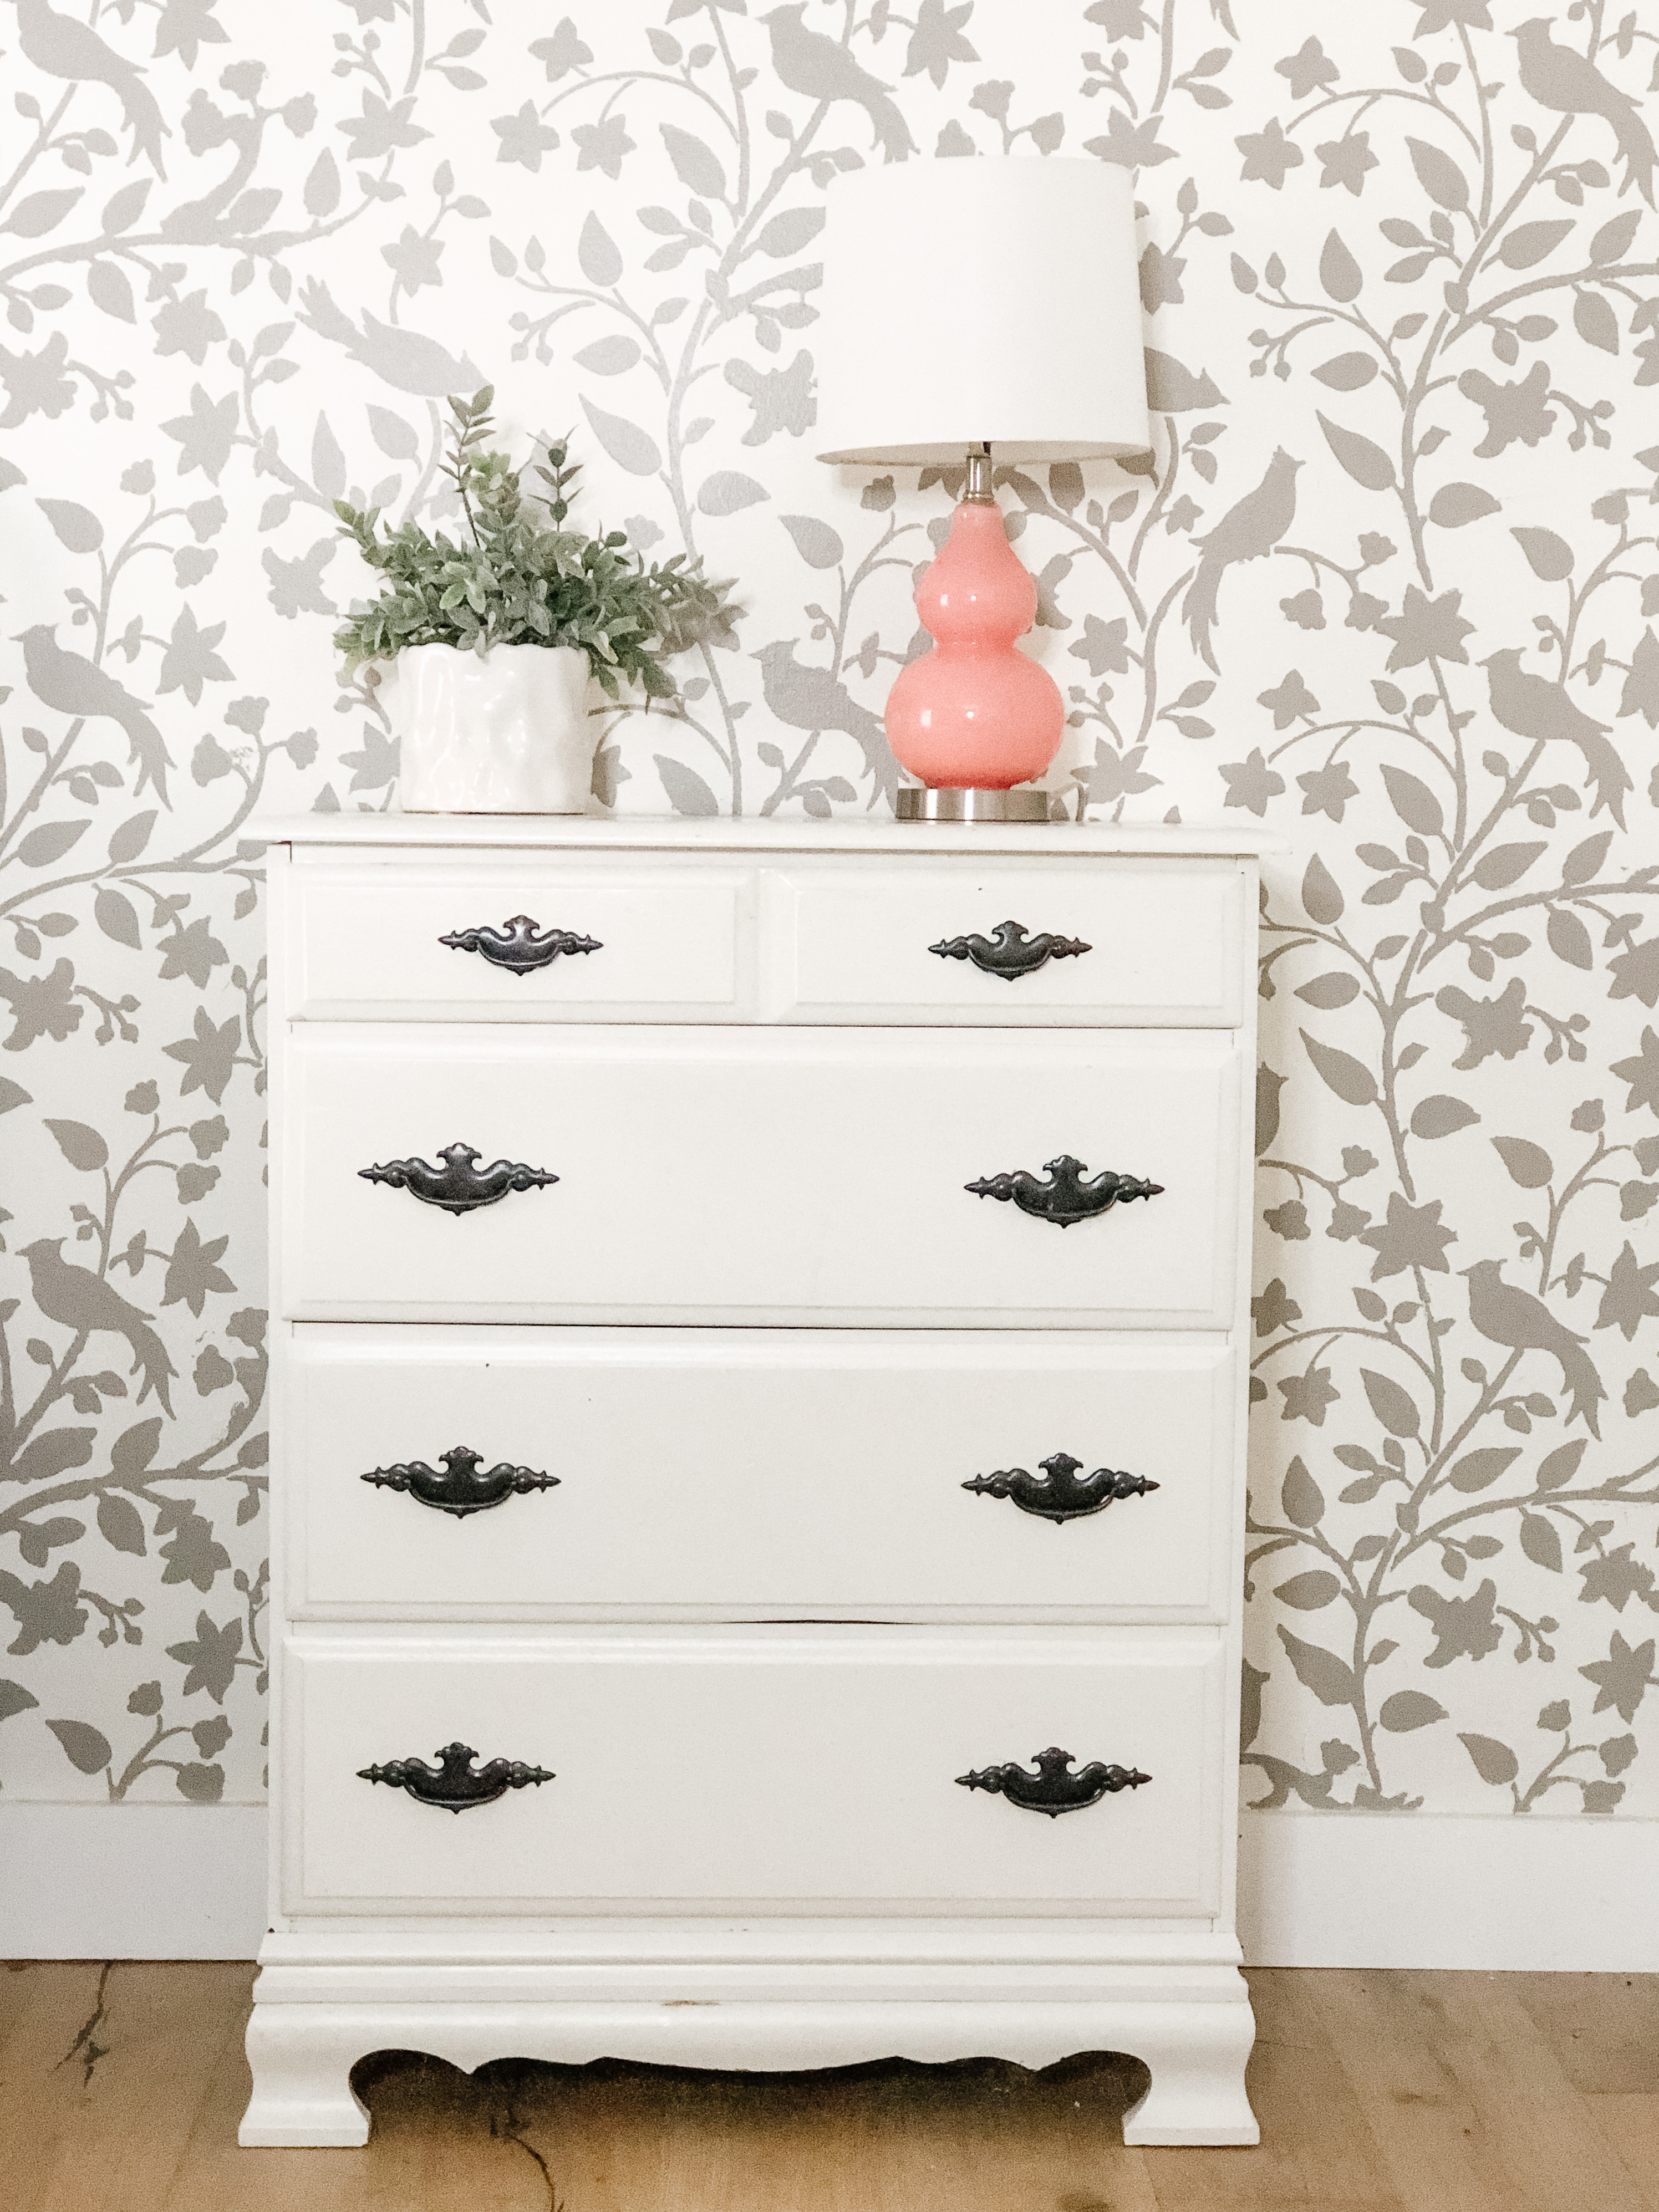
I also added some white curtains to her window. The whole room feels so fresh and clean now! And it has inspired me to do some more changes to another corner of her room that I will share in a future post. {wink}
Here is a video I made from my phone of the whole process!
What do you think?
Have you ever stenciled a wall in your home? Tell me about it in the comments!

Great job! It really does brighten the room! I’ve never stenciled anything. I might want to give it a shot! Merry Christmas!
Wow! That looks great!! Do you have to wait for the paint to dry each time before you move the stencil? Do you get any build up on the stencil? Do you recommend cleaning it as you go? This is like the benefit of wallpaper without the glue and MUCH easier to change later. I’m smitten!!
I love this and you’ve inspired me to try it. Thank you for all the DIY over the years.
Love her bed frame! Please share details.
Absolutely stunning!
I completely changes the look of the room. Upgrades the look 1000 percent!
Great job mom!
Beautiful and inspiring! Makes me want to give it a try. Such an easy and inexpensive way to make a great statement wall.
Wow! This looks so great! You’ve inspired me to do a wall in my kitchen. I hope mine turns out as good as yours!!!
Love it! Thanks for the “how to” directions – hope to try a stencil over the winter (since we are all staying in anyway!). Years ago, I stenciled a border – the new stencils are just beautiful!
Love the wall, you make it look so easy. Thanks for the the post.
Beautiful. Huge ascetic impact. Could you please tell me where you purchased Sania’s bed skirt?
Beautiful wall and looks easy!
Do you wait for the paint to dry before you move on ?
Absolutely beautiful! I bet Sania is so proud of it.
I love Cutting Edge Stencils! I purchased their Shibori Stitch (Japanese pattern) stencil this summer (also a LARGE stencil) and after painting a base coat of Navy from Behr on my screened in porch floor I stenciled over it in creamy white with the stencil. It was very labor intensive. It was the first time I’d ever stenciled and I made every mistake in the world (accidently flipping the stencil backwards once and having to wash off the entire area!, turning the stencil after taking a break once and not realizing my mistake until I started the 2nd row, having bleed through badly in some areas that I had to go back with a tiny brush and some of the Navy paint to correct it!). I swore after I finished I’d never stencil anything ever again! ha ha ha But boy did it turn out beautiful! I even purchased a small stencil from another company through Amazon to add a fringe border. That stencil was so easy compared to the other! You did an amazing job. That particular stencil pattern is one of my favorites on Cutting Edge Stencils! I know Sania loved it and I did too!!
Saw you doing this on Instagram and ordered the stencil😊. Planning on doing a soft metallic silver on my BM Owl Gray powder room walls. Thanks for the inspiration!
I have one Cutting Edge stencil and I love it even though it lives under my couch! It’s large, but not as busy as yours so the seepage drove me nuts and I haven’t retried it…yet! Never know what 2021 will have me doing!
I love Sania’s room and you did an excellent job! It freshened the whole room up!