
DIY Fire Pit Makeover
*This post is sponsored by Krylon. All opinions and ideas are 100% mine.

The weather is warming up, and we are spending a lot more time outside. One of our family’s favorite things to do on summer nights is to sit outside around a fire.
We love to sit and talk, roast marshmallows, or just sit quietly and listen to the crickets and the crackling fire.
So many wonderful family memories have been made around the campfire!
To get ready for the summer, I decided to freshen up our metal fire pit. Metal fire pits get rusty over time if not covered, and they can start to show a lot of wear and tear. But thankfully, a couple cans of Krylon High Heat spray paint can make old fire pits look brand new!
It’s as easy as 1-2-3!

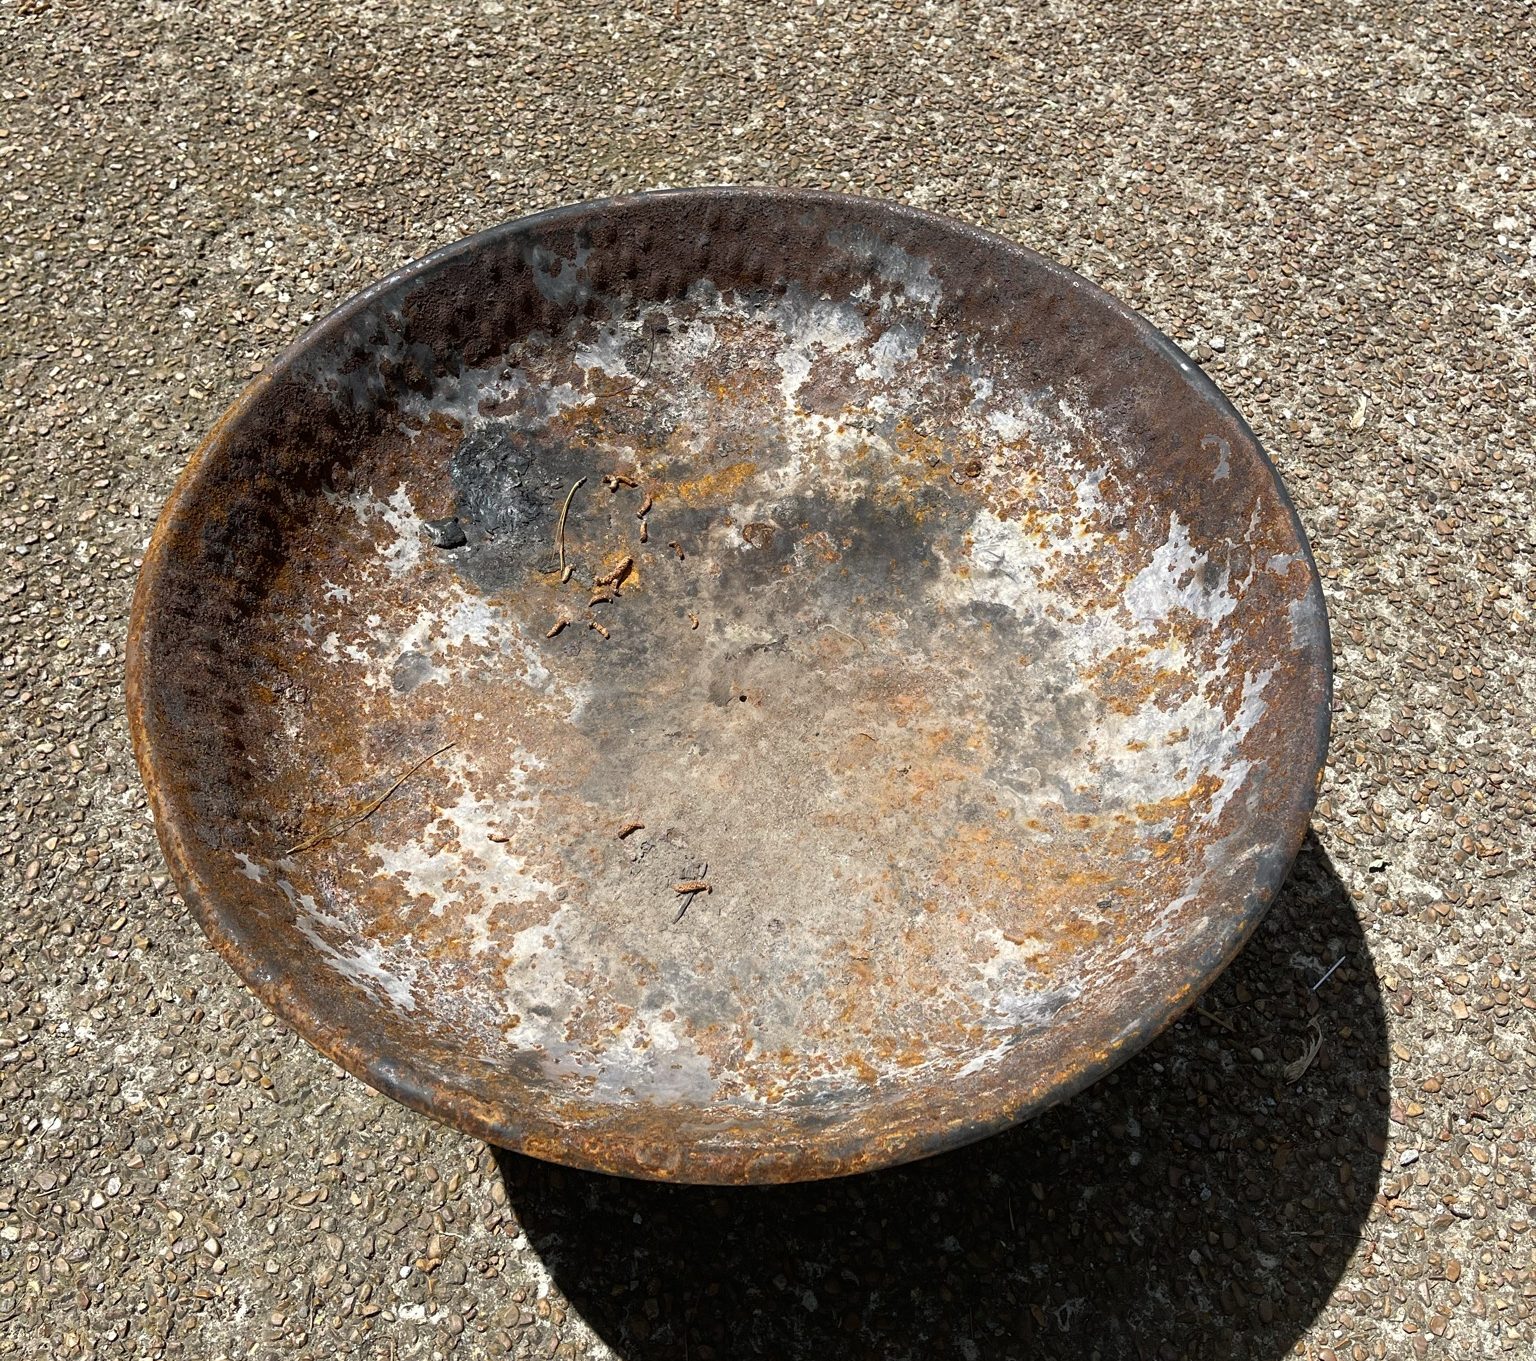
Here was my fire pit. It was covered in rust and looked like it should be tossed in the trash…But NOT TOO FAST!

This rusty fire pit CAN be rescued!

As you can see, my fire pit had a lot of rust build up on the inside and outside.
I knew I could use Krylon’s High Heat spray paint to give my fire pit a brand new look, but before I did, I had to sand down the rust.
I made sure to wear a mask and eye protection before sanding. 
Then I used my electric palm sander with 80 grit sanding discs to get the job done. If you don’t have an electric sander, you could use an 80 grit sanding sponge instead.
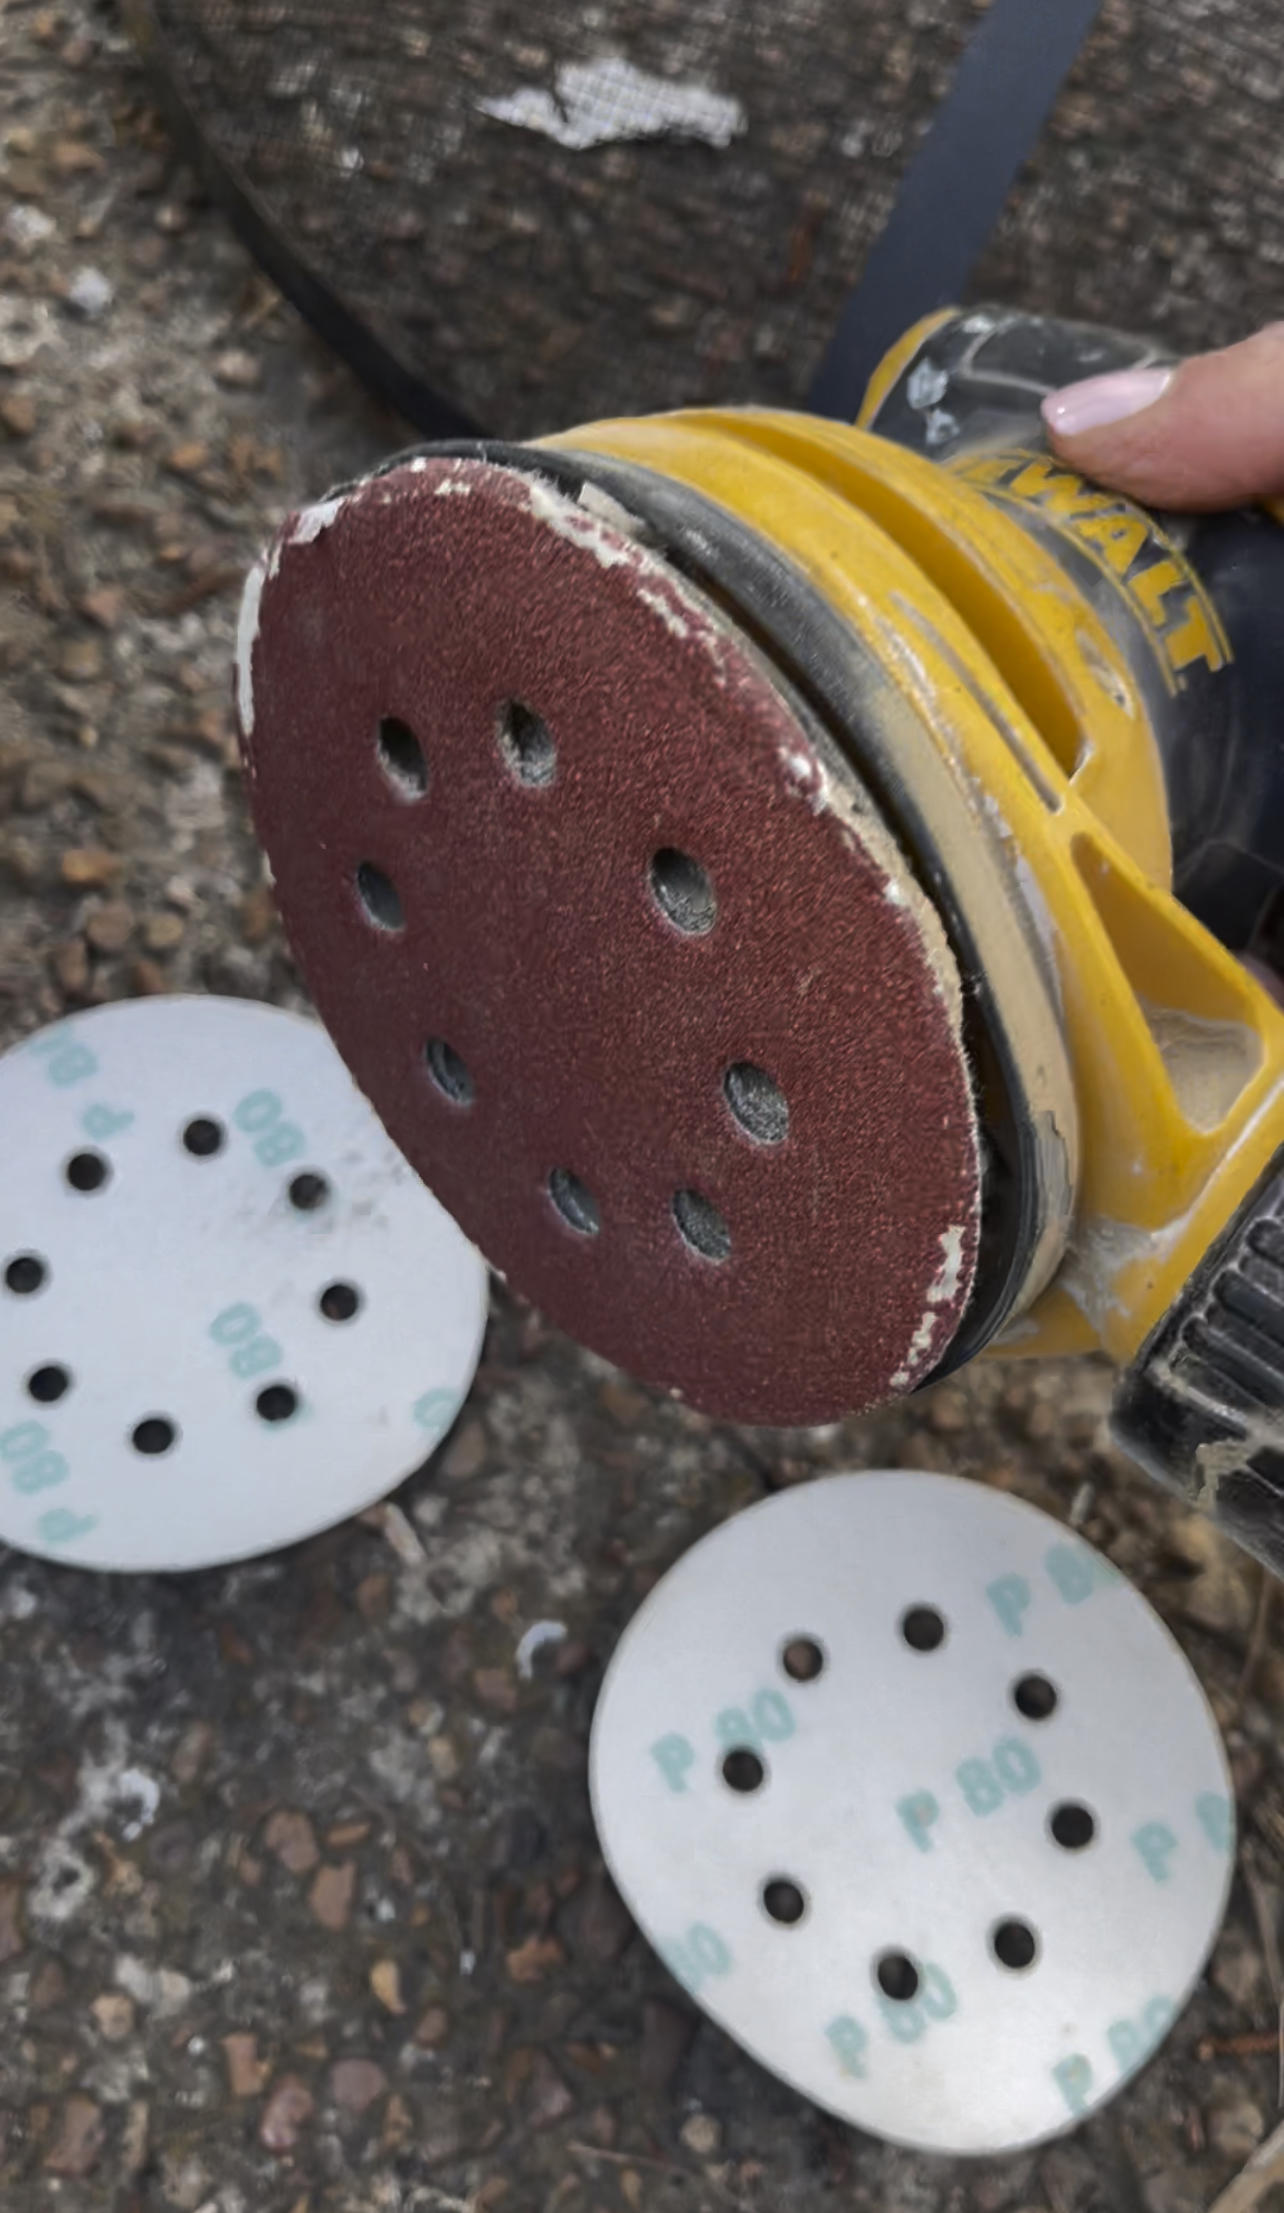


My goal in sanding was to get rid of the rust build up. I knew I wouldn’t be able to remove all the rust completely, but I got off as much as I could.
I used my sander to smooth down the rust on both the fire pit bowl and stand.

Once I sanded the rust off as best I could, I then wiped any residue off with a cloth. Then it was time for the fun part….spray painting the fire pit!
I decided to use Krylon’s High Heat spray paint in BLACK and ALUMINUM.
Krylon® High Heat provides high heat projects with the high-quality protection they need, stands up to high temperatures and protects against rust.
- Withstands temperatures up to 600° F
- Dries tack-free in 15 minutes or less
- Protects against rust
- Not for use on cooking surfaces
I started with spray painting the inside and outside of the fire pit with Krylon’s Aluminum High Heat paint. I love how smooth and easy the paint went on.

I sprayed two coats of paint on the inside and outside of the fire pit bowl, letting it dry between coats.

Then I spray painted the stand and cover screen with Krylon’s Black High Heat spray paint.

This whole process took me about 30 minutes, and it was worth every second!
I cannot believe how beautiful it turned out! It actually looked better than I even expected! I basically had brand new fire pit for just about $13 in paint!

I placed the fire pit between our two chairs in the back yard and filled it with some wood.

It created a beautiful little spot for us to enjoy the outdoors!


As the sun started to set, we built a little fire to enjoy.

Is there anything better than the glow of a fire or the smell of the burning wood?
I cannot wait to enjoy many summer nights around our new fire pit!

Do you have a fire pit that may need a fresh coat of paint? Or maybe a grill? Then be sure to try Krylon’s High Heat spray paint to bring them back to life!
Well that’s just gorgeous!
Traci, the fire pit makeover really came out Great and looks Brand New! I wasn’t aware Krylon made a high-heat/high heat max spray paint; Good to Know!
Thanks for another interesting DIY project!
You are just SOOOOO talented. You think of everything. The fire pit looks amazing.
What a great transformation! Your family is going to use that a ton this summer!
Looks good, now I wish I hadn’t thrown mine away.
That came out amazing!! Thank you for the tip!
Love it! One question. Does the High Heat Paint not need primer?
Wondering if Eli’s been out there around the firepit singing about beanie winnie’s? I still laugh thinking about that video. Can’t go wrong with Krylon. The firepit looks good.
Looks great, I definitely need to do this to mine!
I have let some of these pass me up because I didn’t think they worth anything! So glad you posted this and I won’t let another one pass me by!
Thanks for sharing! Great instructions and I hope my future fire pit looks as great as yours does.