
ABC’s of Spray Painting! (Chair Makeover)
*This post is sponsored by Krylon. All opinions and ideas are 100% mine.
Today, I am going to share with you the ABC’s of Spray Painting!
This is an easy way to remember the steps to follow during your next painting project!
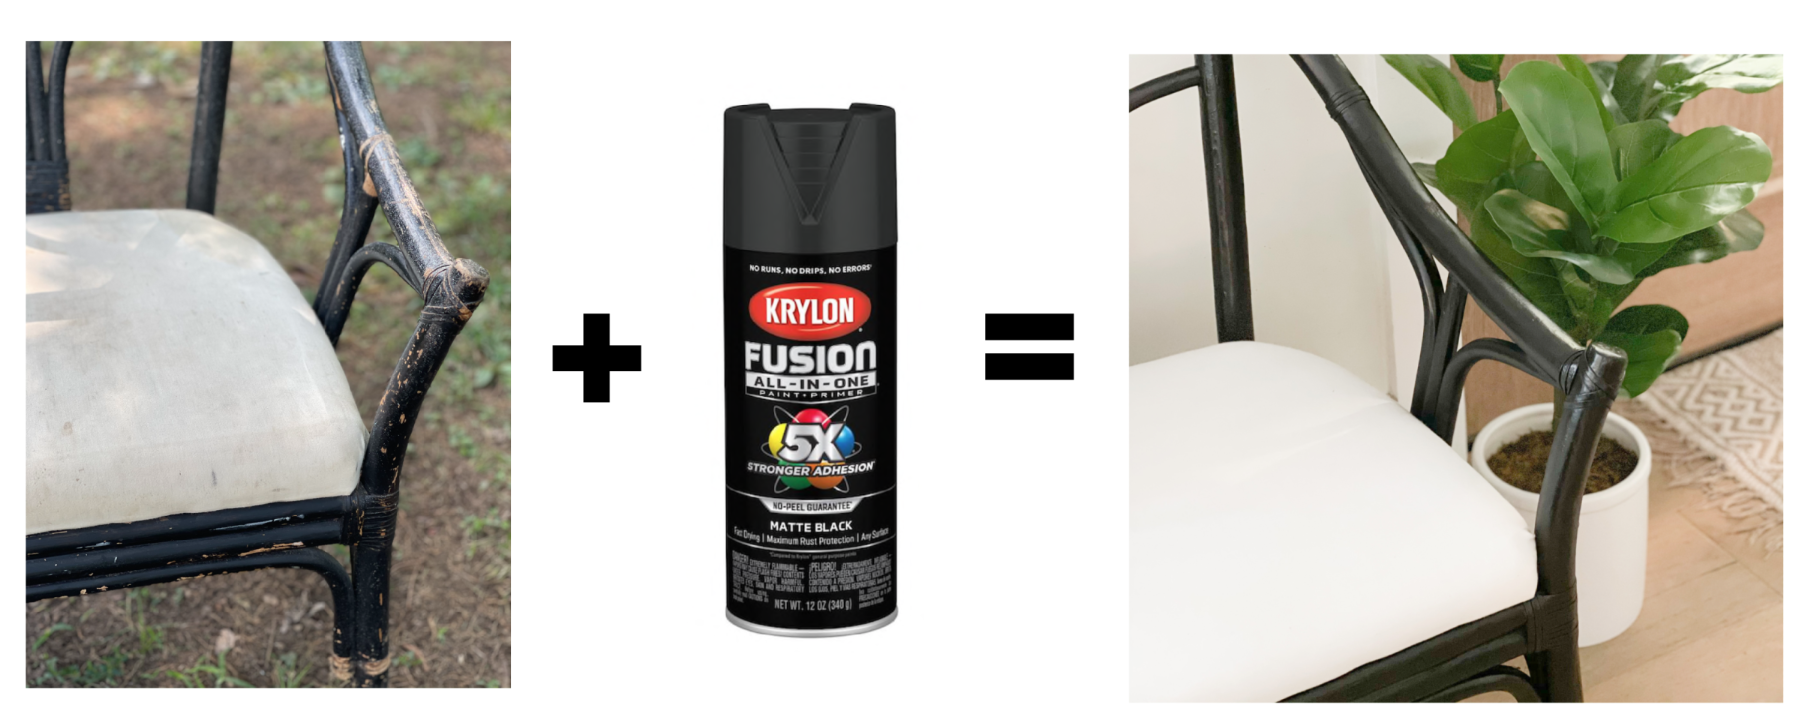
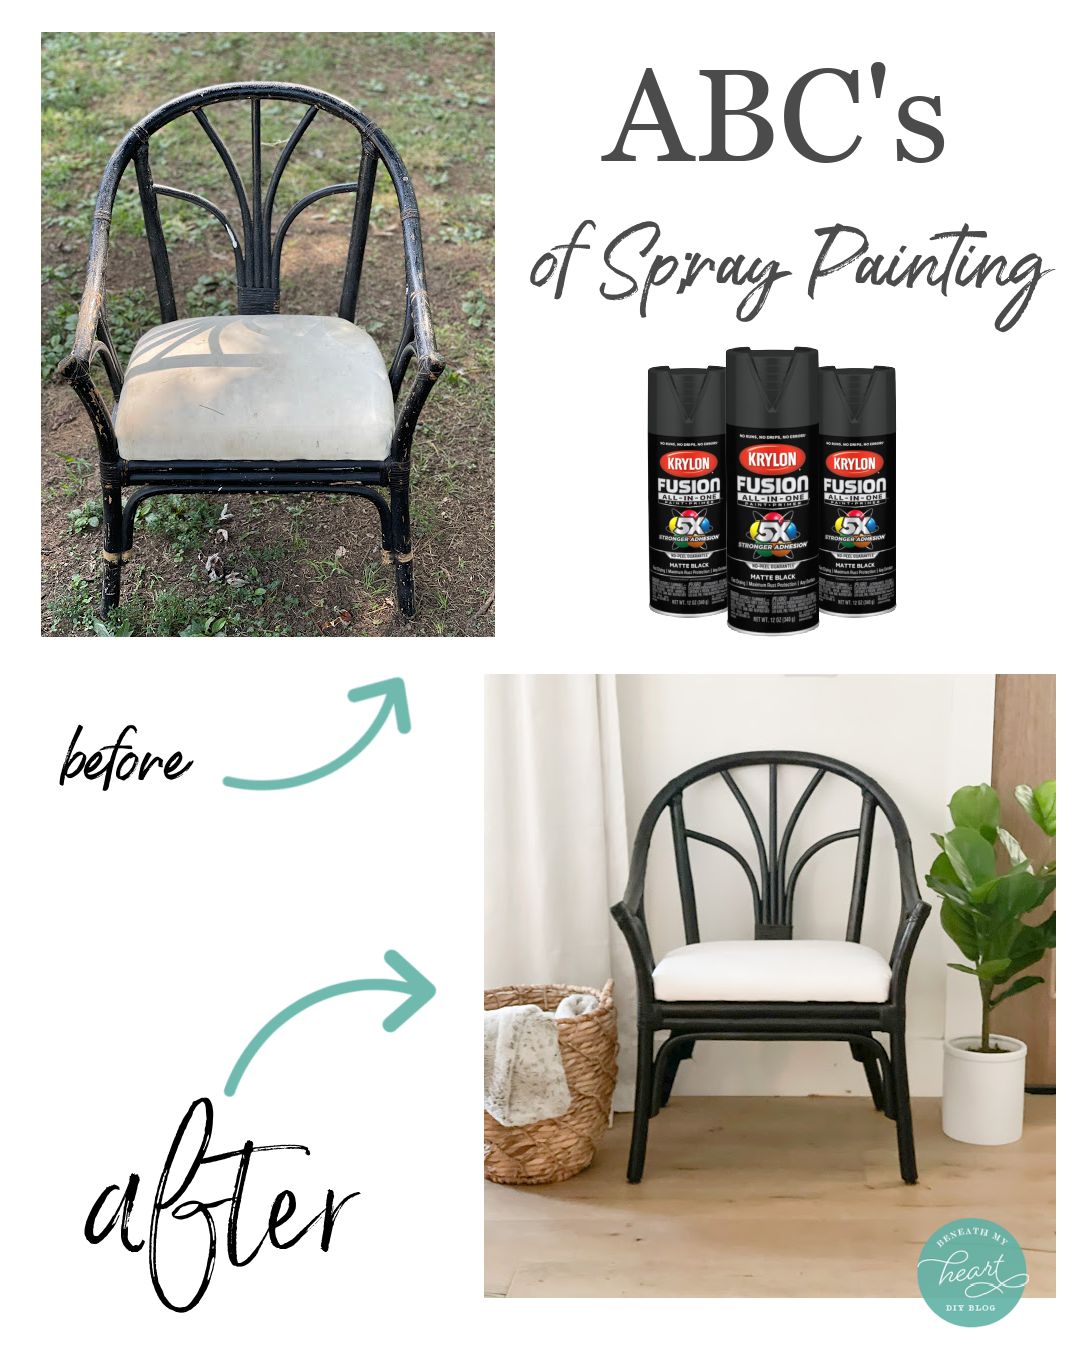
The painting project that I am going to demonstrate the “ABC’s of Spraying Painting” on is this old chair….
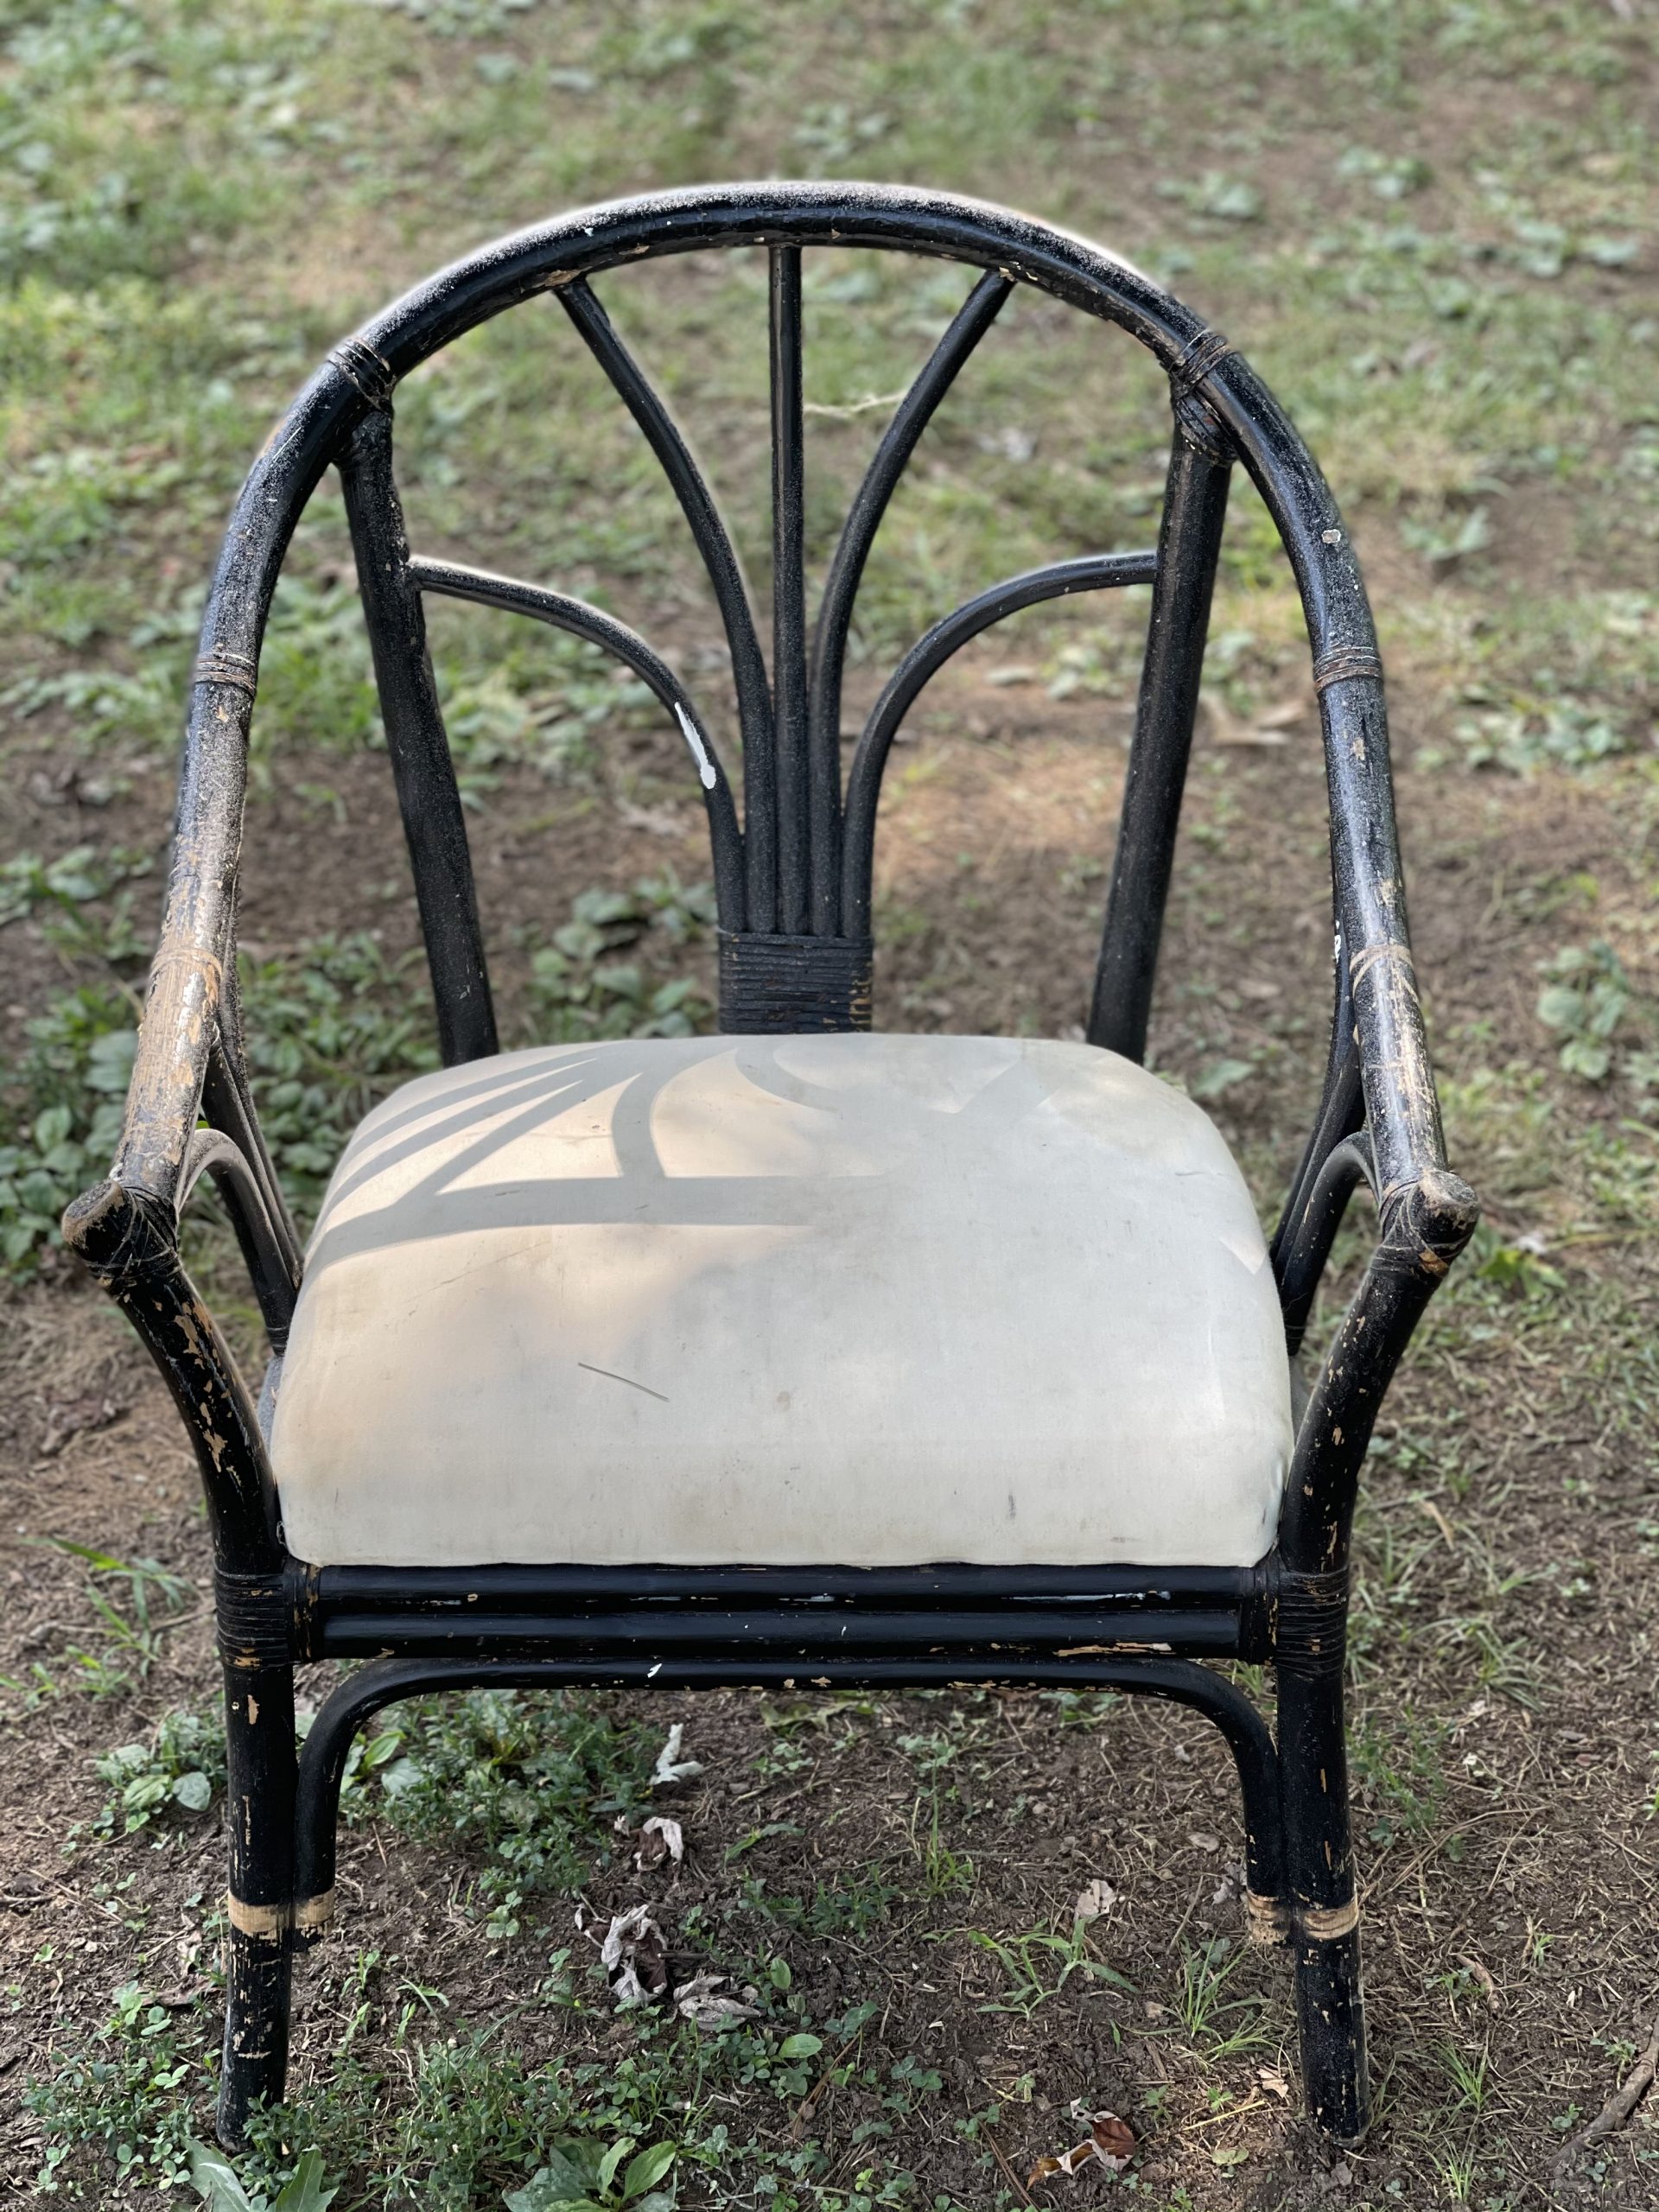
I got this chair in 2009 at Goodwill. It was a bamboo chair with a blue seat. I painted it black and recovered the seat with off-white fabric. We used it in our home for years, and then it ended up in the garage where it got some major wear and tear. I think Cy used it as a stool or ladder for some of his projects. haha!!! And Jonathan even had it in his apartment for a while, and his dogs chewed it up a bit.
I was at the point of tossing it, but then I thought “NO! I can save this chair!” :)
Y’all know that I love rescuing items with my Krylon spray paint! And for this project, I used Krylon’s Fusion All-In-One® With 5x.
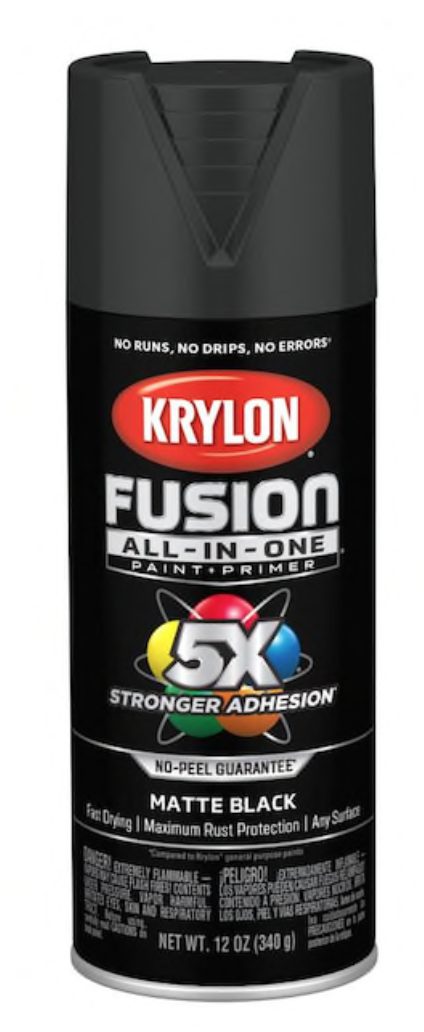
- Krylon FUSION ALL-IN-ONE with 5x Matte Black offers superior adhesion to difficult surfaces and a paint + primer in one
- The matte finish accents any indoor or outdoor project
- Provides maximum rust protection, fade resistance and helps preserve all projects indoor and out with no sanding or priming required
- Ideal for ready-to-assemble furniture, metal, wood, plastic, PVC, ceramic, glass, masonry and more
- Features the easy push big button spray tip that allows you to spray in any direction, even upside down
- Dries in 25 minutes or less and covers up to 25 square feet
So here we go!
The A stands for…
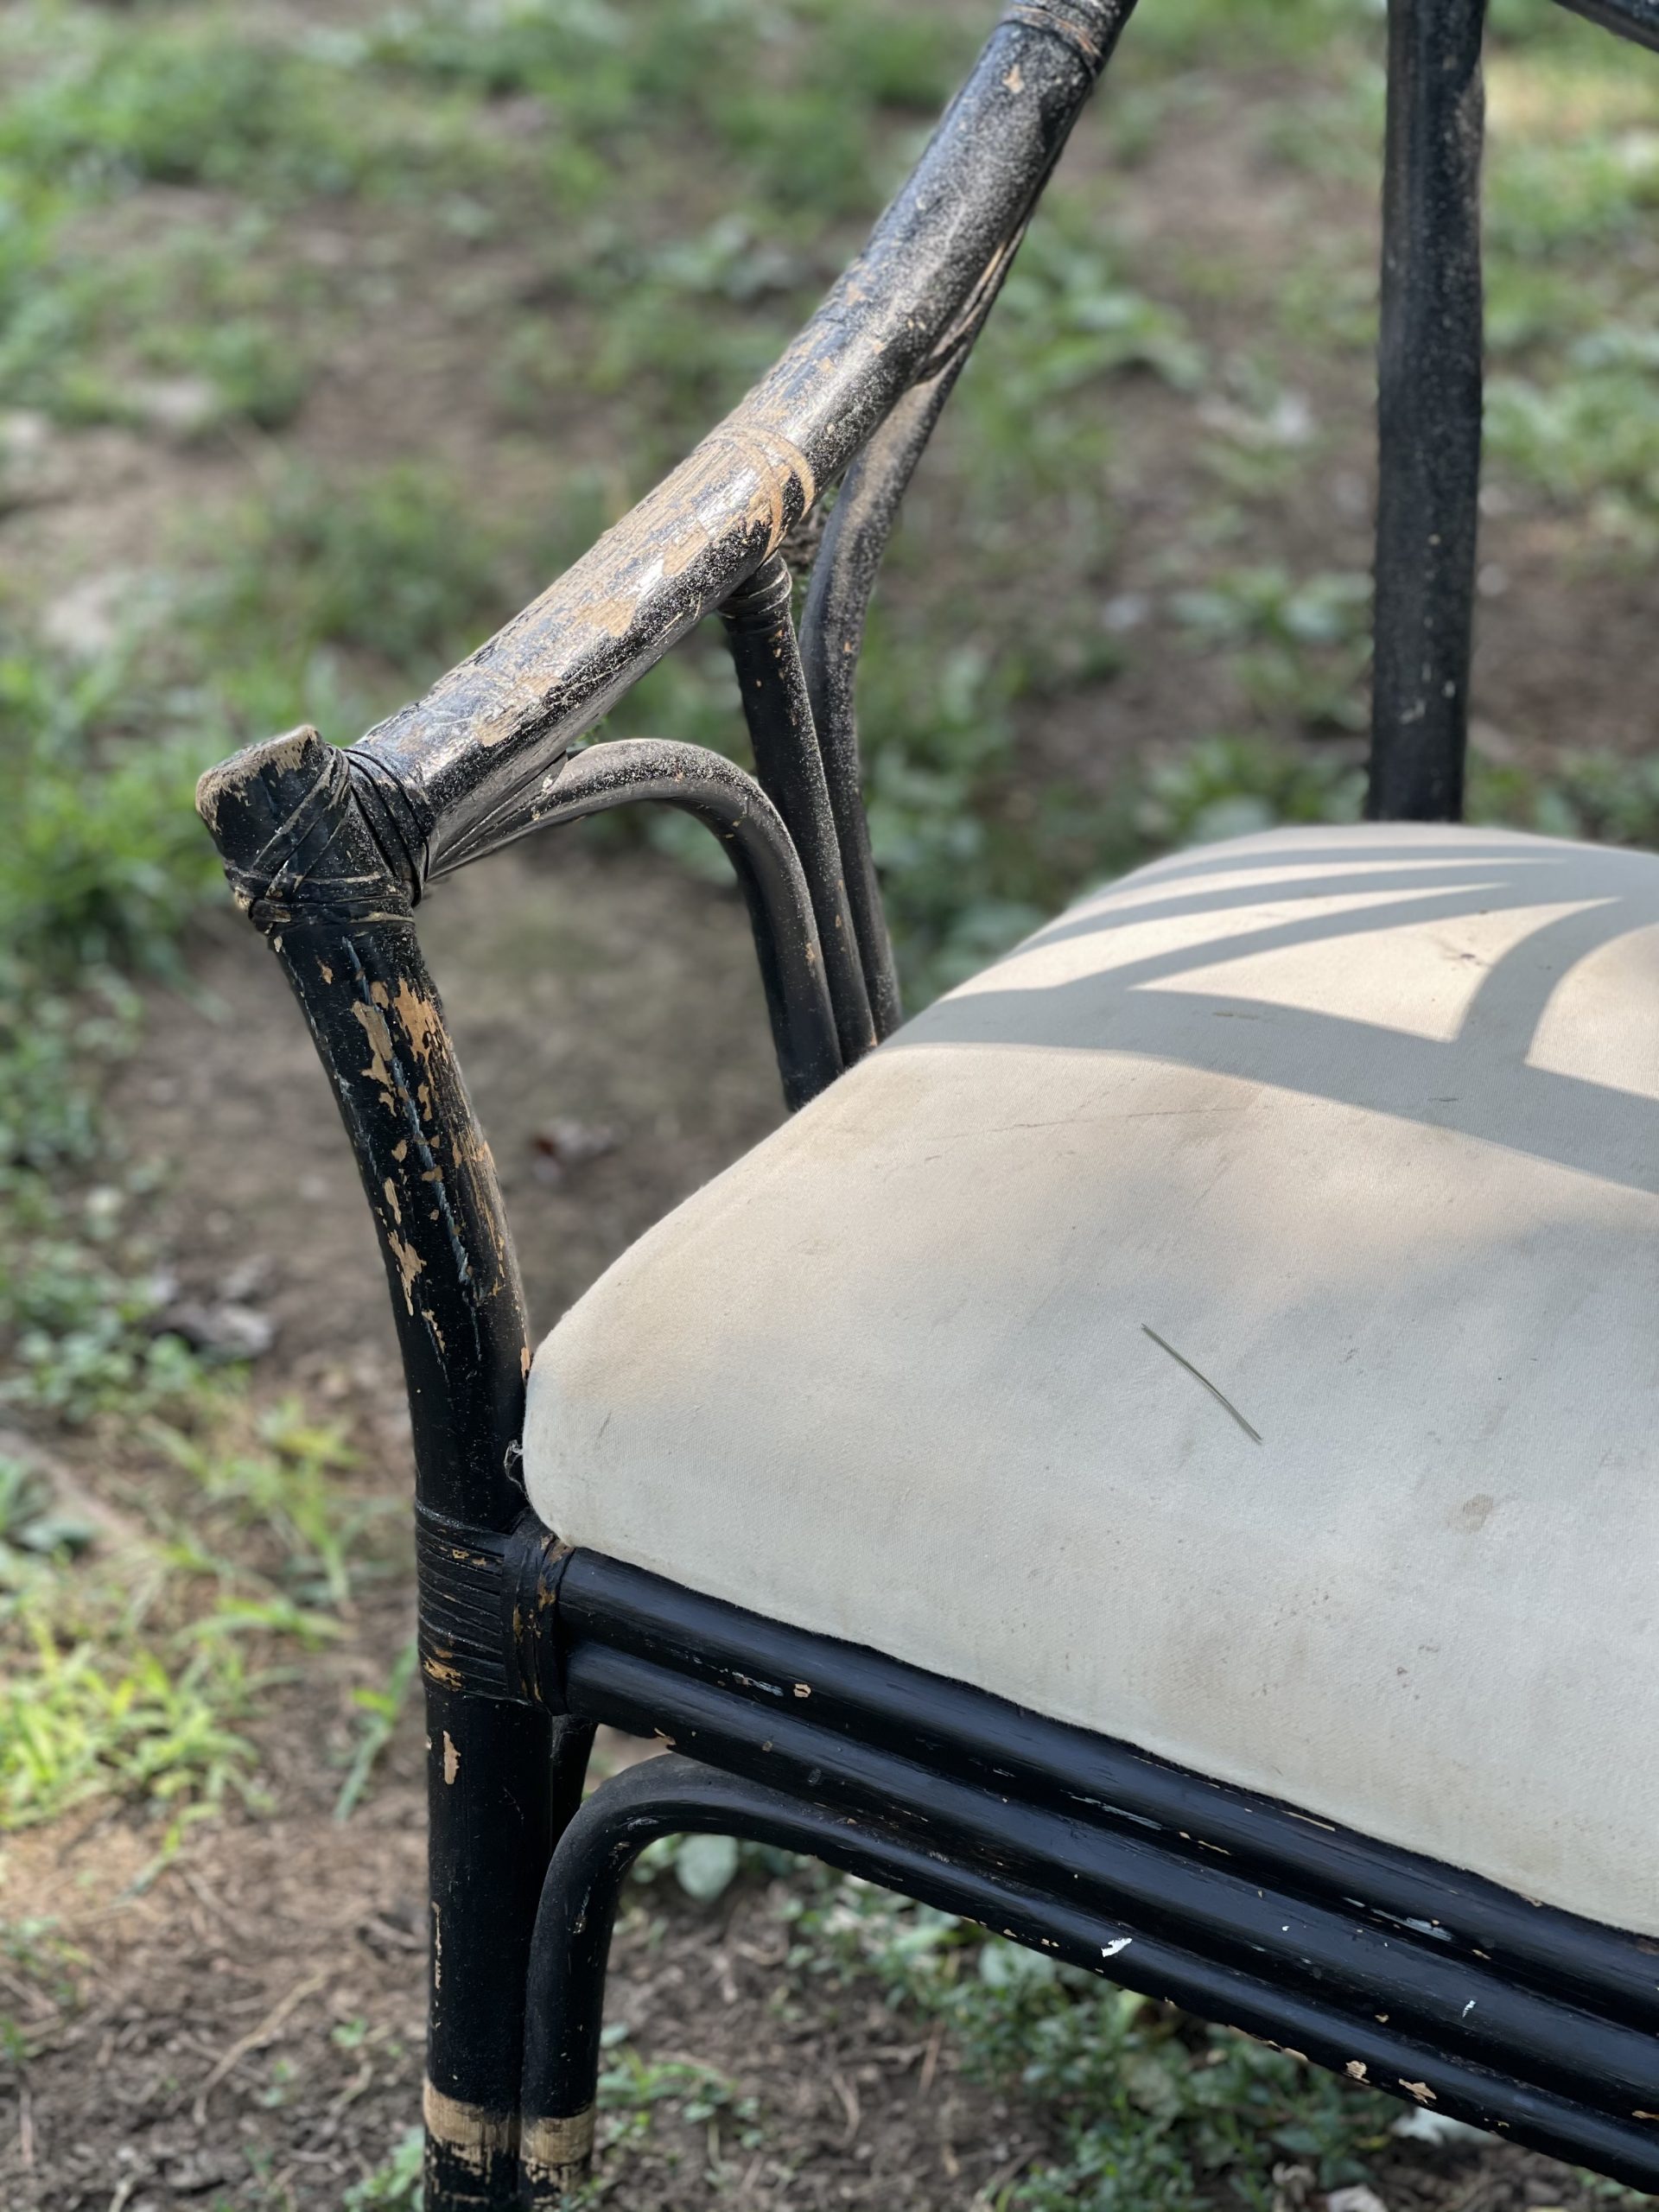
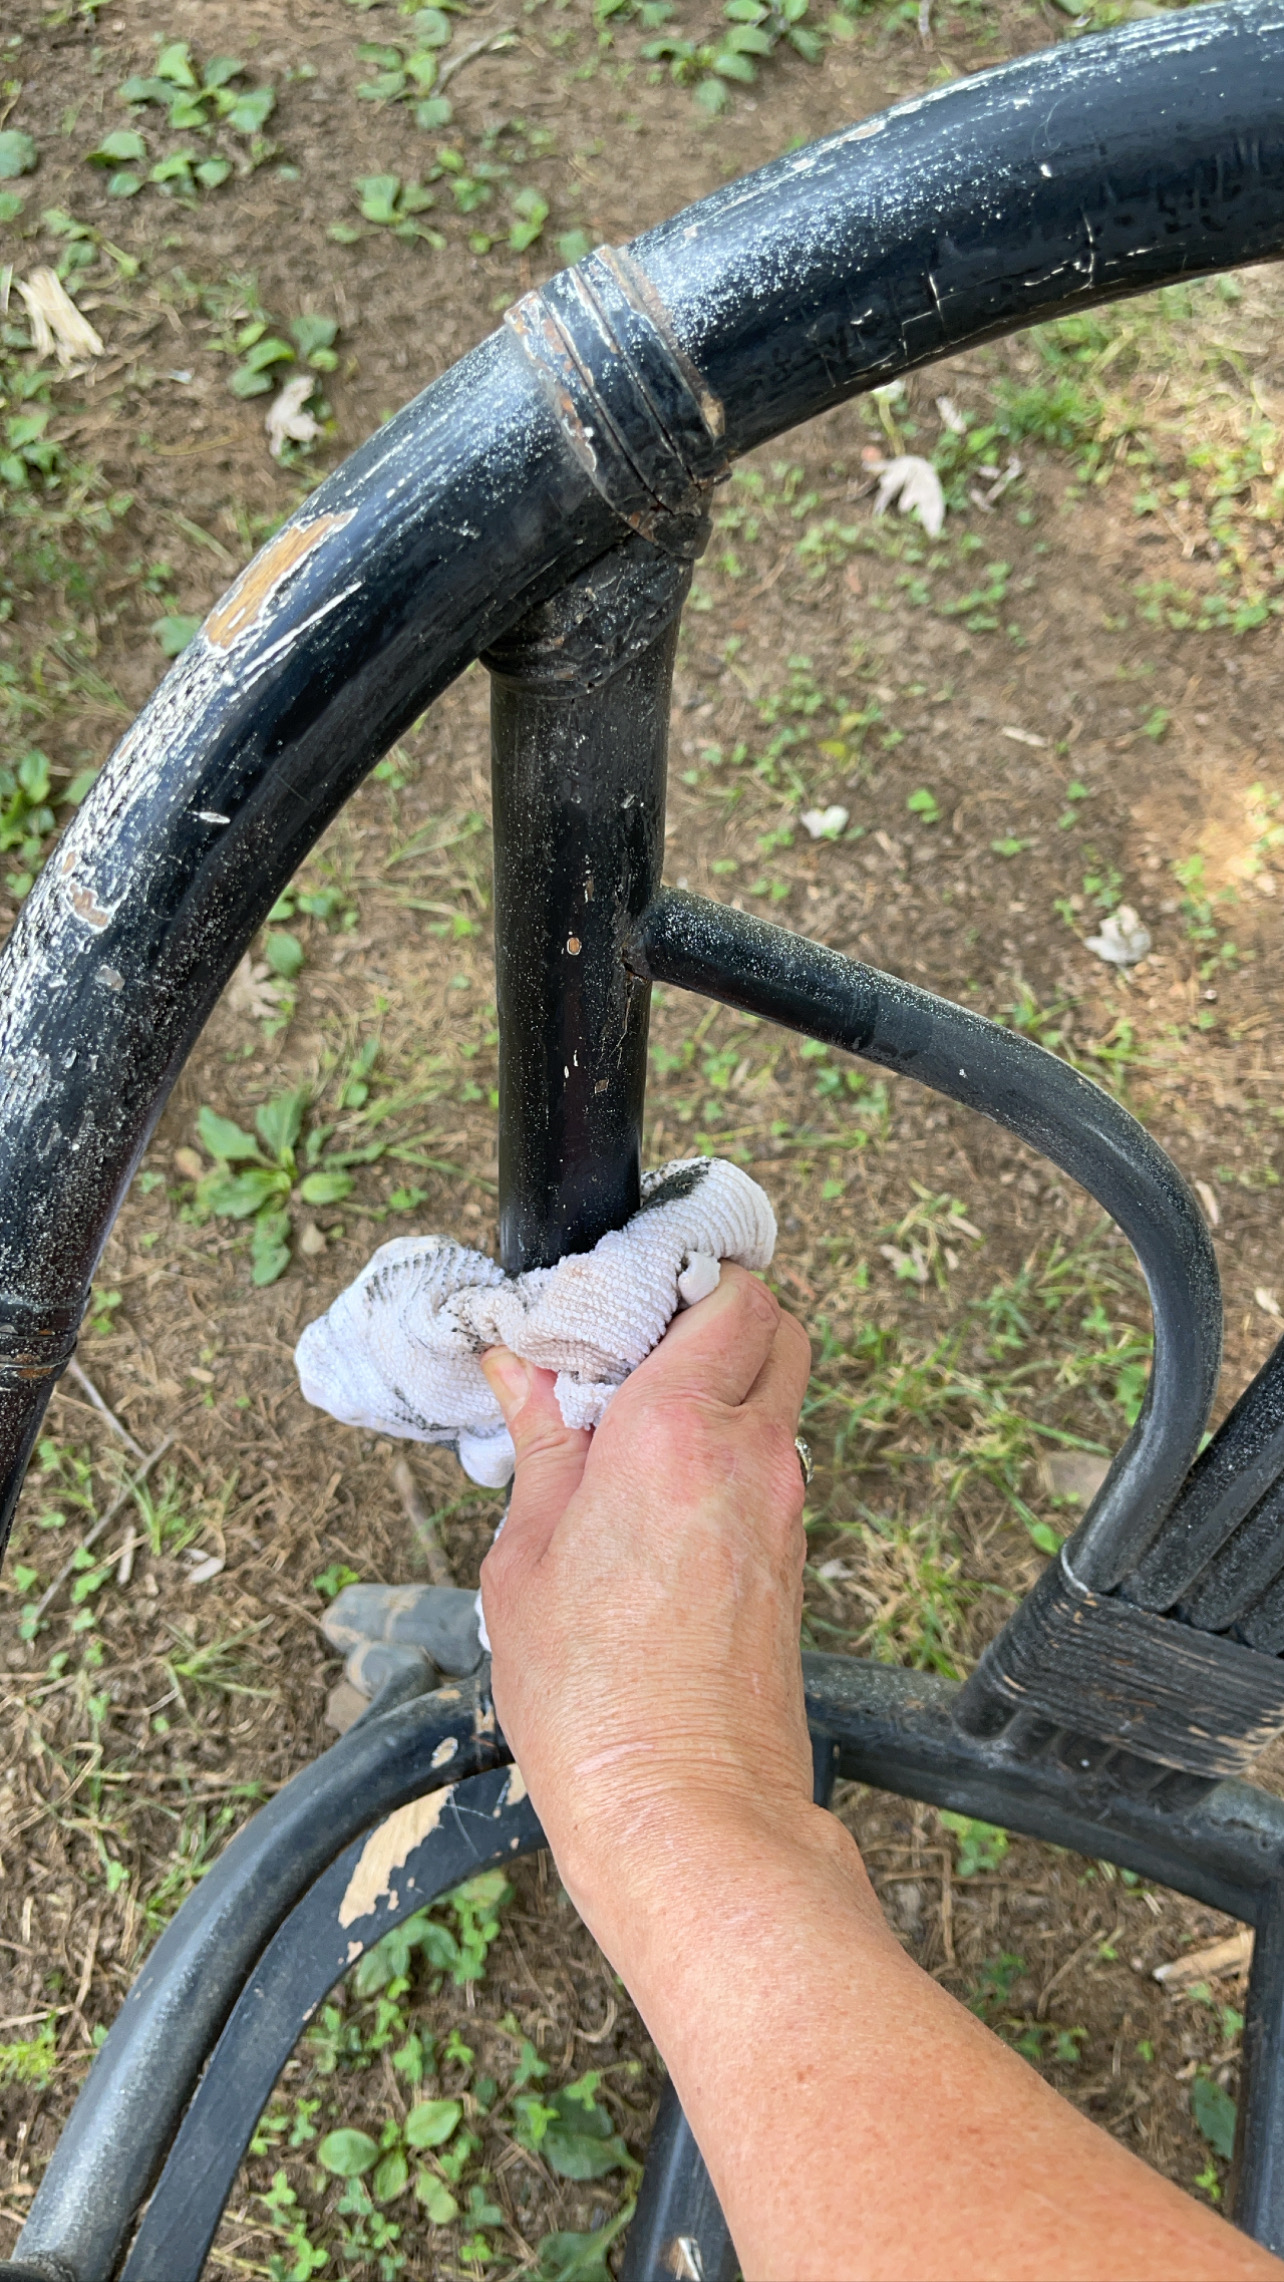
ALWAYS CLEAN AND PREP YOUR PROJECT BEFORE PAINTING!

It’s important to prep your project to get a nice, smooth coverage when painting. With Krylon’s Fusion All-In-One® With 5x., sanding and priming IS NOT necessary …but since this chair had some damage from the dogs chewing on it, I didn’t think it would hurt. But again, I didn’t HAVE to sand and that’s the beauty of this product! :)

Next make sure you clean the surface very well to remove any dirt or dust.
Once you have prepared and cleaned your project, it’s time to move on to the next step…
The B stands for…
BE SURE TO FOLLOW THE DIRECTIONS ON THE CAN!

Whenever I am starting a paint project, I always read the instructions on the back of the can.
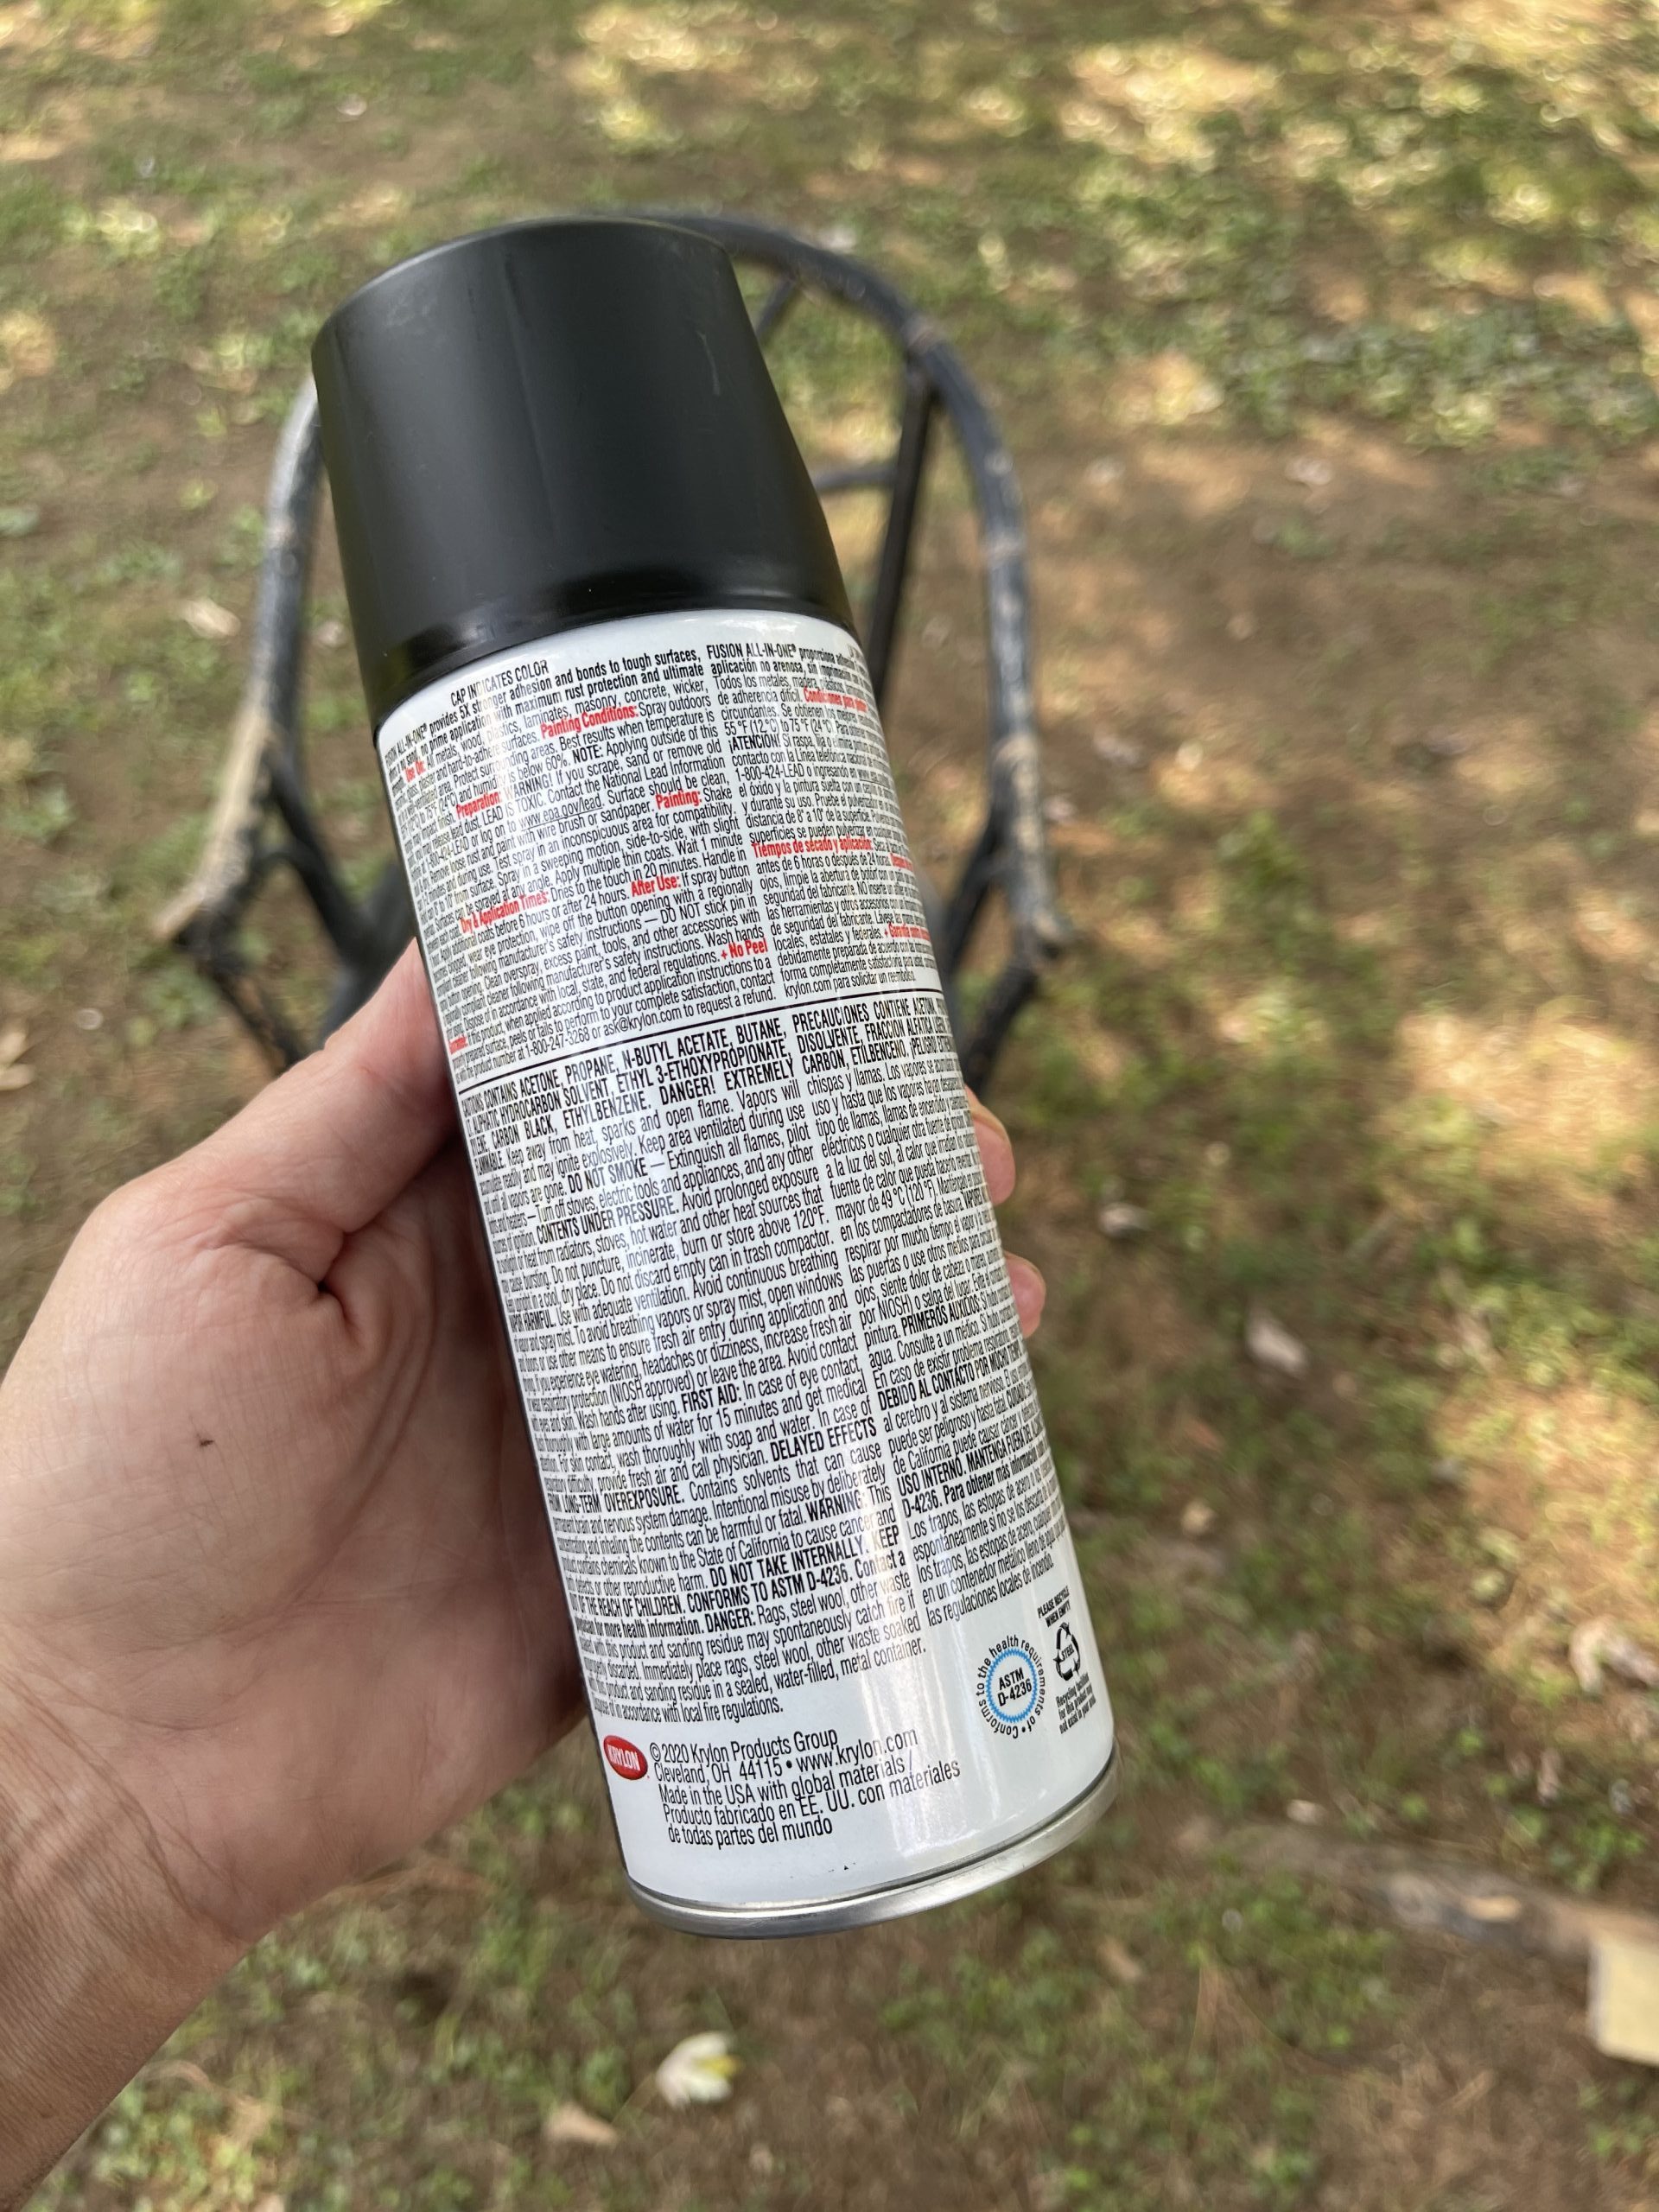
Reading the directions on the back of the can helps to guide you through the painting process and gives you specific instructions for the type of paint you are using.
The directions on the can may include some or all of the following:
1. Check the weather.
When painting, it is important that the temperatures are not too hot or too cold outside so that your paint will adhere and dry correctly.
2. Shake well before using.
It is important to shake your can very well before using and throughout the painting process.
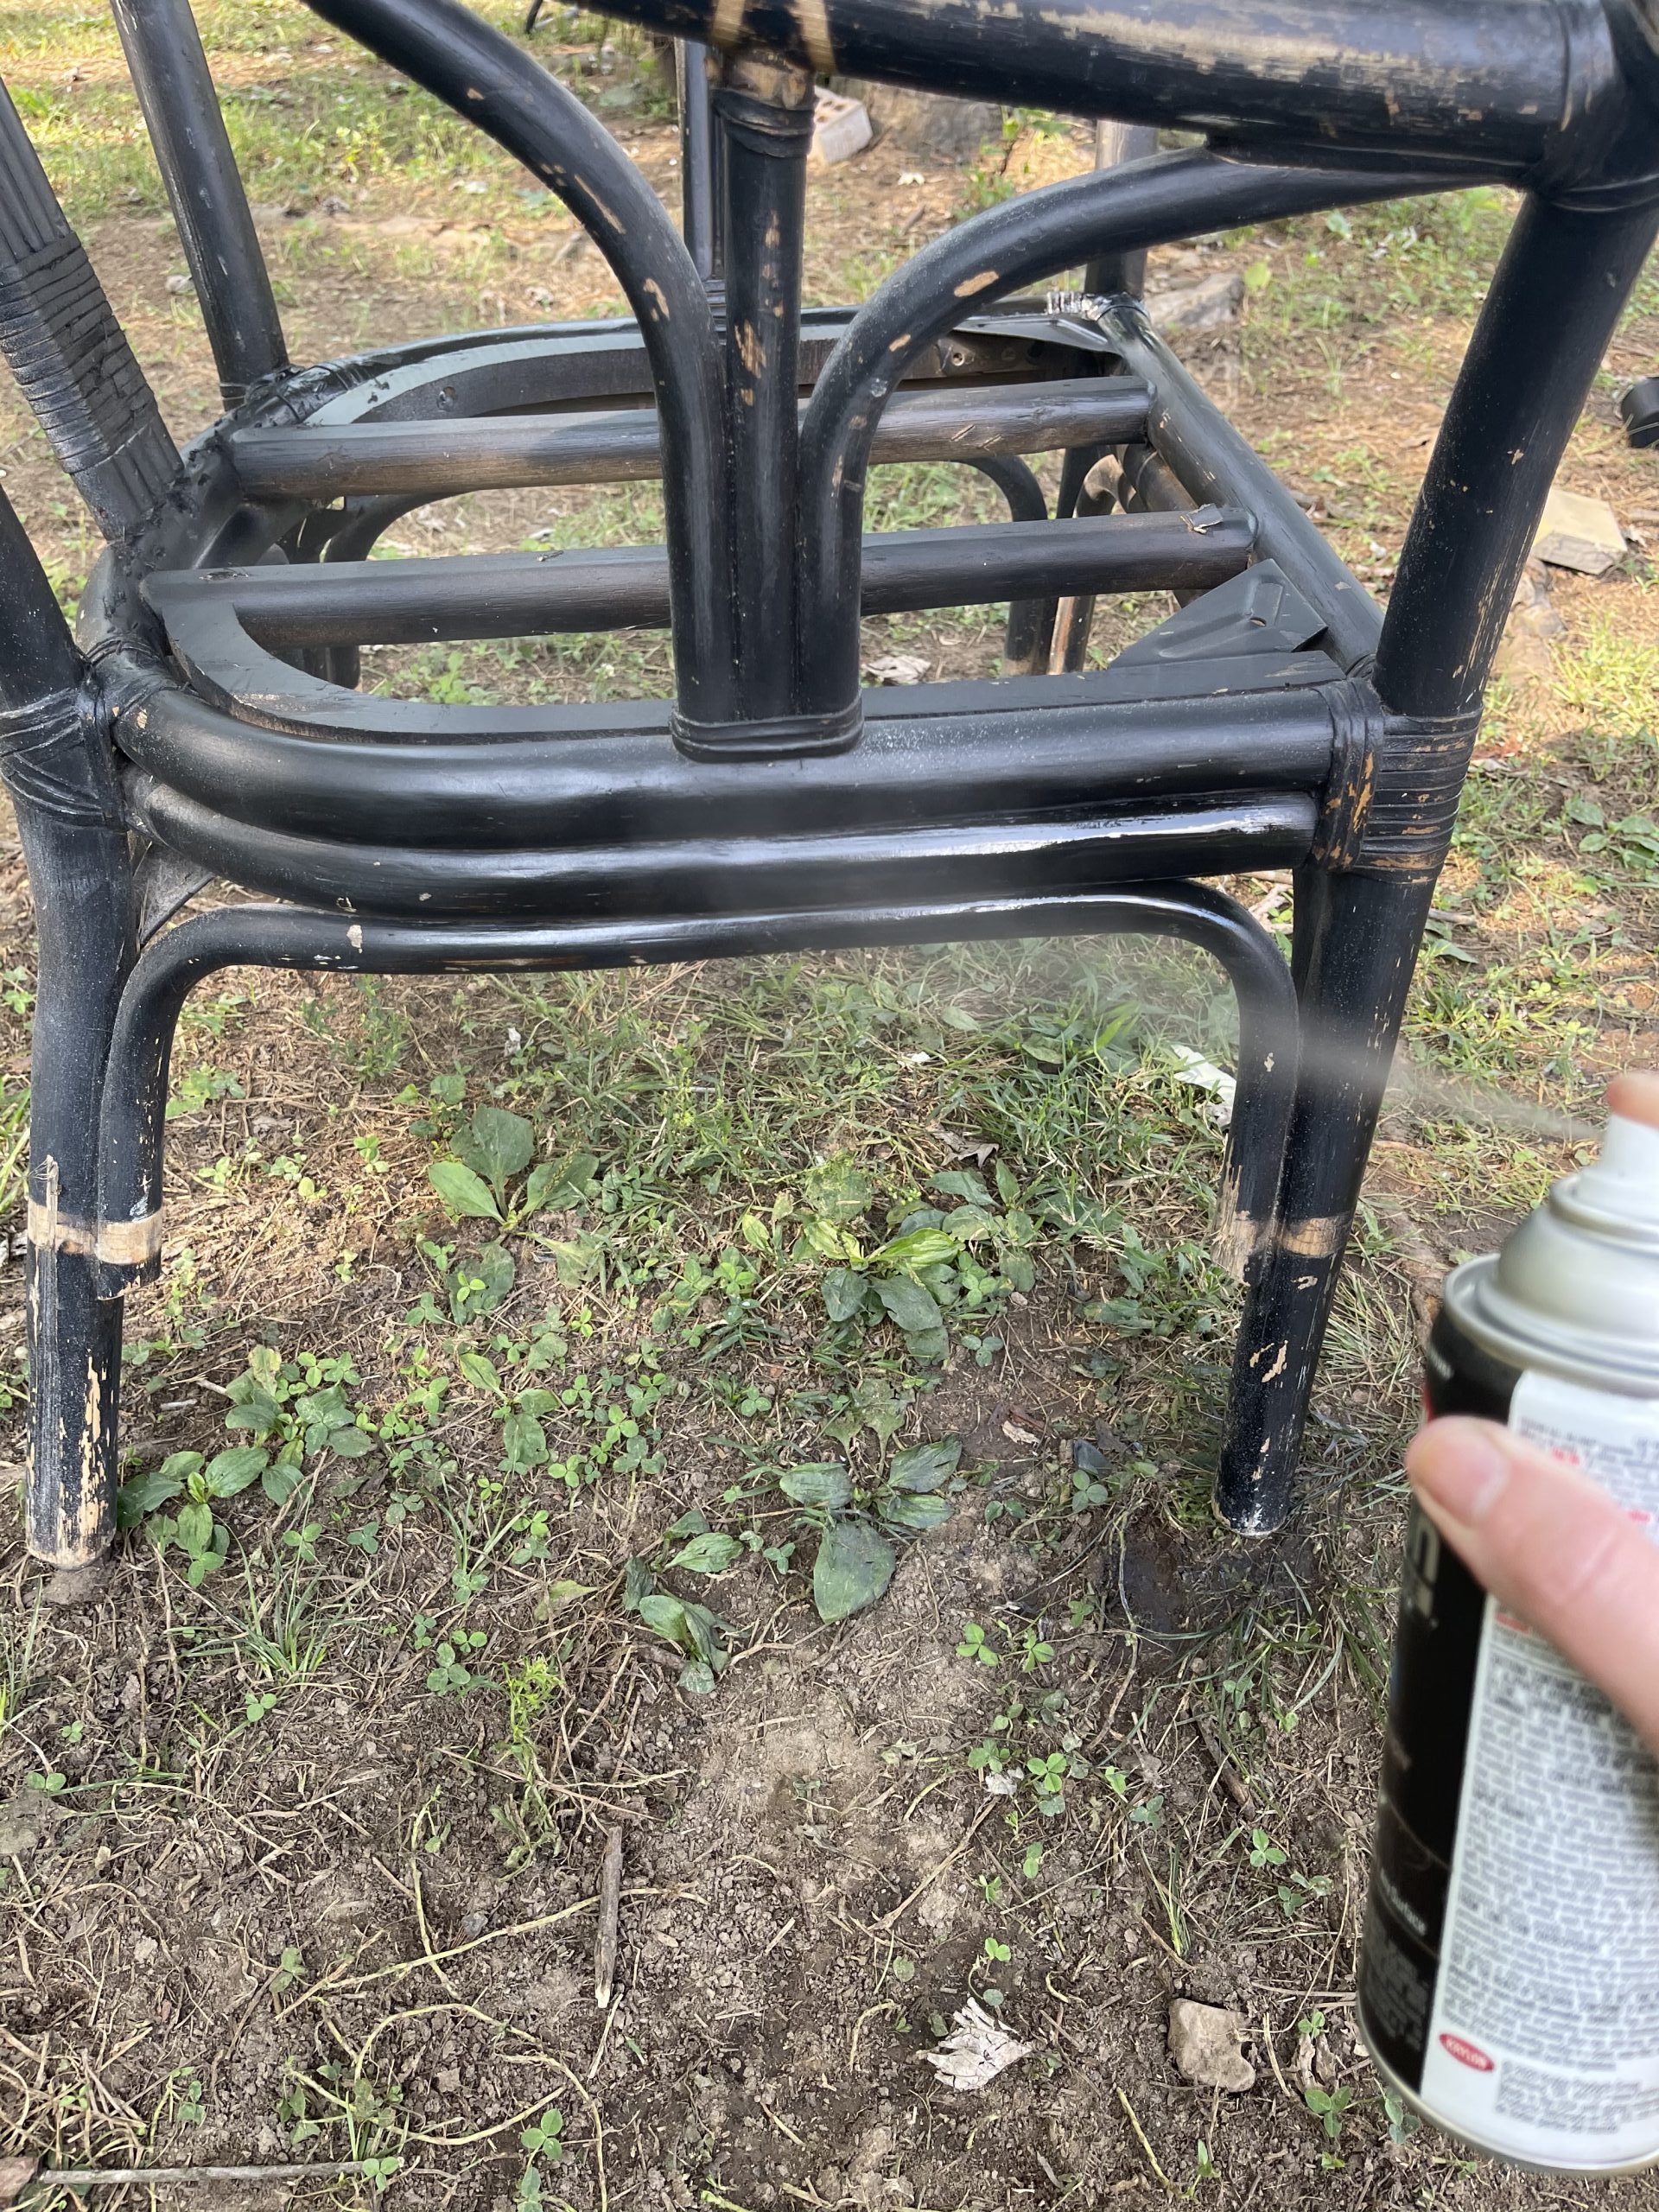
3. Use the right spray distance and motion.
Read the can to see the distance you should keep from your project while painting. Most cans will suggest spraying thin coats in a sweeping side to side motion to help prevent drips.
4. Dry time.
Be aware of the time recommended to let your project dry in between coats.
I used about one and a half cans of spray paint on this project, but had about half a can of paint left. Which leads me to my last step in my “ABC’s of Spray Painting…”
The C stands for…
CLEAN THE SPRAY VALVE FOR FUTURE USE!
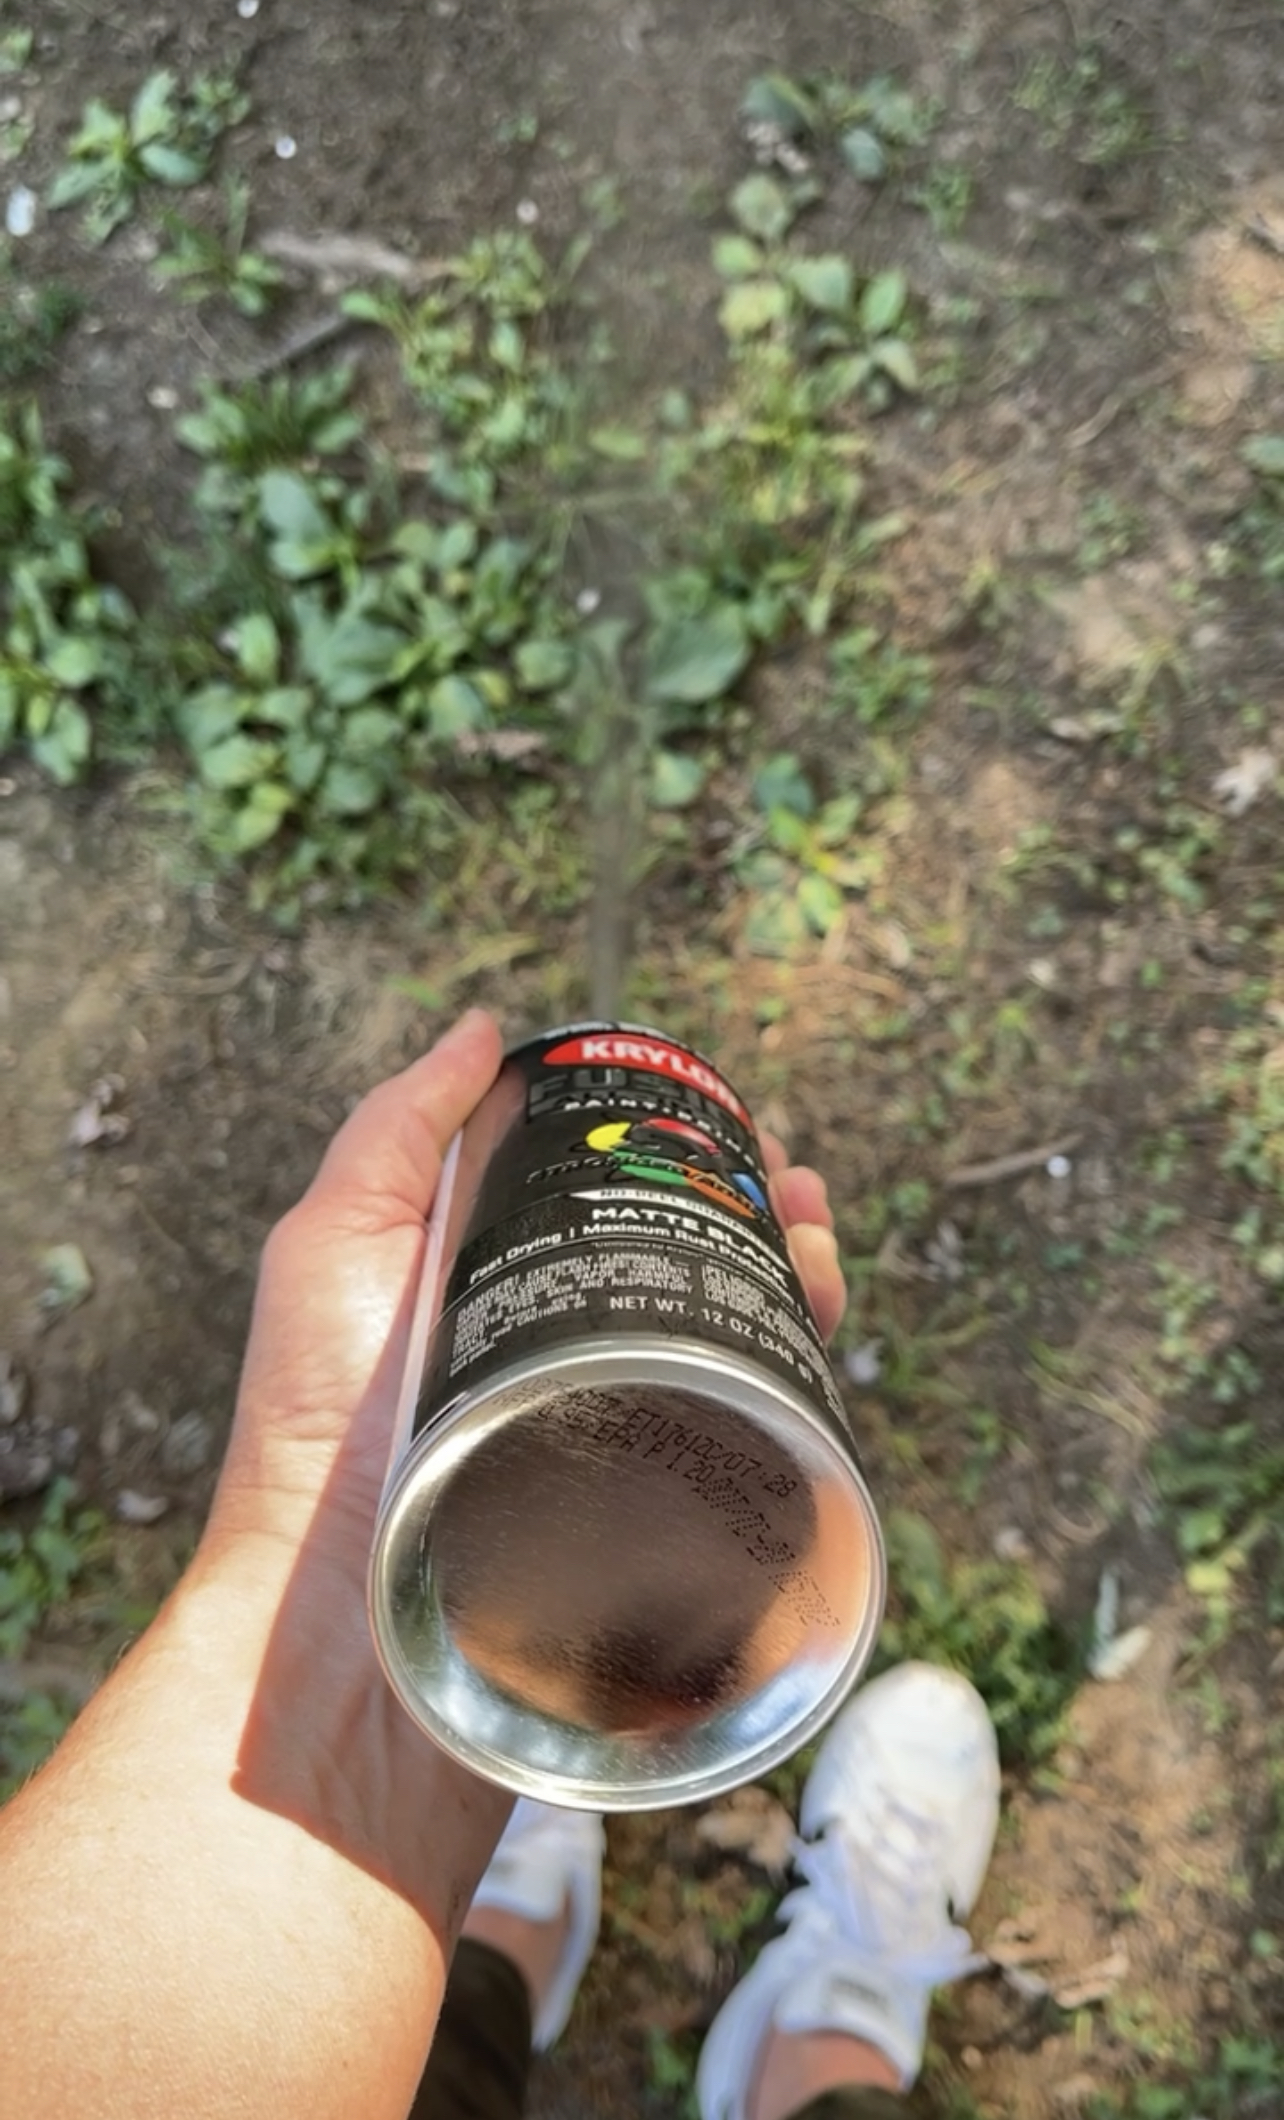
You want to clean your spray valve in between each use.
Turn the can upside down and spray for 5 seconds. This helps prevent the spray tip from clogging.
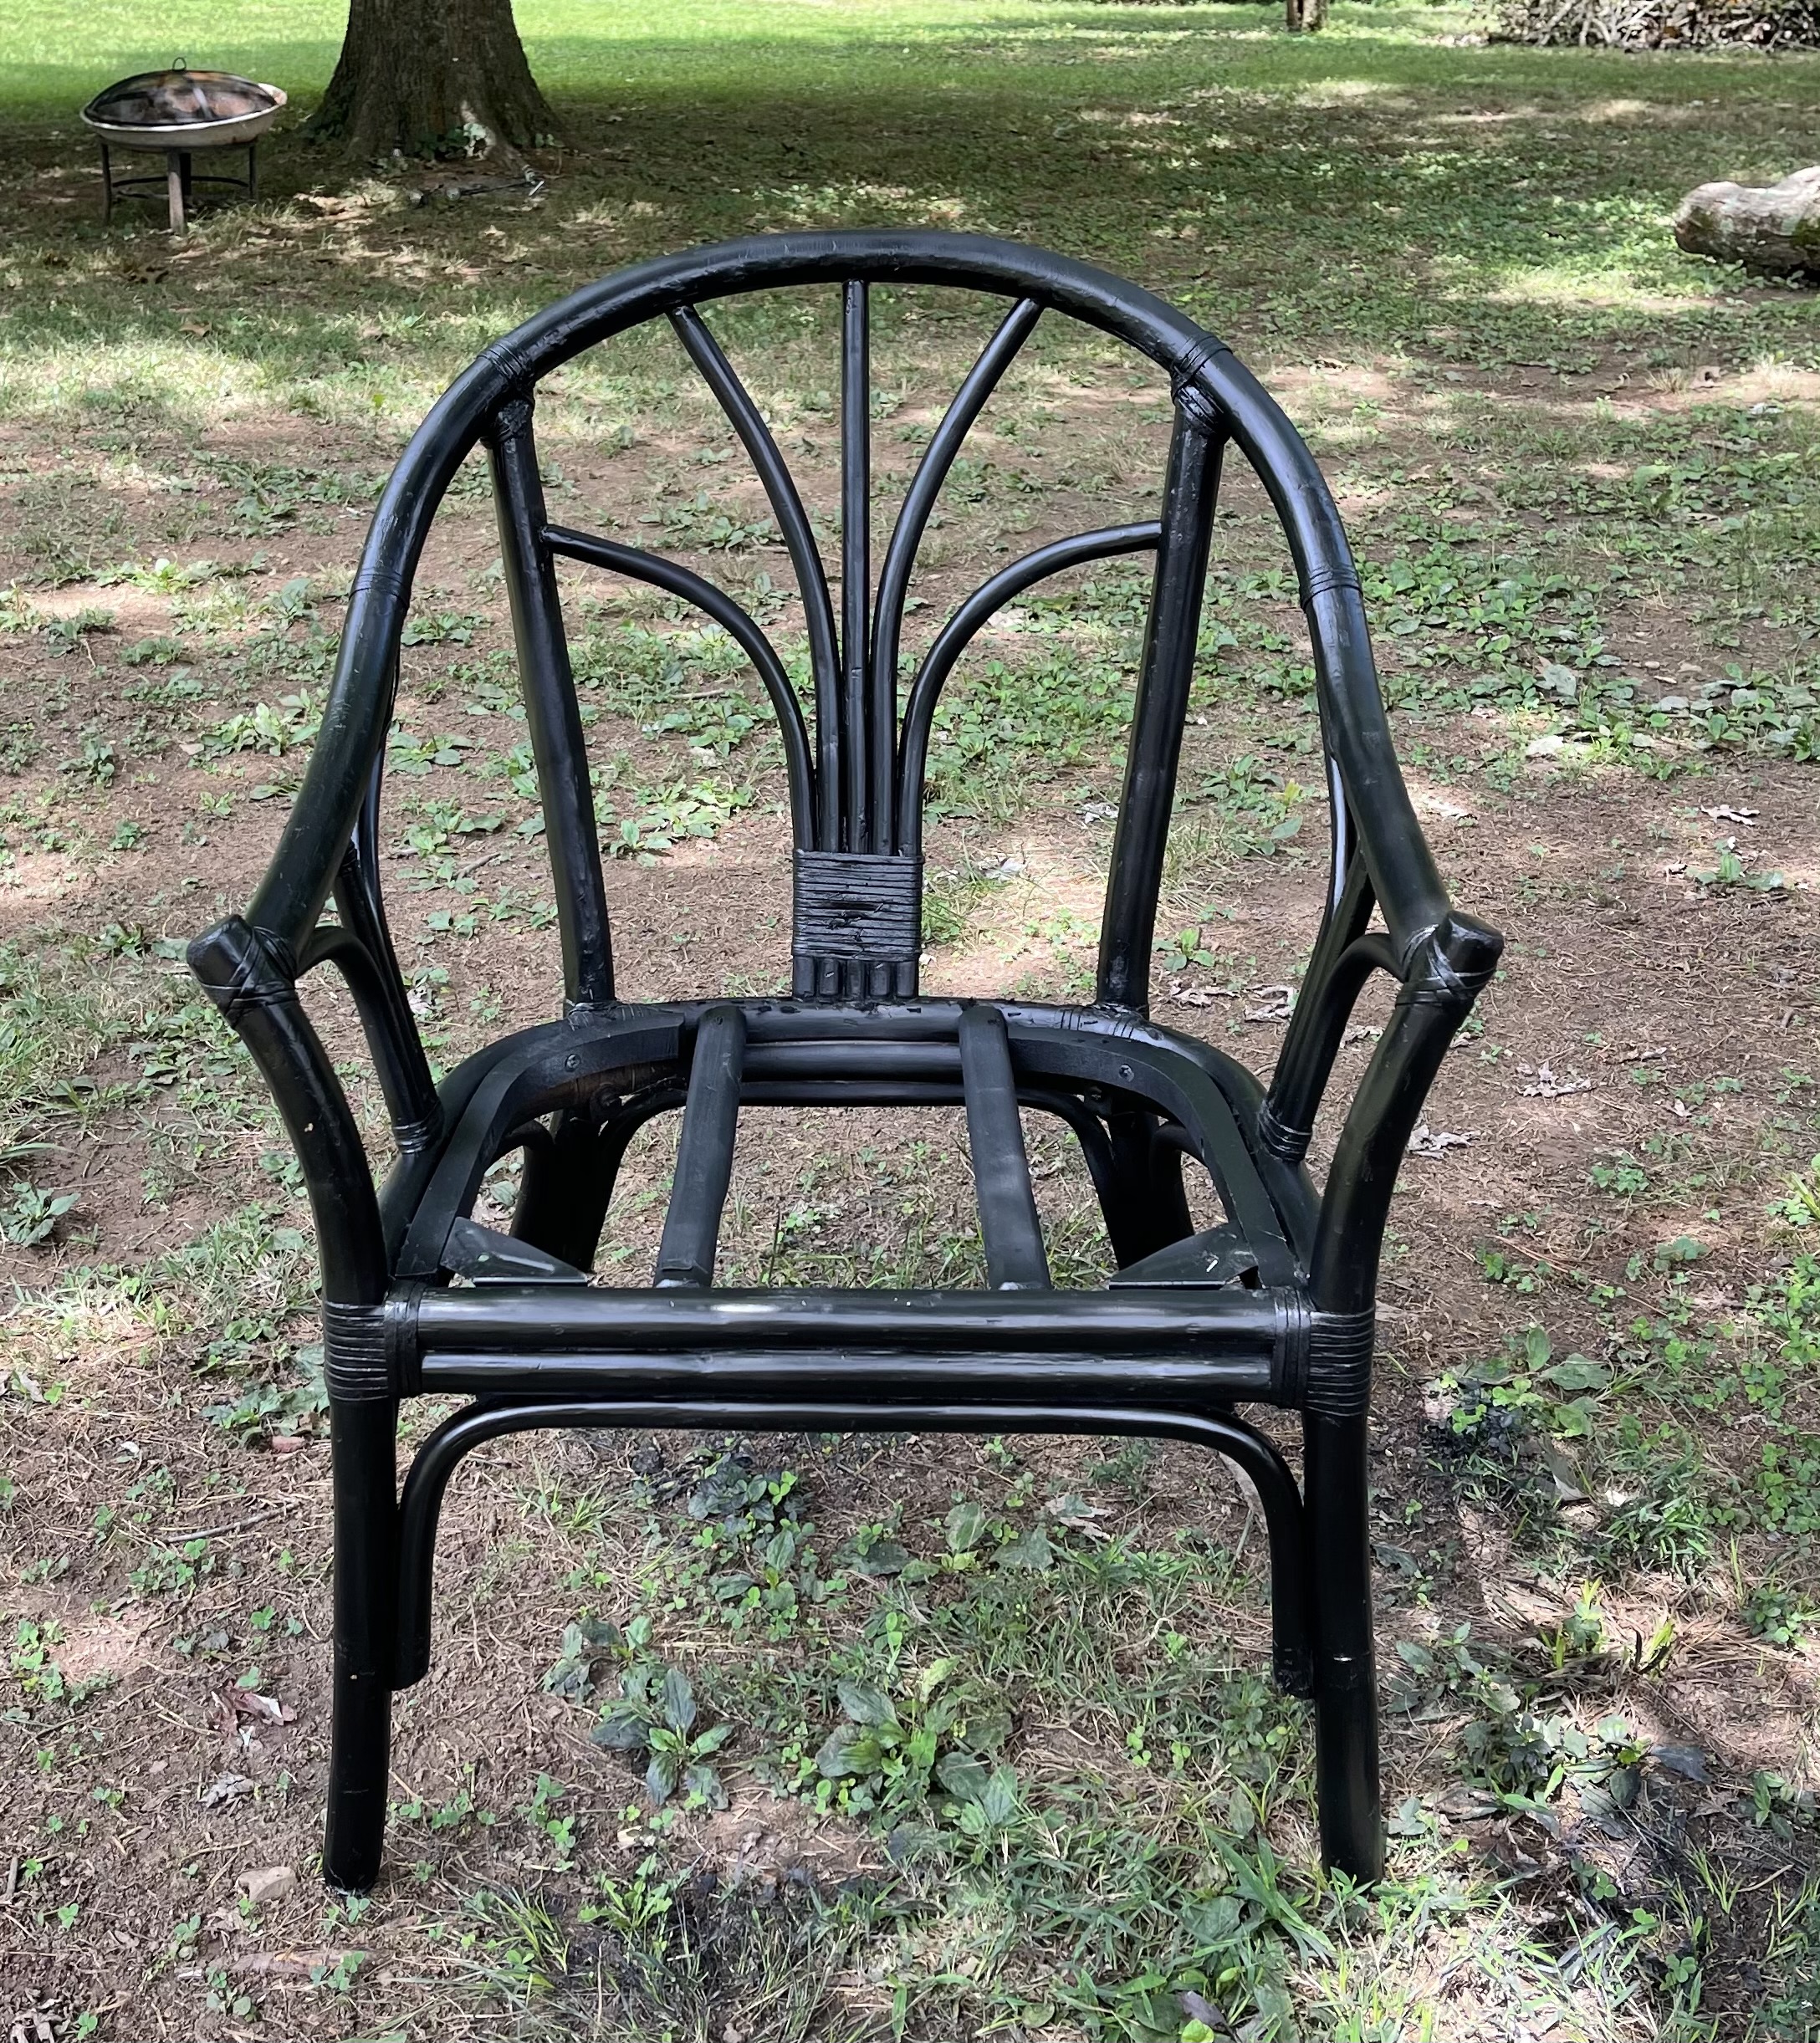
Once I was finished painting my chair, I stapled a new, clean piece of off-white material to the chair seat, and attached it to the chair base with screws.
And now I have a brand new chair!!
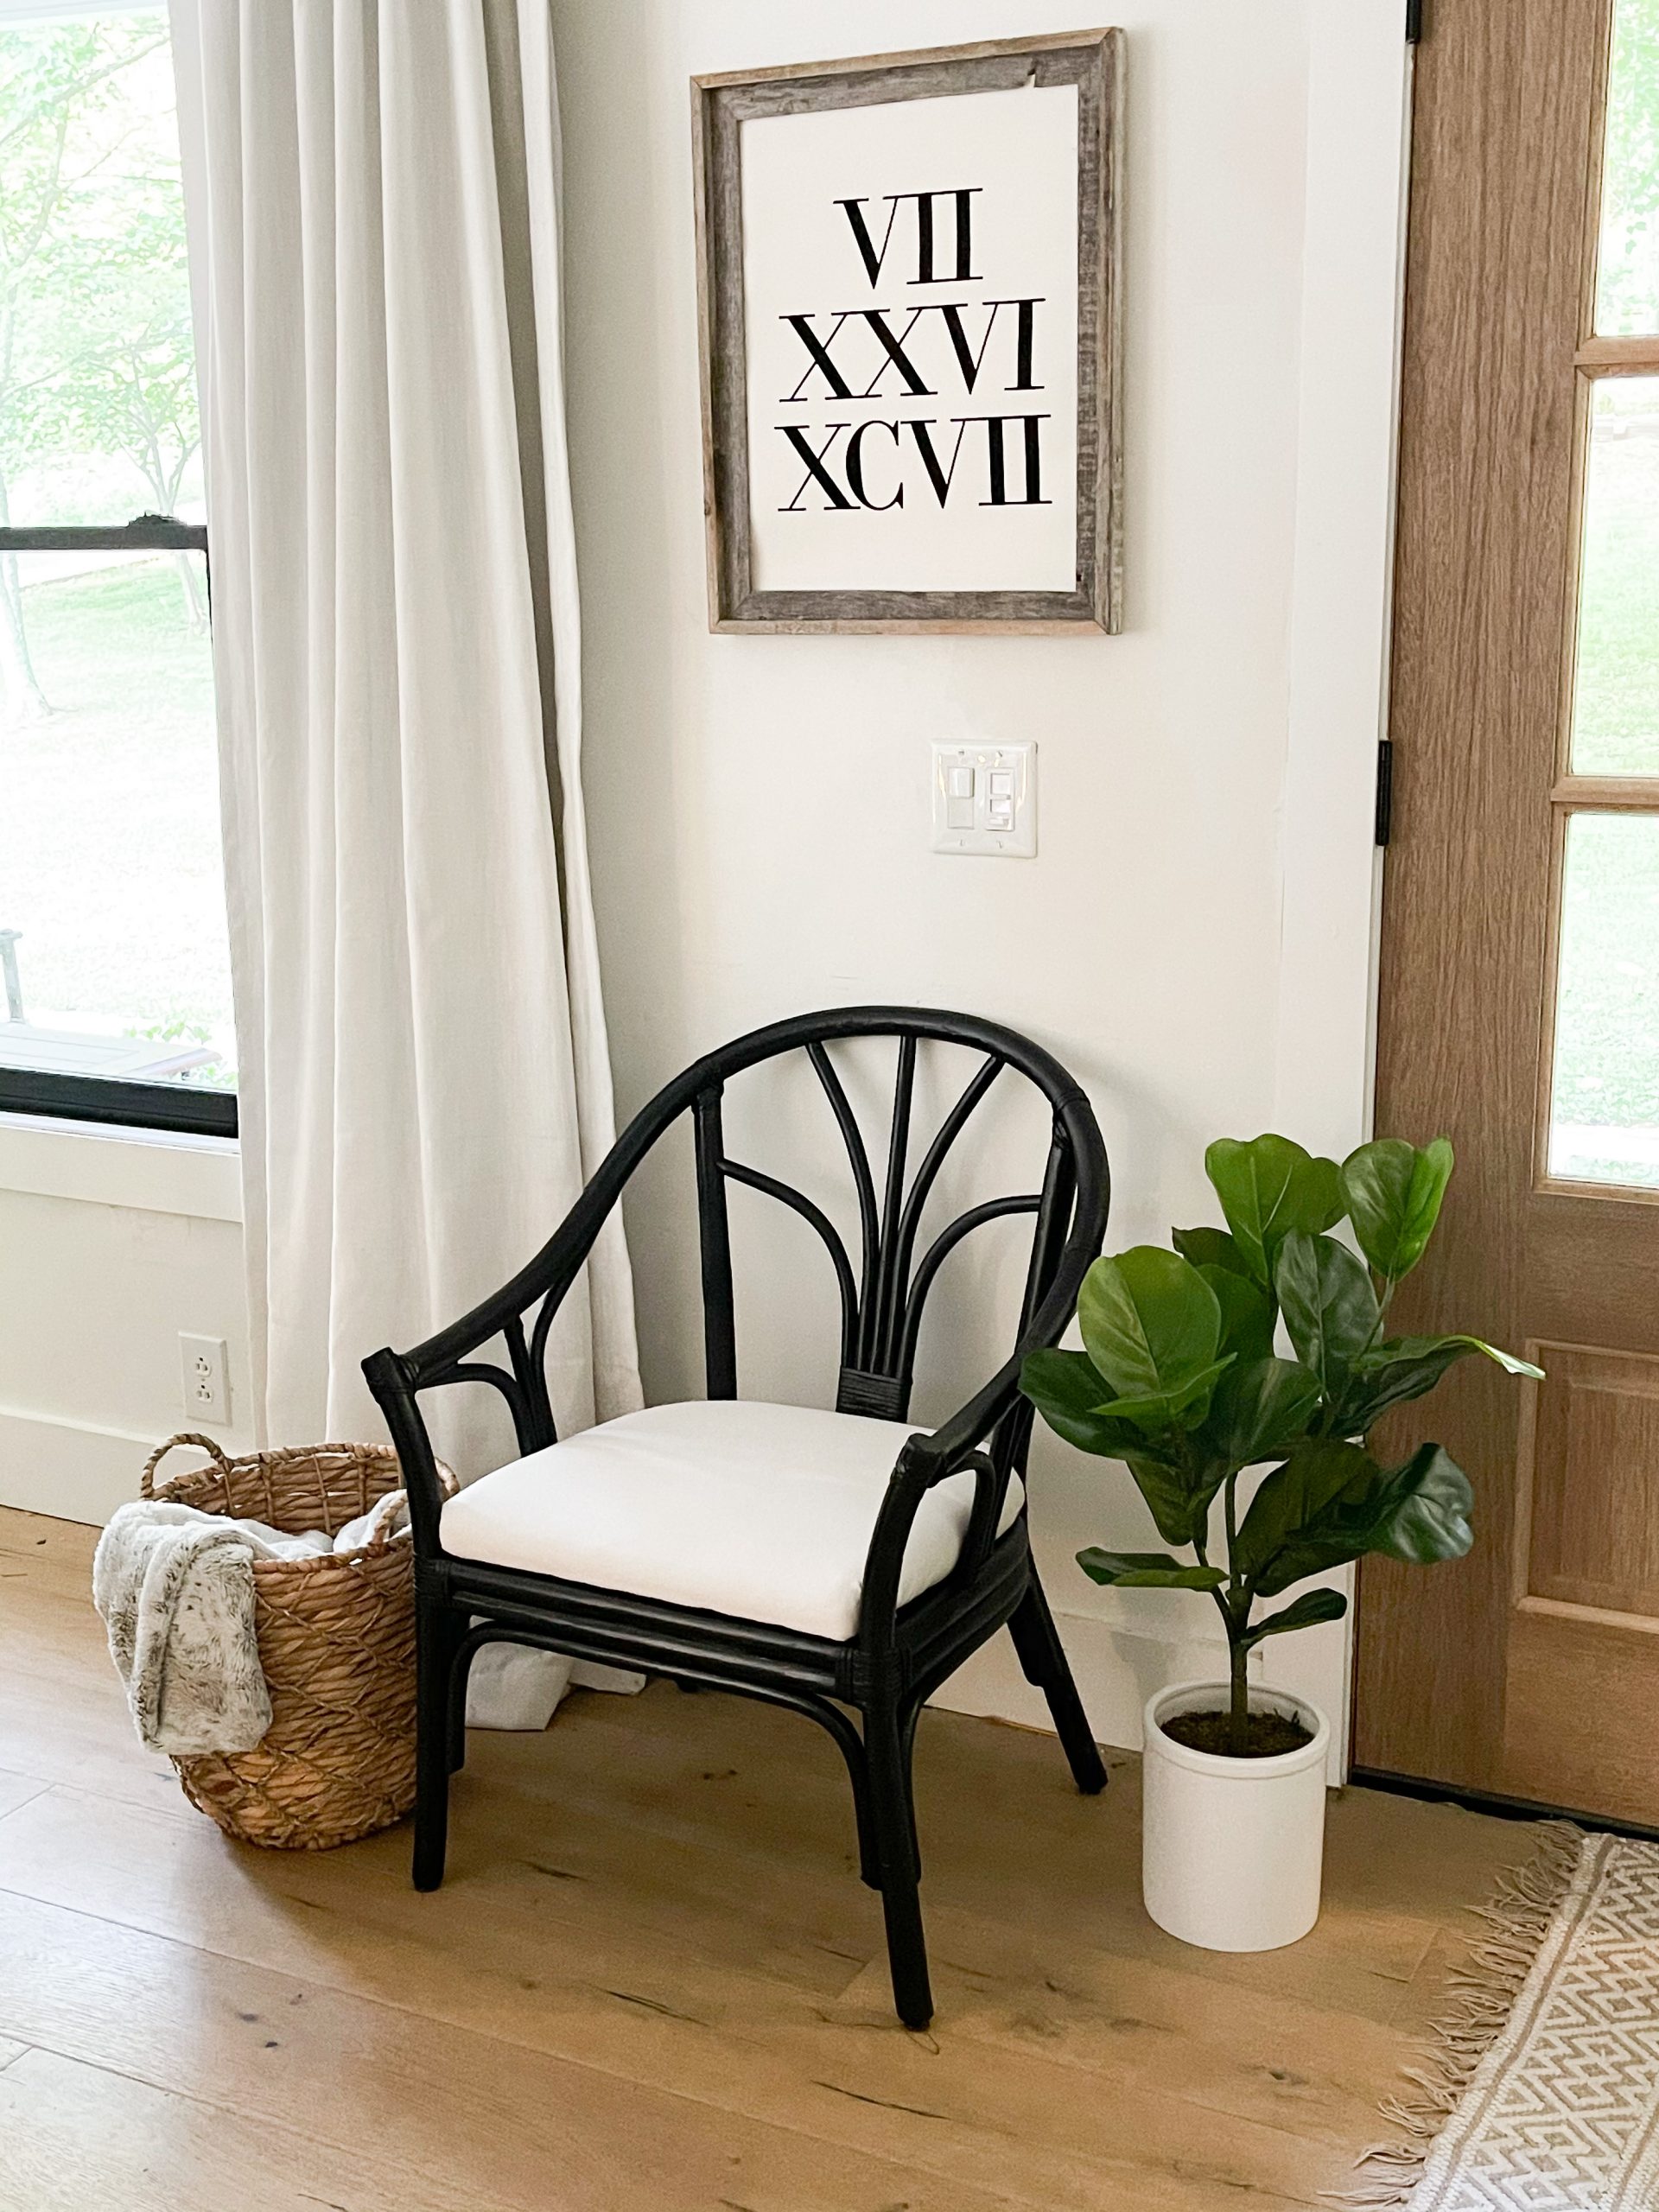
And it was as easy as ABC!
I can’t believe I almost got rid of this chair! With just a couple cans of Krylon’s Fusion All-In-One® spray paint, this chair has new life, and we will be able to enjoy it for many more years!
I hope you enjoyed this post and these easy “ABC” steps that you can use when spraying painting your next project!
Looks like new! Nice!
Nice job on the chair! Thanks for the ABCs.
Oh you inspire me! Can’t wait to try this paint on my bistro set. It needs some tlc
Wow!!! You are amazing. Looks so nice.
Beautiful transformation
Hi Tracy,
I’m a little surprised it took more than one can of paint, but maybe since the frame was tubular a lot of paint got lost in the wind/air? Still, you totally saved it from a landfill and gave it a lot of life!! Great job!! (as always!!)
Very worthwhile project! Looks great!
If I were to do this for a kitchen would I need to spray something over it to protect it from food or spills