
HOW TO PAINT BATHROOM CABINETS
Today, I am going to share with you how to paint your bathroom cabinets in five steps.
I’m partnering with Purdy for this makeover, and I am using my niece’s bathroom cabinets to share the process with you. Since we sold our house last month, I asked my niece if I could use her bathroom for this Purdy post, and she said YES!
The steps and products that I am including in this post are tried and true. My husband is a home remodeler, and he uses these steps and products on every kitchen and bathroom that he has renovated. We have never been disappointed in the results.
STEP ONE: GATHER SUPPLIES
The most important part of painting your cabinets is to have the right paint tools to create a smooth result that will rival a paint sprayer.
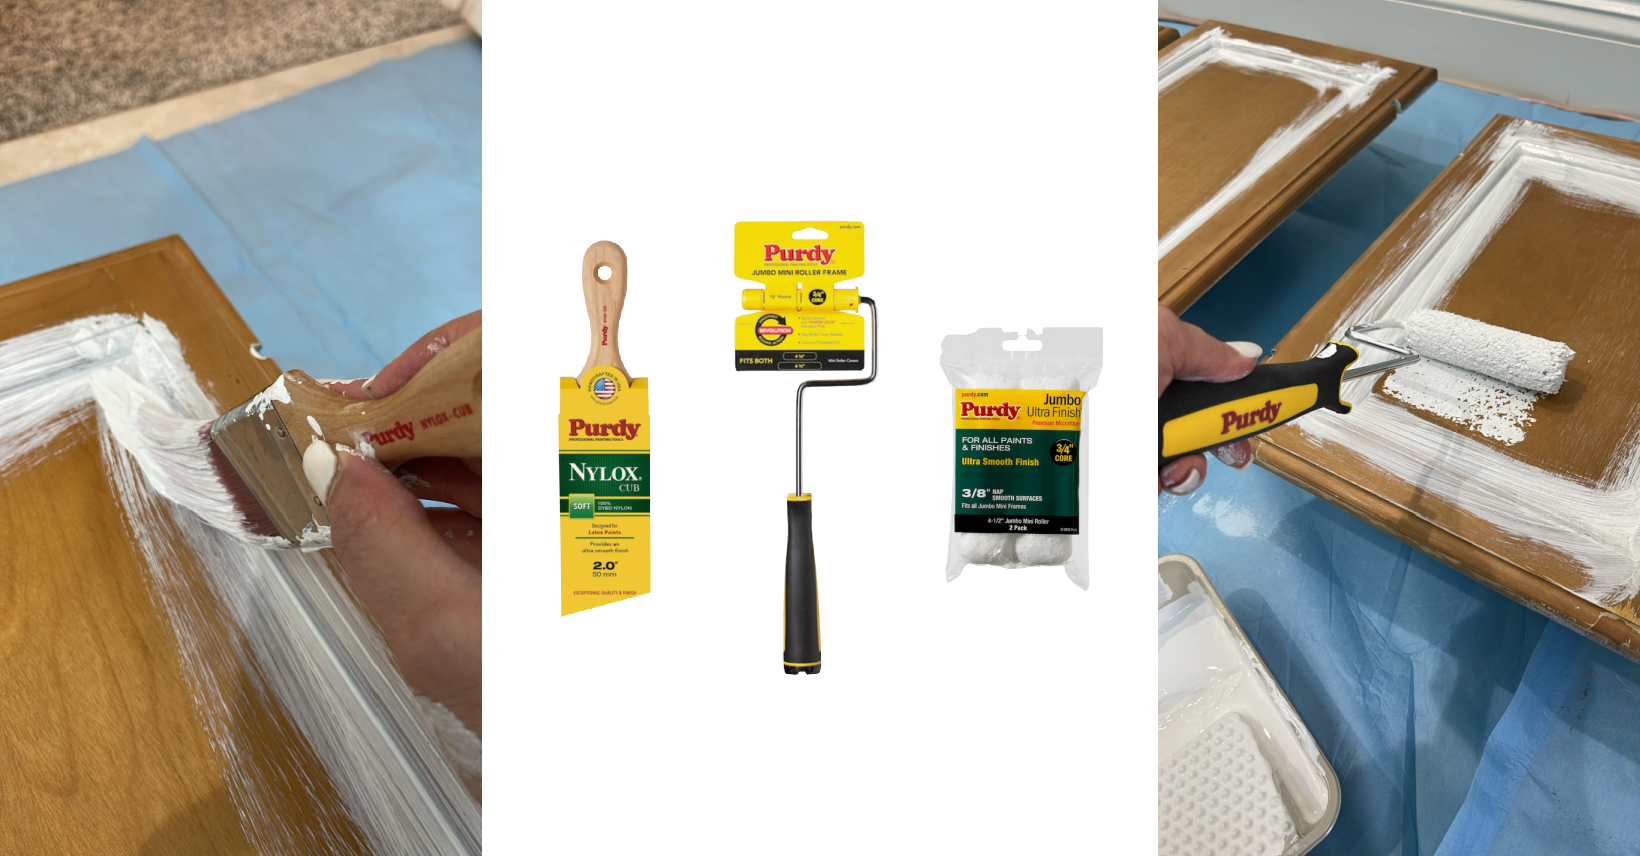
To do this, I use these Purdy Paint Tools:

Other supplies needed:
- drop cloth
- painter’s tape
- cleaner (I used Goof Off)
- cleaning cloths
- gloves
- sanding sponges (180 or 220 grit)
- screw driver
- tack cloth
- paint trays
- Valspar Bonding Primer
- Sherwin Williams Emerald paint (color of choice) in semi-gloss
Once you’ve gathered all your supplies, it’s time to start prepping the cabinets for paint.
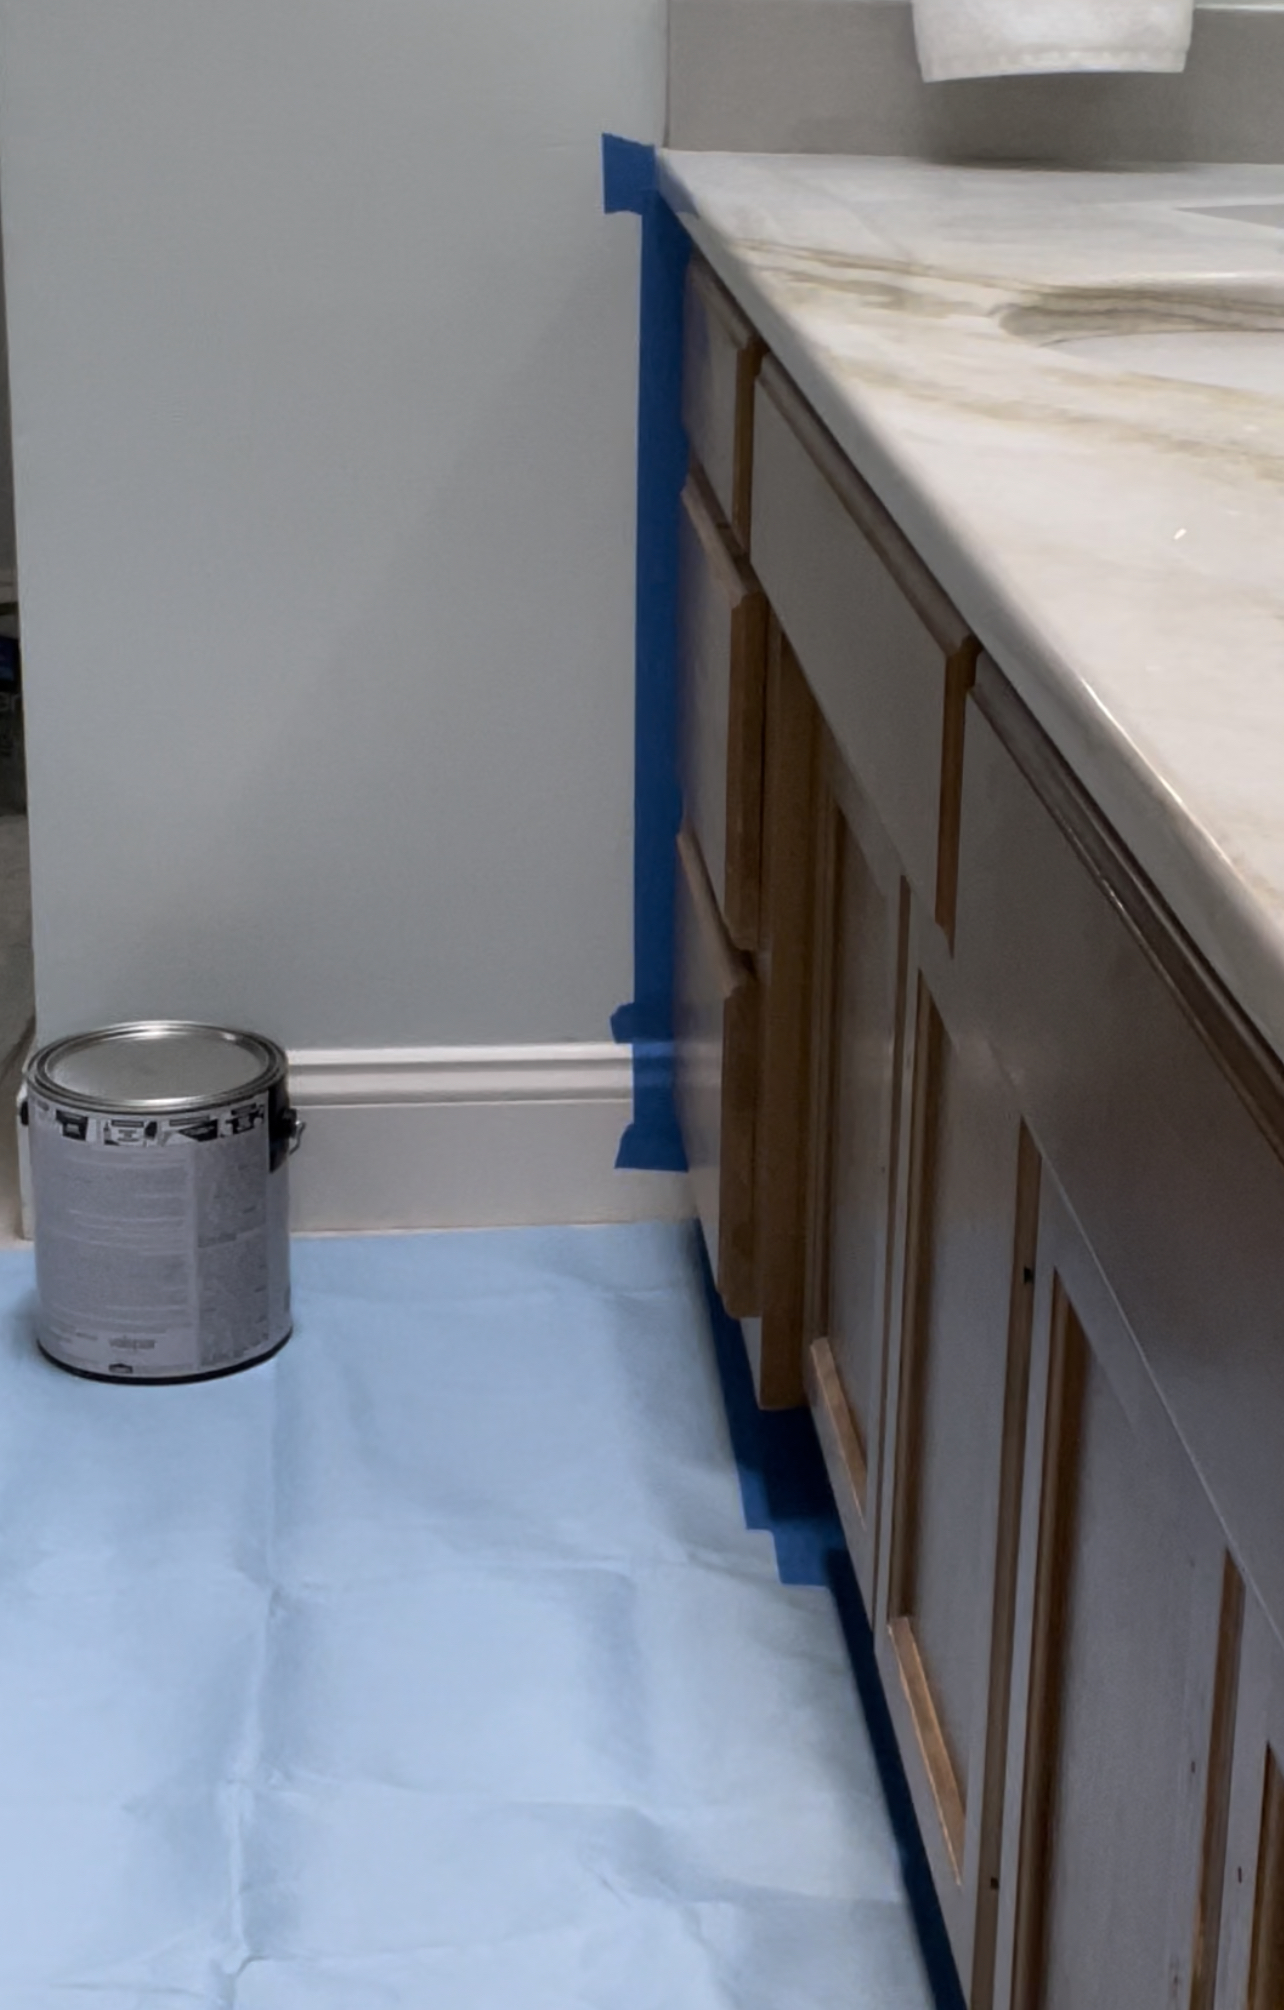
STEP TWO: PREP THE SPACE
Place a drop cloth on the floor to protect it, and use painter’s tape to cover any areas that you don’t want to paint.
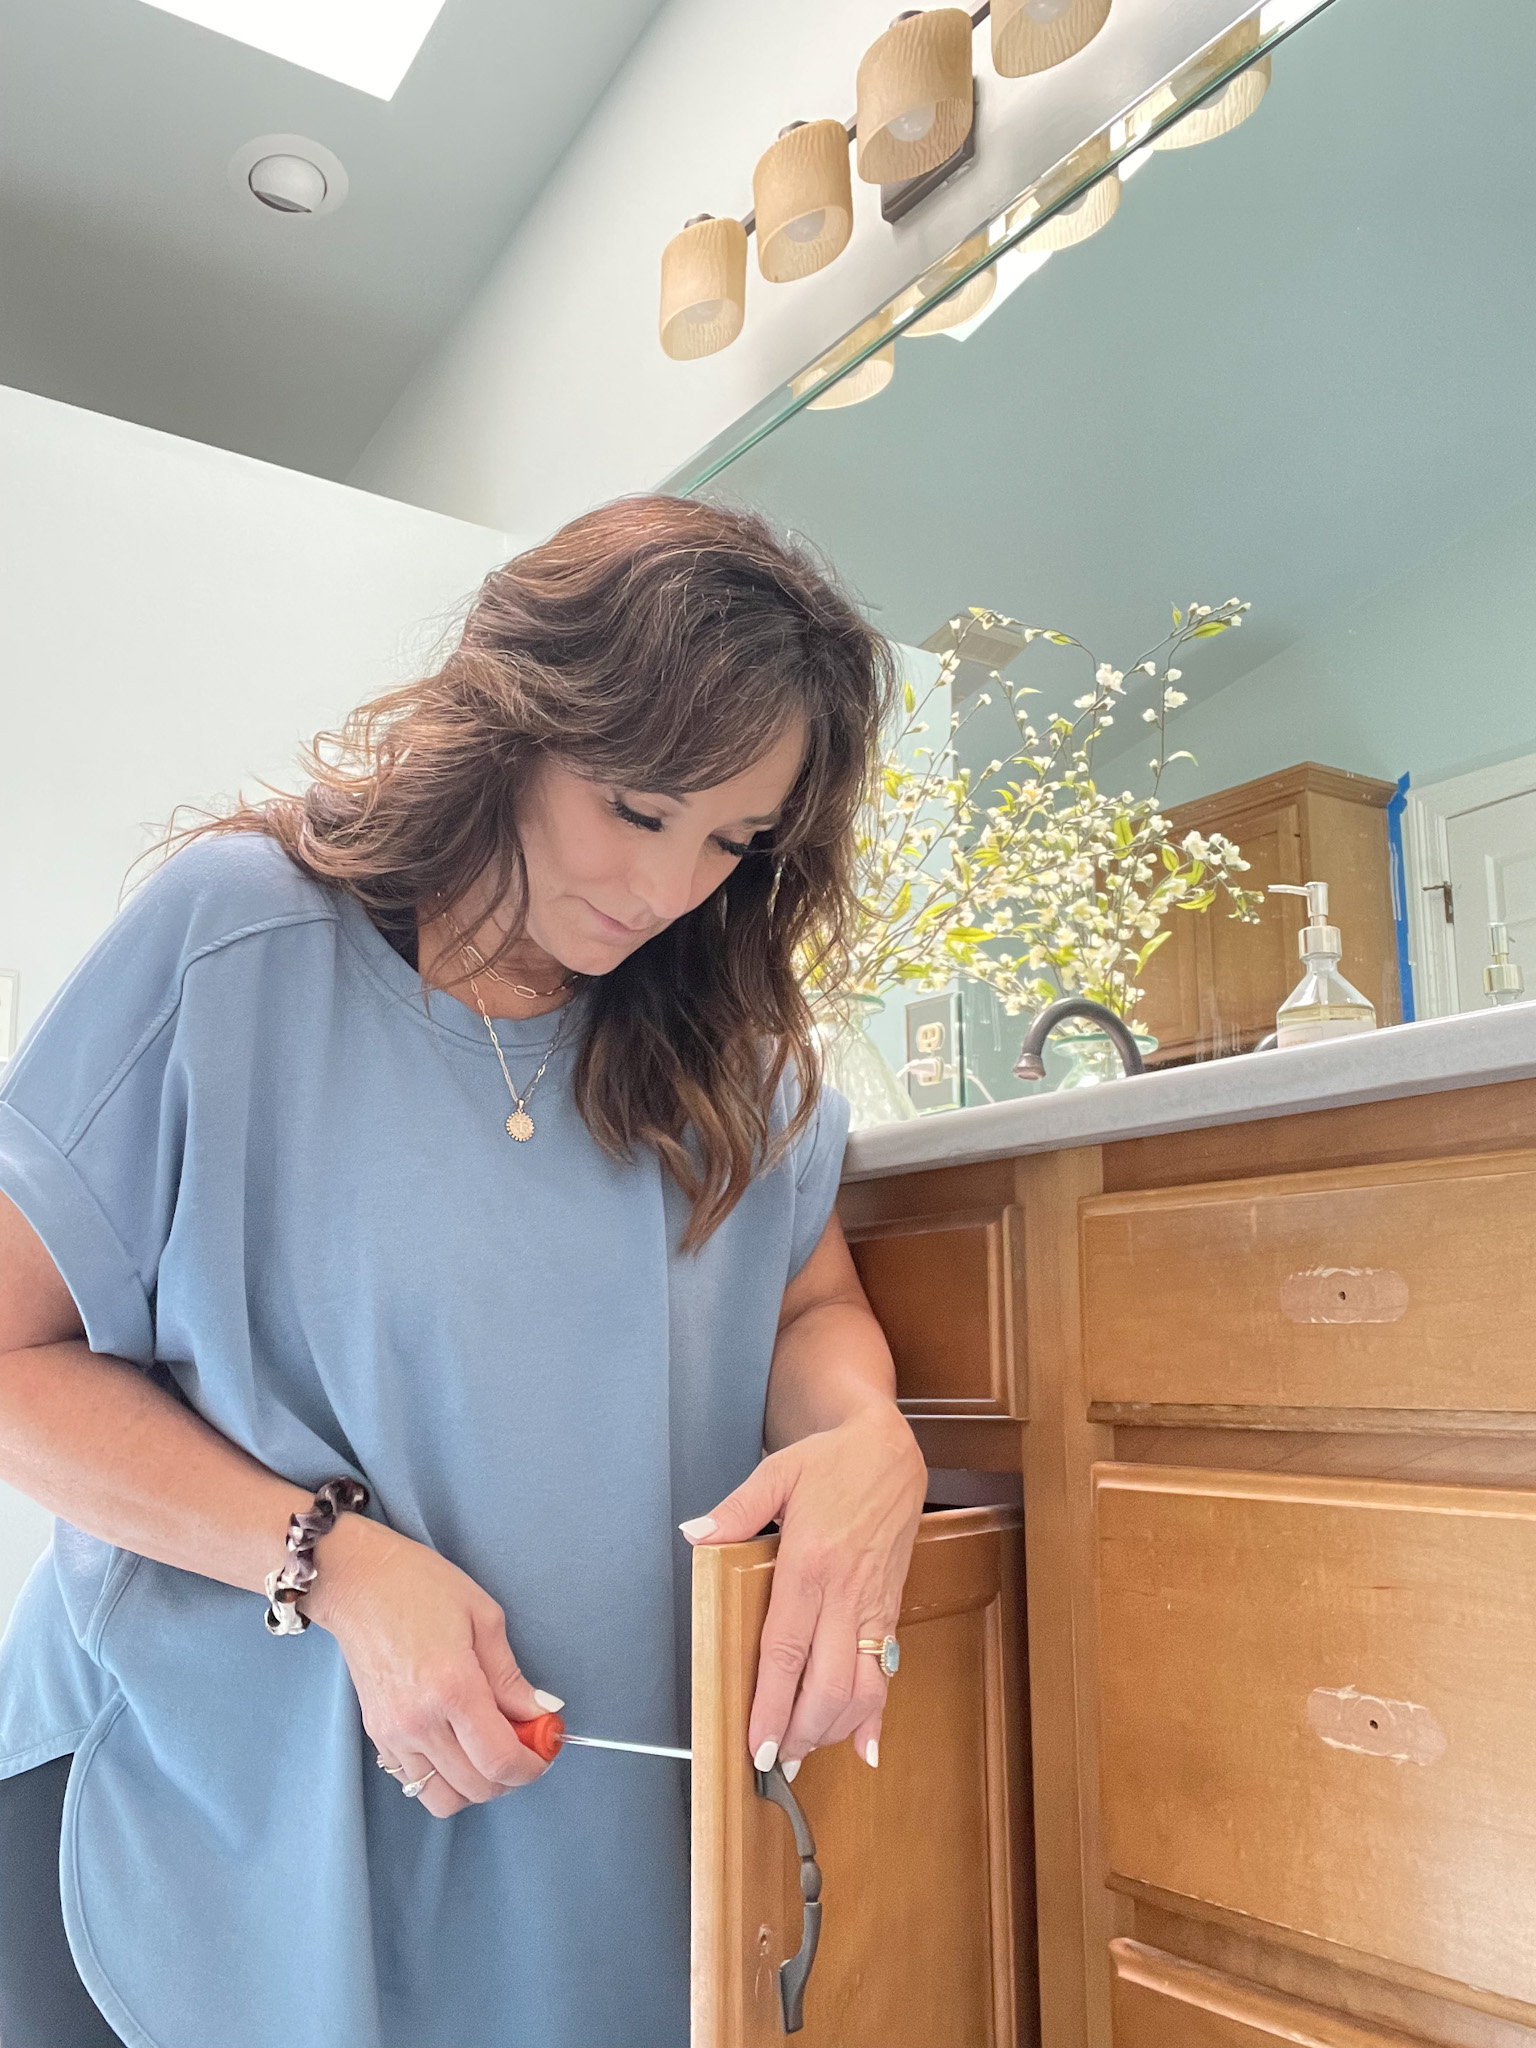
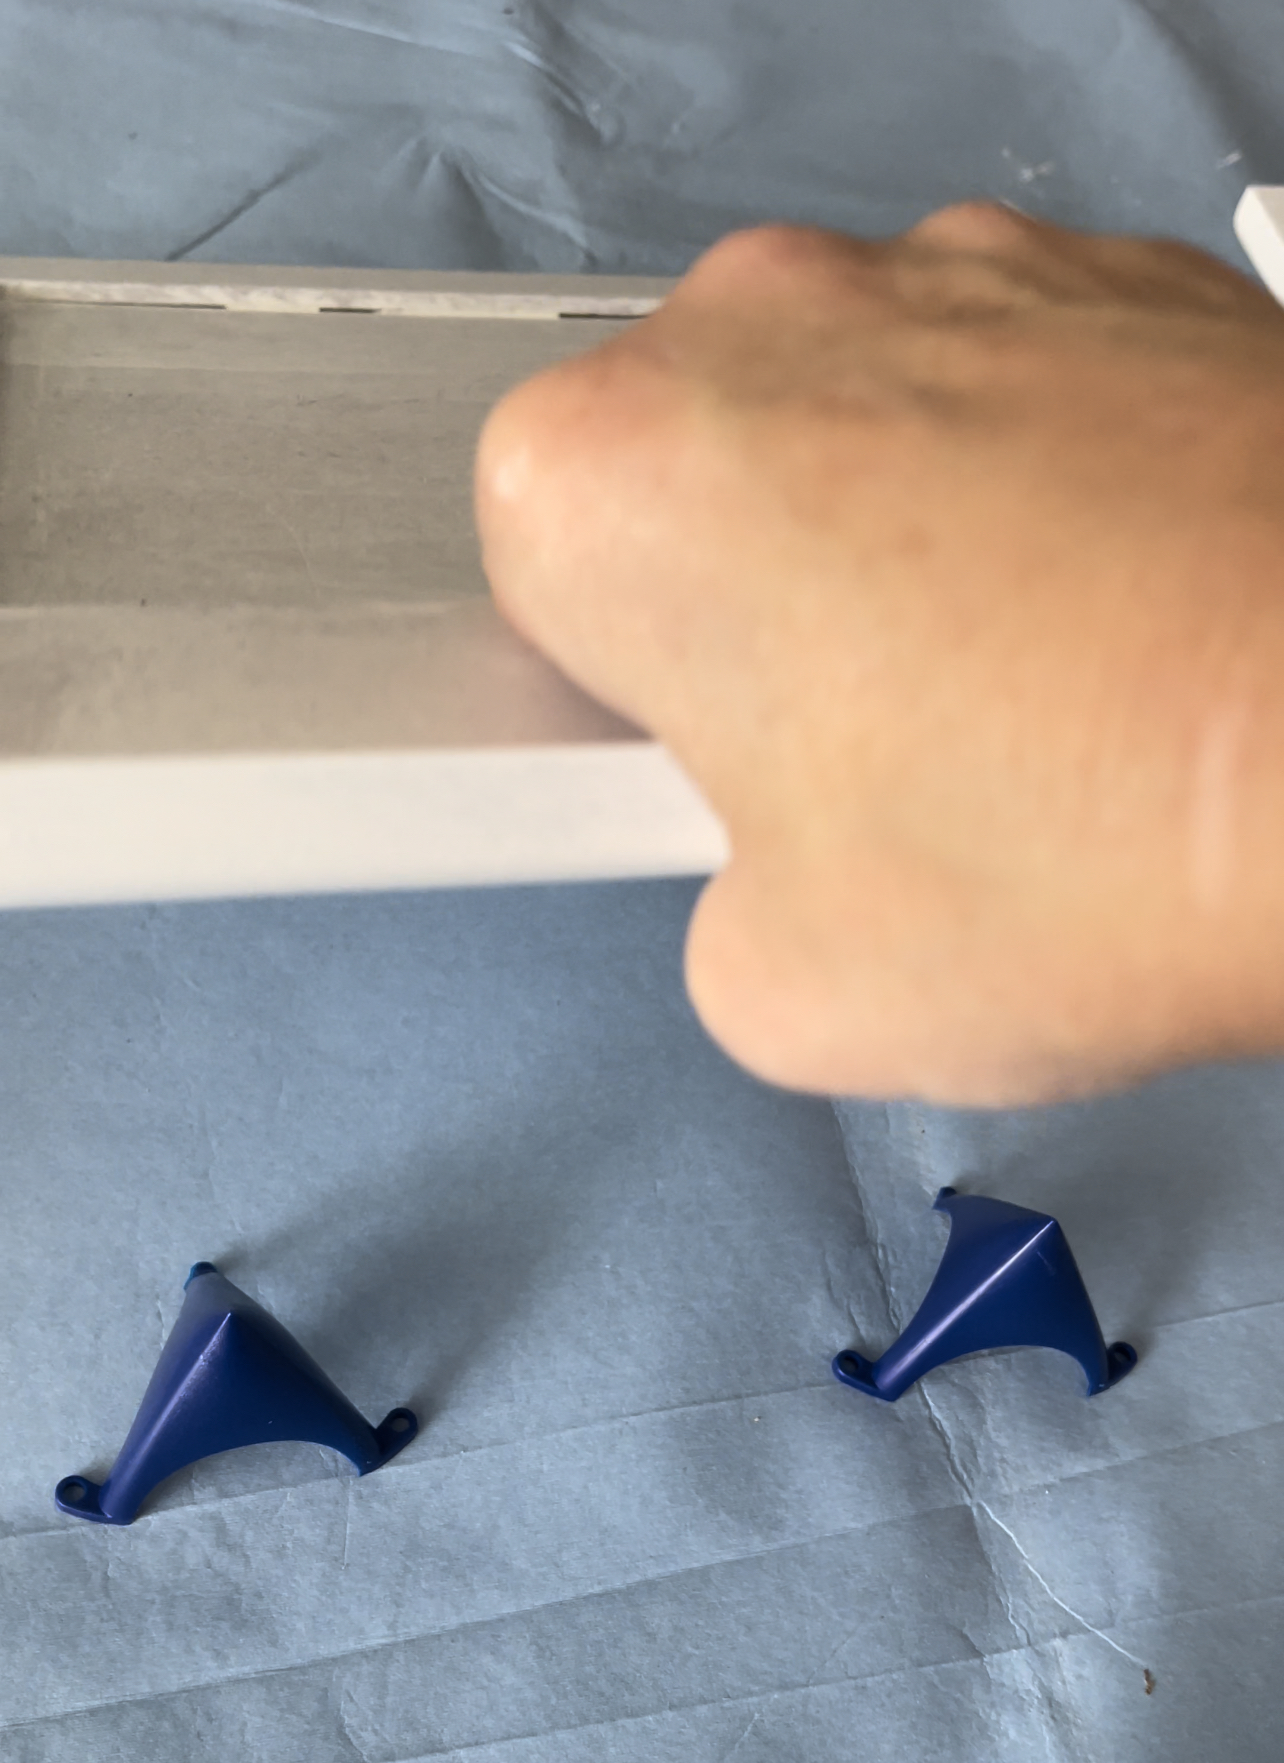
Next, you want to remove all of the hardware from your cabinet.
Once all of the hardware is removed, it’s time to clean and sand your cabinet doors and drawers. I chose to leave my doors on the hinges and drawers in the cabinets for this part, but you can also remove them for this step if you desire.
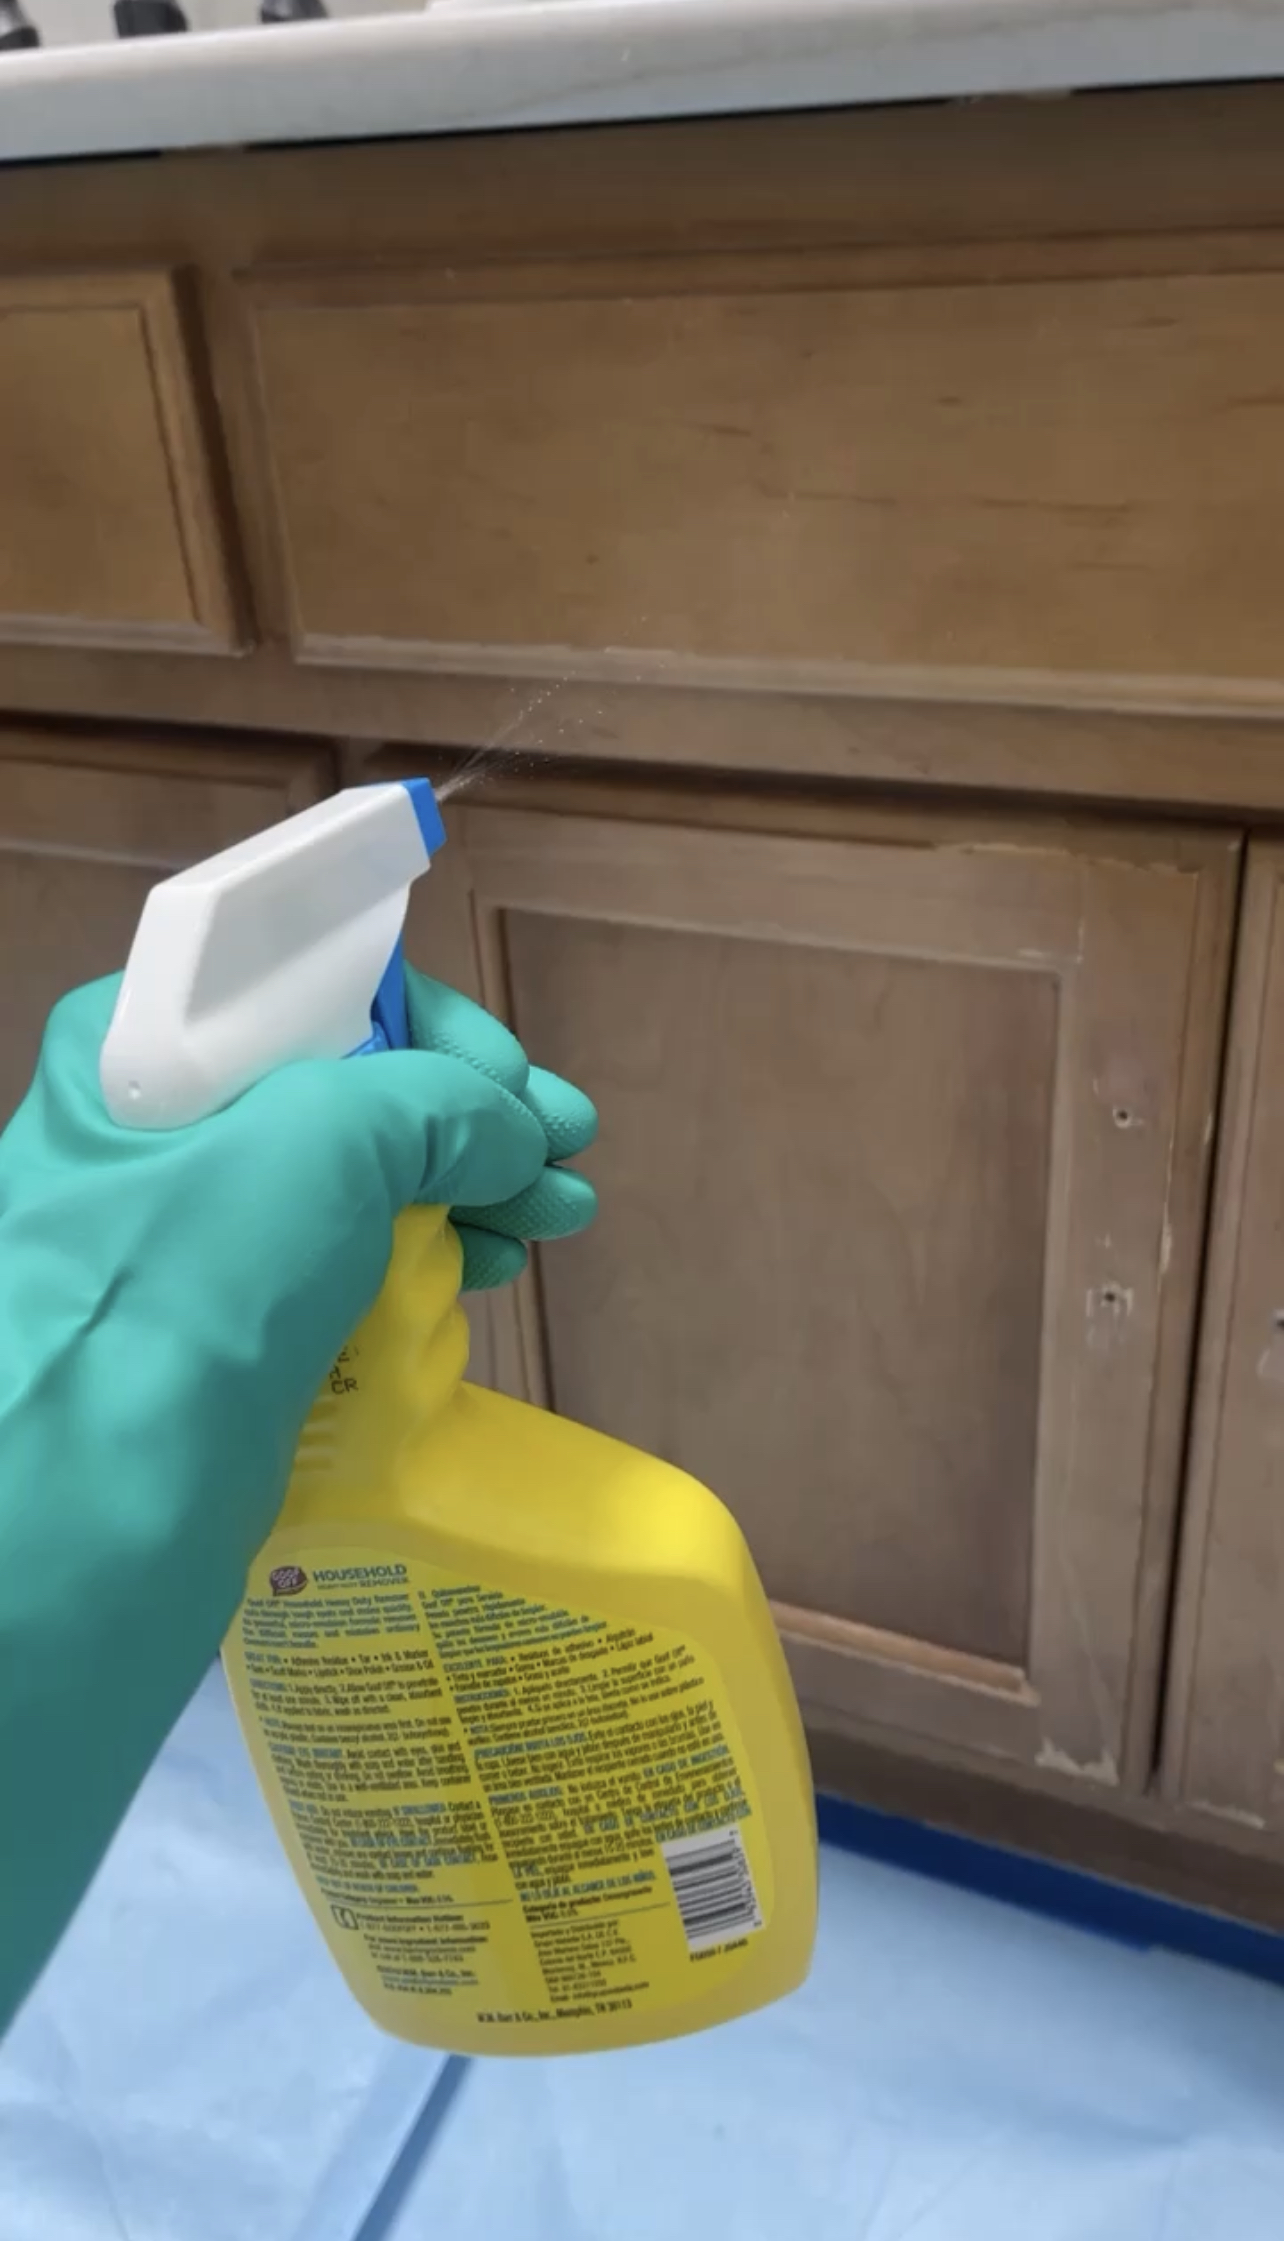
It is VERY IMPORTANT to make sure your cabinets are clean before painting, especially in a bathroom. Bathroom cabinets can have lots of build up from hairspray and other products we use in the bathroom. So you want to use a heavy duty cleaner that can cut through all the grit and grim. I used Goof Off, but you can also use a TSP cleaner, just be sure to wear gloves and eye protection.
If you do not clean the cabinets well, the paint will not adhere properly.
After you have throughly cleaned all the drawers, cabinet doors, and cabinet base, it’s time to sand. You want to use a 180 or 220 grit sanding sponge to lightly sand all surface areas that you will be painting.
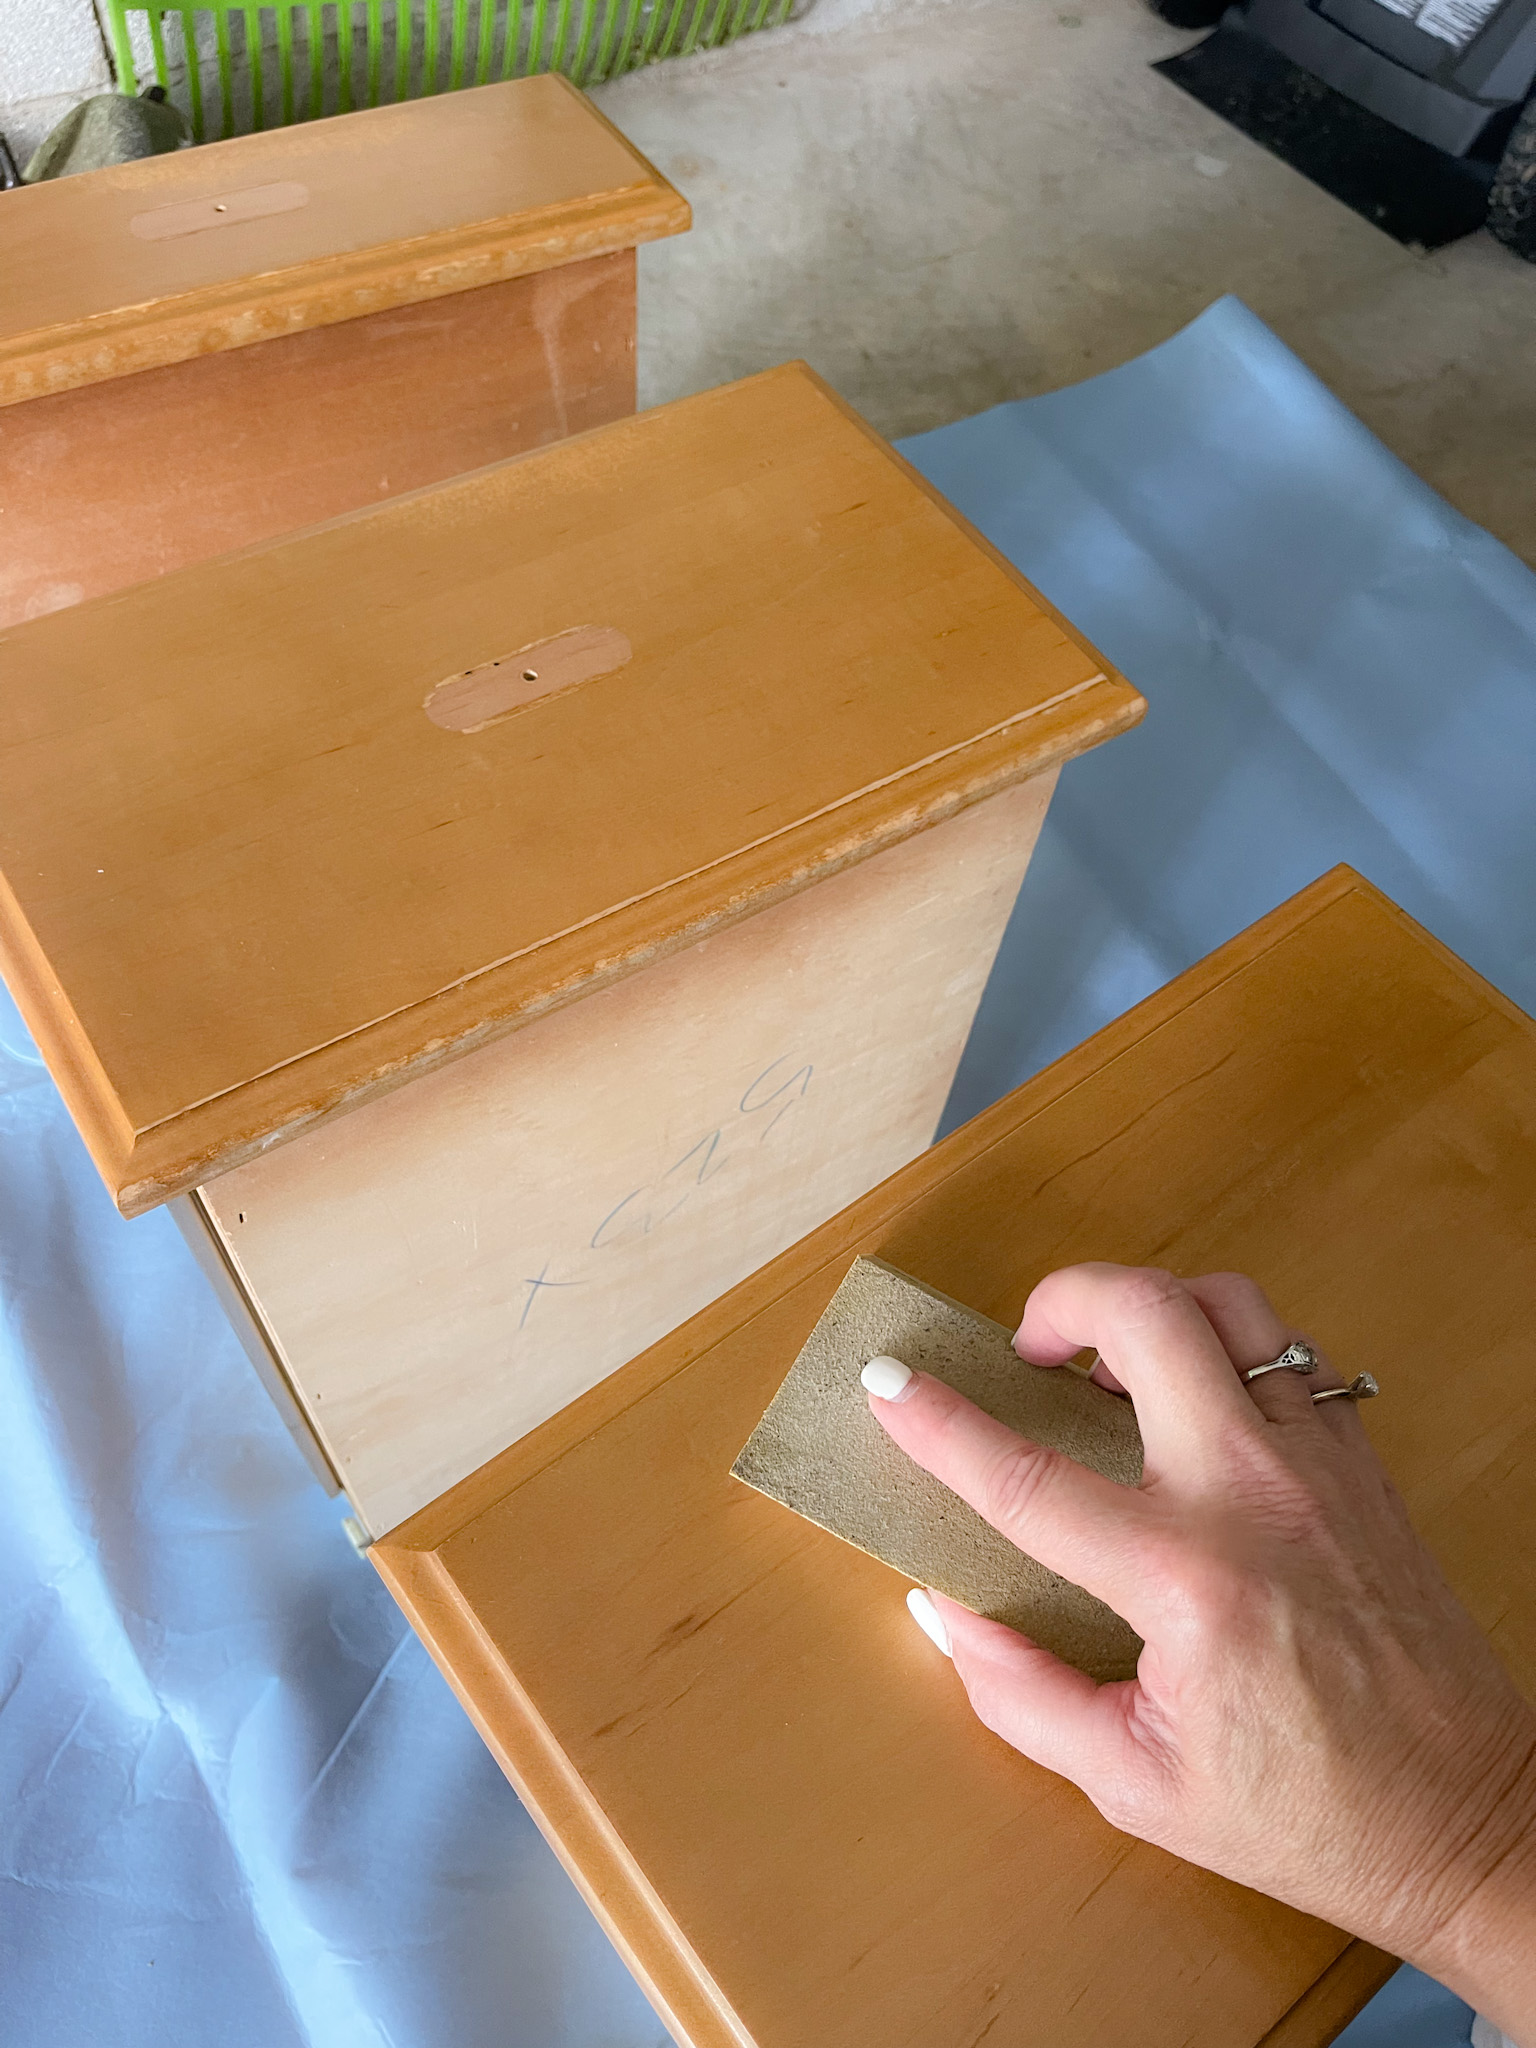
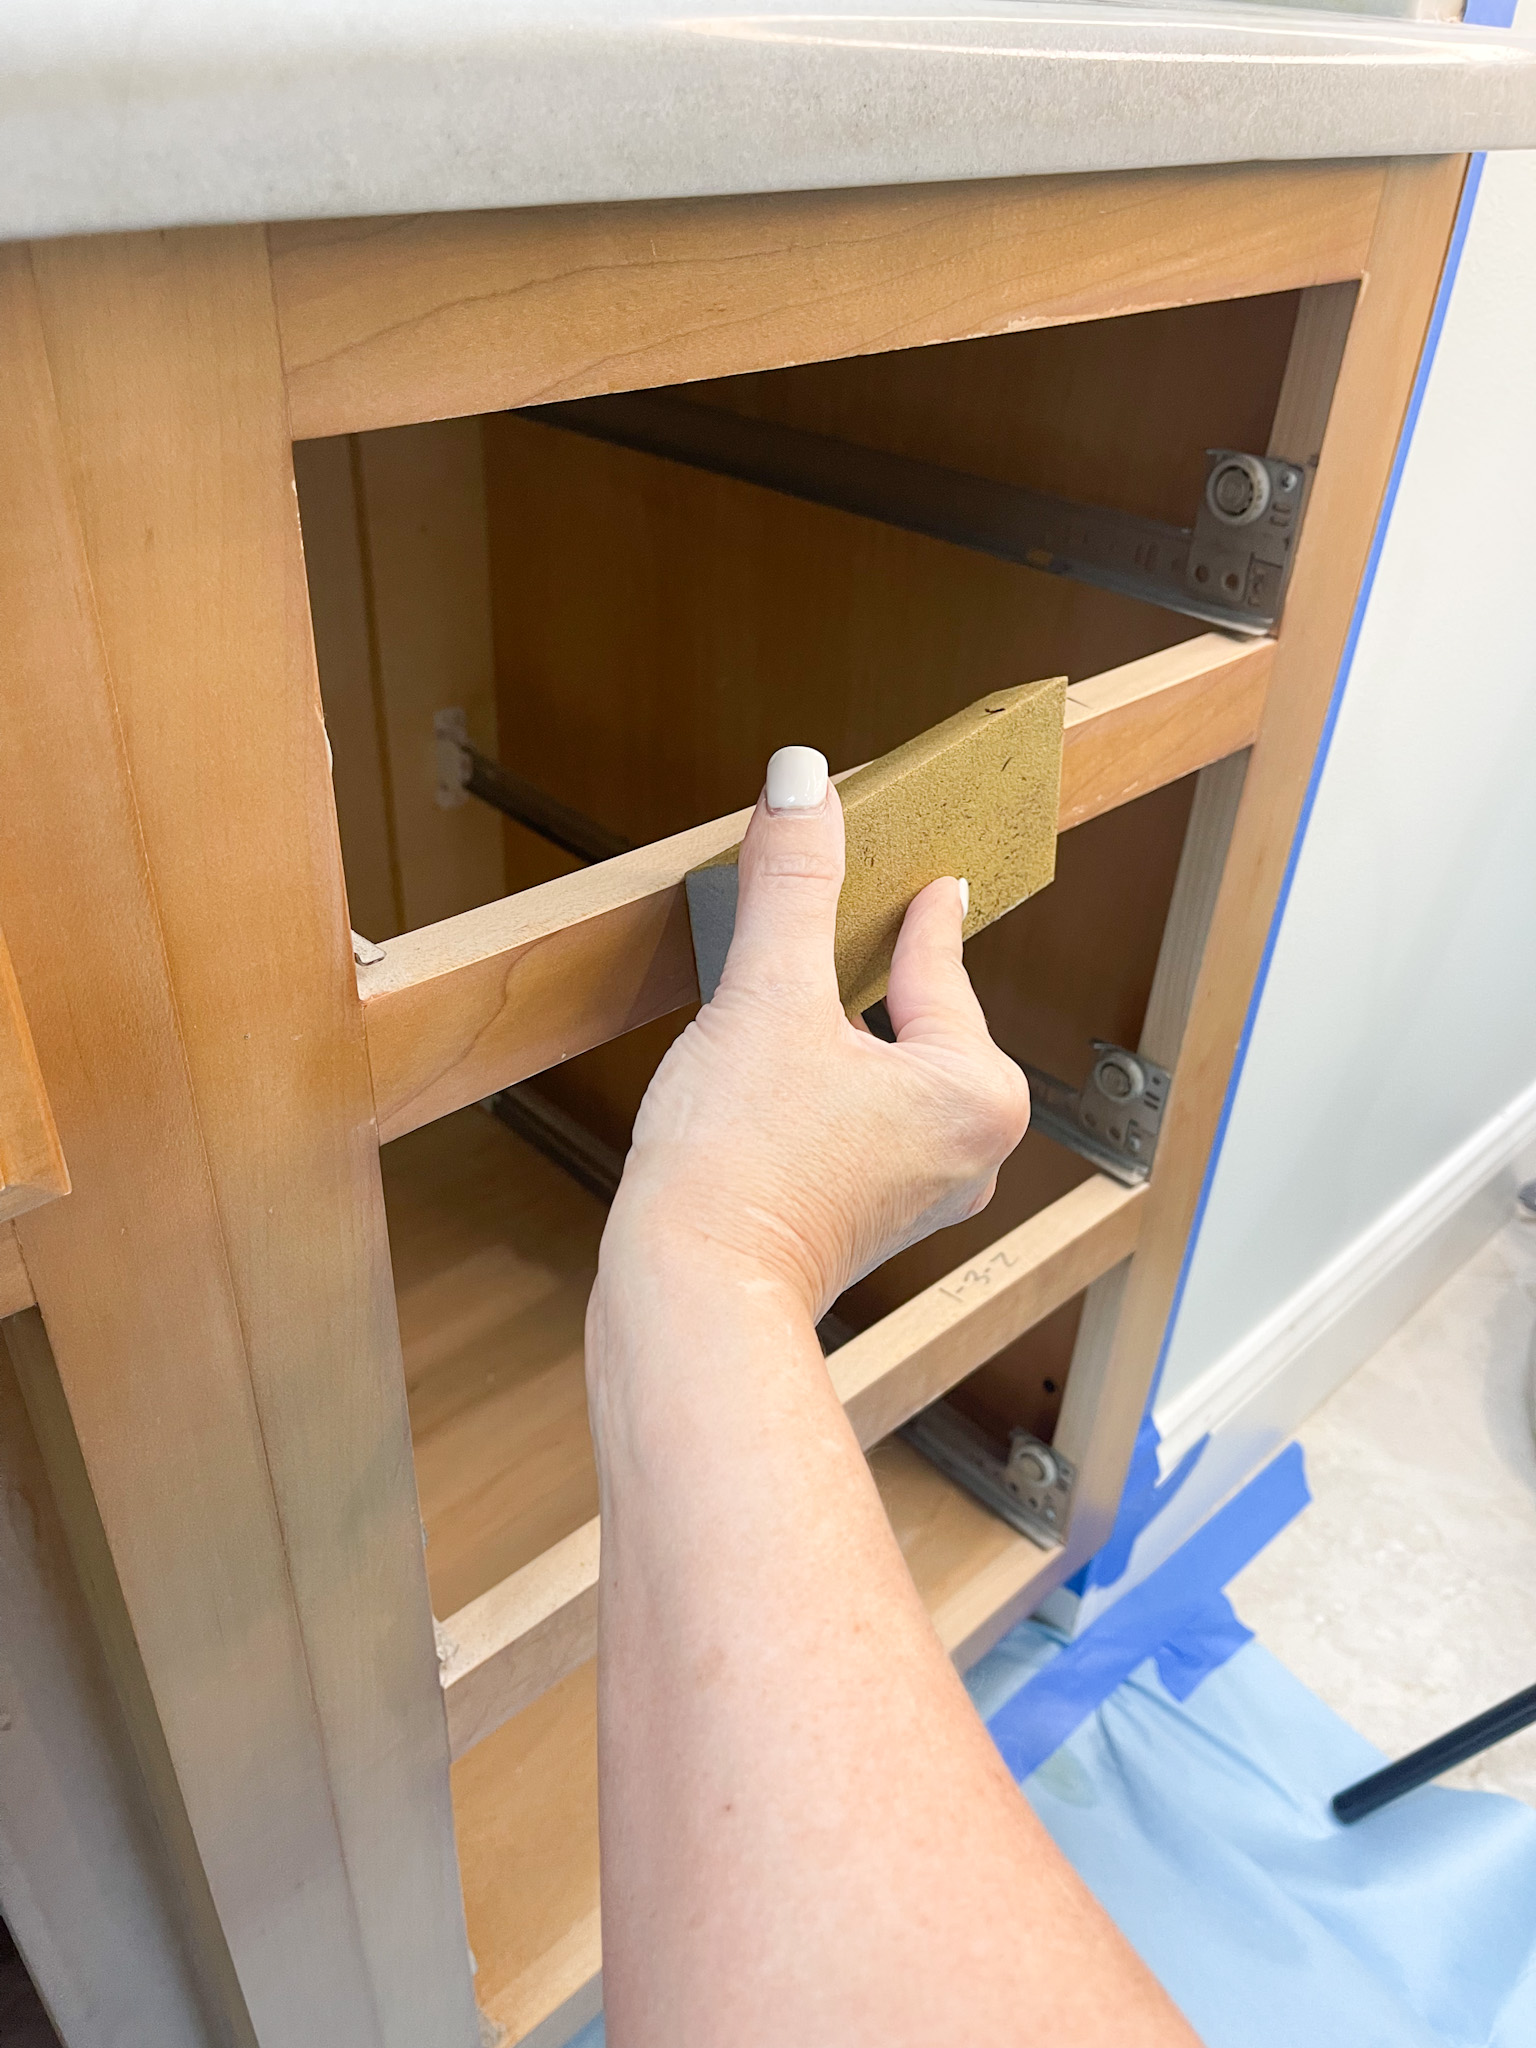
When you are finished sanding, go over all of the areas with a tack cloth to get rid of sanding dust.
Once everything is properly prepped to paint, it’s time to set up your painting station. It’s best for it to be in a place that is well-ventilated and where you have plenty of space.
STEP THREE: TIME TO PRIME!
 Priming your cabinets before painting is very important. Do not skip this step. Primer creates a suitable surface for the paint to stick to and it covers imperfections.
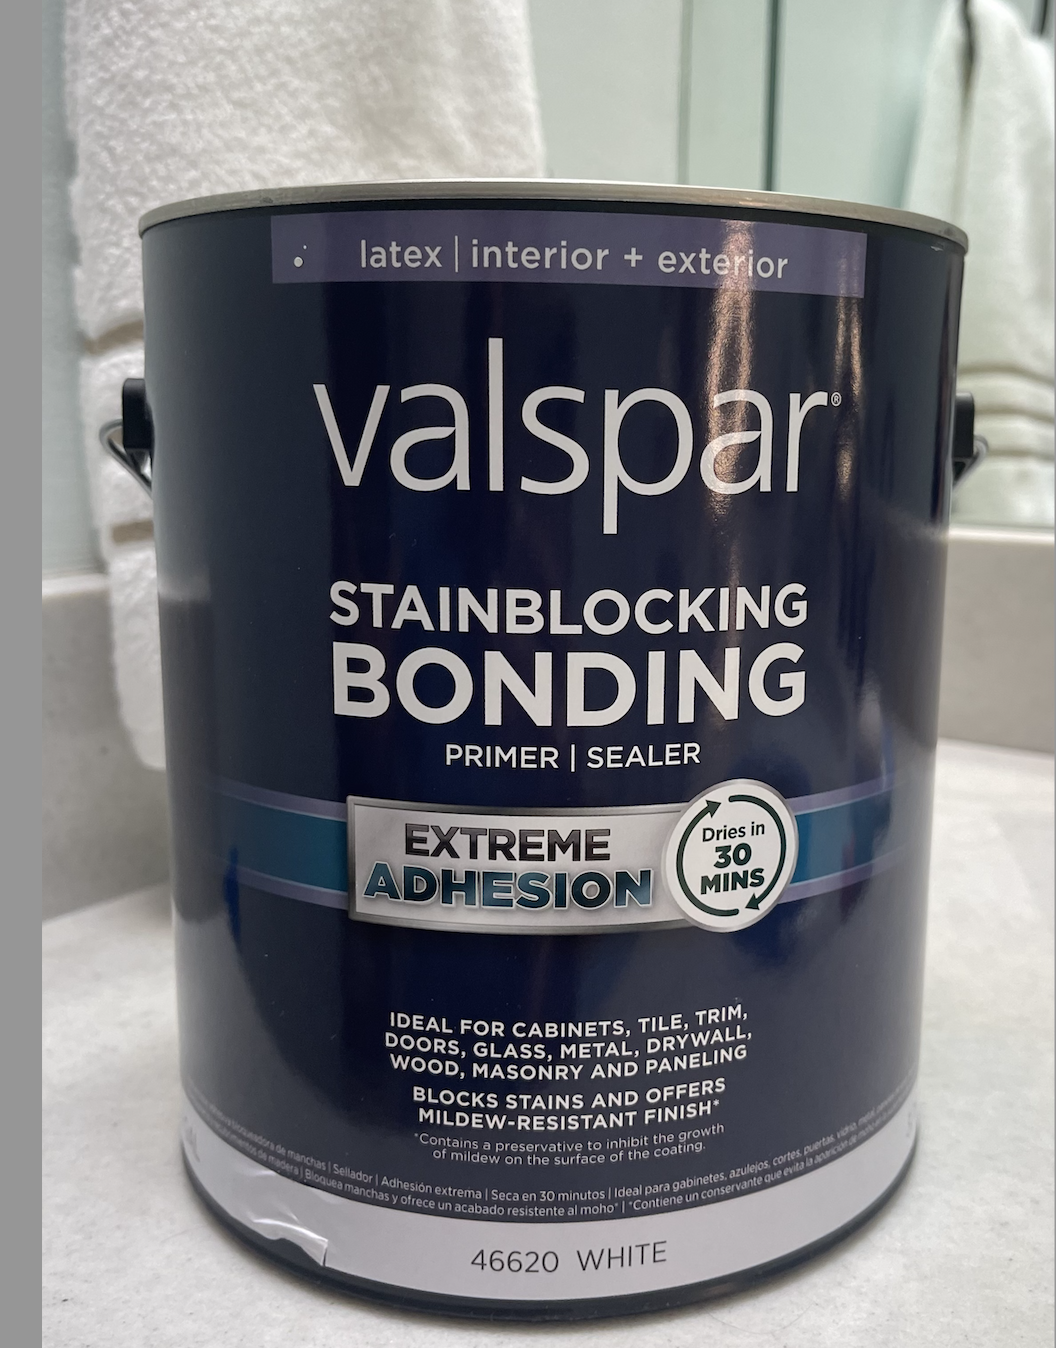
We love to use Valspar’s Stainblocking Bonding Primer/Sealer when we are painting cabinets. The results have been great!
I used my Purdy Nylox brush to paint the raised edges and to get into any corners that are hard to reach. Then I used the Purdy Jumbo Ultra Finish roller to roll the primer on the flat surfaces.
STEP FOUR: PAINT CABINETS
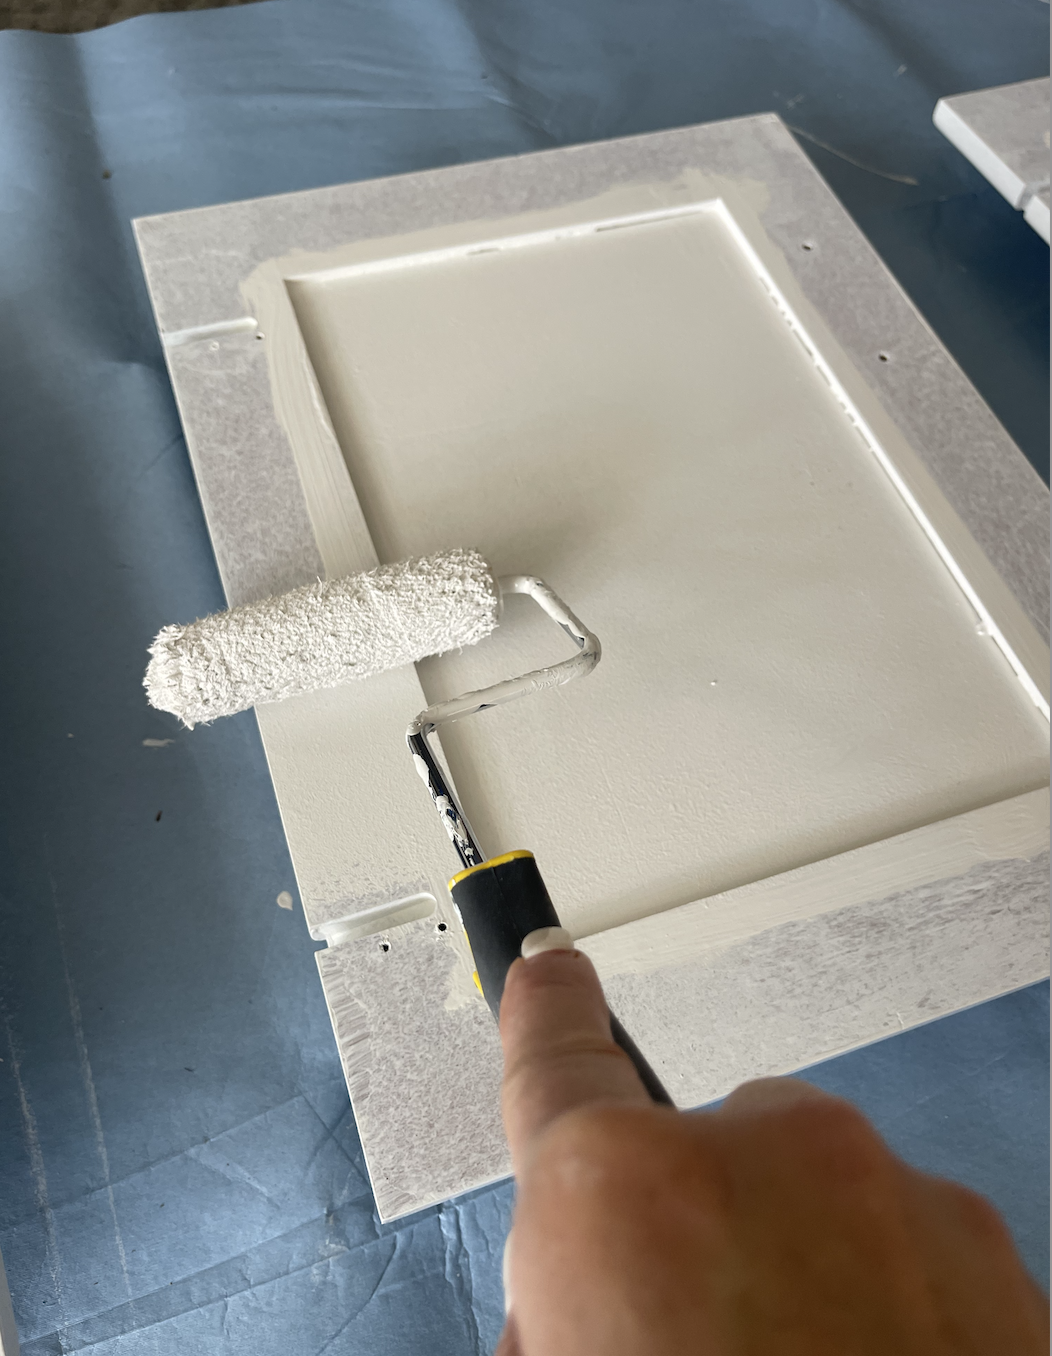
Once the primer is dry, it is time to paint your cabinets. I use the same paint tools for this step as well, the Purdy Jumbo Ultra Finish Roller and the Purdy Nylox angled brush.
The paint that I recommend is the Sherwin Williams Emerald line. Y’all, this stuff is incredible! The color my niece chose was SW Elder White in a semi-gloss.
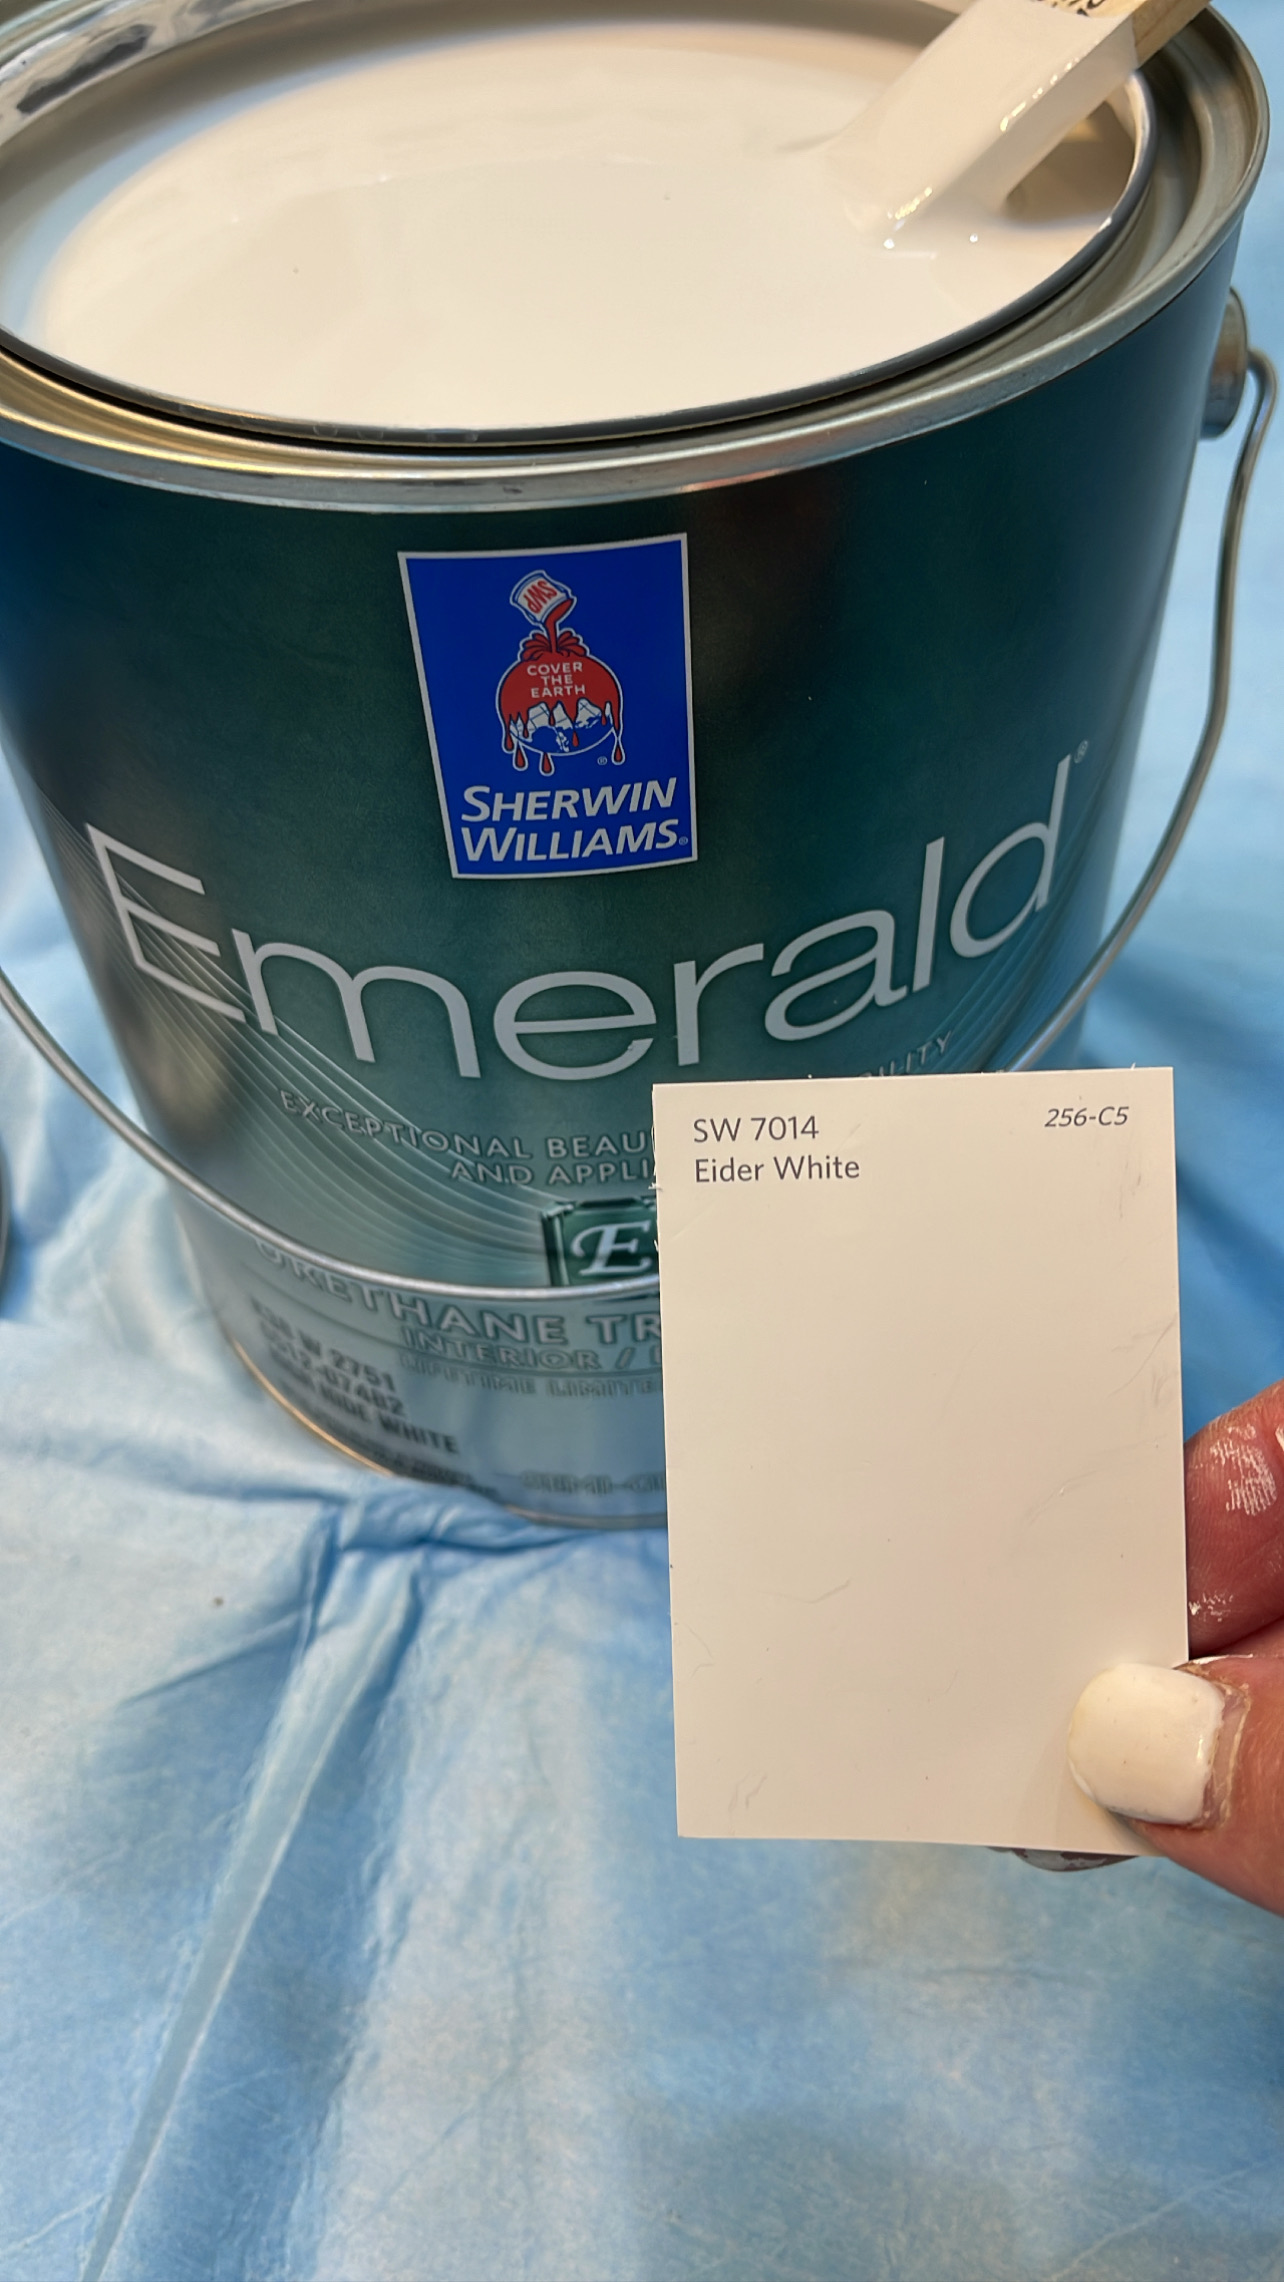
Semi-gloss is a great choice for bathrooms because it is easy to clean, durable and performs great in spaces that have high moisture.
I placed my cabinets doors on what is called “painter’s triangles’ to keep the doors off the floor and make painting the sides easier.

You only need a light coat of paint for the first coat. You do not want to apply it too thick.
Once the first coat is dry, you can flip the doors over to paint the other side. While my drawers and doors were drying, I would go inside and paint the base cabinet.
You will want to follow this process for two or more coats, as needed to get the result you want. Allow each coat to dry completely before applying the next, then let the top coat dry about 24 hours to make sure it cures (or follow manufacturer’s instruction on the paint can.)
STEP FIVE: REASSEMBLE CABINETS AND ADD HARDWARE
Once everything is completely dry, it is time to reassemble your cabinets and add hardware.
My niece chose some beautiful new gold hardware for her cabinets. She is hoping to eventually change out her faucets and hand towel rings to gold as well.
She also wants to get a new light fixture eventually, but for the time being, I added some new white globes to update the look!
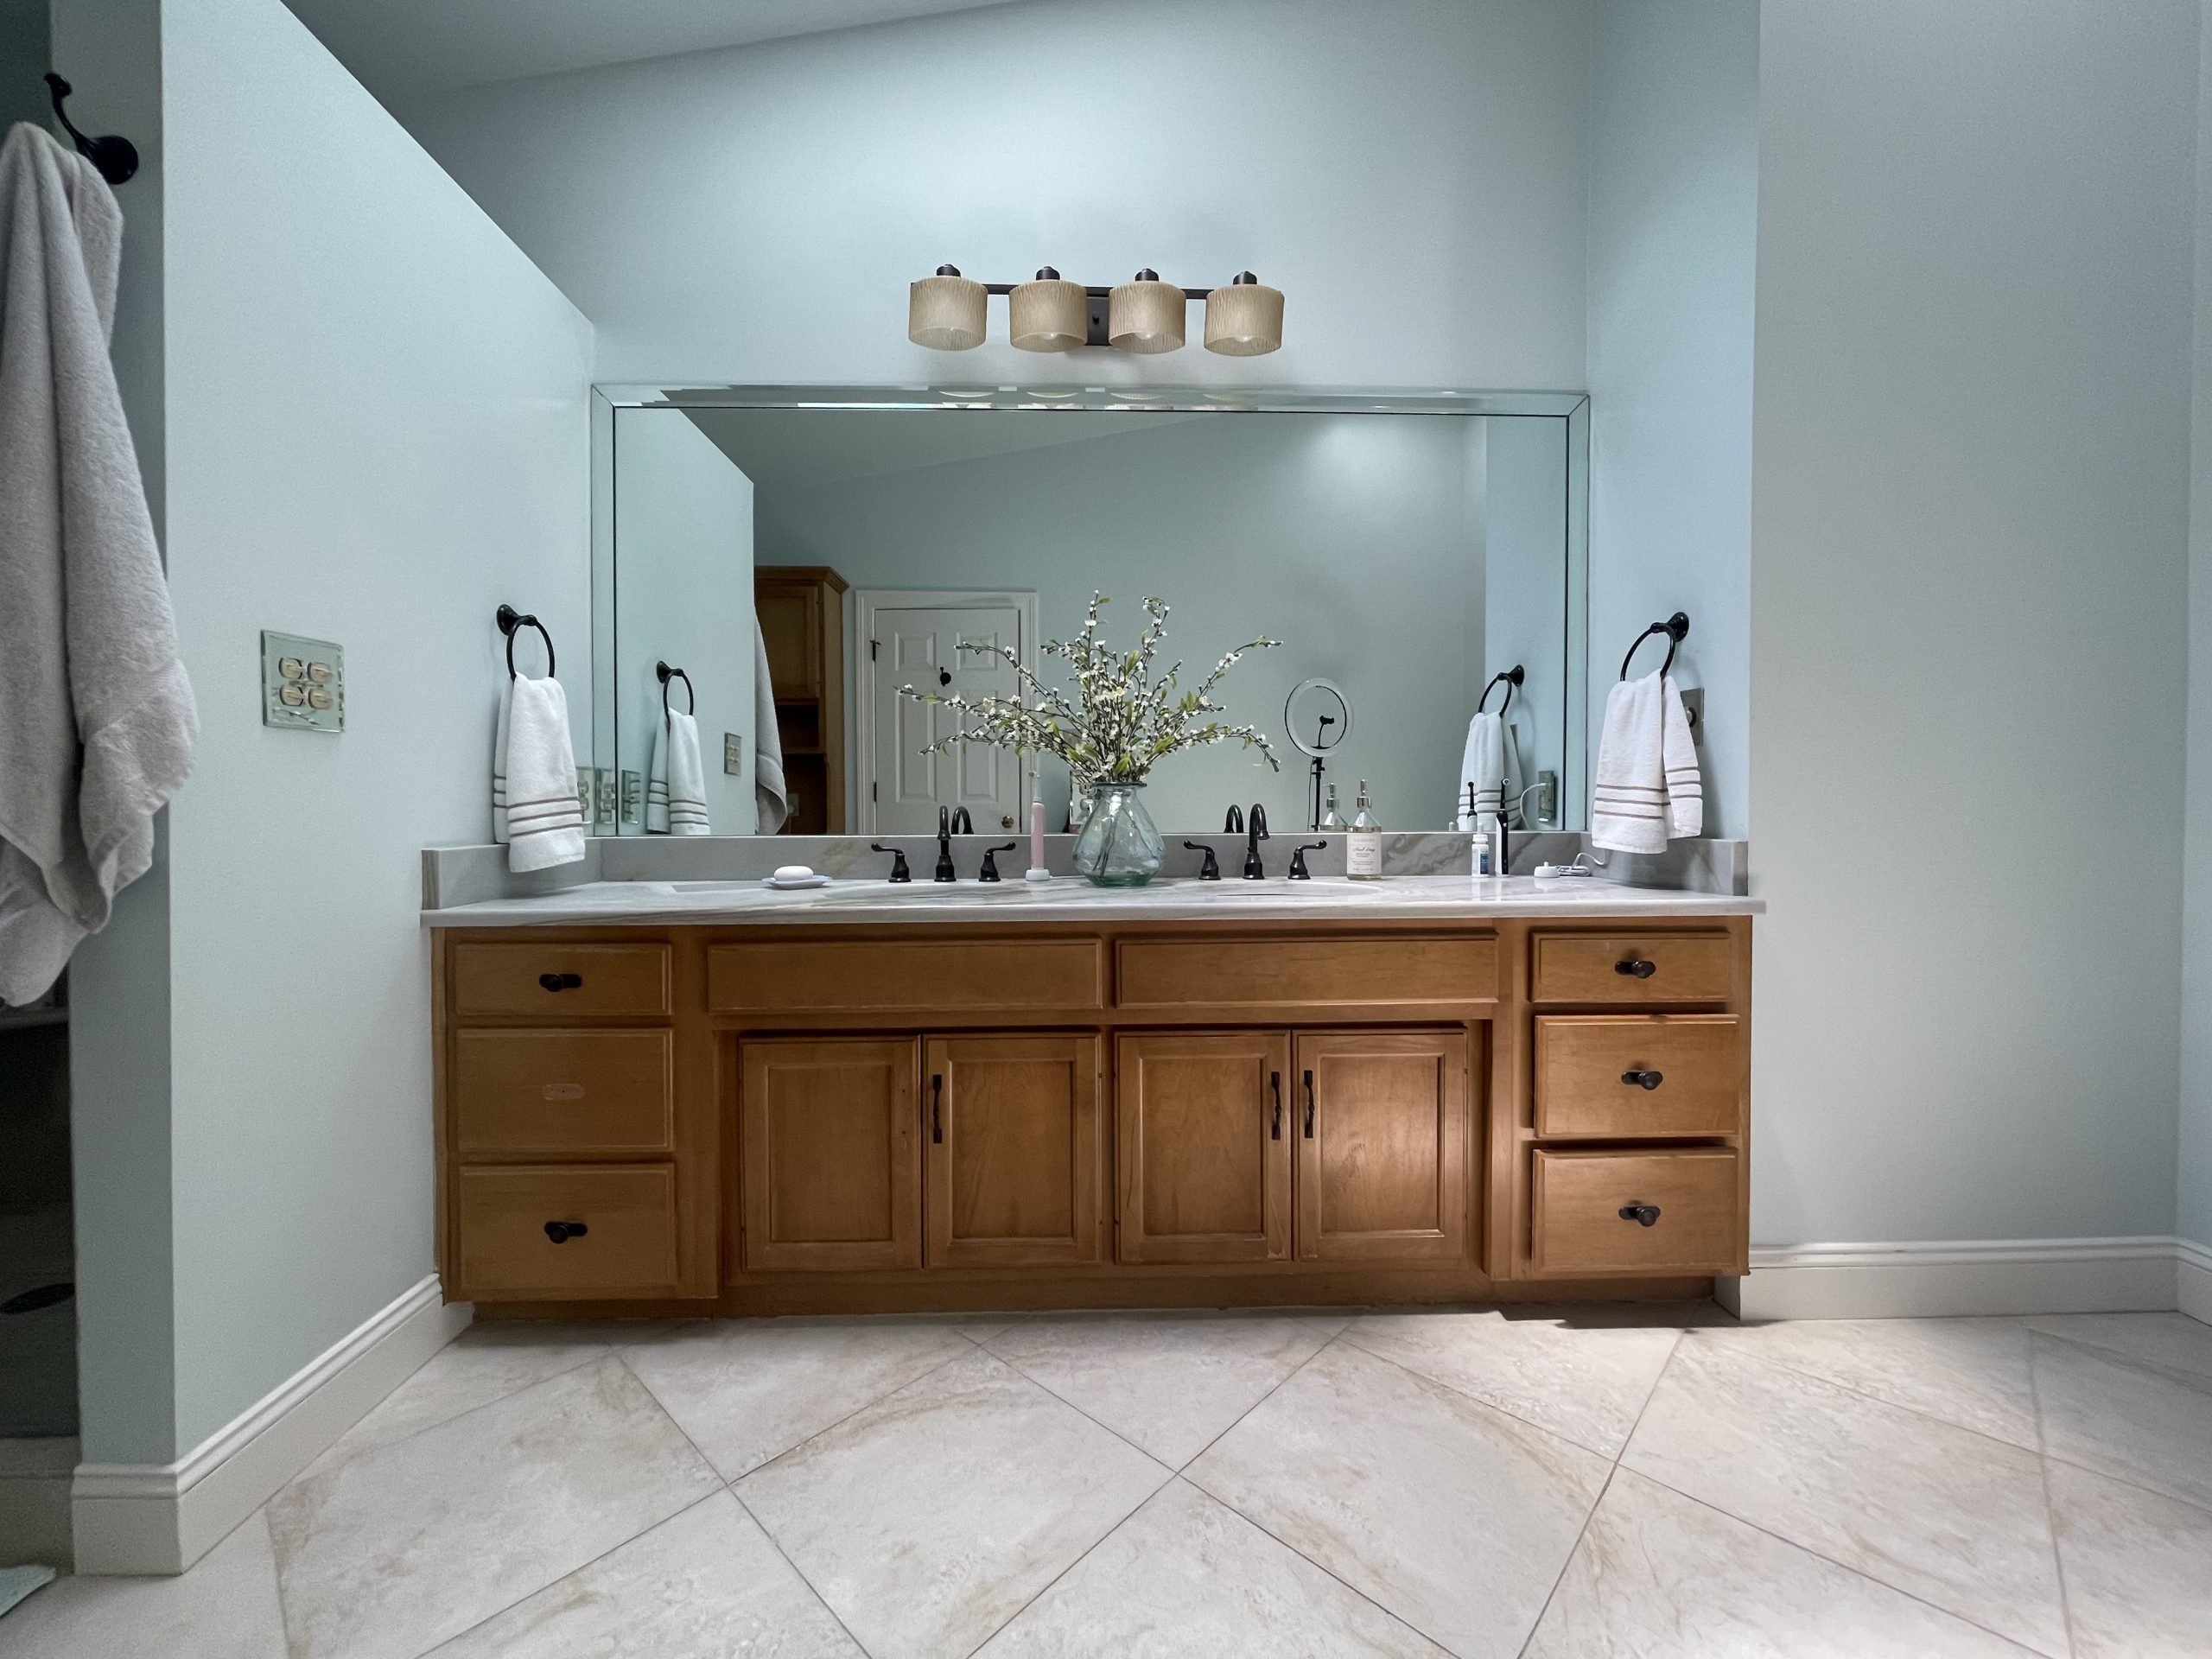
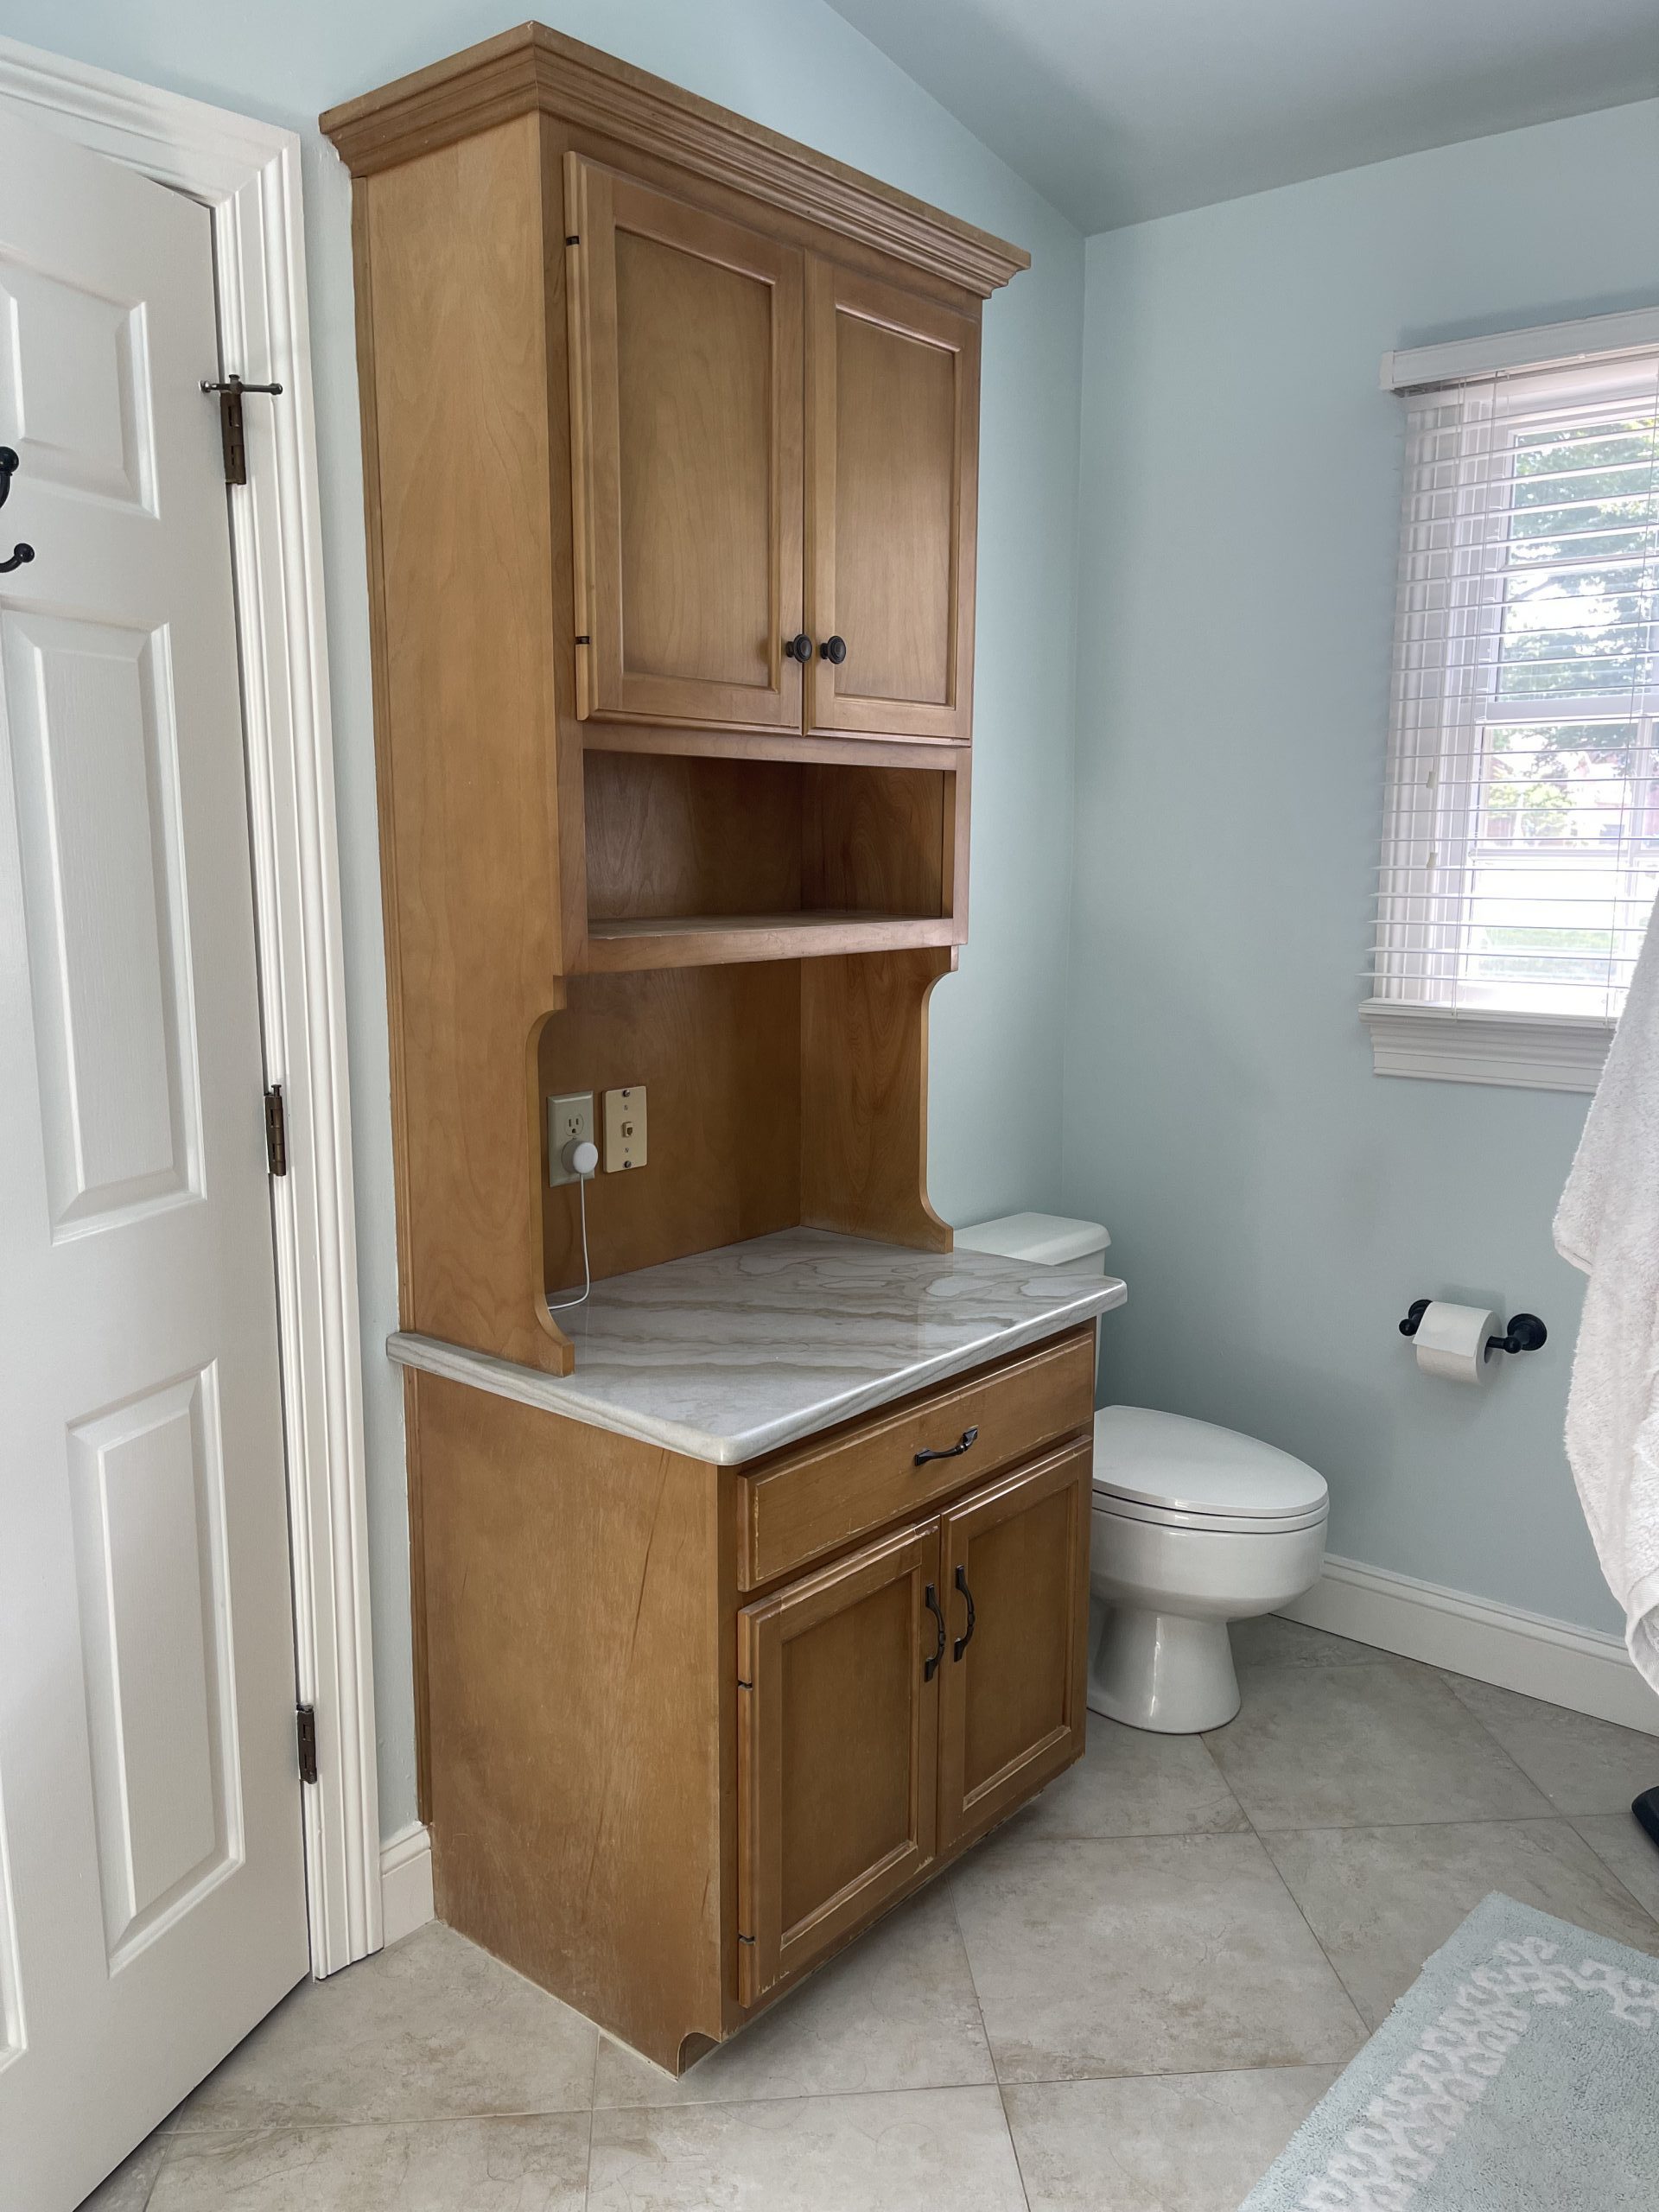
BEFORE, her bathroom looked dated and dark…
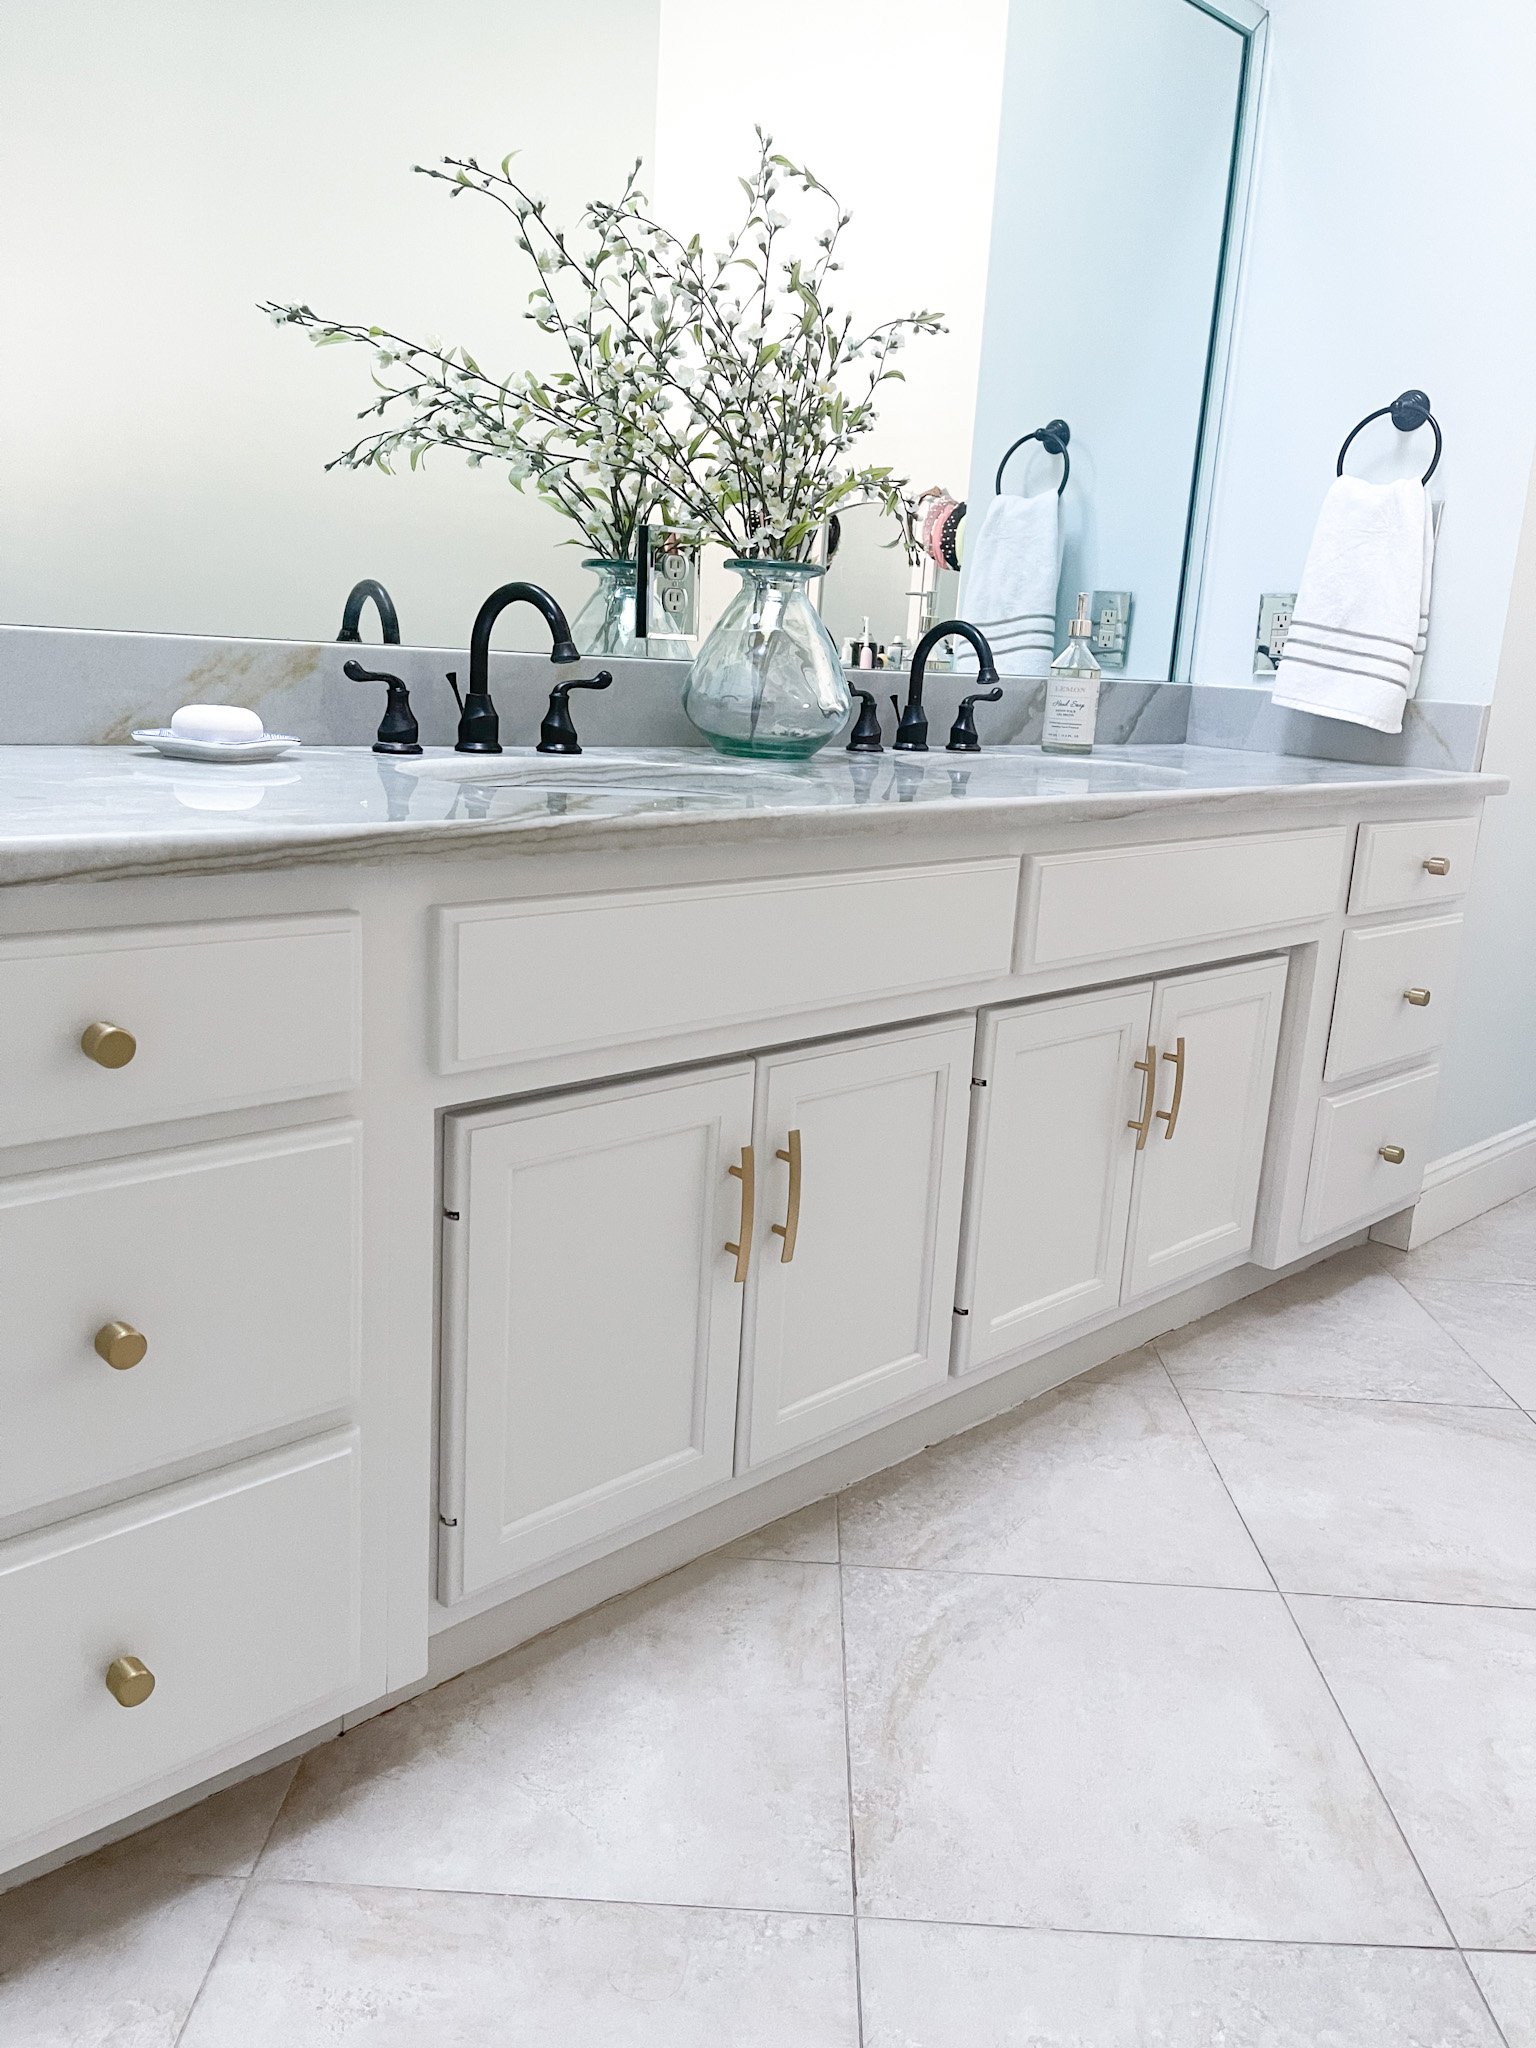
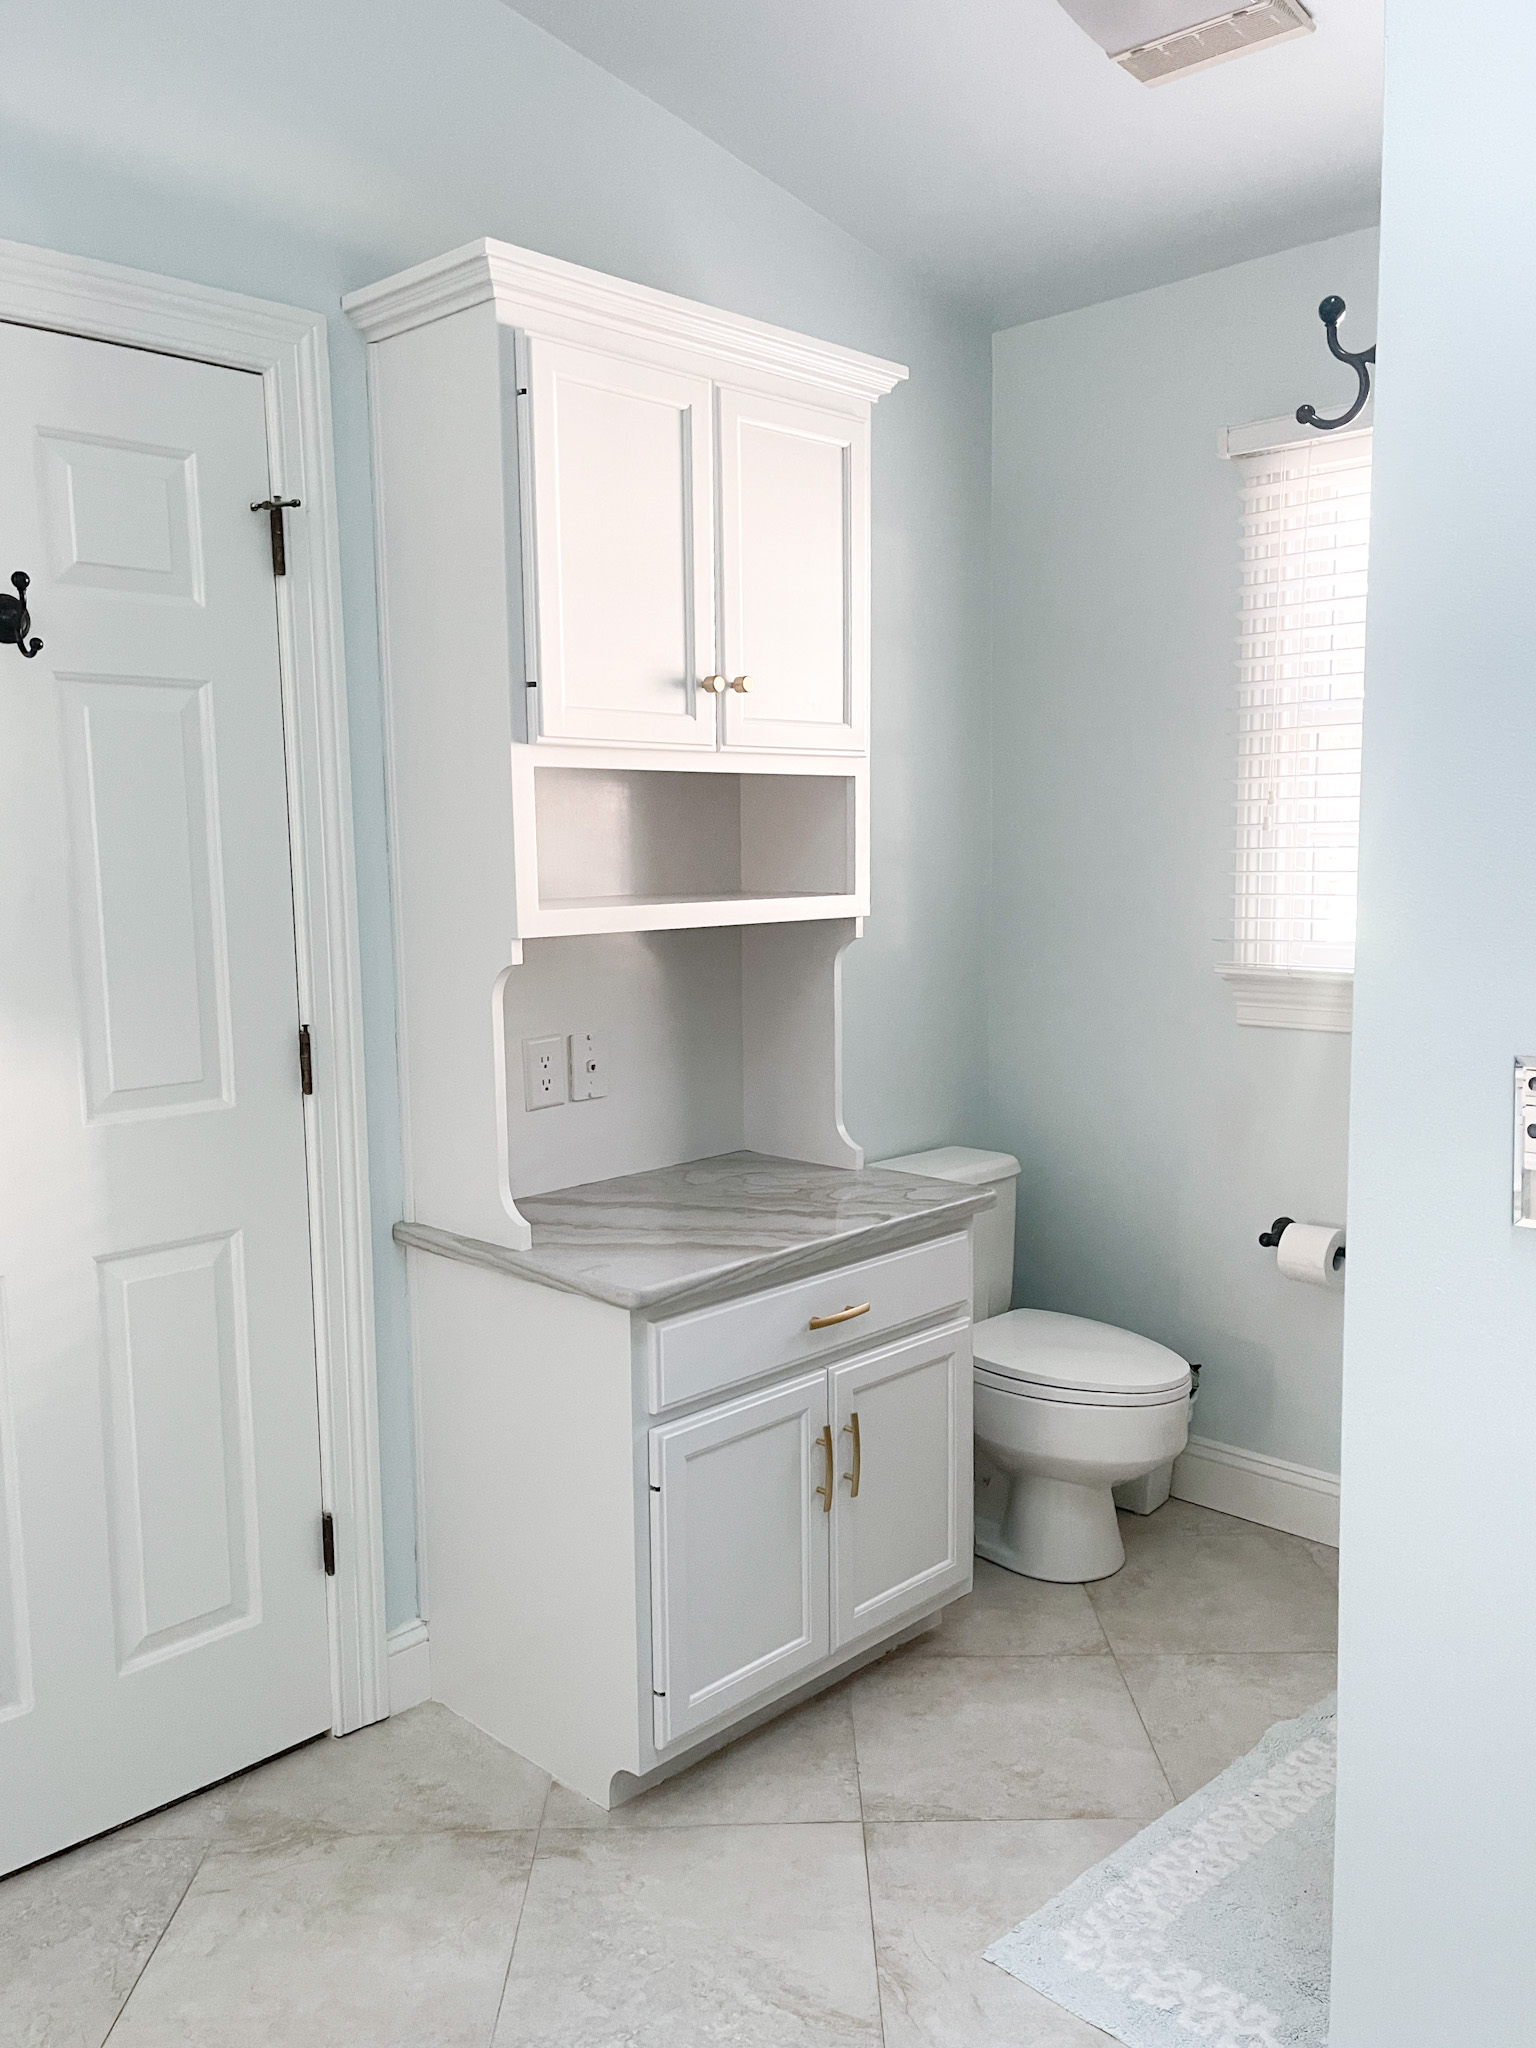
Now it is updated and bright!…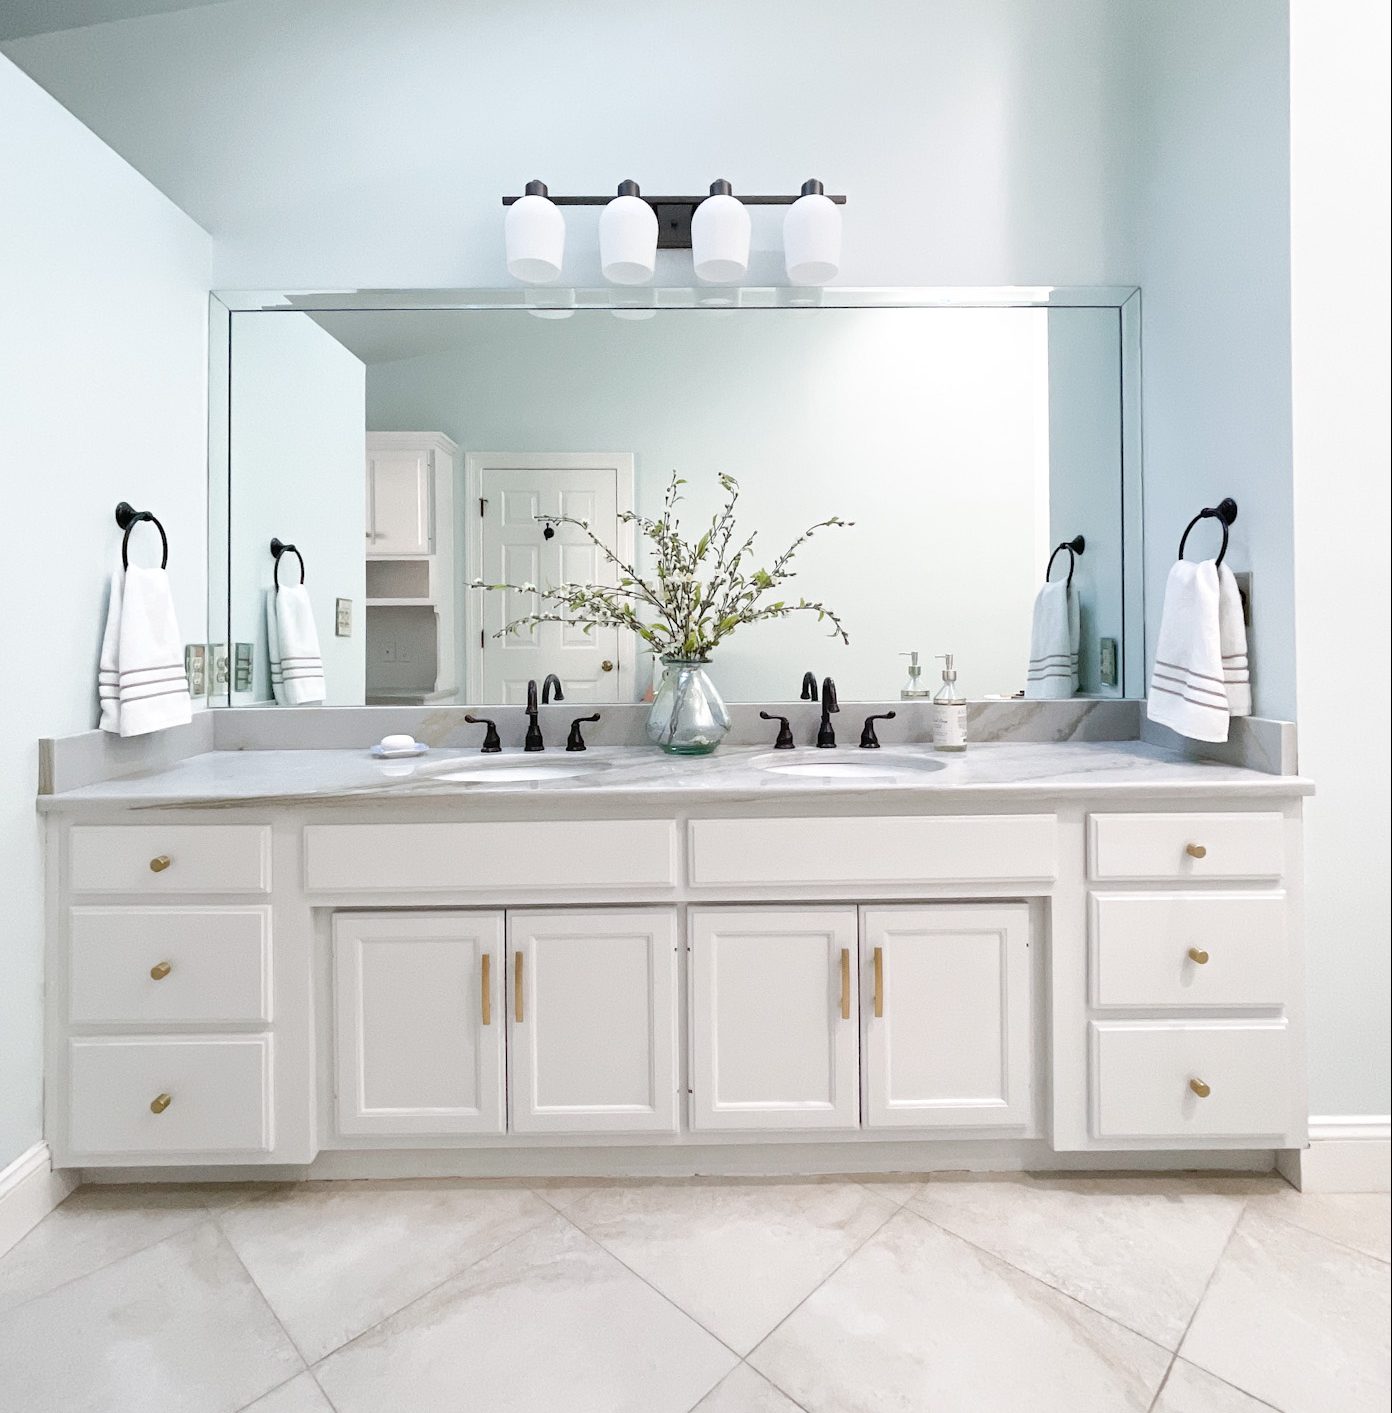
Before…

After…
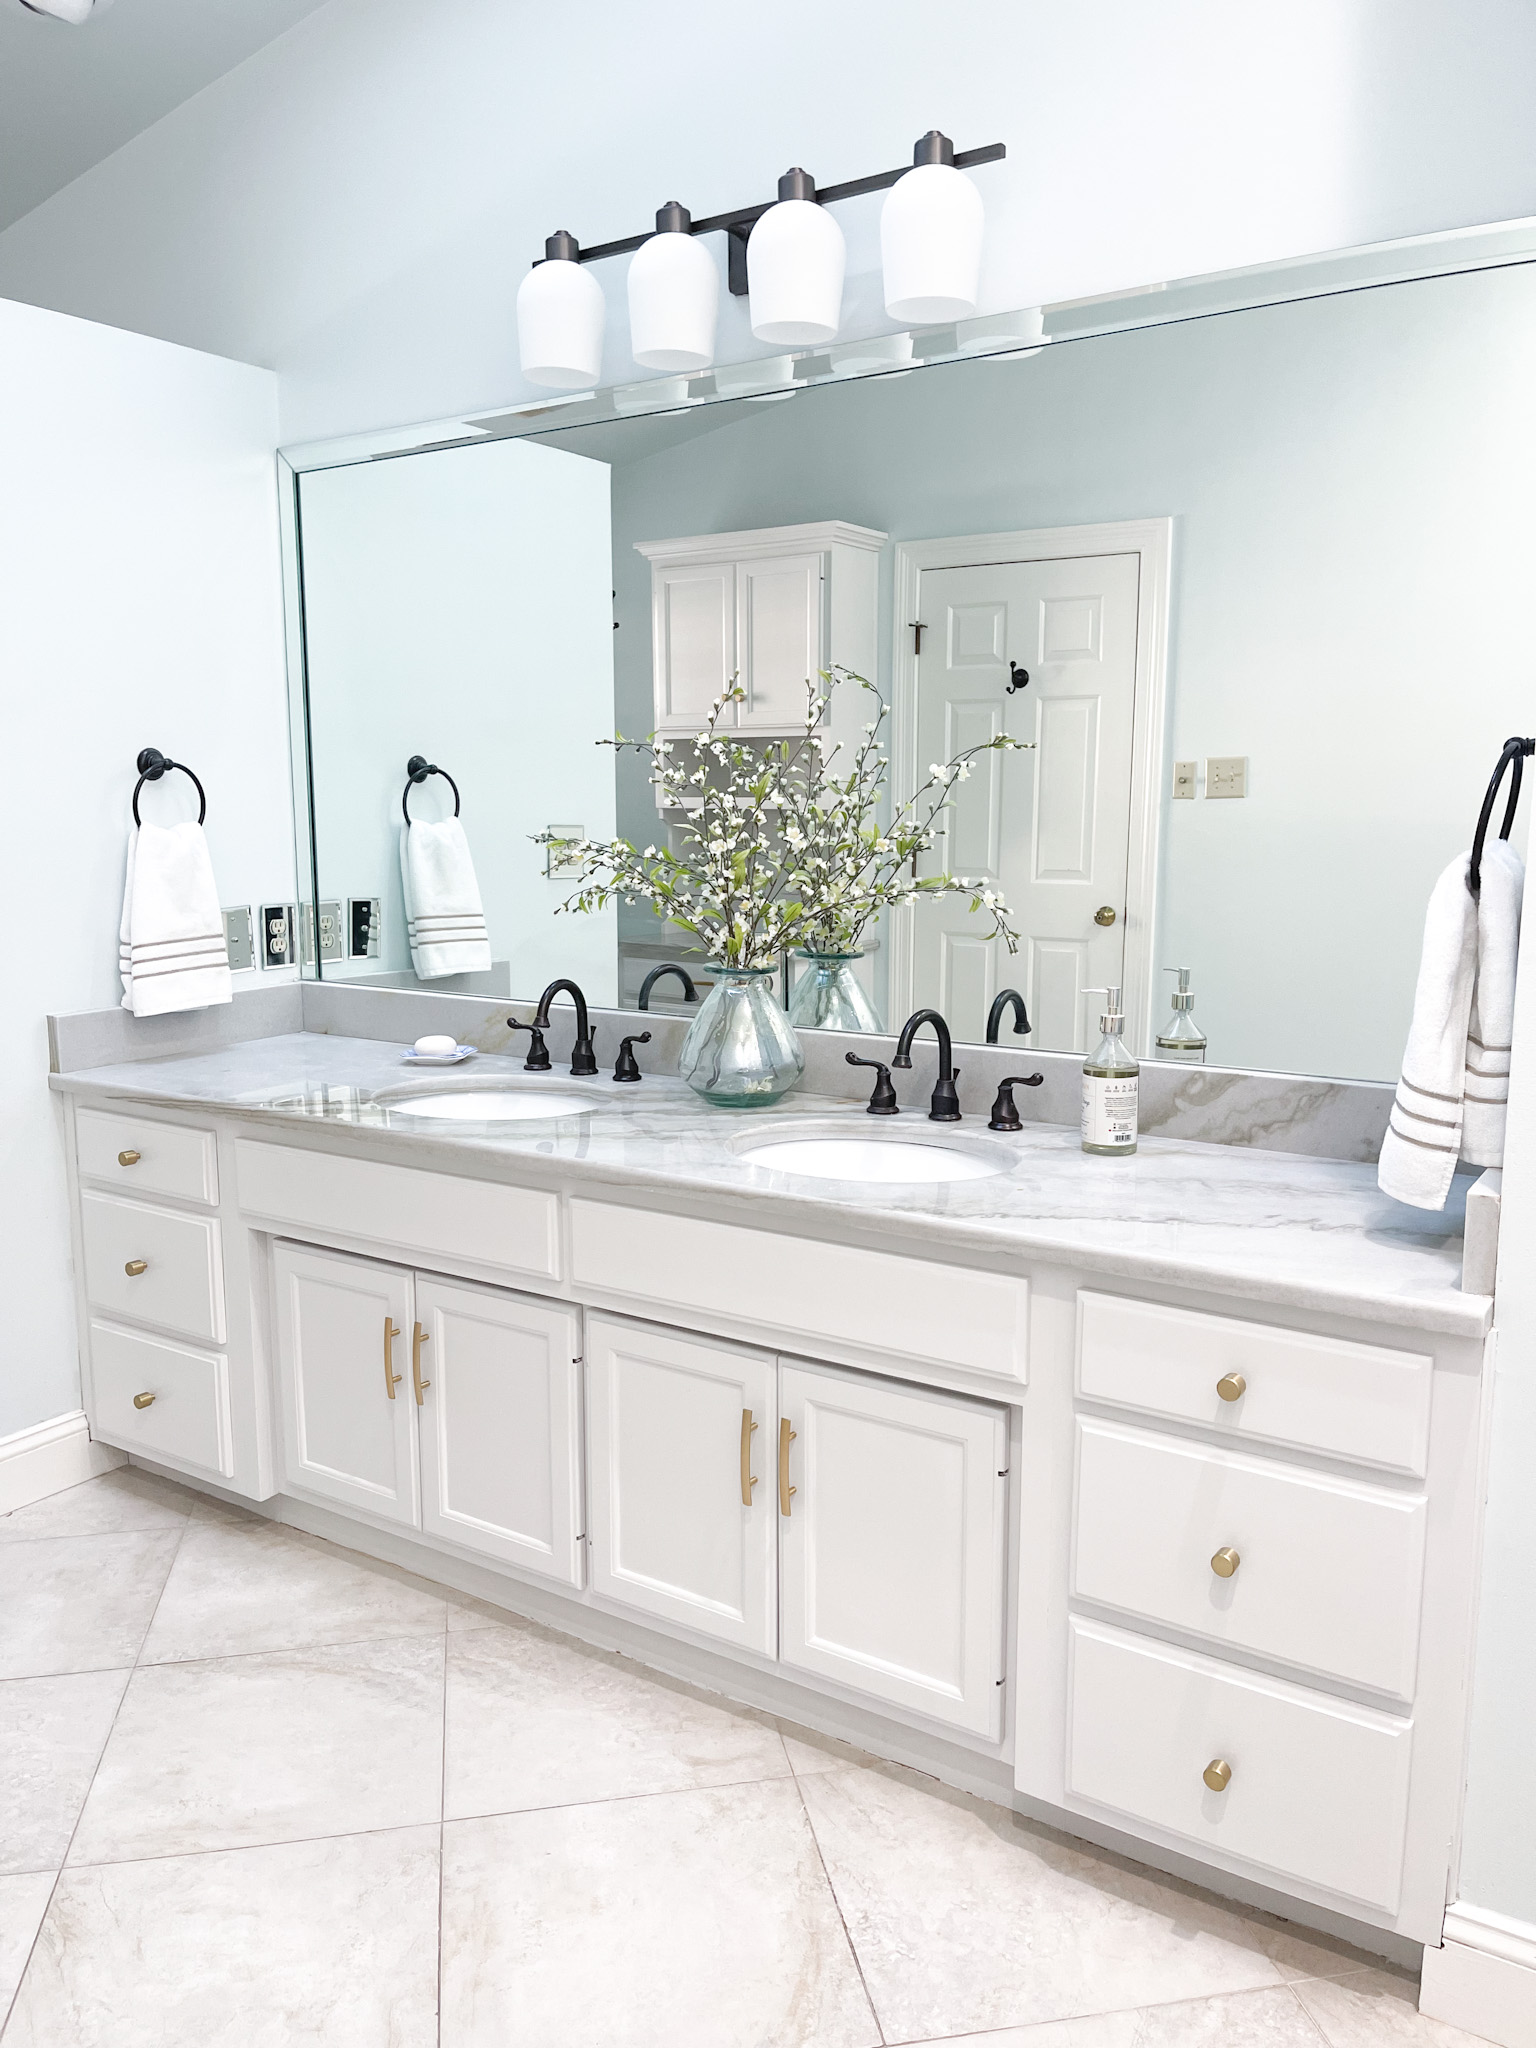
My niece is thrilled with how the bathroom turned out! It truly is amazing the difference that paint can make in a space! 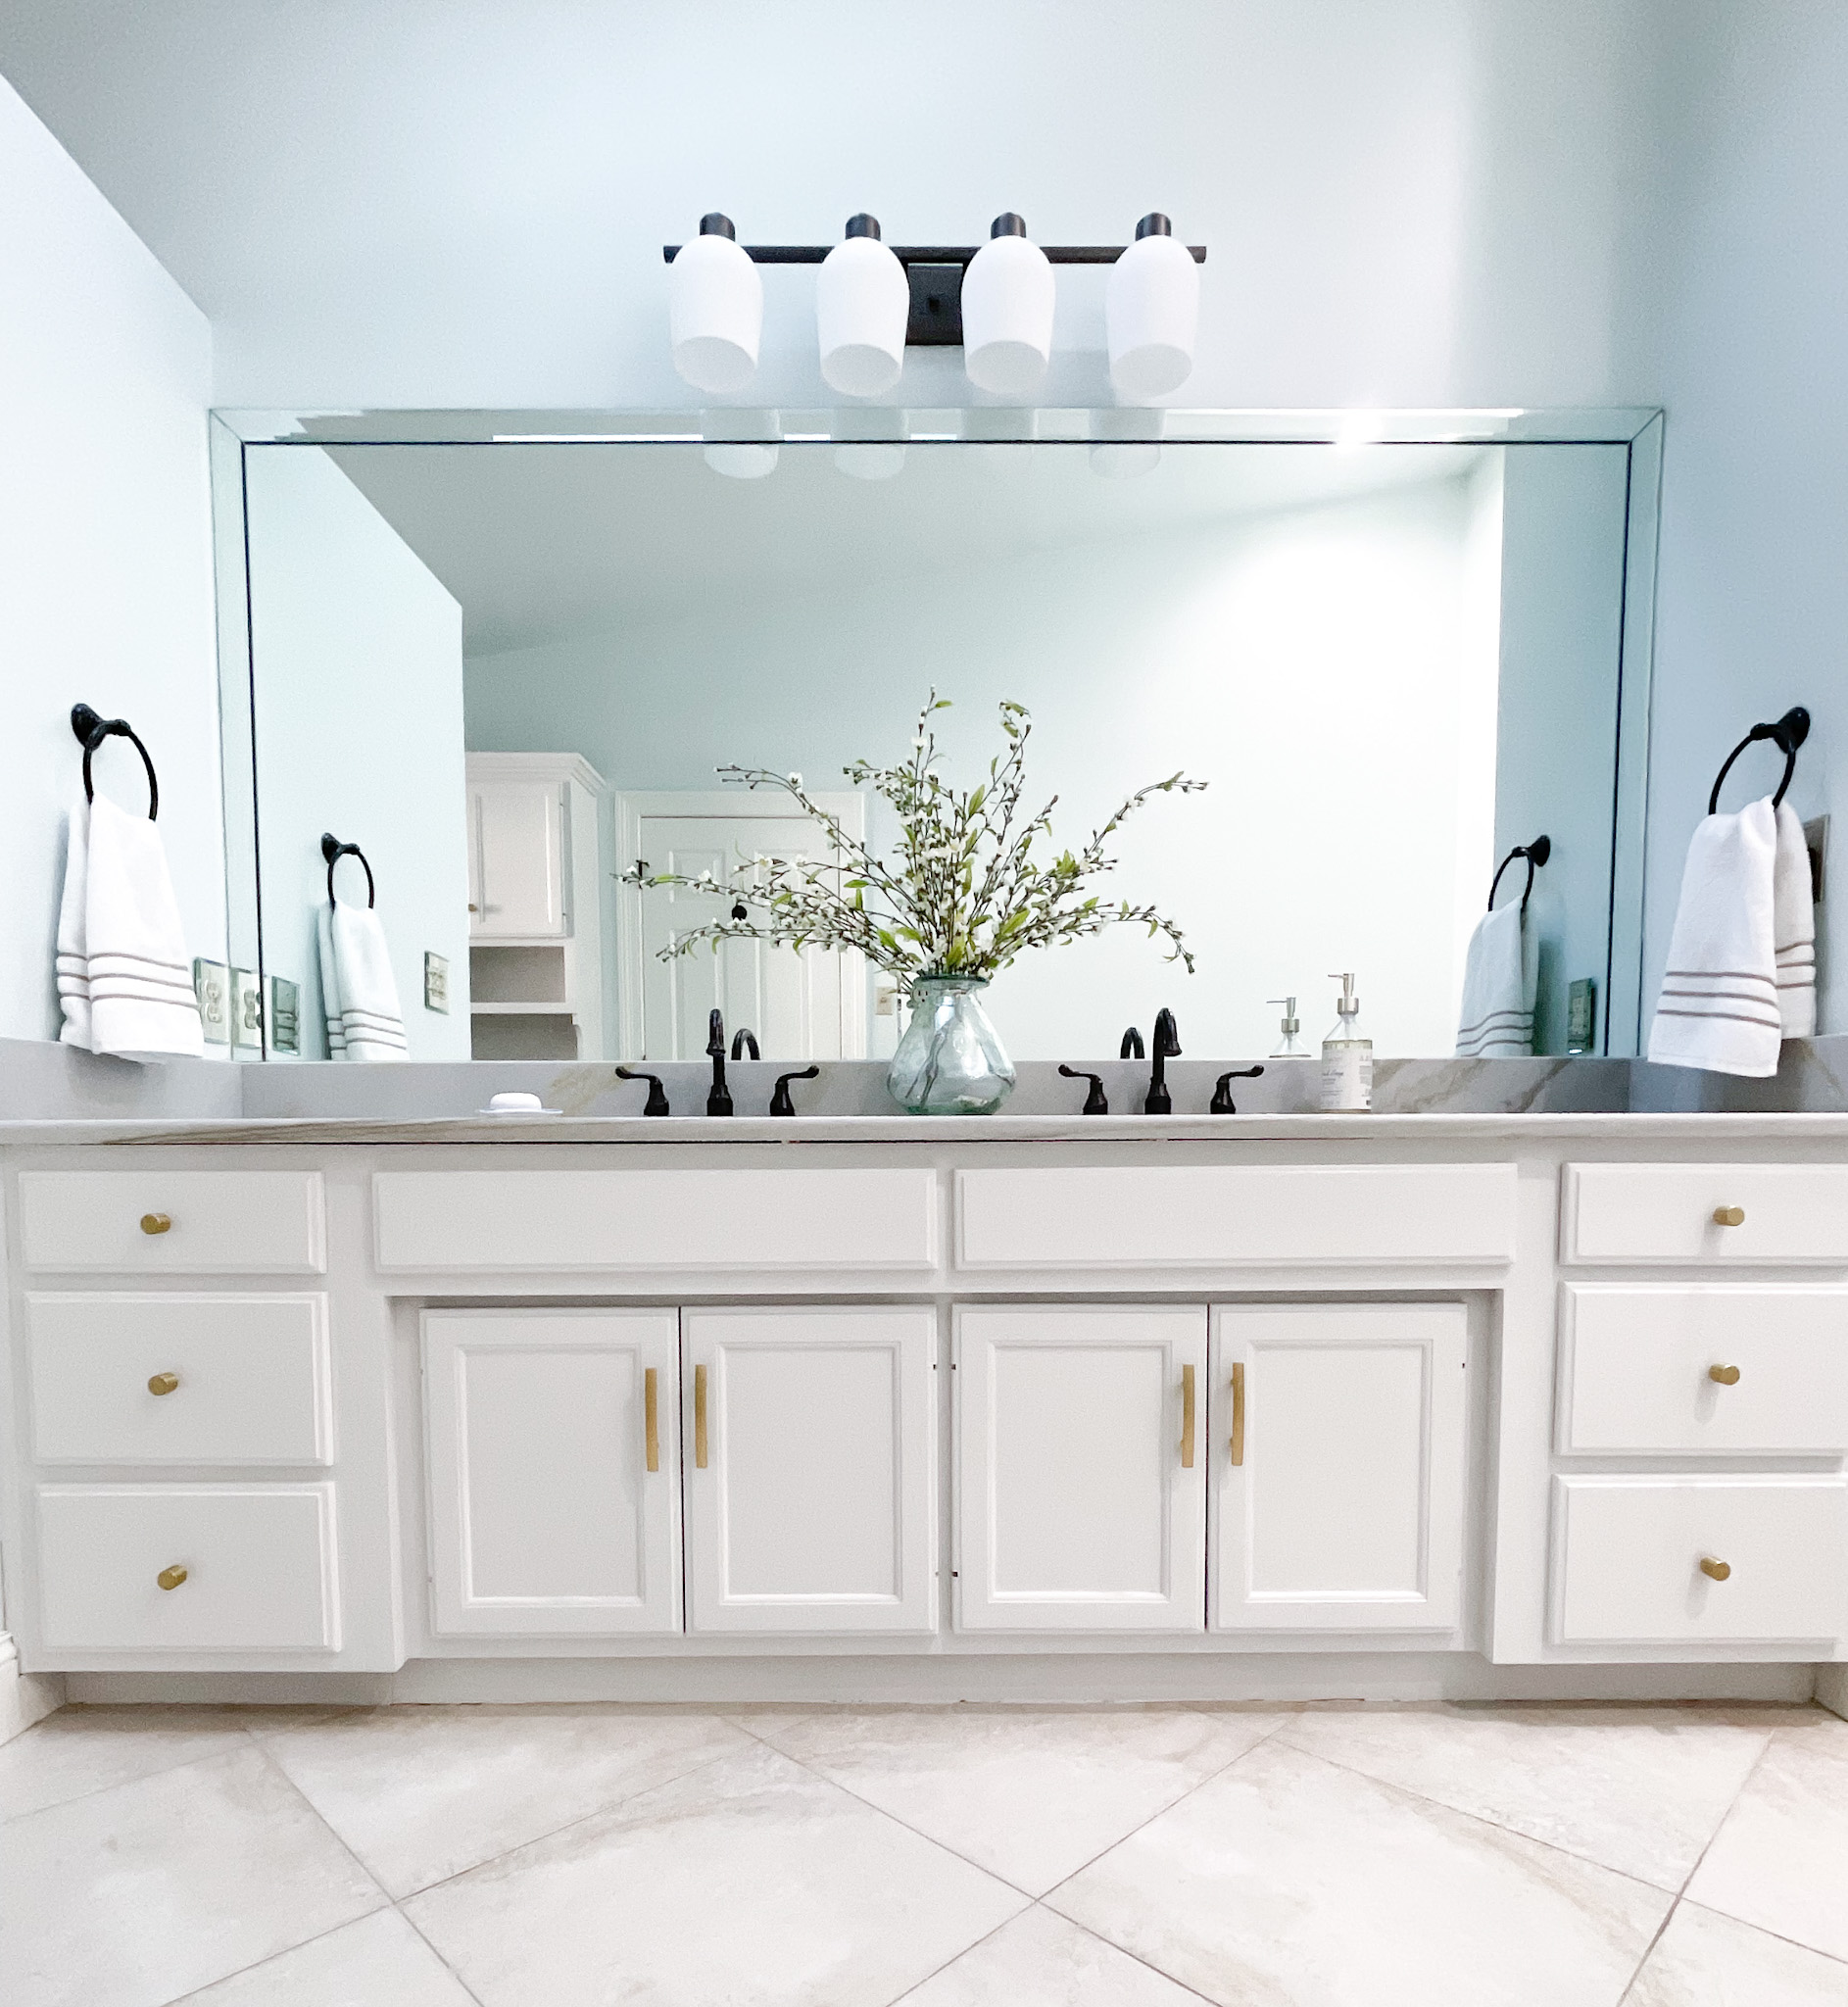
You may have noticed in the mirror, that I also painted another piece that was on the opposite wall behind the door.
What do you think? Do you love this transformation as much as I do? Let me know if you have any questions in the comments below.
And check our Purdy for more paint inspiration!
Wow, it is super pretty. Courtney is so blessed with a lovely aunty who can do such amazing transformations in any given space. Good job well done. Blessings from Dublin Ireland
So awesome. Love!!!!
Beautiful job Traci
Wow!!!! What a great job. Courtney so blessed to have you for this project.
You do amazing work! Beautiful!
You do beautiful work!! Courtney is lucky to have you as her super sweet aunt!!!
Such a big and beautiful update!
The paint on the vanity and the cabinet really brighten up the space and it looks beautiful!
I made sure to Pin your post so I have the directions in case I need to paint my vanity. Thanks for the info and post.
Very very nice! Looks wonderful!
Has inspired me to get to work on my cabinets!!
wonderful! it is very fresh and harmonious!
I’m now inspired to paint my small oak vanity in my bathroom. I was never quite sure the proper paint and the steps to ensure success. You got a beautiful result. On an entirely different note, can I ask about the beautiful blue top you’re wearing? It looks so comfy and I’d love to find one. Thanks