DIY Magnet Board {with upholstery tacks}
Hey friends! Thank you for all the sweet comments about my new (unfinished) pantry! Cy loved seeing all the comments about what a great husband I have. :)
I was looking through some old posts last night, and I found one that I wrote as a guest post at Tatertots and Jello this past summer.
From what I could tell, I never published that post on my blog. So I thought I would share it with you.
Here it is:
To help your kids (or you) stay organized this school year, I thought I would share with you a very easy DIY magnet board that I made for my boys :)
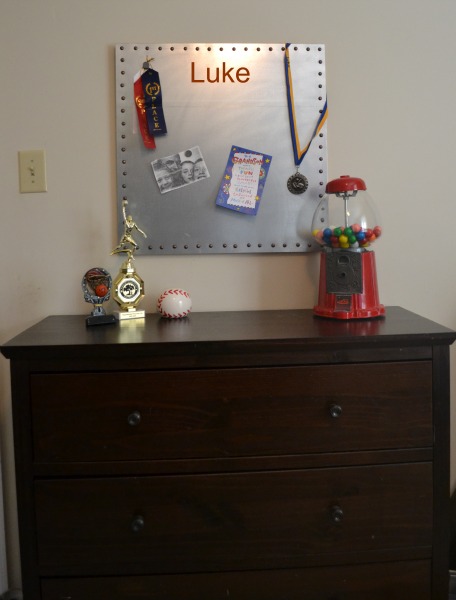
This magnet board is the perfect place to store notes, reminders, or special keepsakes.
Here is how I made it (in less than an hour!)
I purchased a 24×24 inch sheet of metal from Lowe’s for about $10.00. They have all different kinds of sizes, so you could make your magnet board smaller or larger if you wanted.
I also bought two 1x2s from Lowe’s. Get the cheapest 1x2s you can find. These were $1.97 a piece.

For the embellishments, I bought three different types of “tacks.”
Bronze furniture nails, Nickel furniture nails, and large head galvanized roofing nails.
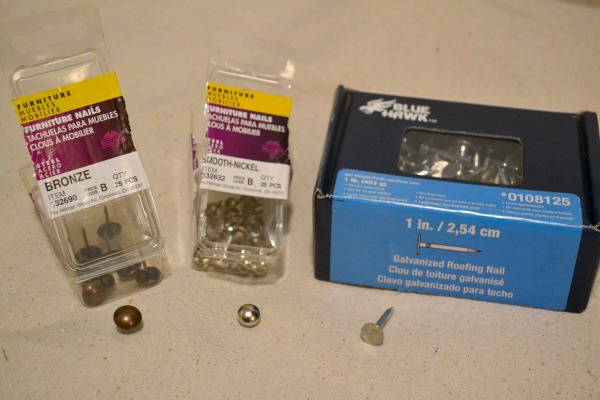
I decided to go with the bronze furniture nails (upholstery tacks) for this project.
I started by using a hack saw to cut a piece of wood 24 inches long…

Then I used a straight edge to mark where I wanted my tacks to go. (You can space them however far apart you would like. You could also use different color tacks or large head wood screws.)

The upholstery tacks where not strong enough to go through the metal without breaking, so I created a starter hole with a nail.
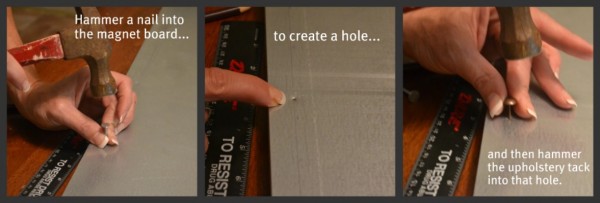
Again, you can space the tacks apart at any distance you prefer.

The picture below just shows you how the wood was placed on each side. I would flip it over and nail the tacks into one side at a time.

After you finish nailing all the tacks in, you are done! How easy is that?!
Now my magnet board was plain when I hung it in my boys’ room, but I was wondering what it would look like with some lettering on it.
So I uploaded my pictures into Picnik and added my boys’ names on the board to see what it would look like.
I loved it!!
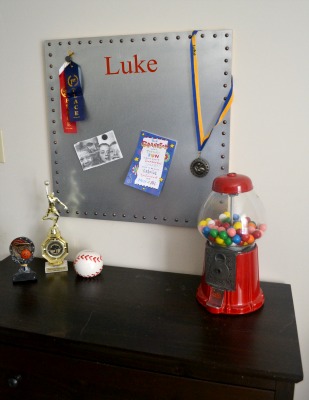
So I am planning on creating vinyl cutouts of my boys’ names using my Silhouette machine. If I didn’t have a Silhouette, I would probably purchase some stencils and just paint their names on.
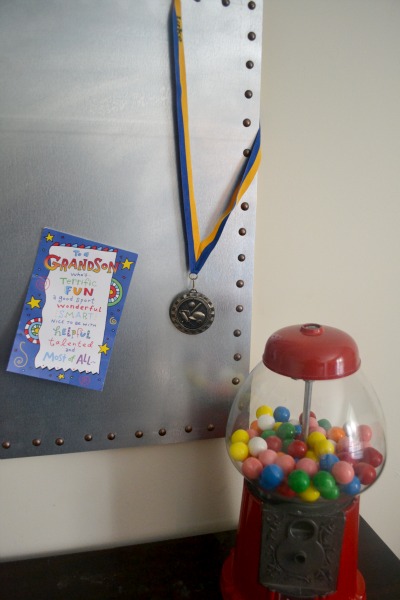
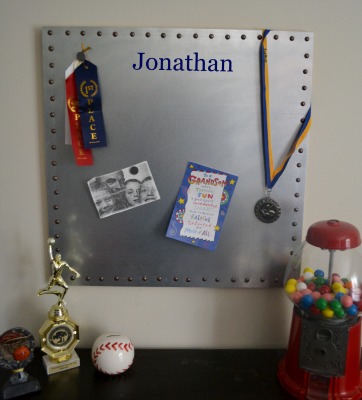
In the next picture, I added my son’s name in blue to see how that would look…
CUTE!!!!
Now you are probably thinking that this type of board would only look good in a boy’s room.
Oh no, my friends!
Look how cute the board looks in my office!!!….
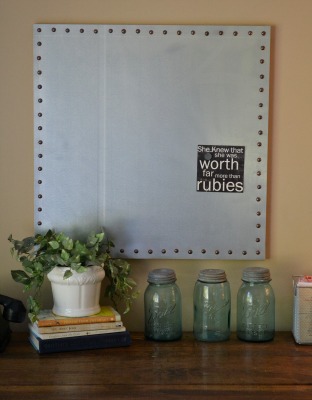
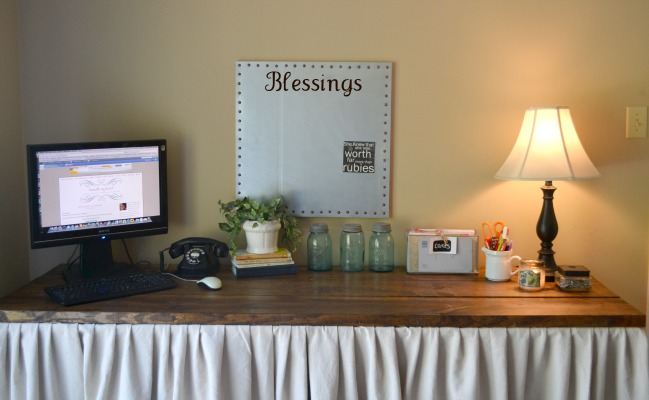
I am needing a memo board for my office space, so I am thinking about purchasing a larger sheet of metal to go across my whole desk area. Wouldn’t that be great?! Maybe I will use the silver upholstery tacks to give it a little more “bling”. :)
For fun, I added my monogram to the board through Picnik to see what it would look like…
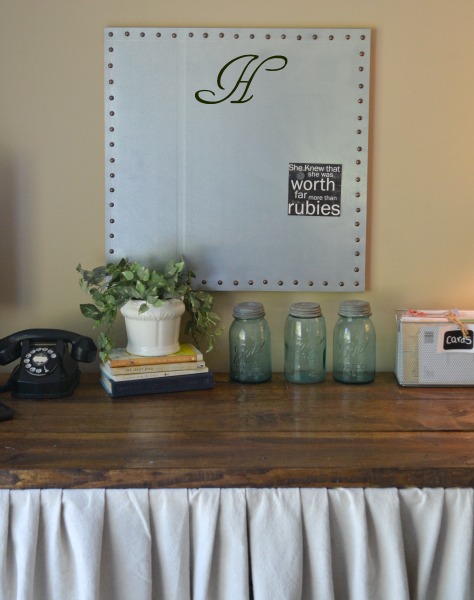
Again…I love it! Who would think a piece of metal could look so feminine?
Here is the memo board with my favorite saying on it (added through the magic of Picnik, of course.)…
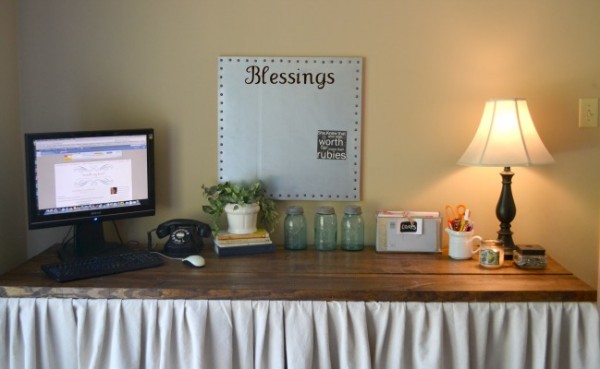
So there you have it! A great little magnet board for your child (or you) to start the school year off right!
For less than 20 dollars….“holla!”
And if metal on your walls is just not your thing, check out the tutorial on my blog to make “Ballard Designs Inspired Magnet Board.”
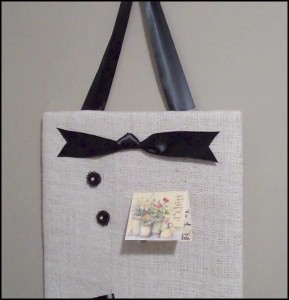
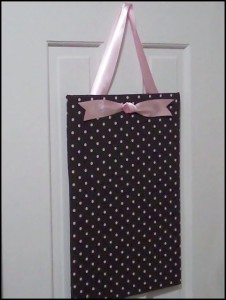
You can learn how to make these through a written tutorial, or a video tutorial, whichever you choose. :)

So cool looking, Traci! Love this idea.
great idea and so versatile!
That is adorable!! I had a dream last night of making a bulletin board. Funny then I found your blog about the magnet board! I love it in your office, I hope you kept it there.
Your blog is great!! I hope you can find a minute to check mine out! Ciao!
Love it and all your Picnik edits!
Debbie
this is a great project idea! i think i’m going to try it! ;) thank you so much!
Love it, I really am needing a bulletin board in my office as I’m currently just taping things to the wall. I also love your desk and watched the great tutorial. I’m now motivated to sell this massive cherry office furniture that I moved home. It takes up way too much space.
VERY cute!! Nice thing too is that the boys can’t break it, chip it or crack it….ha ha! (That is if they’re anything like mine!) I also like the use of magnets instead of tape or push pins! GREAT Job!!
I lovvvvve this Traci! I may need to try this for my future craft room. Thanks for sharing this awesome idea with all of us!
Great idea & tutorial!Nice job!
Such a great memo board and so cheap! Win Win!!! Thanks for sharing!