
How to Install Brick Veneer Pavers
*This post is sponsored by Lowe’s. All opinions and ideas are 100% mine.

How to Install Brick Veneer Pavers
We are so thrilled with how the brick veneer pavers have turned out on our new front porch decking! So many of you have asked us to share how we installed them, so we are going to share that with you today!
Step One: Gather your Supplies
The first step is to gather all the supplies needed for the project. Here is a list of the supplies we used.
SUPPLIES:
- Hardiebacker cement board
- cement screws
- large bucket
- drill
- spiral mixing tool
- 1/4″ notched trowel
- ceramic tile mortar
- spacers (we ended up not needing these for the pavers we used)
- angle grinder
- diamond saw blade
- brick pavers (Rushmore)
- sealer
- framing square
- grout float
- sponge
- sanded grout (we used Warm Gray)
- tape measure
- water
Here are a few of the things we used…
Step Two: Install a Layer of 1/4″ Hardiebacker boards
Before you can lay your brick pavers, you want to make sure that your surface is prepared properly for installation.

We covered our exterior grade plywood with 1/4″ Hardibacker board by scoring the boards the size needed with a box knife and then attaching them with cement board screws like the ones below.
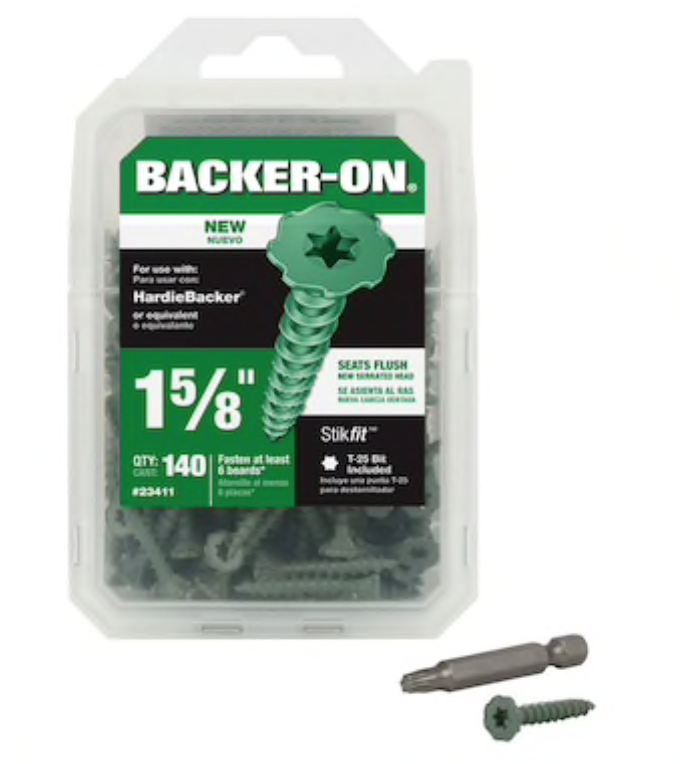
Be sure to place your screws every 8 inches or so in a staggered pattern. The boards have indentions on them to help identify where to place them. Make sure the screws are flushed with the surface of the board, so they are not sticking up at all.
Step Three: Find the Center of the Surface and Create a Dry Layout
Use a tape measure to find a center starting point on your surface. This will be where you begin laying your paver pattern of choice.

We went with a herringbone pattern, and used our center line as a guide for placement.

These particular brick pavers are irregular in nature, so a framing a square was helping in the install.
After creating a dry layout of our pavers, it was time to begin the installation!
Step Four: Install Brick Pavers
*Pro-tip: Be sure to read the instructions on your tile mortar and grout packages for the temperature requirements for installation. We had to wait until we had three days without freezing temperatures.
To begin installing brick pavers, you need to first mix the thin set (ceramic tile mortar.) Make sure the consistency of your thin set is neither too dry or too wet. It should be the consistency similar to peanut butter.

We chose to “butter” the back of each paver individually instead of putting the thin set directly on the backerboard. I find this approach to be a neater method with less clean up along the way.
At times, you may need to cut your pavers. If so, you need to use an angle grinder with a good diamond blade. (You can also use a wet tile saw, if you prefer, but an angle grinder is more convenient and easier to use.)

Step Five: Apply the Grout
Once your pavers are completely dry and set, (usually 48-72 hours,) it is time to apply the grout.
Mix your grout per the instructions on the package and apply over your pavers with a grout float.
We chose a sanded grout (Color: “Warm Gray”) because the gaps between our pavers were over 1/8″. Sanded grout is also stronger and will hold up better.
When applying the grout, you want to use the float to work the mixture into all of the cracks and spaces between pavers. 
Cover a few square feet at at time with the grout, and then dip your sponge into your bucket of clean water to get it damp. Wipe off the excess grout only from the surface. Make sure not to press too hard with the sponge, or you may pull some of the grout out of the cracks.

Continue this process until you have applied grout over all of the pavers.
Let the grout dry, usually for 3 to 4 hours, depending on temperature, and then clean off the remaining grout haze with a damp sponge. This time you can be a little more aggressive with the pressure you use with the sponge. You may have to repeat this process several times to remove all of the grout haze.
Because the pavers we used were very porous, we ended up using a stiff nylon brush to help remove some the grout, as well as the sponge.
Step Six: Seal the Grout
Sealing the grout and brick pavers should be done several days after to allow for the grout to be completely dry.
Make sure to buy a high quality sealer that is appropriate for your project.
We chose this low gloss sealer…

You can apply your sealer with a sponge or sprayer. Read the instructions with your sealer and see how long to wait between coats.
We applied two coats and waited three hours between coats.
Step Seven: ENJOY!
Once the work is finished, it is time to enjoy your beautiful handiwork, and relish in the money you saved doing it yourself! #boom
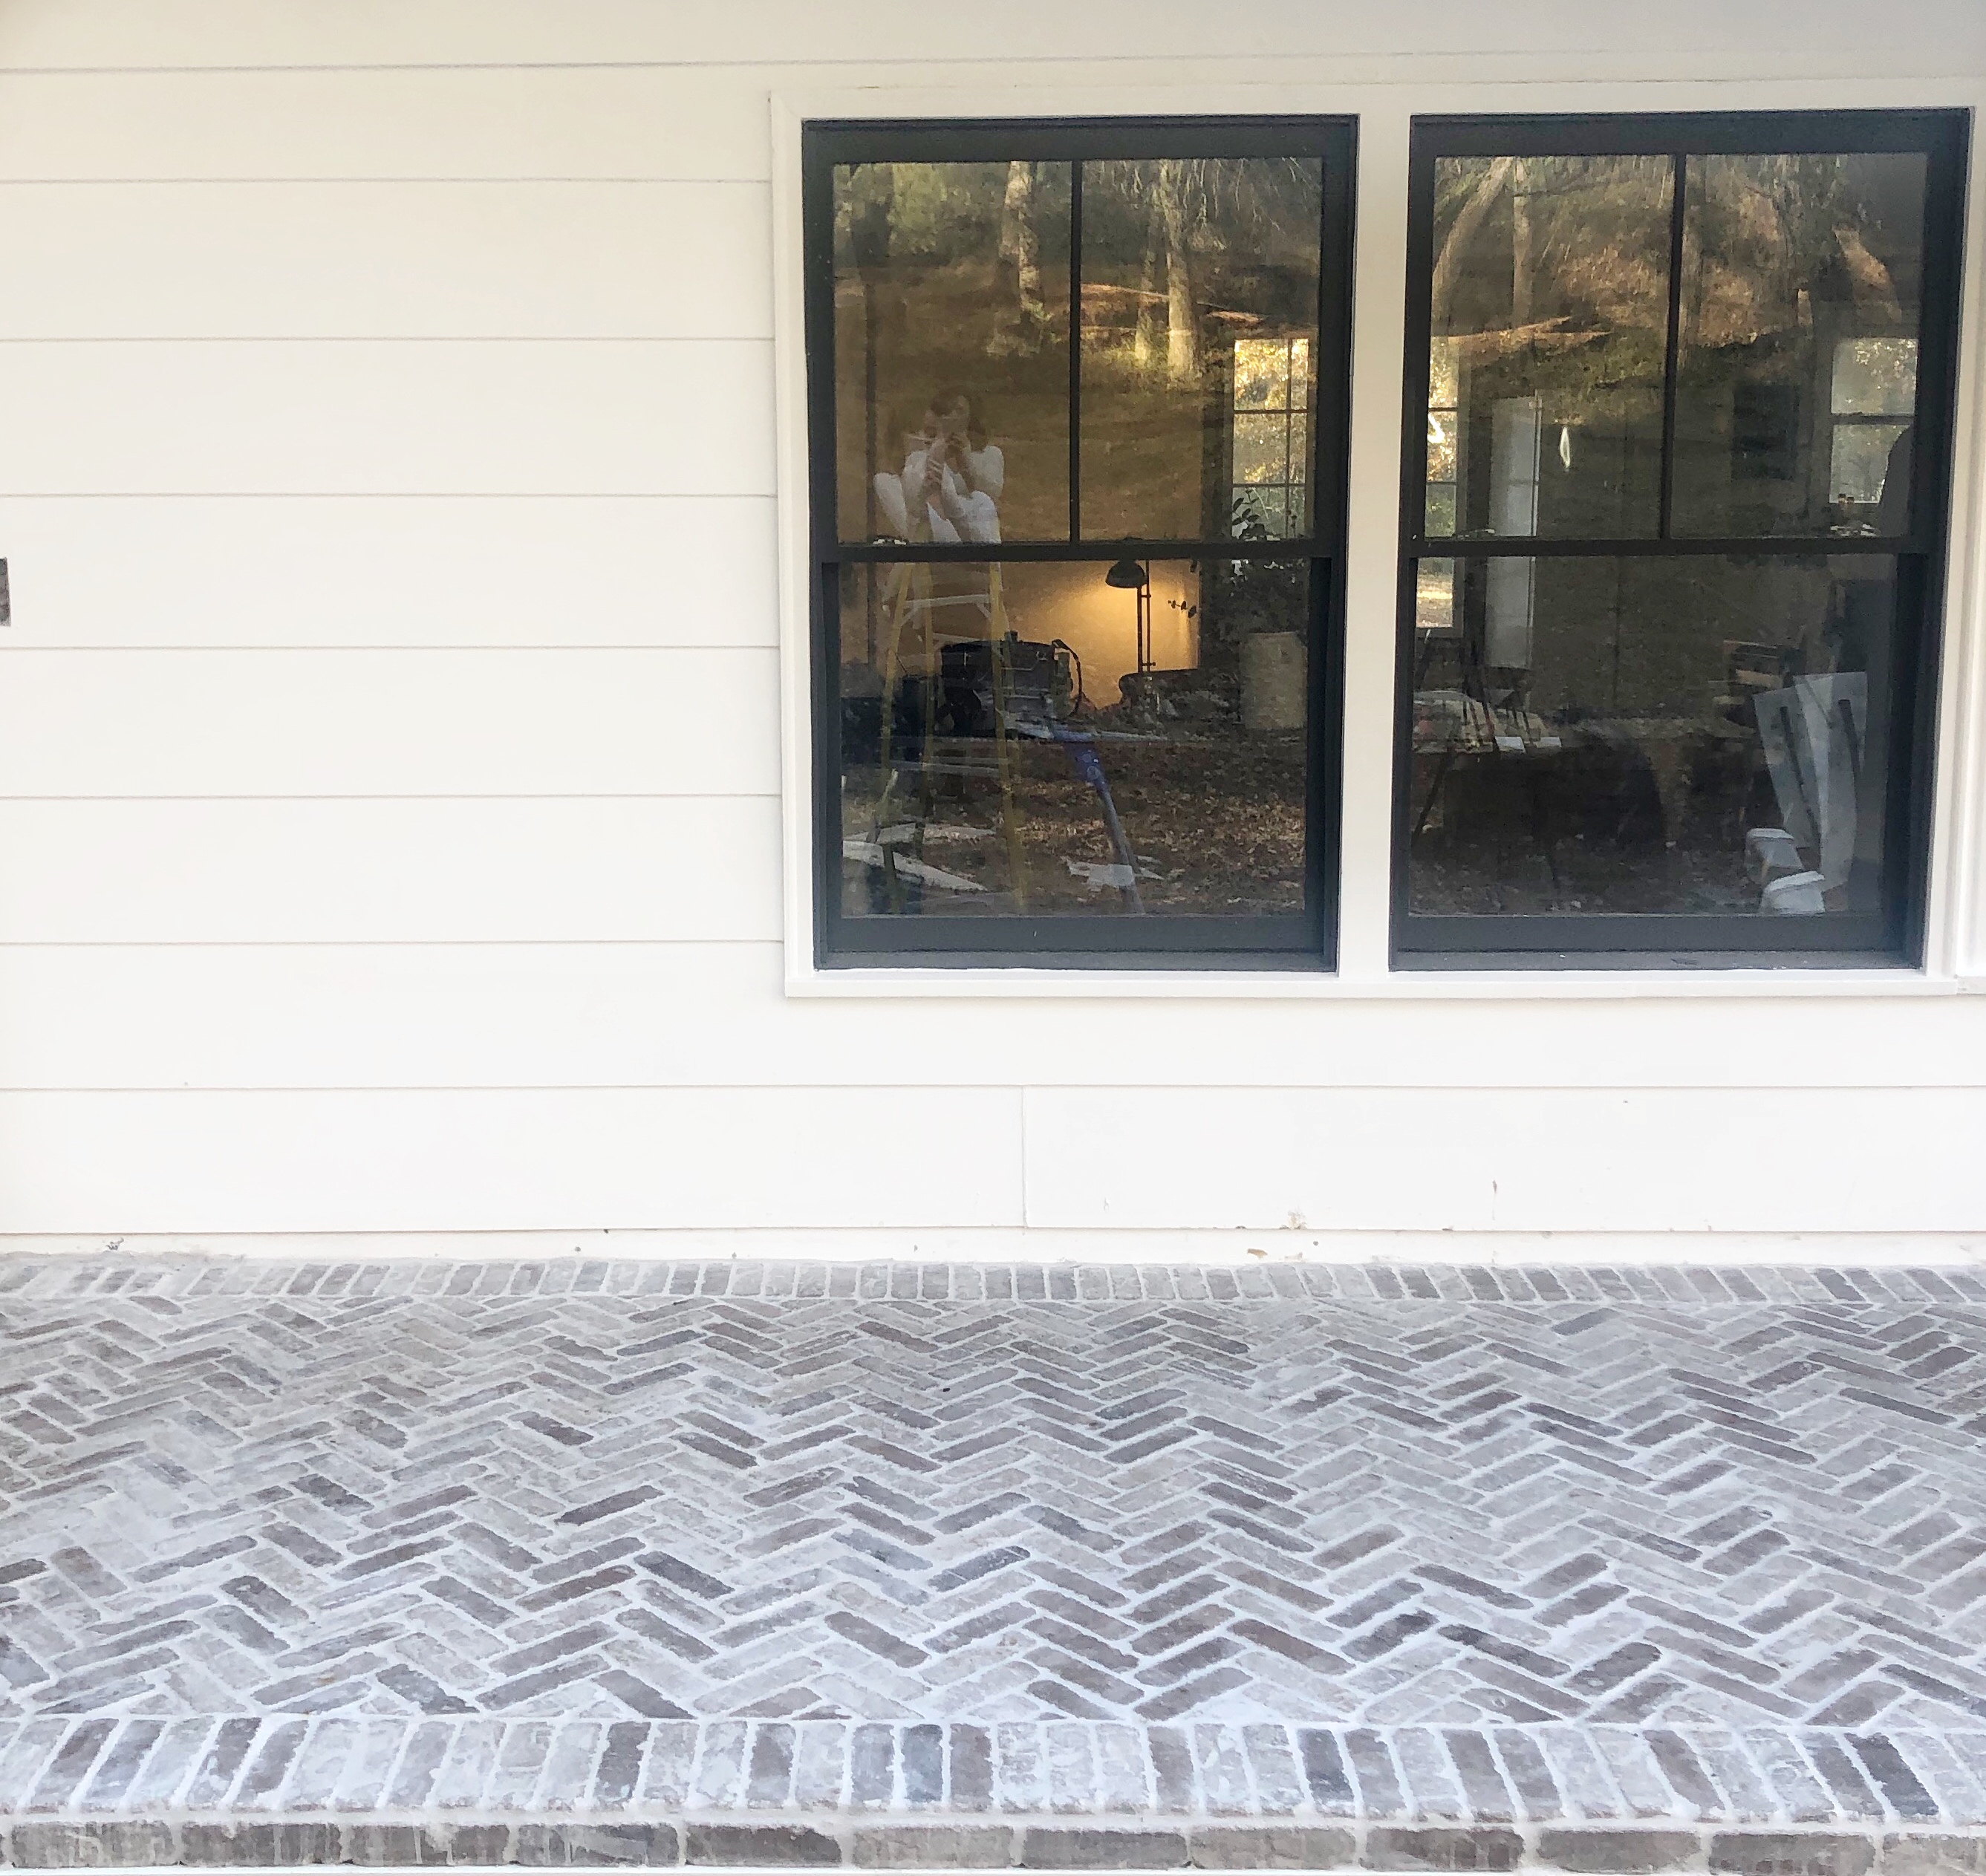
We LOVE the way our herringbone brick pavers turned out! Now we have to finish the skirt board and a few more details before we are completely finished with our exterior home makeover!
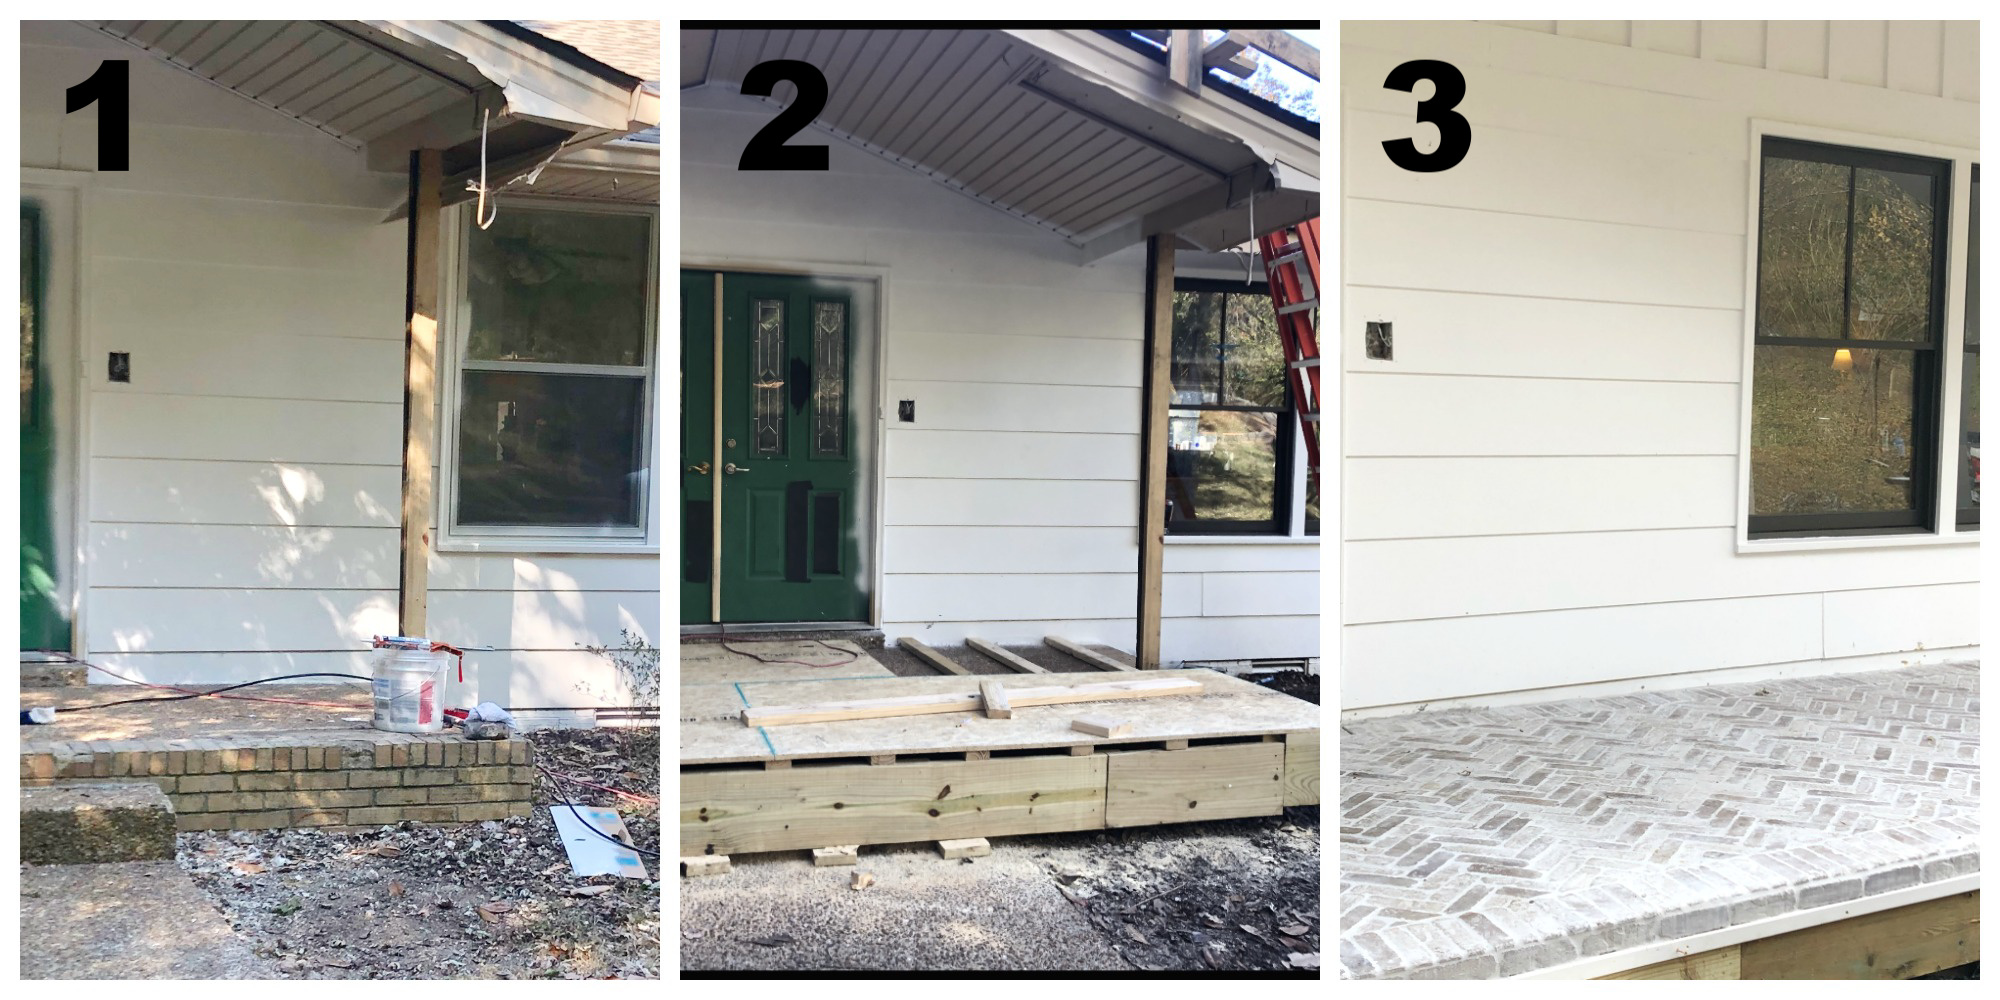
But we have come a long way so far, as you can see in the before, during, and after photos below…
What are your thoughts on laying the pavers in the herringbone pattern?
This looks amazing! Love the herringbone!
Thank you, Jeanine!
I love this and want this exact paver and pattern on my back patio! So beautiful. Quick question – you didn’t pour a new concrete porch but just build out a box? Or did I miss that? I am looking to extend an existing concrete patio so I was assuming that I needed to do this over concrete but you used just concrete backer board?
Did you ever get your answer? I too am wondering if I need to lay a concrete slab (it’s dirt and woodchip now)
Here are some resources that will help explain how we made our front porch:
Blog post: https://www.beneathmyheart.net/2019/11/come-see-our-new-front-porch-plan/
Episode 15: https://youtu.be/0xtSEA68NPA
Episode 16: https://youtu.be/OJDQEk46yWk
Did you paint a white paint over the brick to give it that more distewased smear look or did it just look that way after you grouted and sealed it?
Enjoyed the renovation. The thin bricks was nice, what Rushmore did you use as there are variances. Looks as if you whitewashed vs what I have seen for bricks.
How did you do the edge? Did you ever consider using the thin brick corner for the edges?
We are wanting to do this on top of our existing concrete porch that is covered. the concrete is in great condition- wondering if we can just lay right on top with no buffer in between (aka backer board etc).
I absolutely love herringbone pattern! This is my inspiration picture for work on our house. Can we put the pavers straight onto a concrete porch? Thank you for sharing how to do this. Can’t wait to try it!
I’d like to know as well! I’m wanting to put a porch on my home, but it is expensive to build up a concrete platform. This looks like they built a frame, added cement board and then brick veneered it. Would like to confirm this was the process.
Here are some resources that show you how we made our new front porch:
Blog post: https://www.beneathmyheart.net/2019/11/come-see-our-new-front-porch-plan/
Episode 15: https://youtu.be/0xtSEA68NPA
Episode 16: https://youtu.be/OJDQEk46yWk
I love this! I am curious how it is still holding up to being walked on.
Gorgeous!!! I tried clicking on the link to buy the bricks and it says that they are out of stock. Do you have another recommendation for a similar veneered brick that you used? Thank you!
This looks amazing! I’d probably still use Red Guard over the backer board even if the plywood is outdoor Grade.
this is very attractive however would like to hear how the Hardy Backerboard stood up under it all….. we had same backerboard installed on
a bathroom floor and it didn’t stand up well with all of the traffic and pressure from two 6’7″ football players. LOL
Hi – Love the front porch! We are thinking about doing something similar, and I’m curious if the grout gets dirty easily? Is it hard to keep clean? Thanks so much!
We have had to power wash it each spring, but other than that, it stays pretty clean! Looks great!
Love your porch! Now that this is several years old how is it holding up? When it gets wet or there is heavy dew is it clippery? That is my one hesitation to do this on our patio, I don’t want a slip and slide surface when it is wet! Thanks!
It’s held up great and is not slippery.
Hi. Can you confirm what color you used for the brick? Thanks! And I am also wondering why you didn’t use the mesh sheets in herringbone that this product comes in.
I love this and am looking to do this on my porch. My only concern is how to install this up against the siding of my house. On the majority of the porch this shouldn’t be an issue since the siding stops far enough above the concrete slab, but there’s a step up in front of the door and the siding is very close to the concrete floor. Should I leave a gap between the brick and siding?
Unfortunately, it’s hard for me to visualize what your porch looks like, so I don’t think I could give you a good answer on that.