DIY Paver Walkway Makeover
*This post is sponsored by Lowe’s. All opinions and ideas are 100% mine.
As we continued our exterior makeover, it was time to update our walkway. Our original walkway was built with the home in the 1970’s and was made of a brown concrete aggregate. It was dark, dingy, and narrow. It did not fit with the bright and airy aesthetic that we were trying to create with our exterior makeover. And since we now had a beautiful new front porch, we wanted a beautiful new walkway leading up to it!
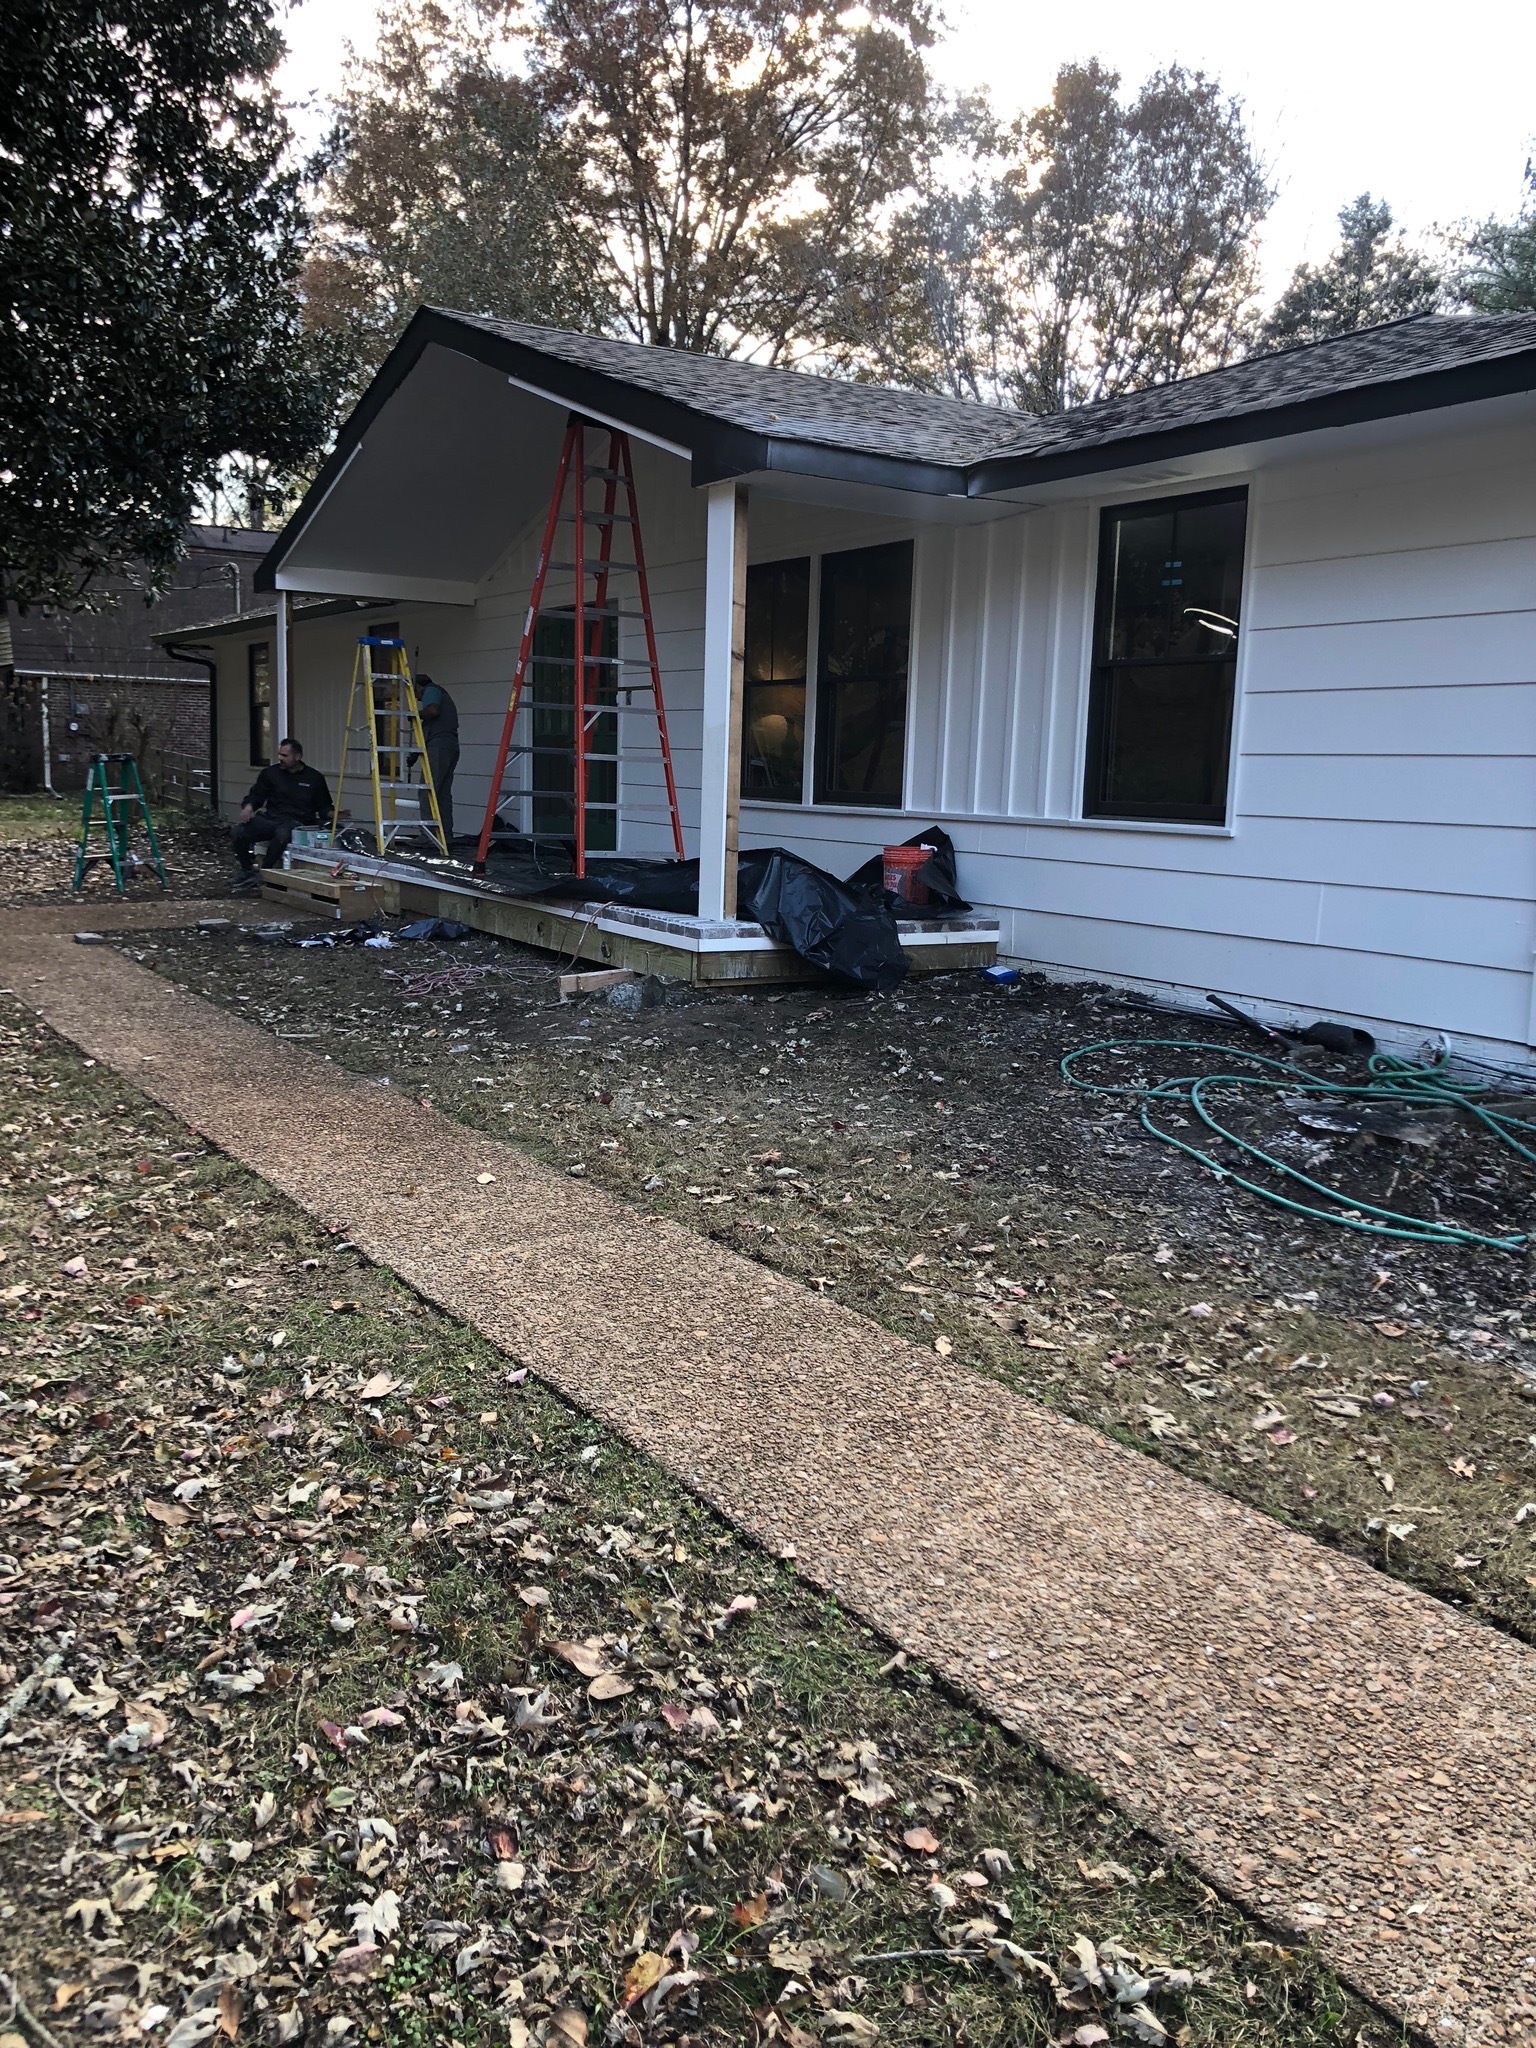
We have such a long walkway, we knew it would be a bear to bust up the old one to lay all new pavers. So we decided to make our walkway brighter by adding a new layer of concrete resurfacer, and to make it look wider by adding stone pavers on each side of the it. Here’s the final result!…
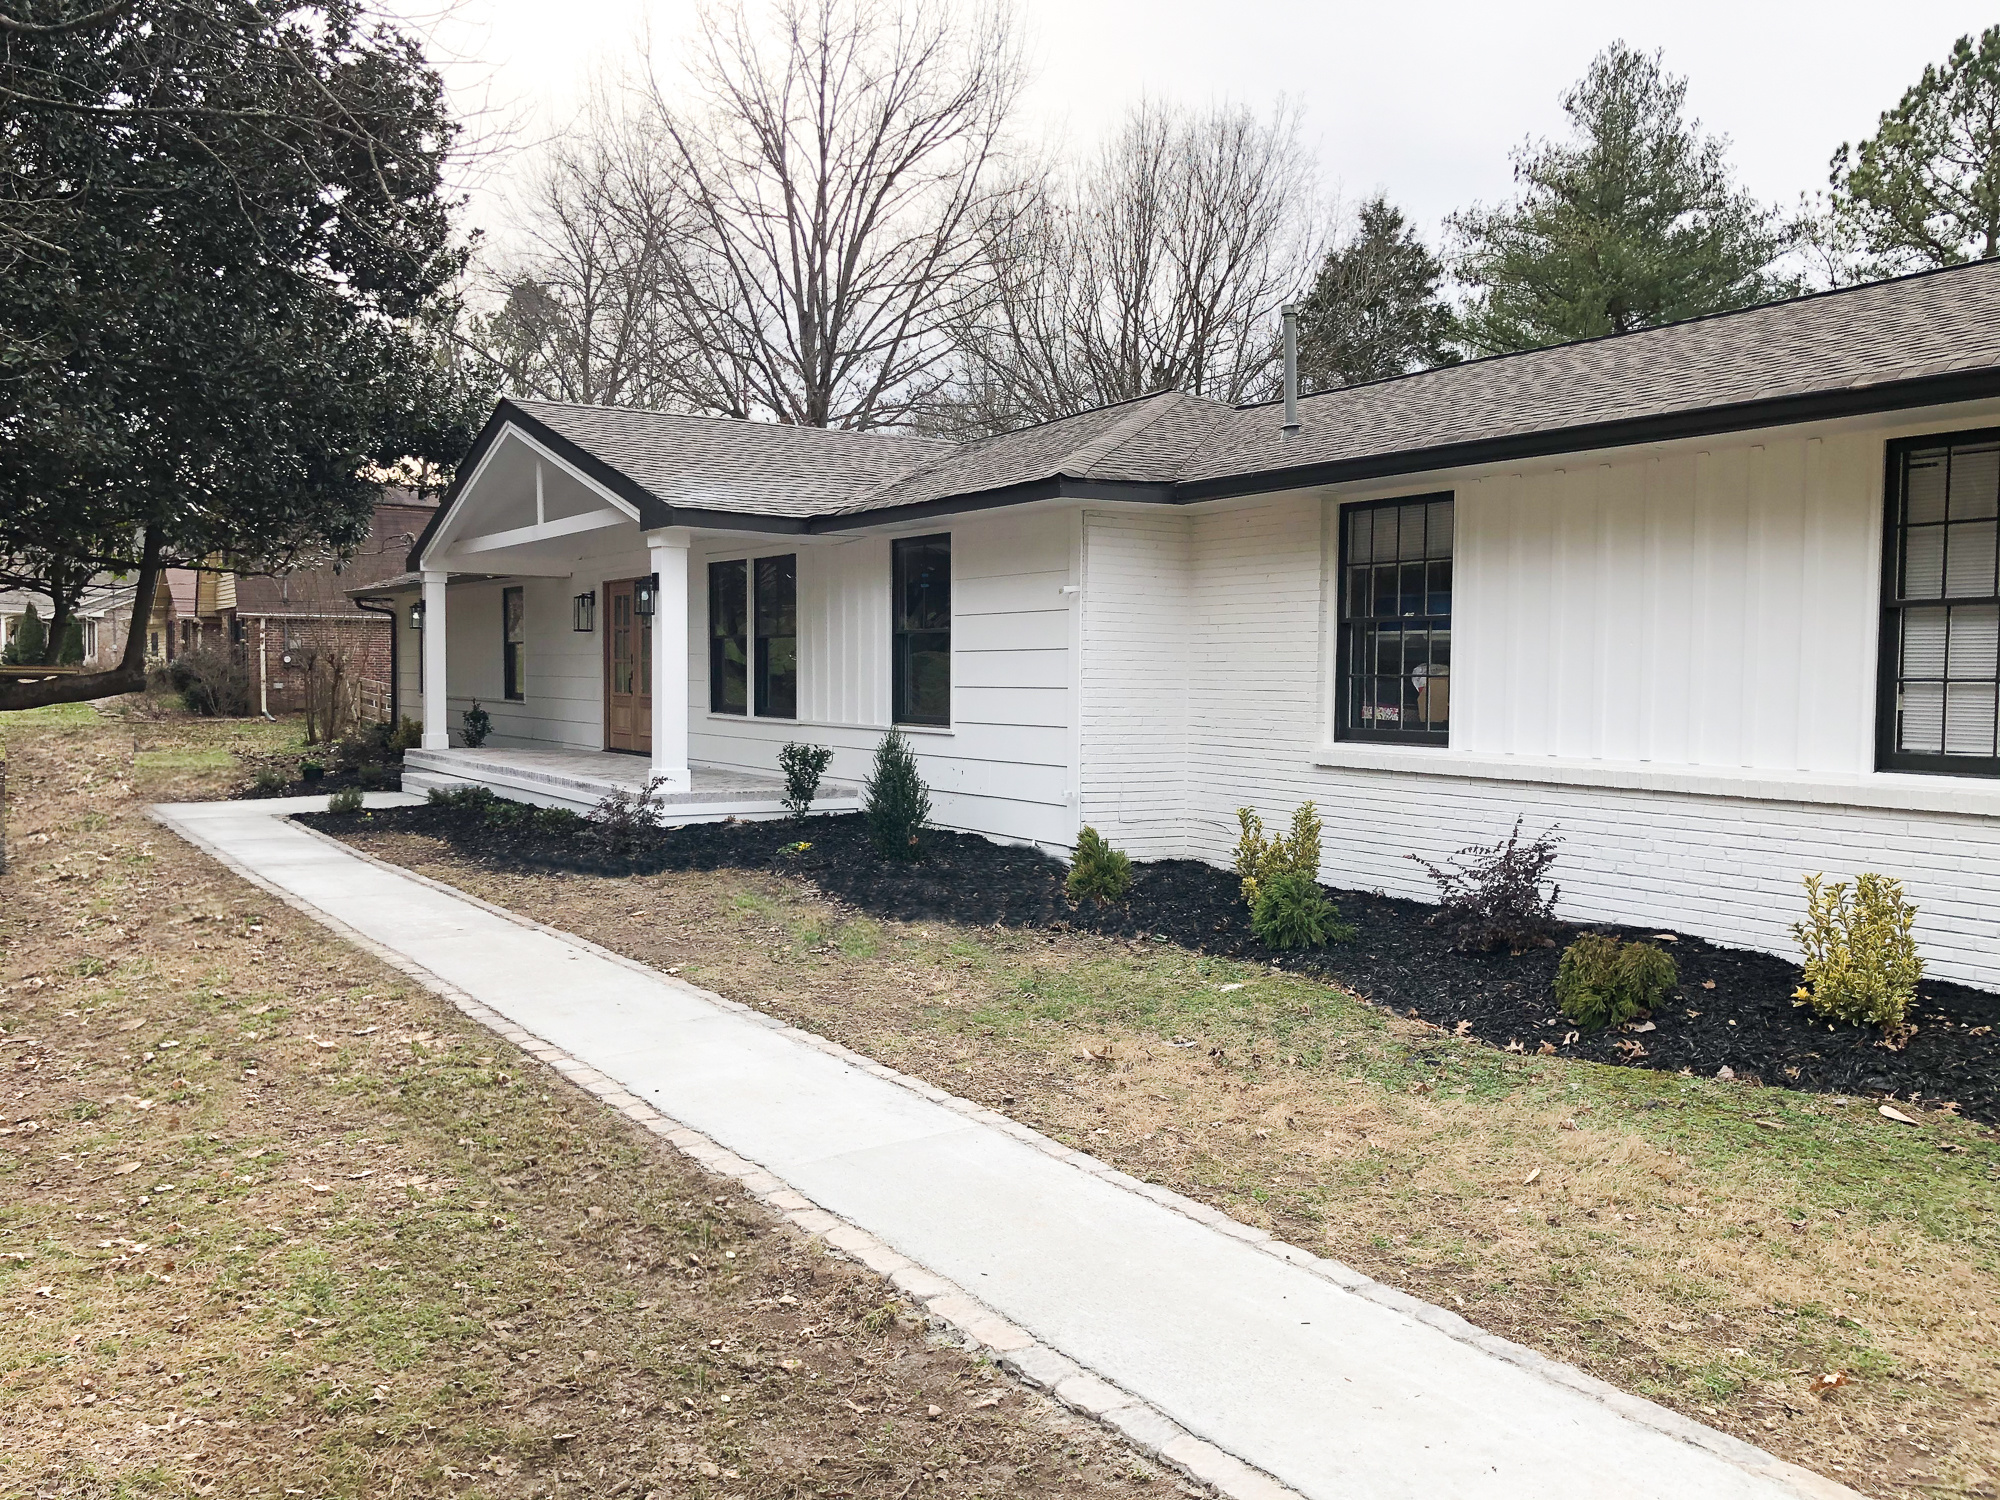
Today, I am going to share with you the steps we took for this walkway makeover.
Here are the supplies we used:
- pressure washer
- pick mattock
- paver base
- pavers
- polymeric sand
- hammer drill
- spiral mixer tool
- concrete resurfacer
- rubber concrete float
- mallet
- concrete brush
Step One: Pressure wash the dirt off the existing walkway.
Before doing any type of resurfacing on a walkway, you want to make sure that your pressure wash the surface to remove any old dirt or debris. We used this Greenworks electric pressure washer to clean our walkway.

STEP TWO: Dig a small trench on each side of the walkway.
To line your walkway with pavers, you want to start by digging a small trench on each side to make room for the pavers. We dug our trench about 6 inches deep by using a pick mattock.
You want to dig it deep enough so that when you add the pavers, they will be even with the top of your walkway.

STEP THREE: Add a layer of paver base.
The next step is to pour a layer of paver base into the trench. You can pour a little at a time and then just smooth it out evenly with your hands. Paver base provides a strong foundation and helps to keep the stone pavers even.

STEP FOUR: Add pavers.
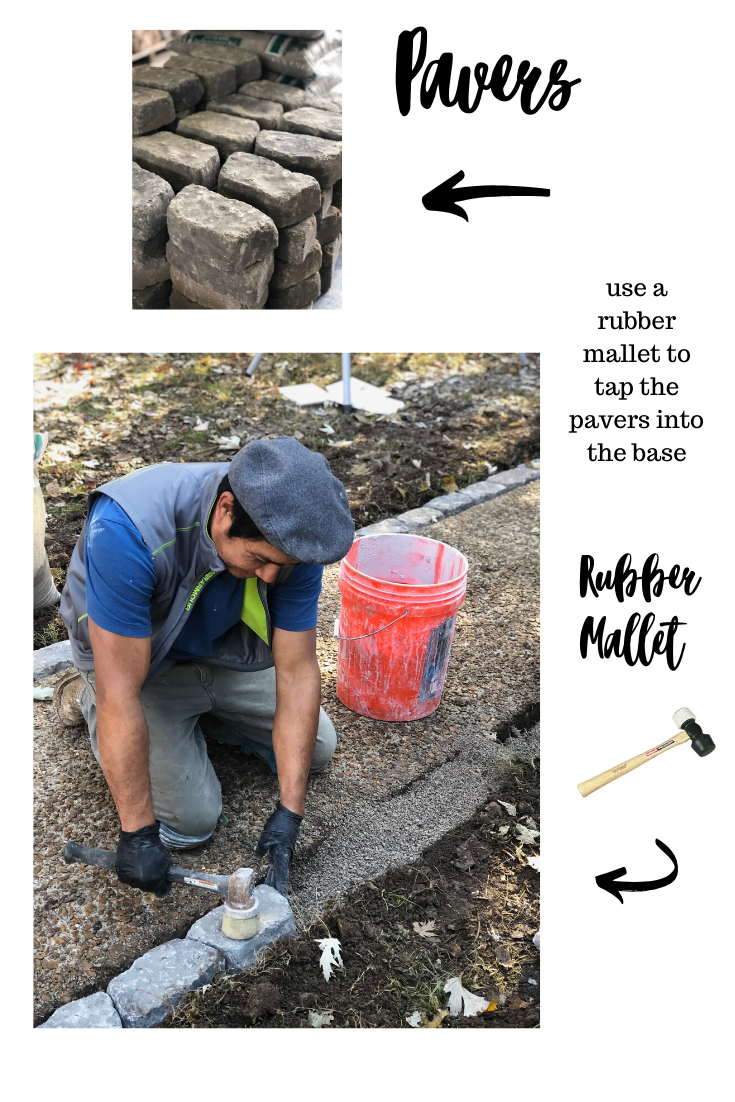
We decided to line our walkway with these pavers that are commonly used in retaining walls or flower beds. They have angled sides that make it easy to create curved lines. Even though our walkway was straight, we thought they would be beautiful lining our walkway.
We placed the pavers on top of the paver base, making sure the angled sides fit together, and then used a rubber mallet to pound the pavers in place.
STEP FIVE: Add polymeric sand.
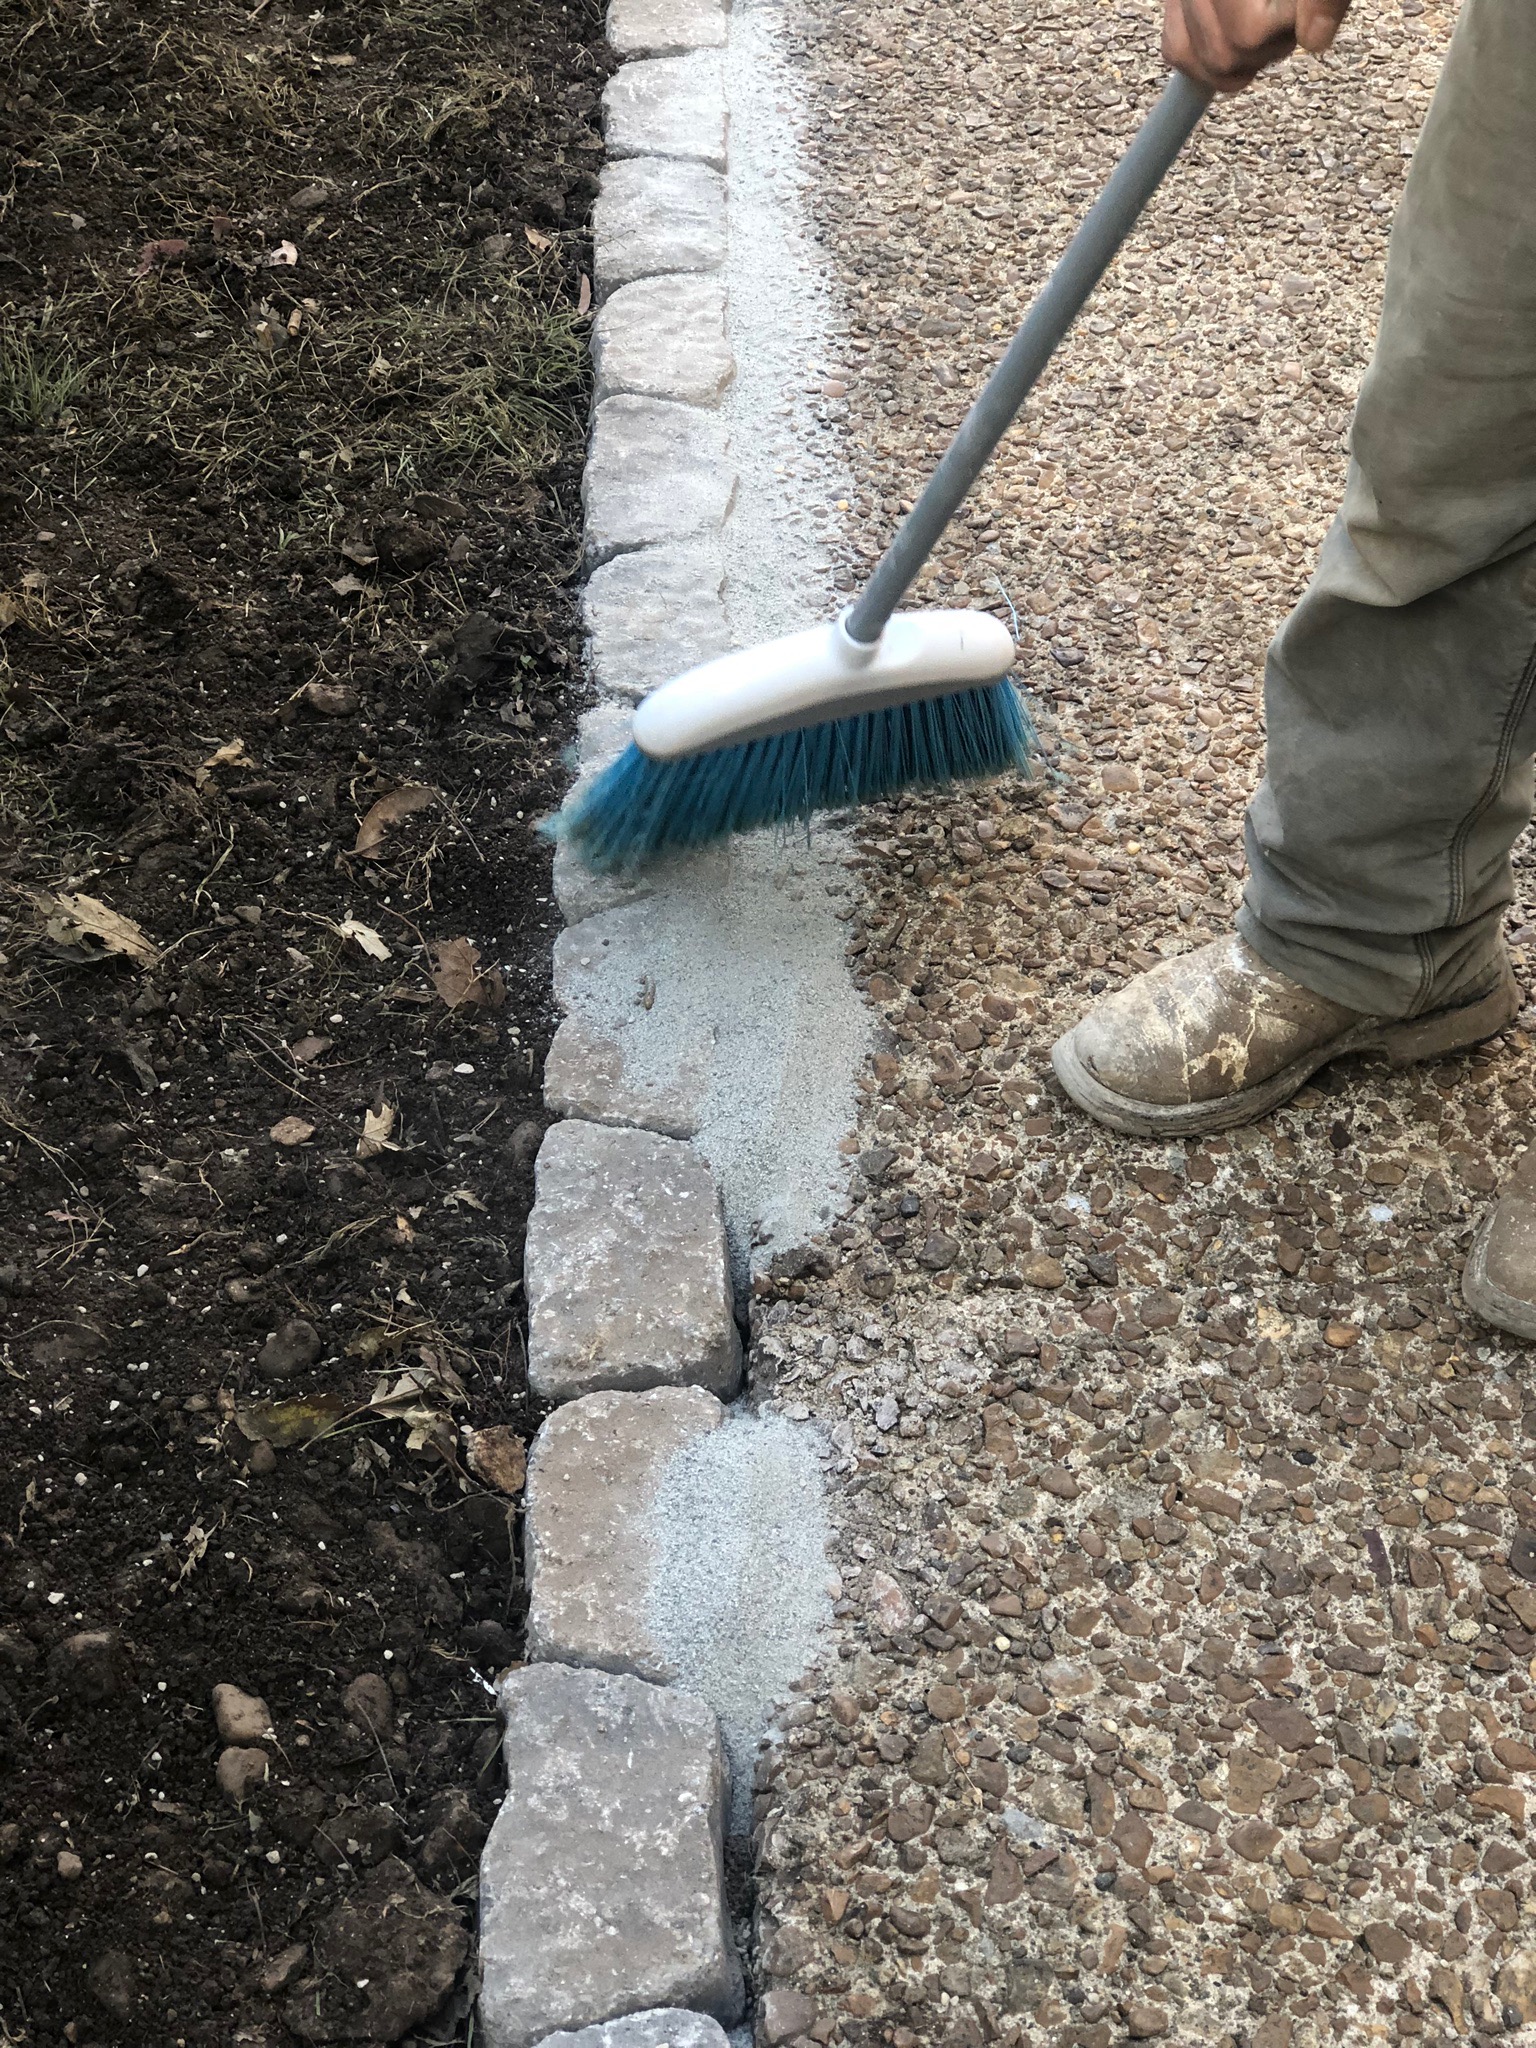
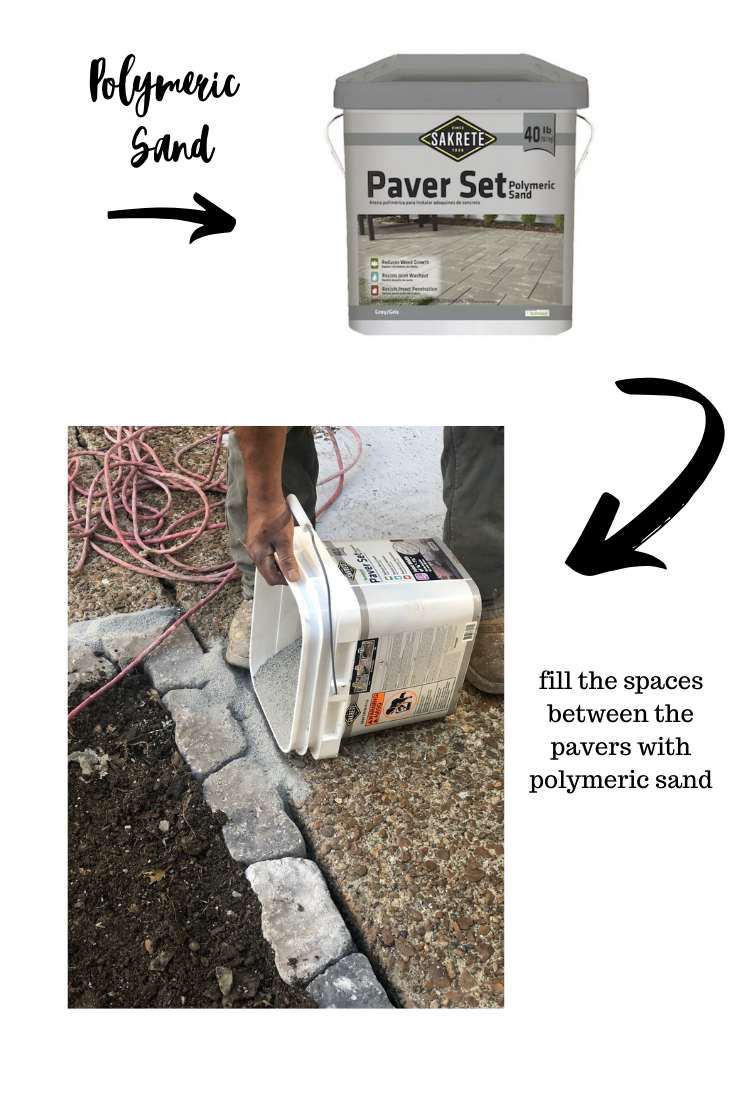
Once you’ve set the pavers in place, add polymeric sand to fill in between the pavers. Polymeric sand has additives that provide a better bond.
Once you have poured the sand in between the pavers, use a broom to sweep the sand into the joints.
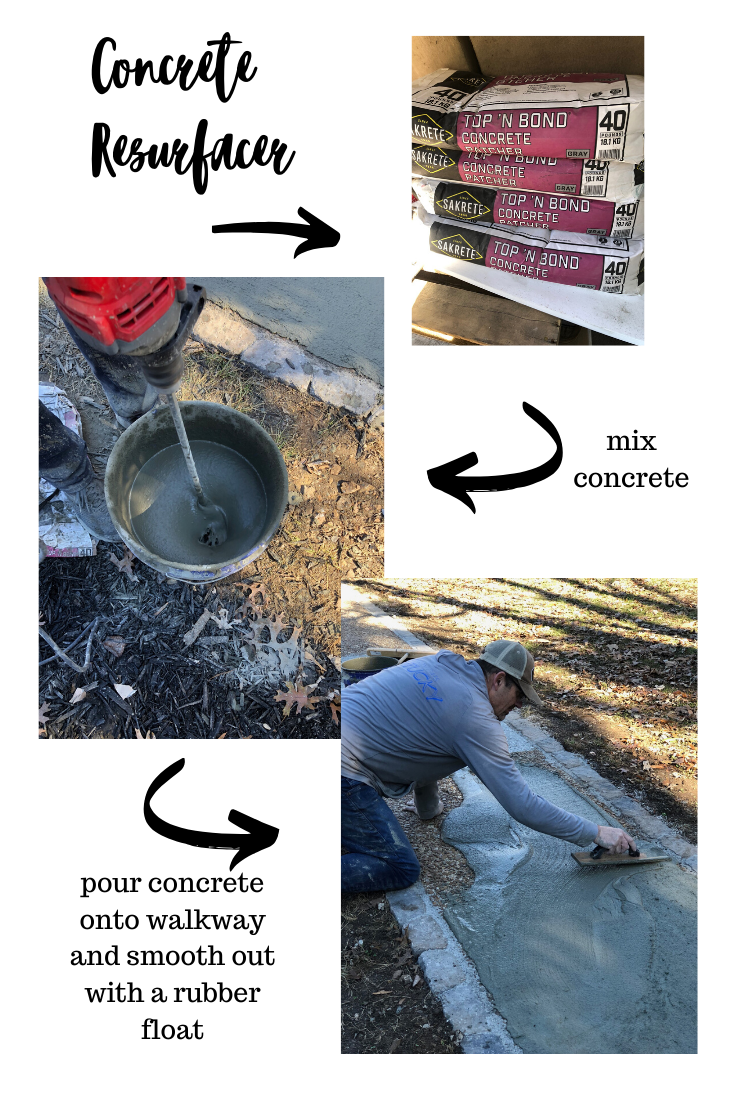
Use a rubber concrete float to smooth out the concrete mix over the old walkway.
Once the walkway is covered with the concrete resurfacer, you want to go over it with an concrete brush.
Apply a light pressure on the concrete with the brush/broom as you pull the material towards you.

The concrete will be a darker color at first, but it will dry a lighter color.
We are very pleased with how our new walkway turned out! Here are some before and after photos of this project..


We have a few more details before we share our full exterior makeover with you! We cannot wait!
And in case you missed them, here are a few more posts about our exterior makeover…
How to Prep Your Home’s Exterior for Painting
How to Install Brick Veneer Pavers
How to Build Front Porch Columns

That turned out fantastic! I knew it would. Everything you all do is gorgeous!!
Looks great and LOVE those front doors!
Hi, Looks amazing!! I have the same terrible concrete surface. All those tiny jagged pebbles are the worst! How has the concrete resurfacer held up? I’ve had so many contractors tell me they cant do it?!
So we knew that it would be a temporary fix, not a long term fix, but we wanted our sidewalk to look prettier. If we lived in the house longer, we would have eventually put in a totally new sidewalk. We lived in that house for three years, and it held up that whole time perfectly. I think it would have last a few more years. I was very pleased with the results!