
DIY Kitchen Island Makeover
Today, I want to share with you a DIY Kitchen Island Makeover that we did for Jonathan’s small cottage on the property. I am partnering with Purdy for this project. :)
He has a small one room house, (we are adding a bedroom and bathroom in the near future,) and it has a small kitchenette. He doesn’t have space for a full kitchen table, so we thought we could take this small rolling kitchen island, paint it, and add a larger top to it that would provide space for a couple of counter stools.
I’ve had this kitchen island for a few years that I originally bought online for our “make shift” kitchen in our Nashville home. I was going to donate it, but then realized we could repurpose it for Jonathan’s place. 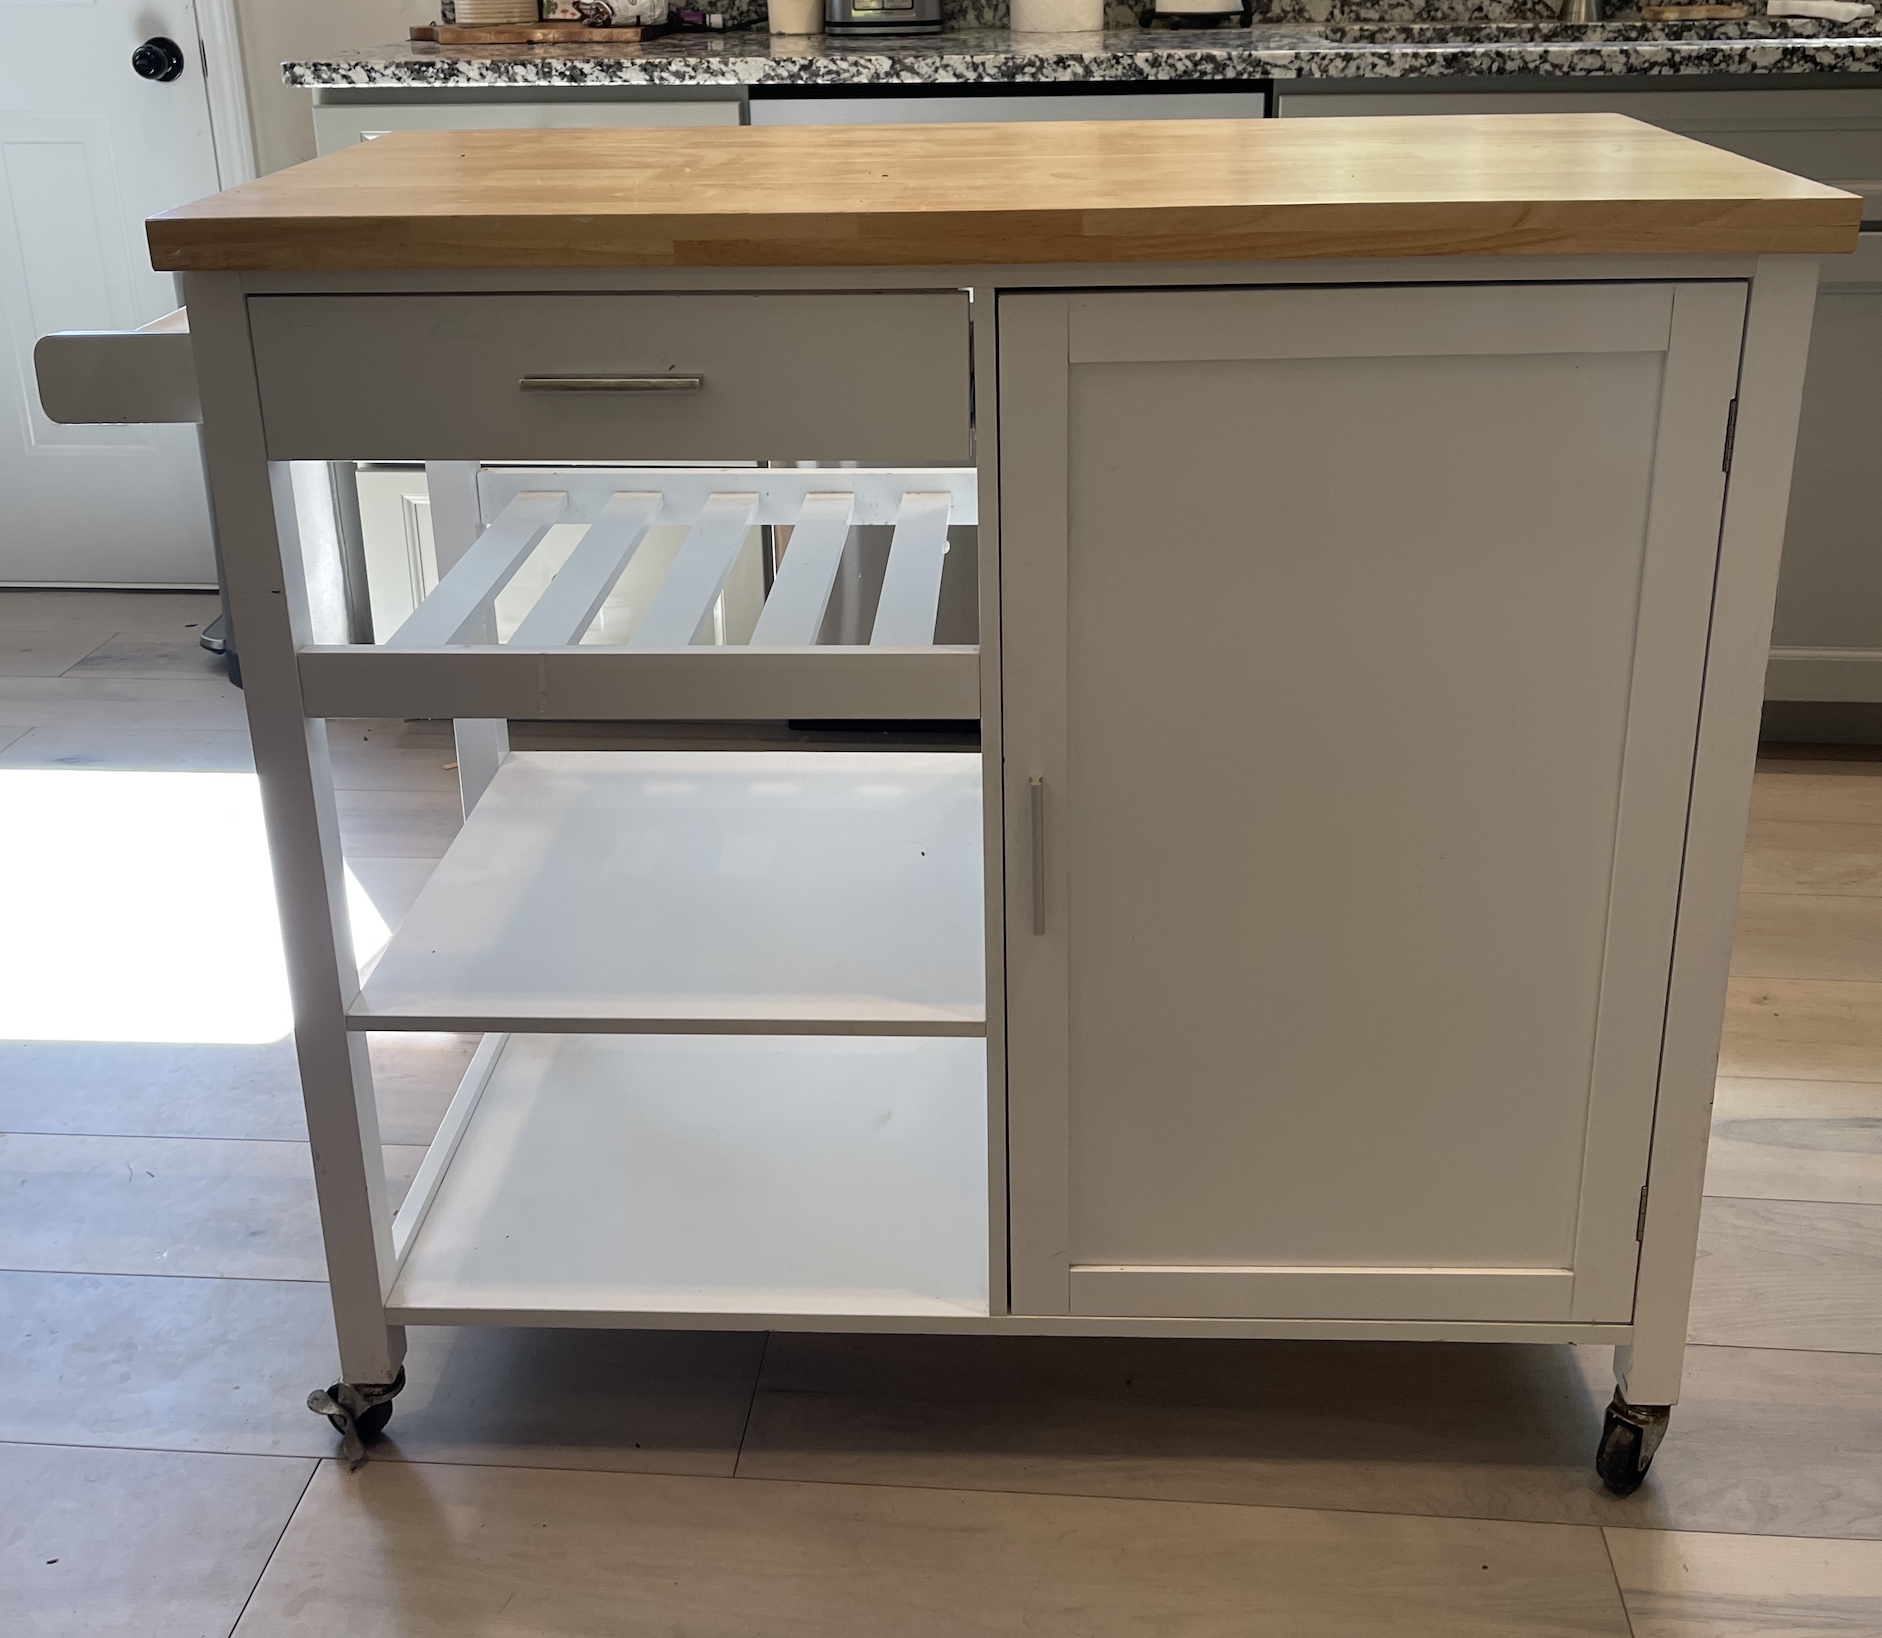
My plan was to paint it black, change the hardware, and add a larger surface on top to create an overhang for stools underneath. 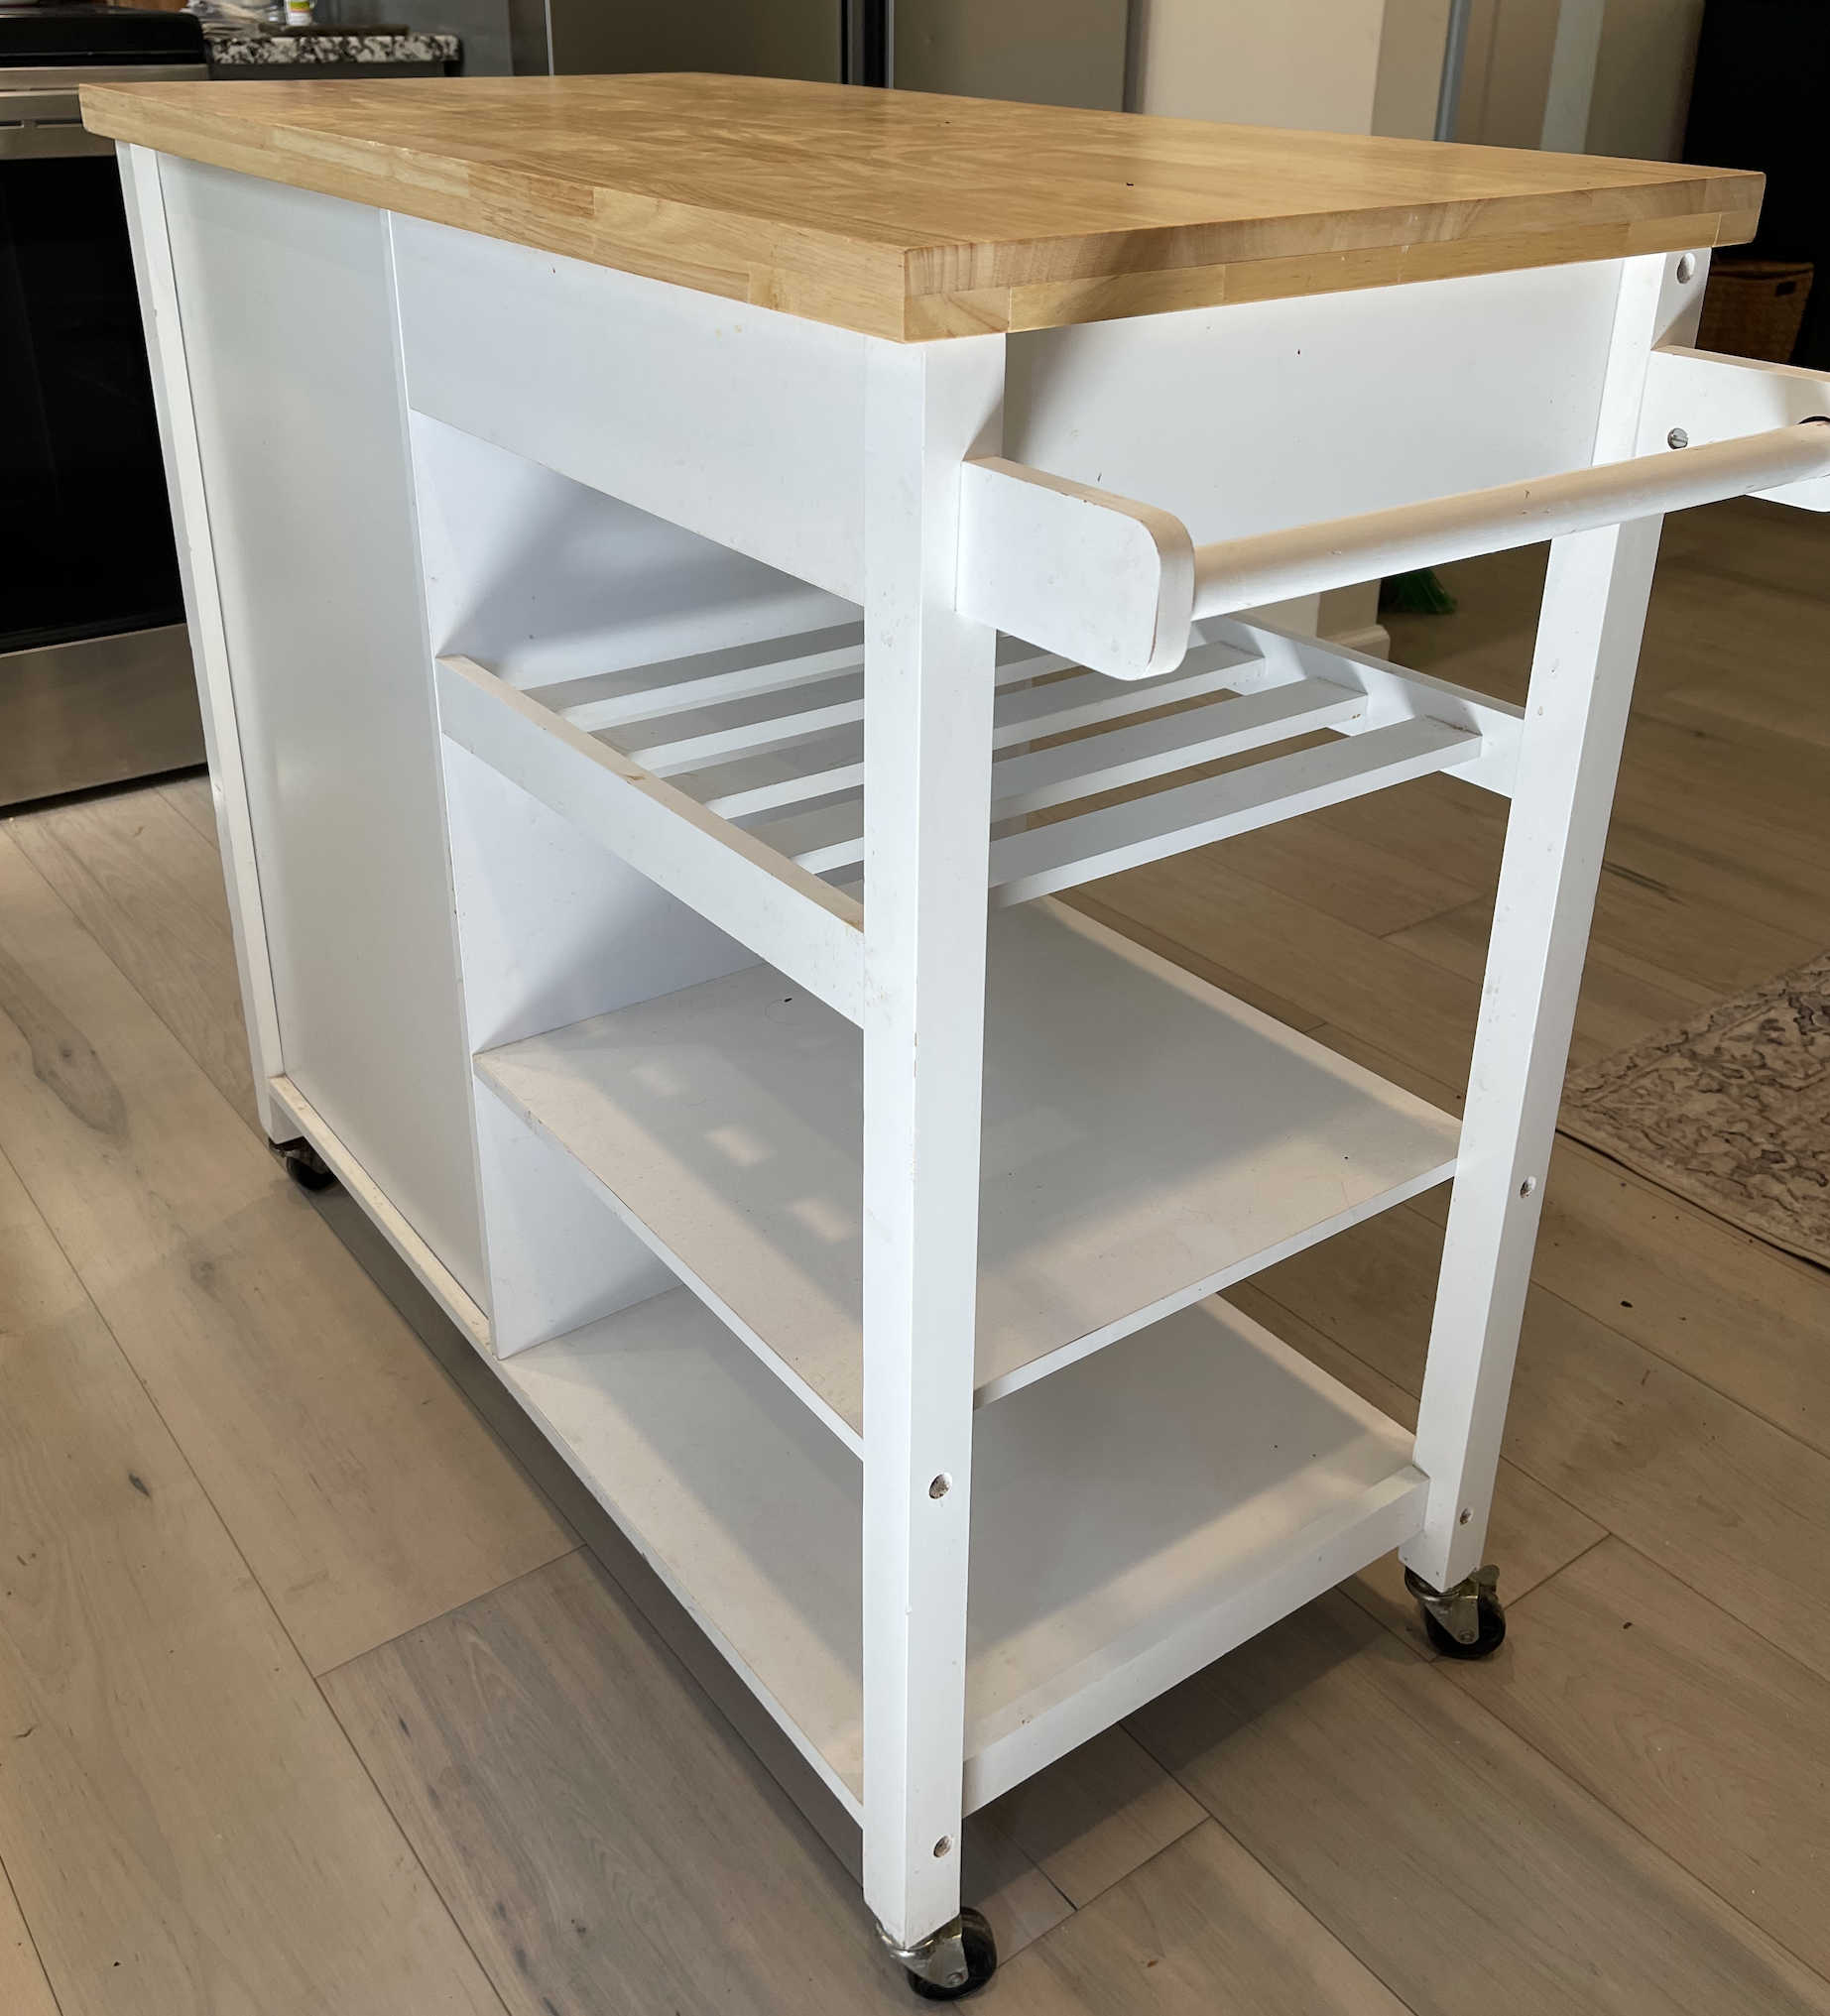
For the paint color, I chose Tricorn Black by Sherwin Williams. To get the best results, I used my favorite paint tools from Purdy.
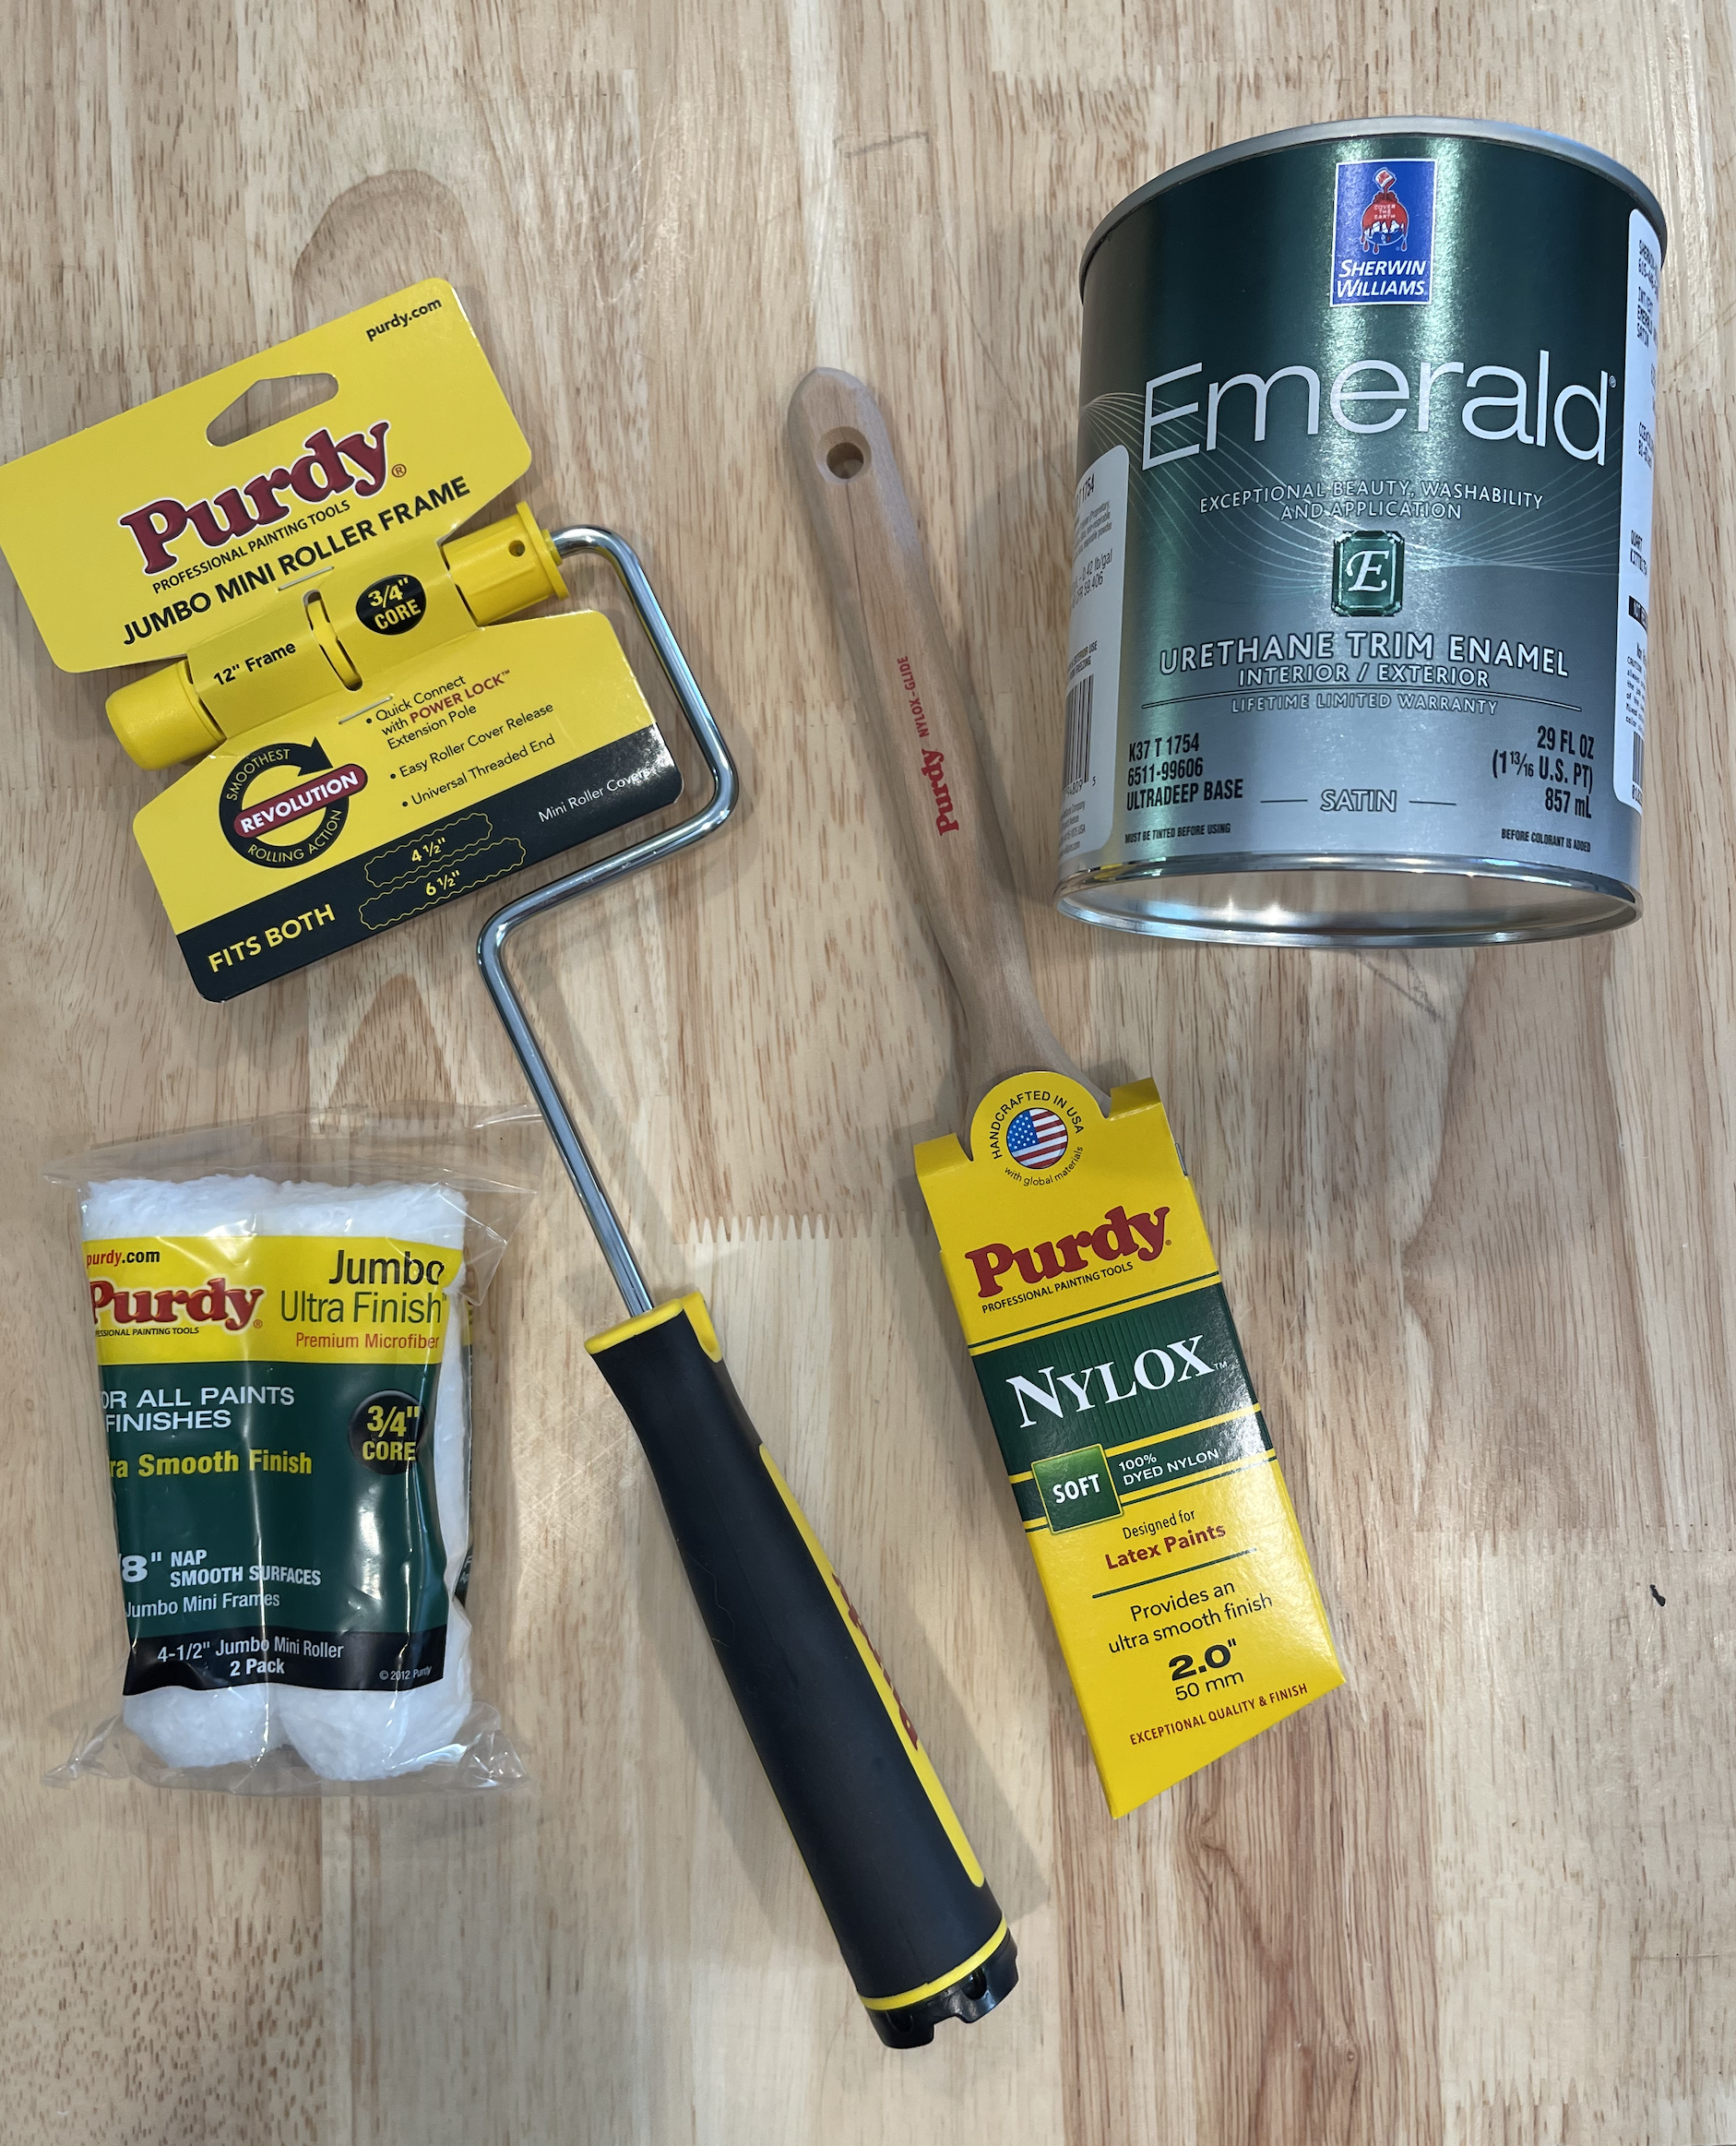
For corners, groves, and hard to reach places, I used the Purdy Nylox Glide brush. This brush is perfect when you are painting smooth surfaces and want an ultra smooth finish.

For the flat surfaces of the island, I used Purdy’s Ultra Finish Jumbo Mini Roller Cover and the Jumbo Mini Roller Frame.
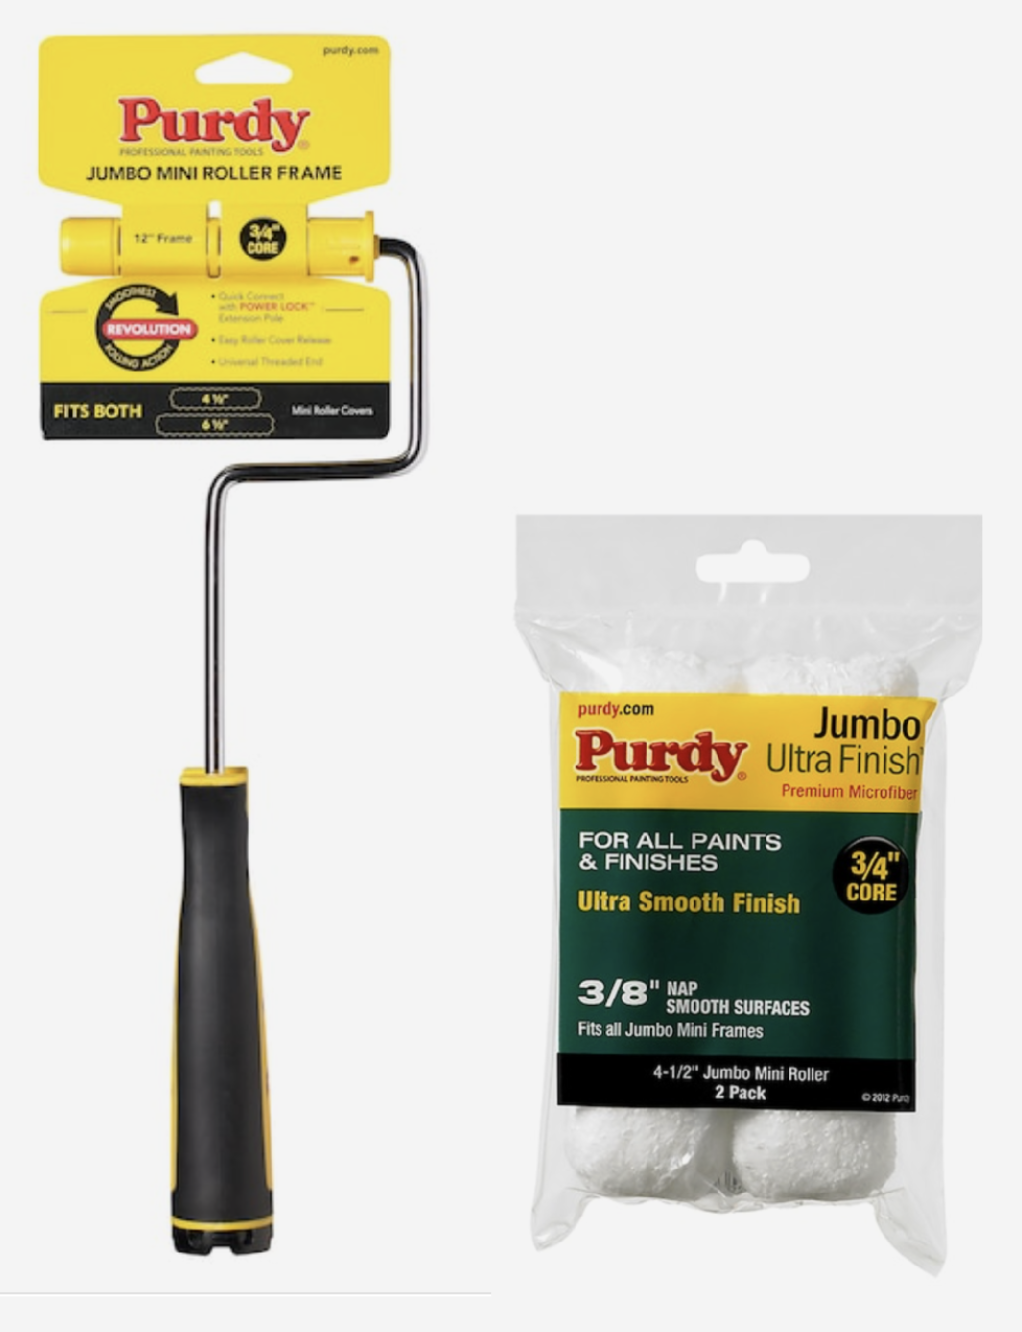
- This roller cover distributes paint evenly creating an ultra smooth finish.
- The Purdy Revolution Jumbo Mini Roller Frame is durable and provides smooth rolling.
- Its lightweight design and comfort grip handle help to reduce arm fatigue.
- Designed for hard-to-reach areas and small spaces, the Jumbo Mini Roller Frame is available in 12″ and 22″ lengths.
I used this roller cover and frame when I painted this dresser blue, and it turned out amazing!
To begin the makeover, I cleaned off the island with a strong cleaner.
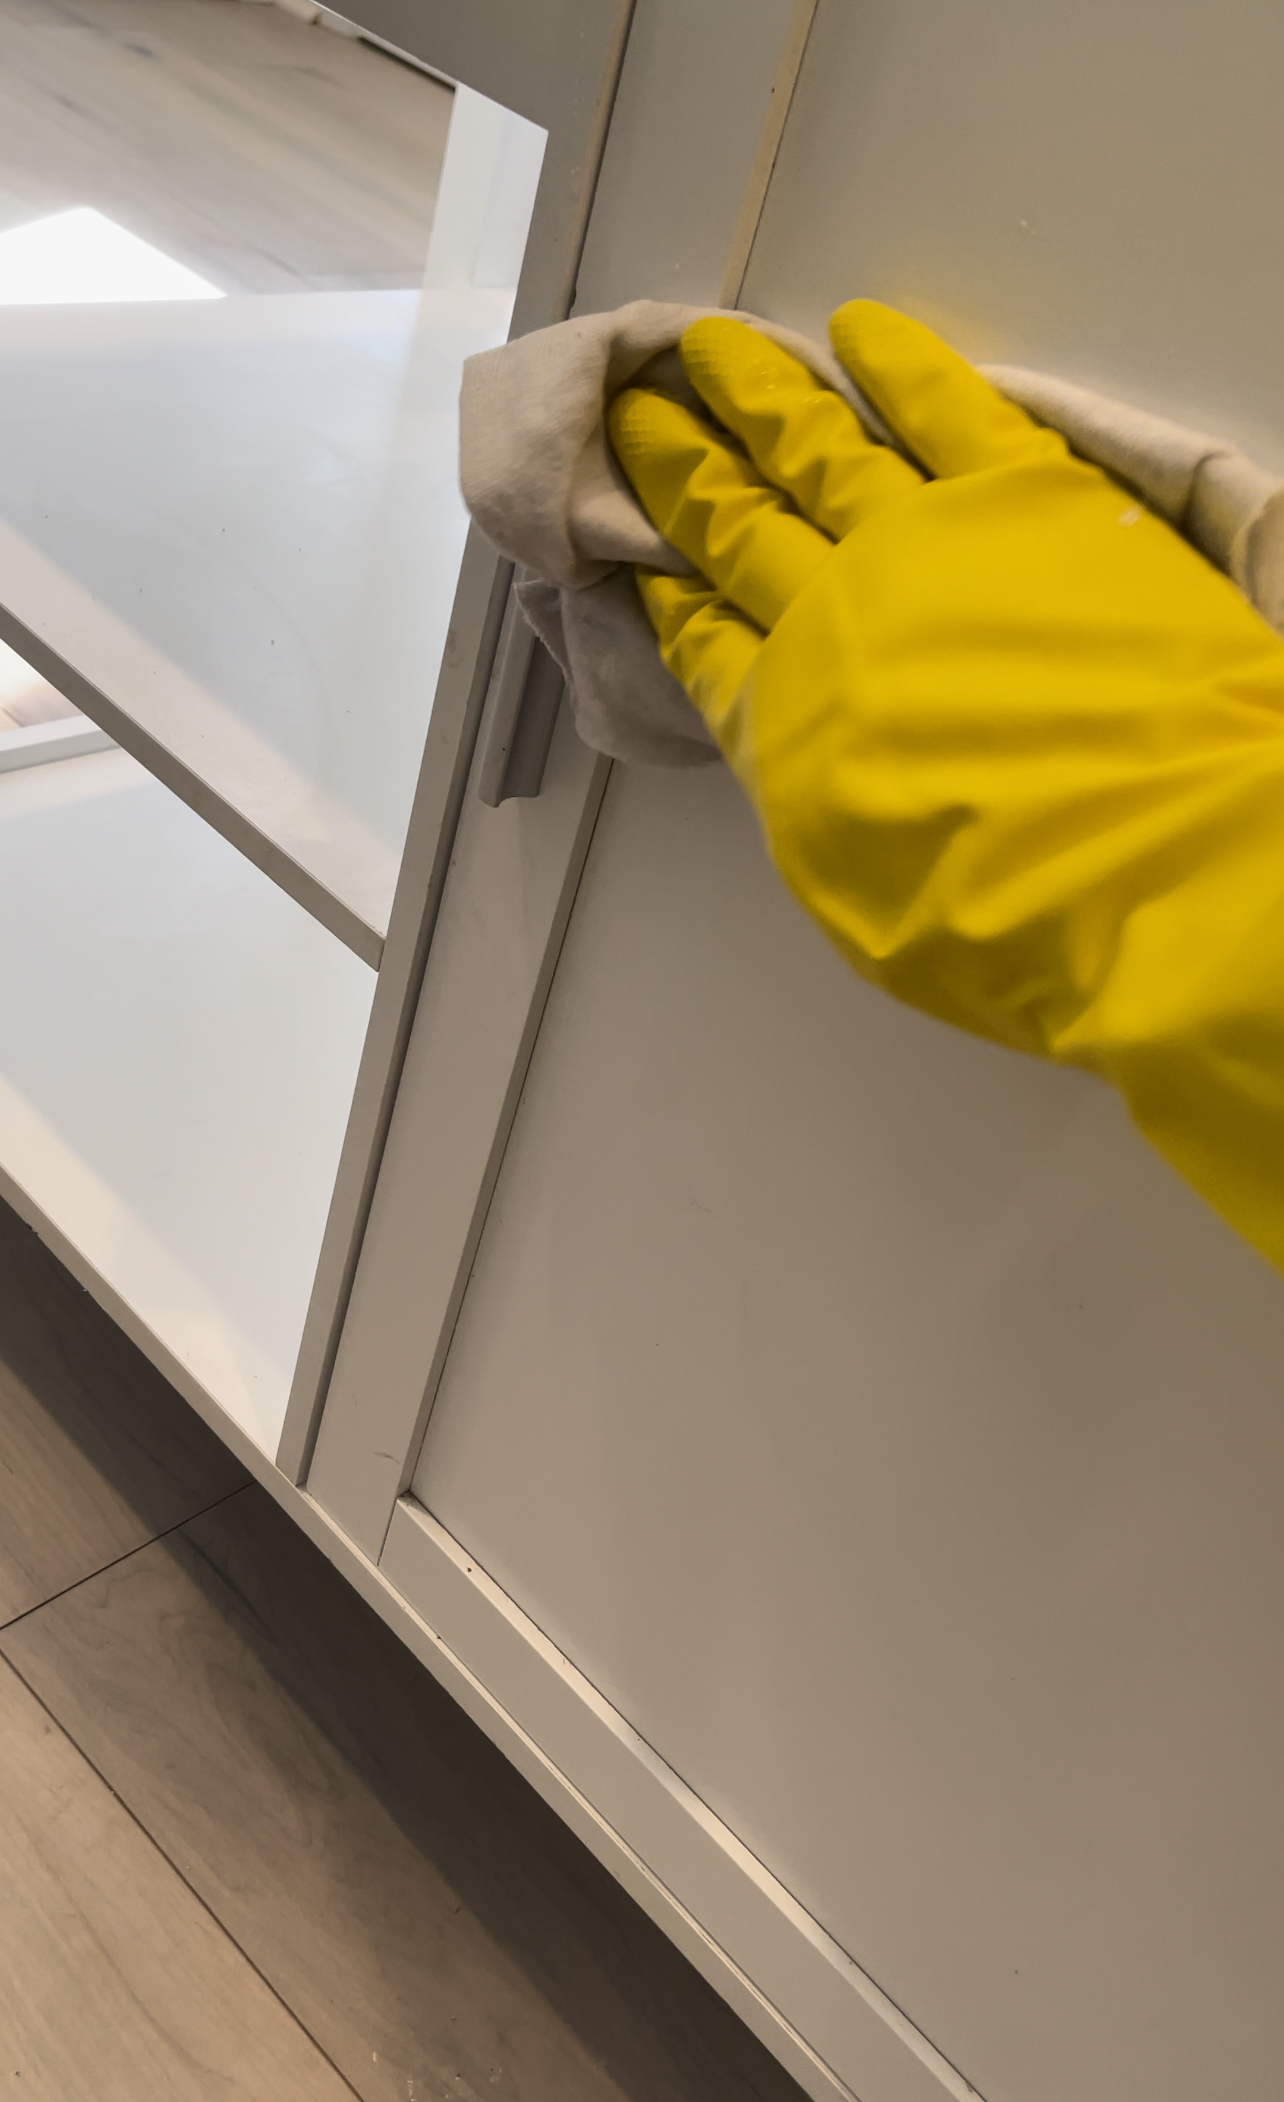
Then I used a liquid degreaser and deglosser (I call it “liquid sandpaper,”) to prepare the surface for paint. Liquid sandpaper is a chemical substitute for hand sanding. It preps the surface by softening the existing finish so it holds a new coat of paint or sealer. It’s great to use on furniture that is in good shape and just needs a new coat of paint.
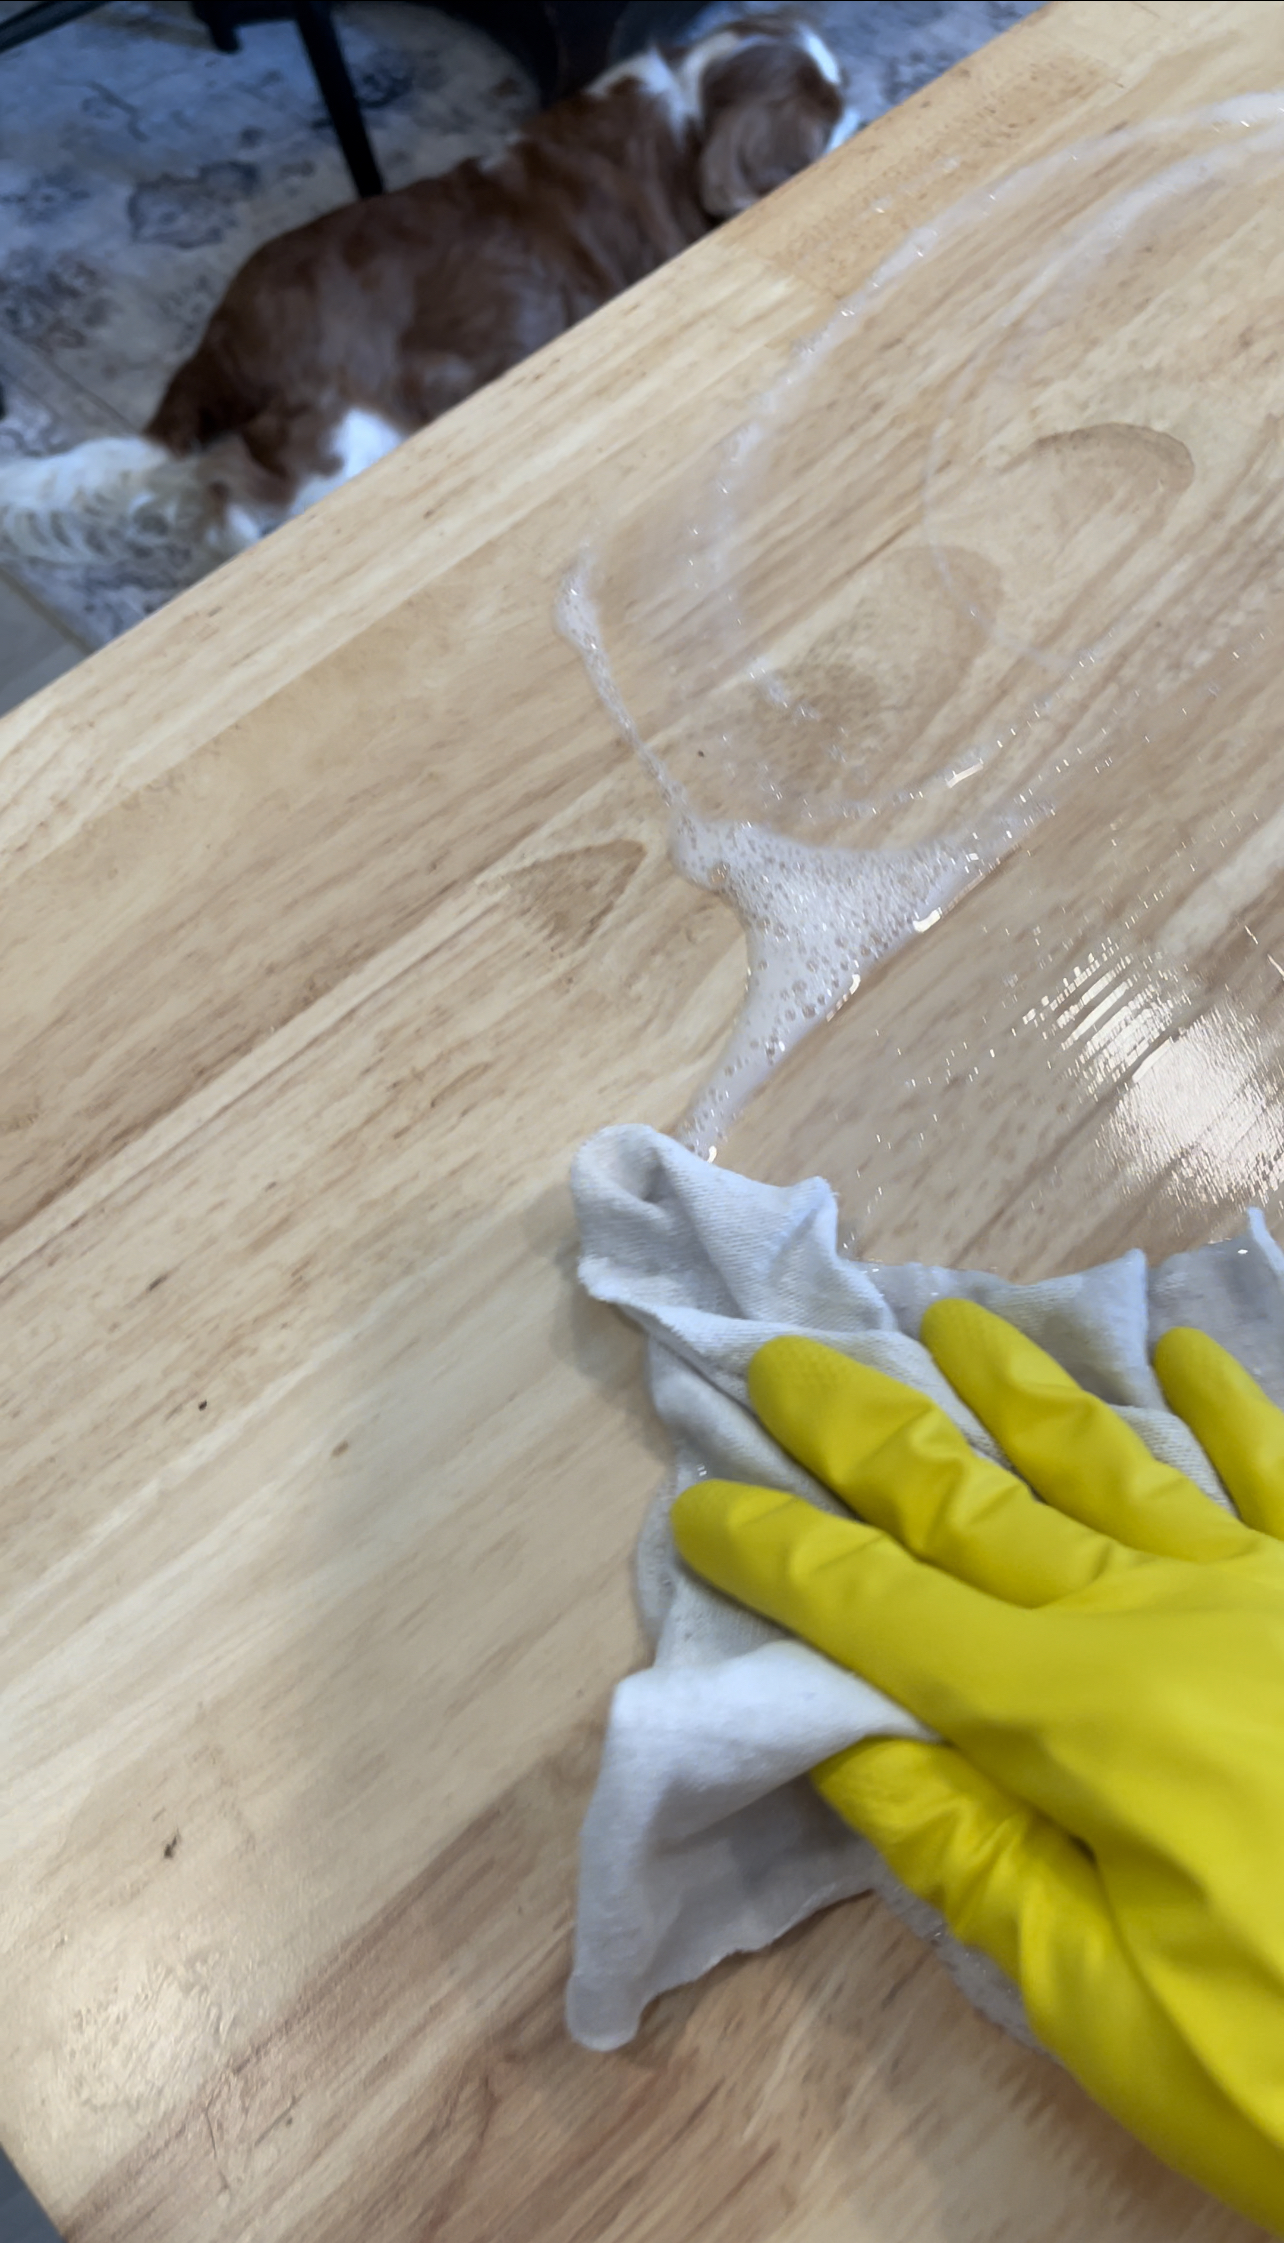
 Because the island was very smooth and in good condition, I knew using this would be less messy and save me time.
Once everything was dry, I used my Purdy Nylox Glide brush to cut in around all the corners and groves.
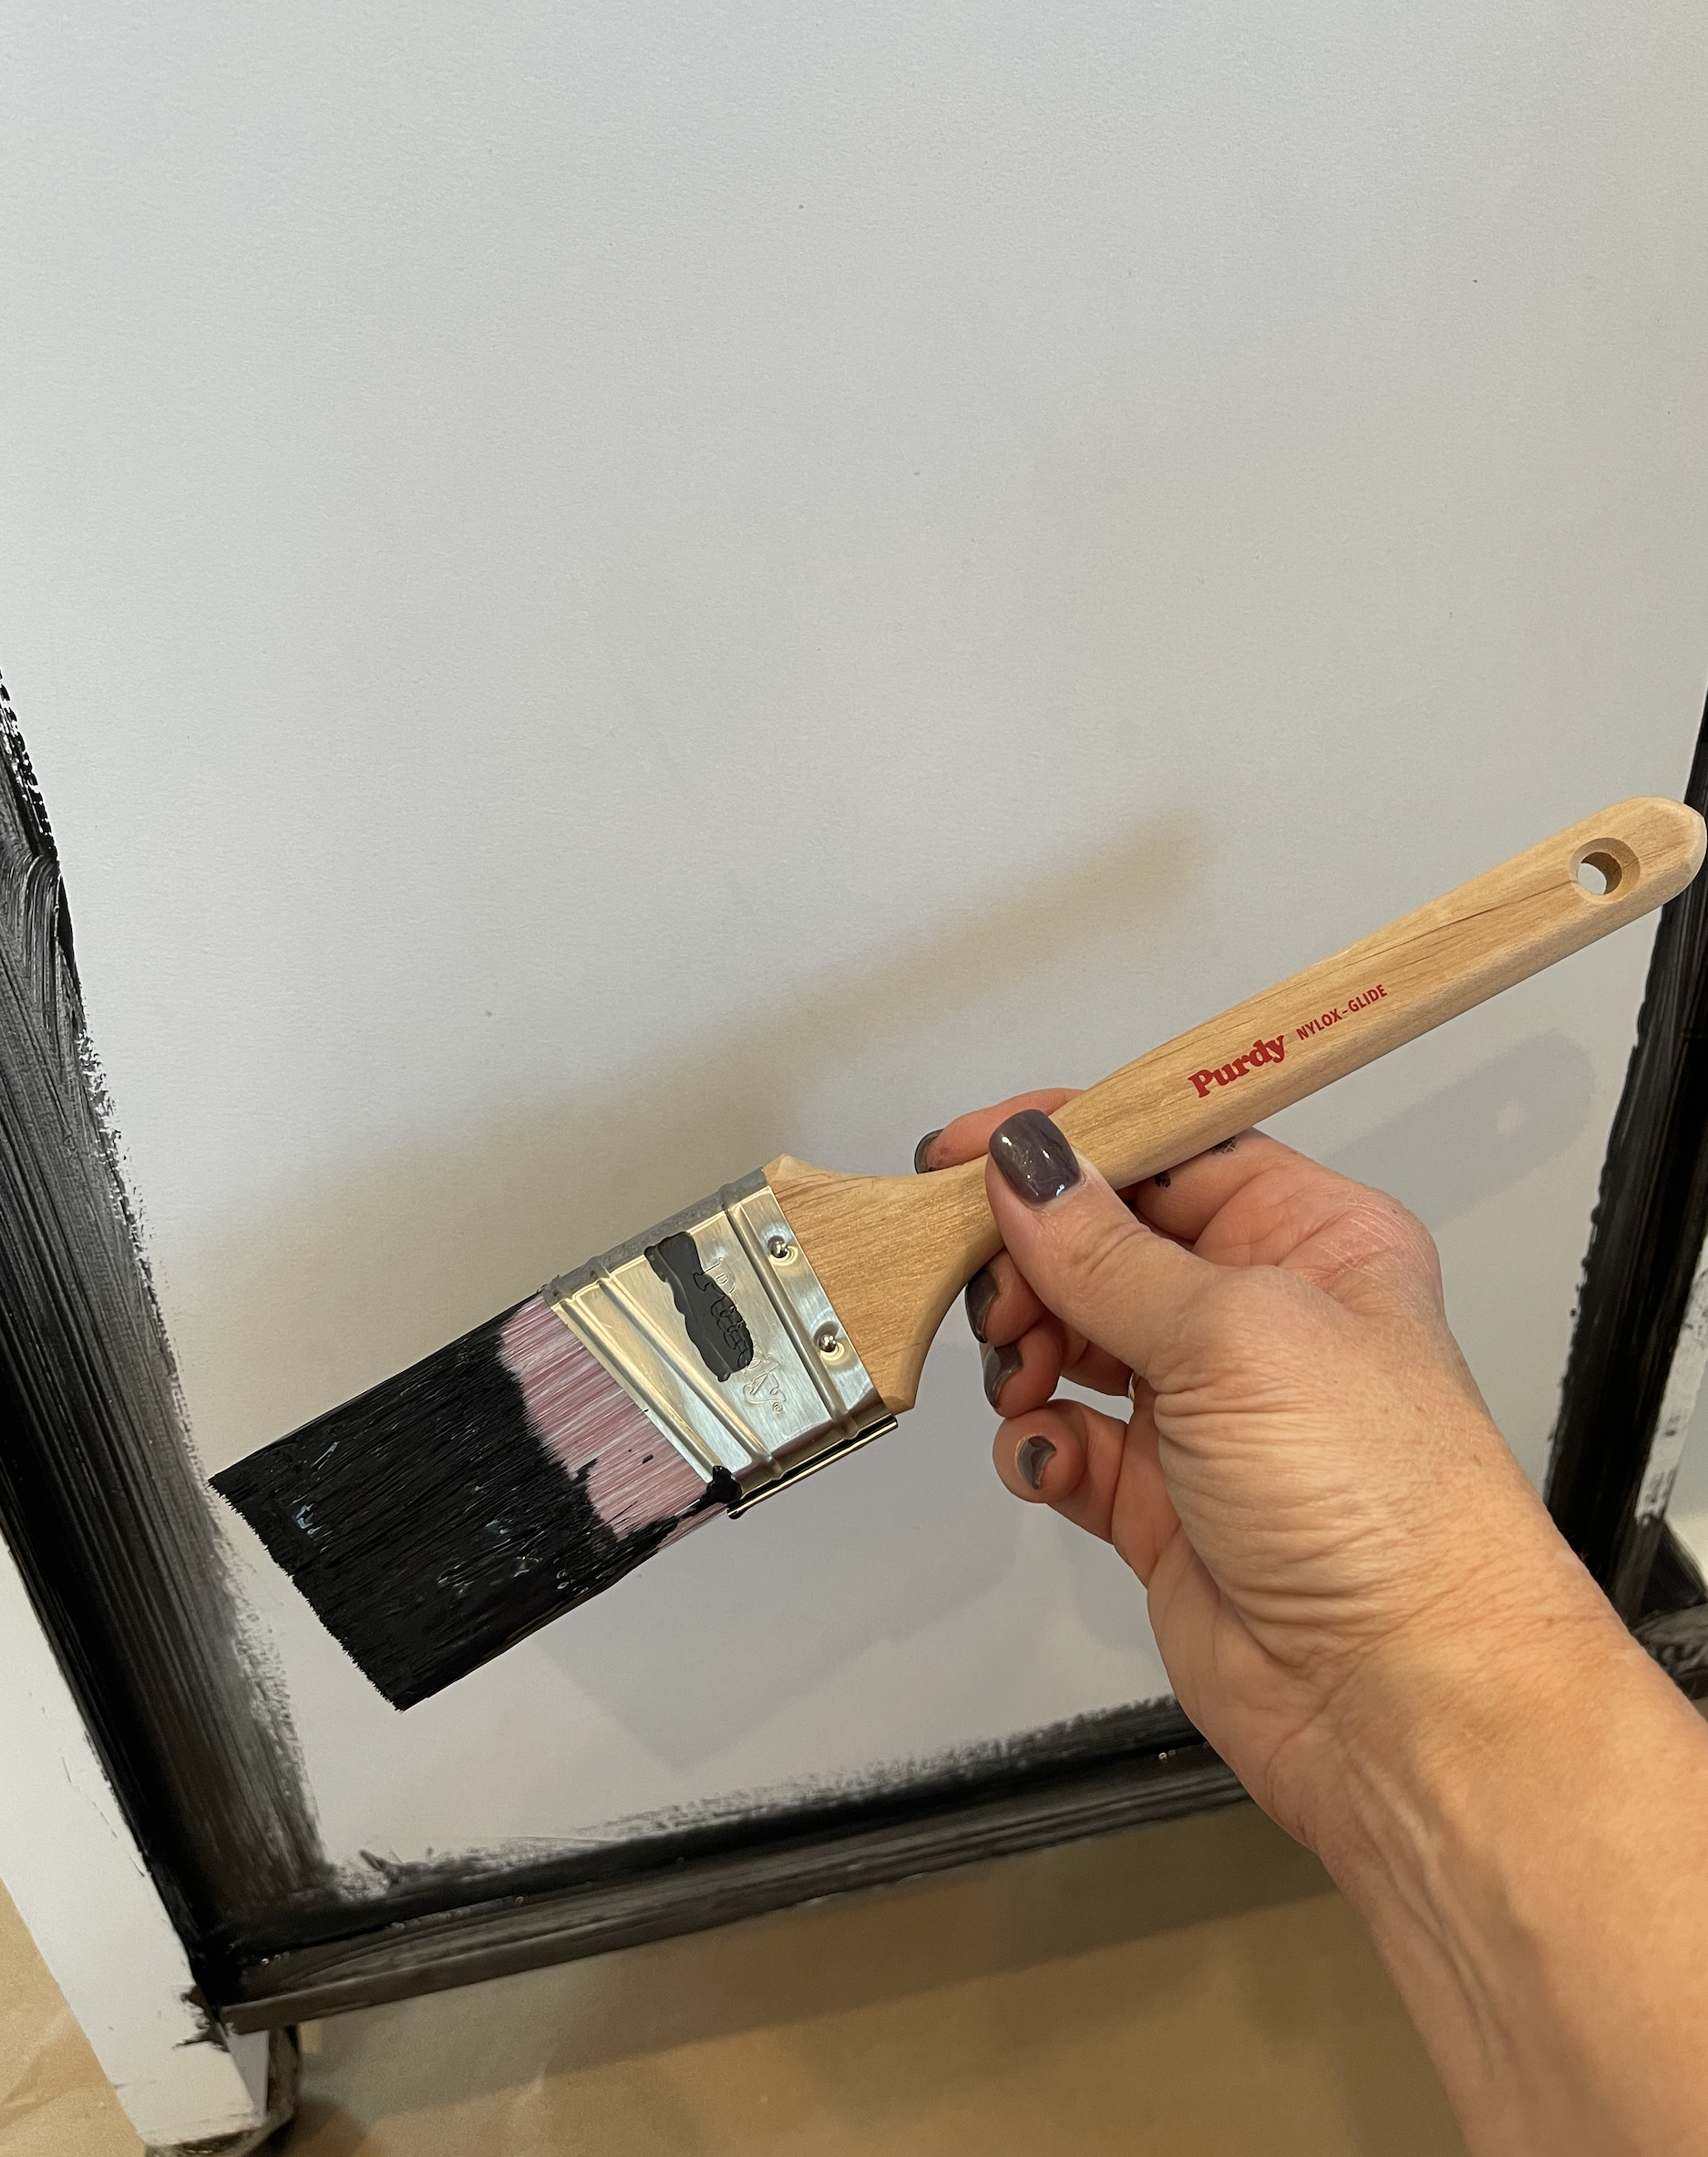
The angle of this brush helps me see more accurately where I am cutting in and distributes the paint more evenly than a straight bristle brush.
Once I was finished with this step, I used my Purdy’s Ultra Finish Jumbo Mini Roller Cover and the Jumbo Mini Roller Frame to paint all the flat surfaces.
This is my favorite part of the process because very quickly, the furniture begins to transform while painting with a roller. The roller cover holds a lot of paint and the 3/8″ nap creates an ultra smooth finish.
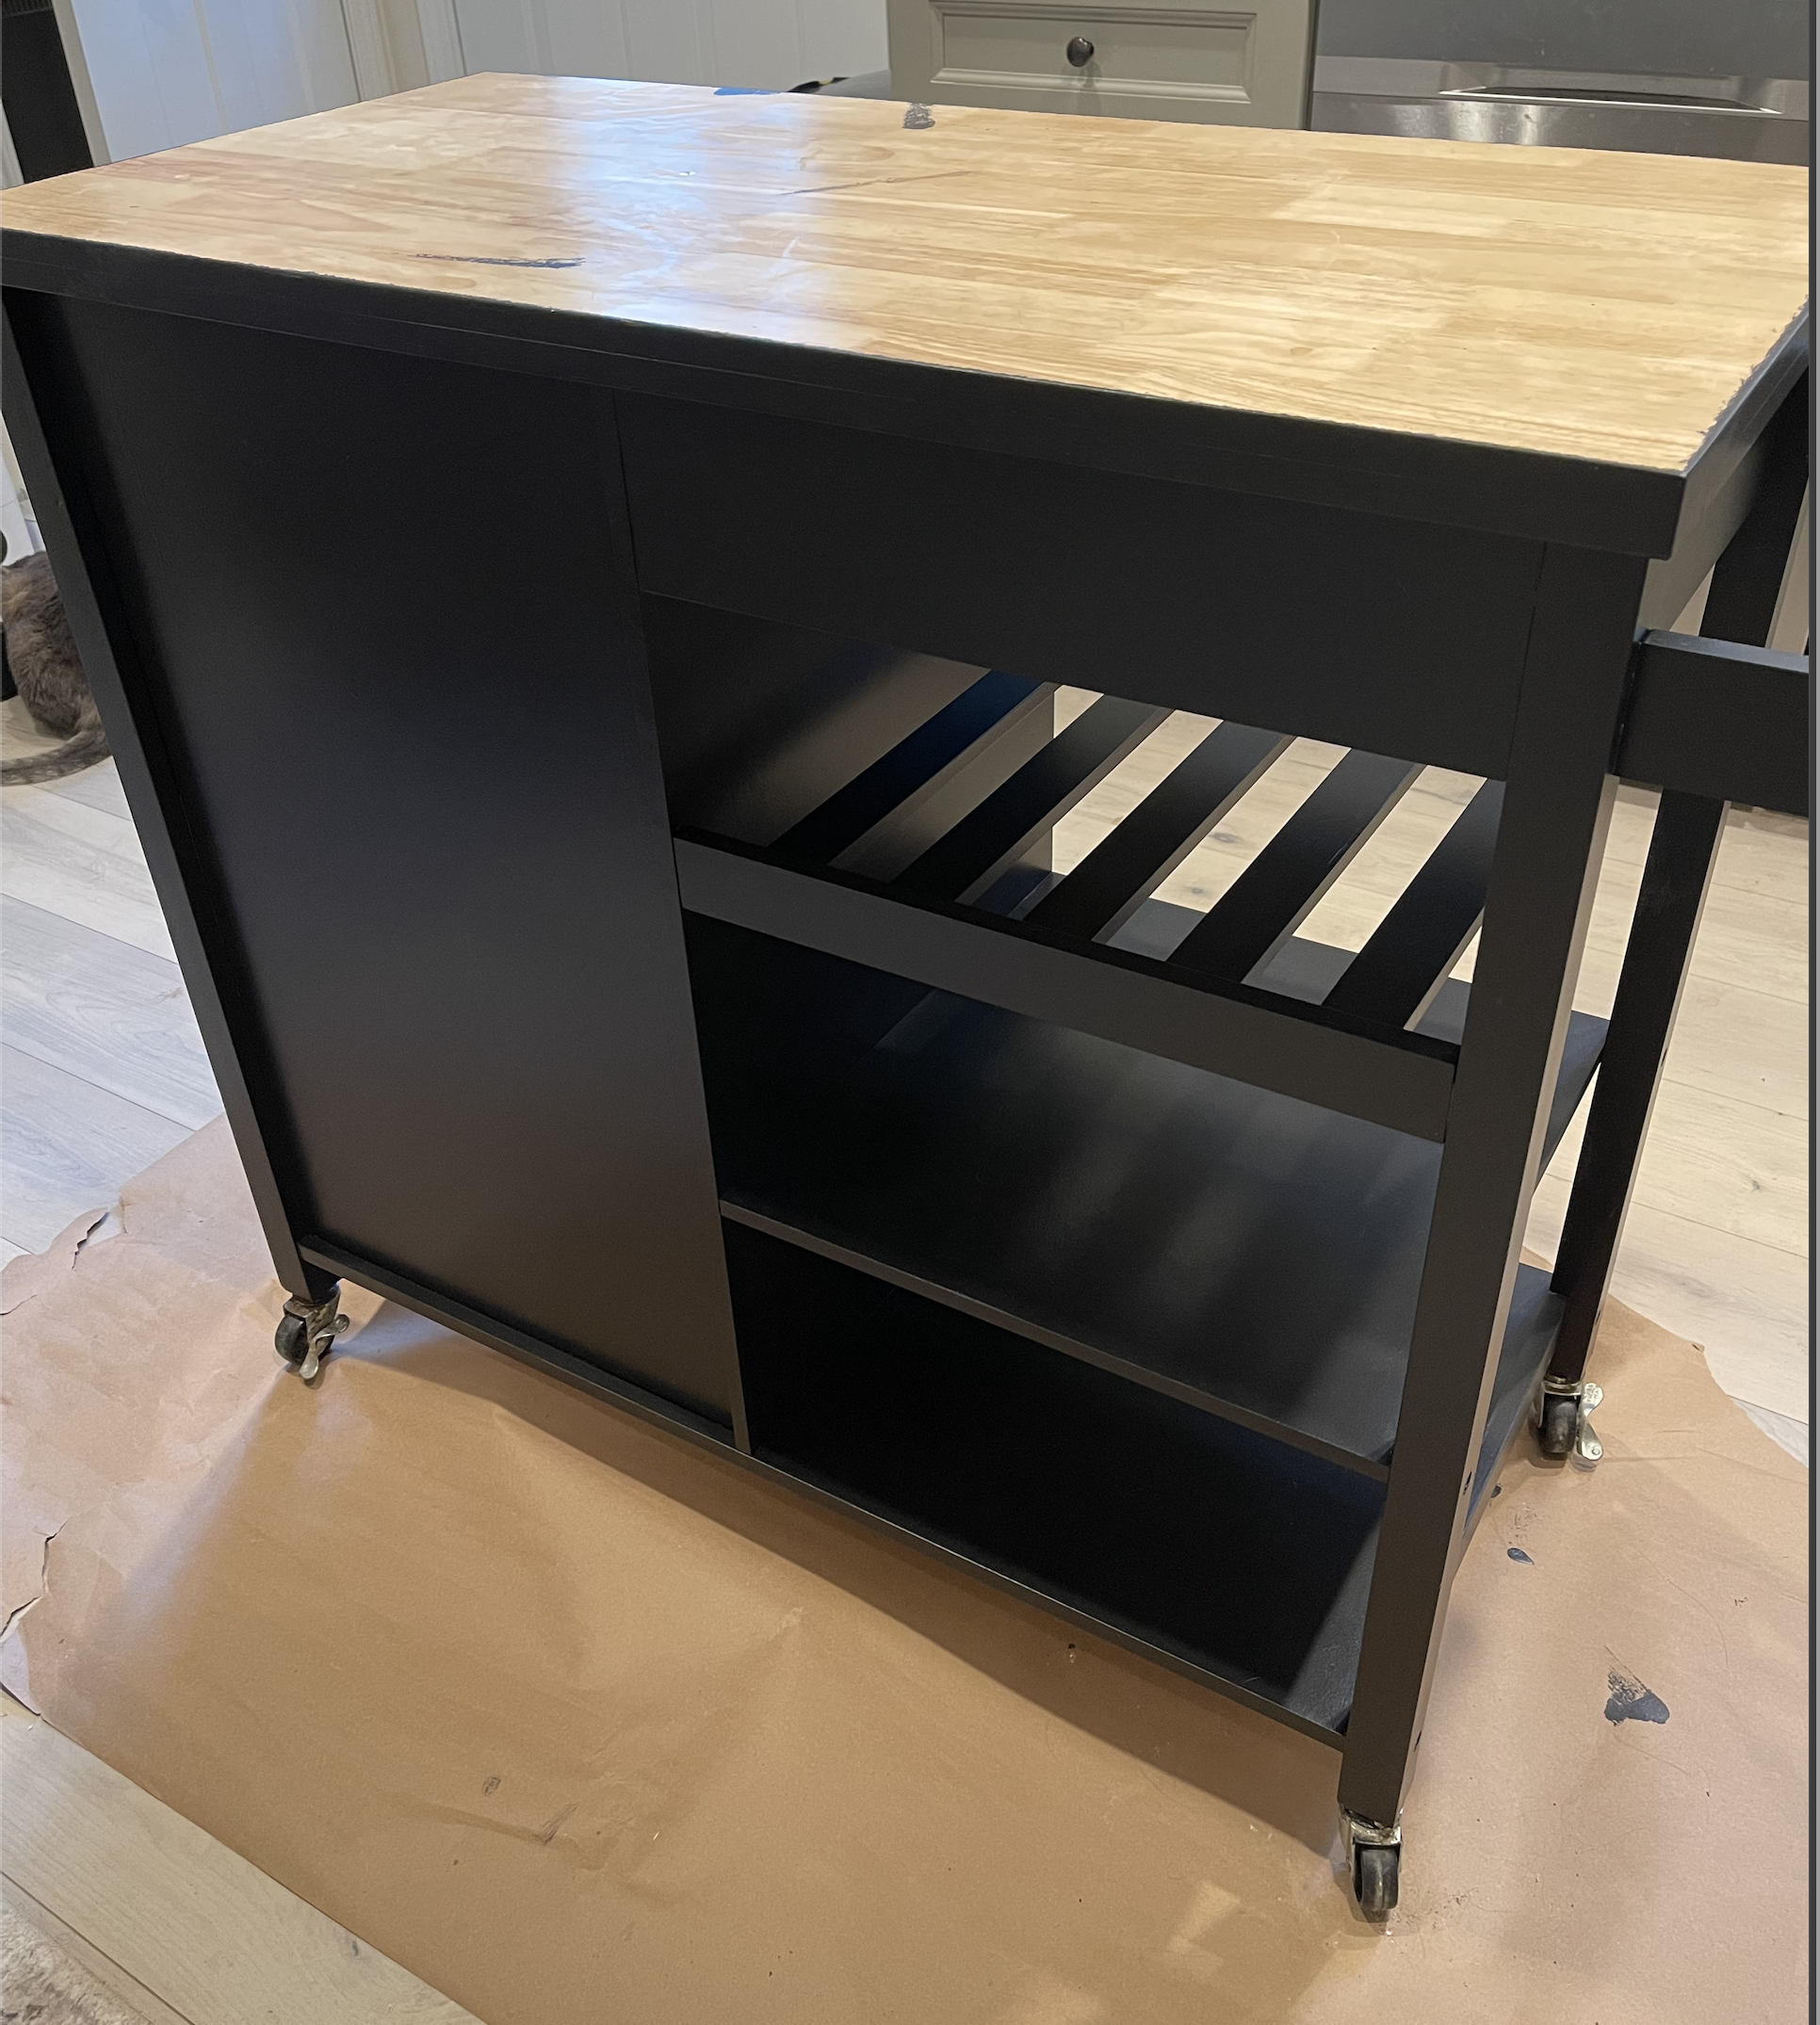
I repeated these same steps with a second coat of paint and let it dry overnight.
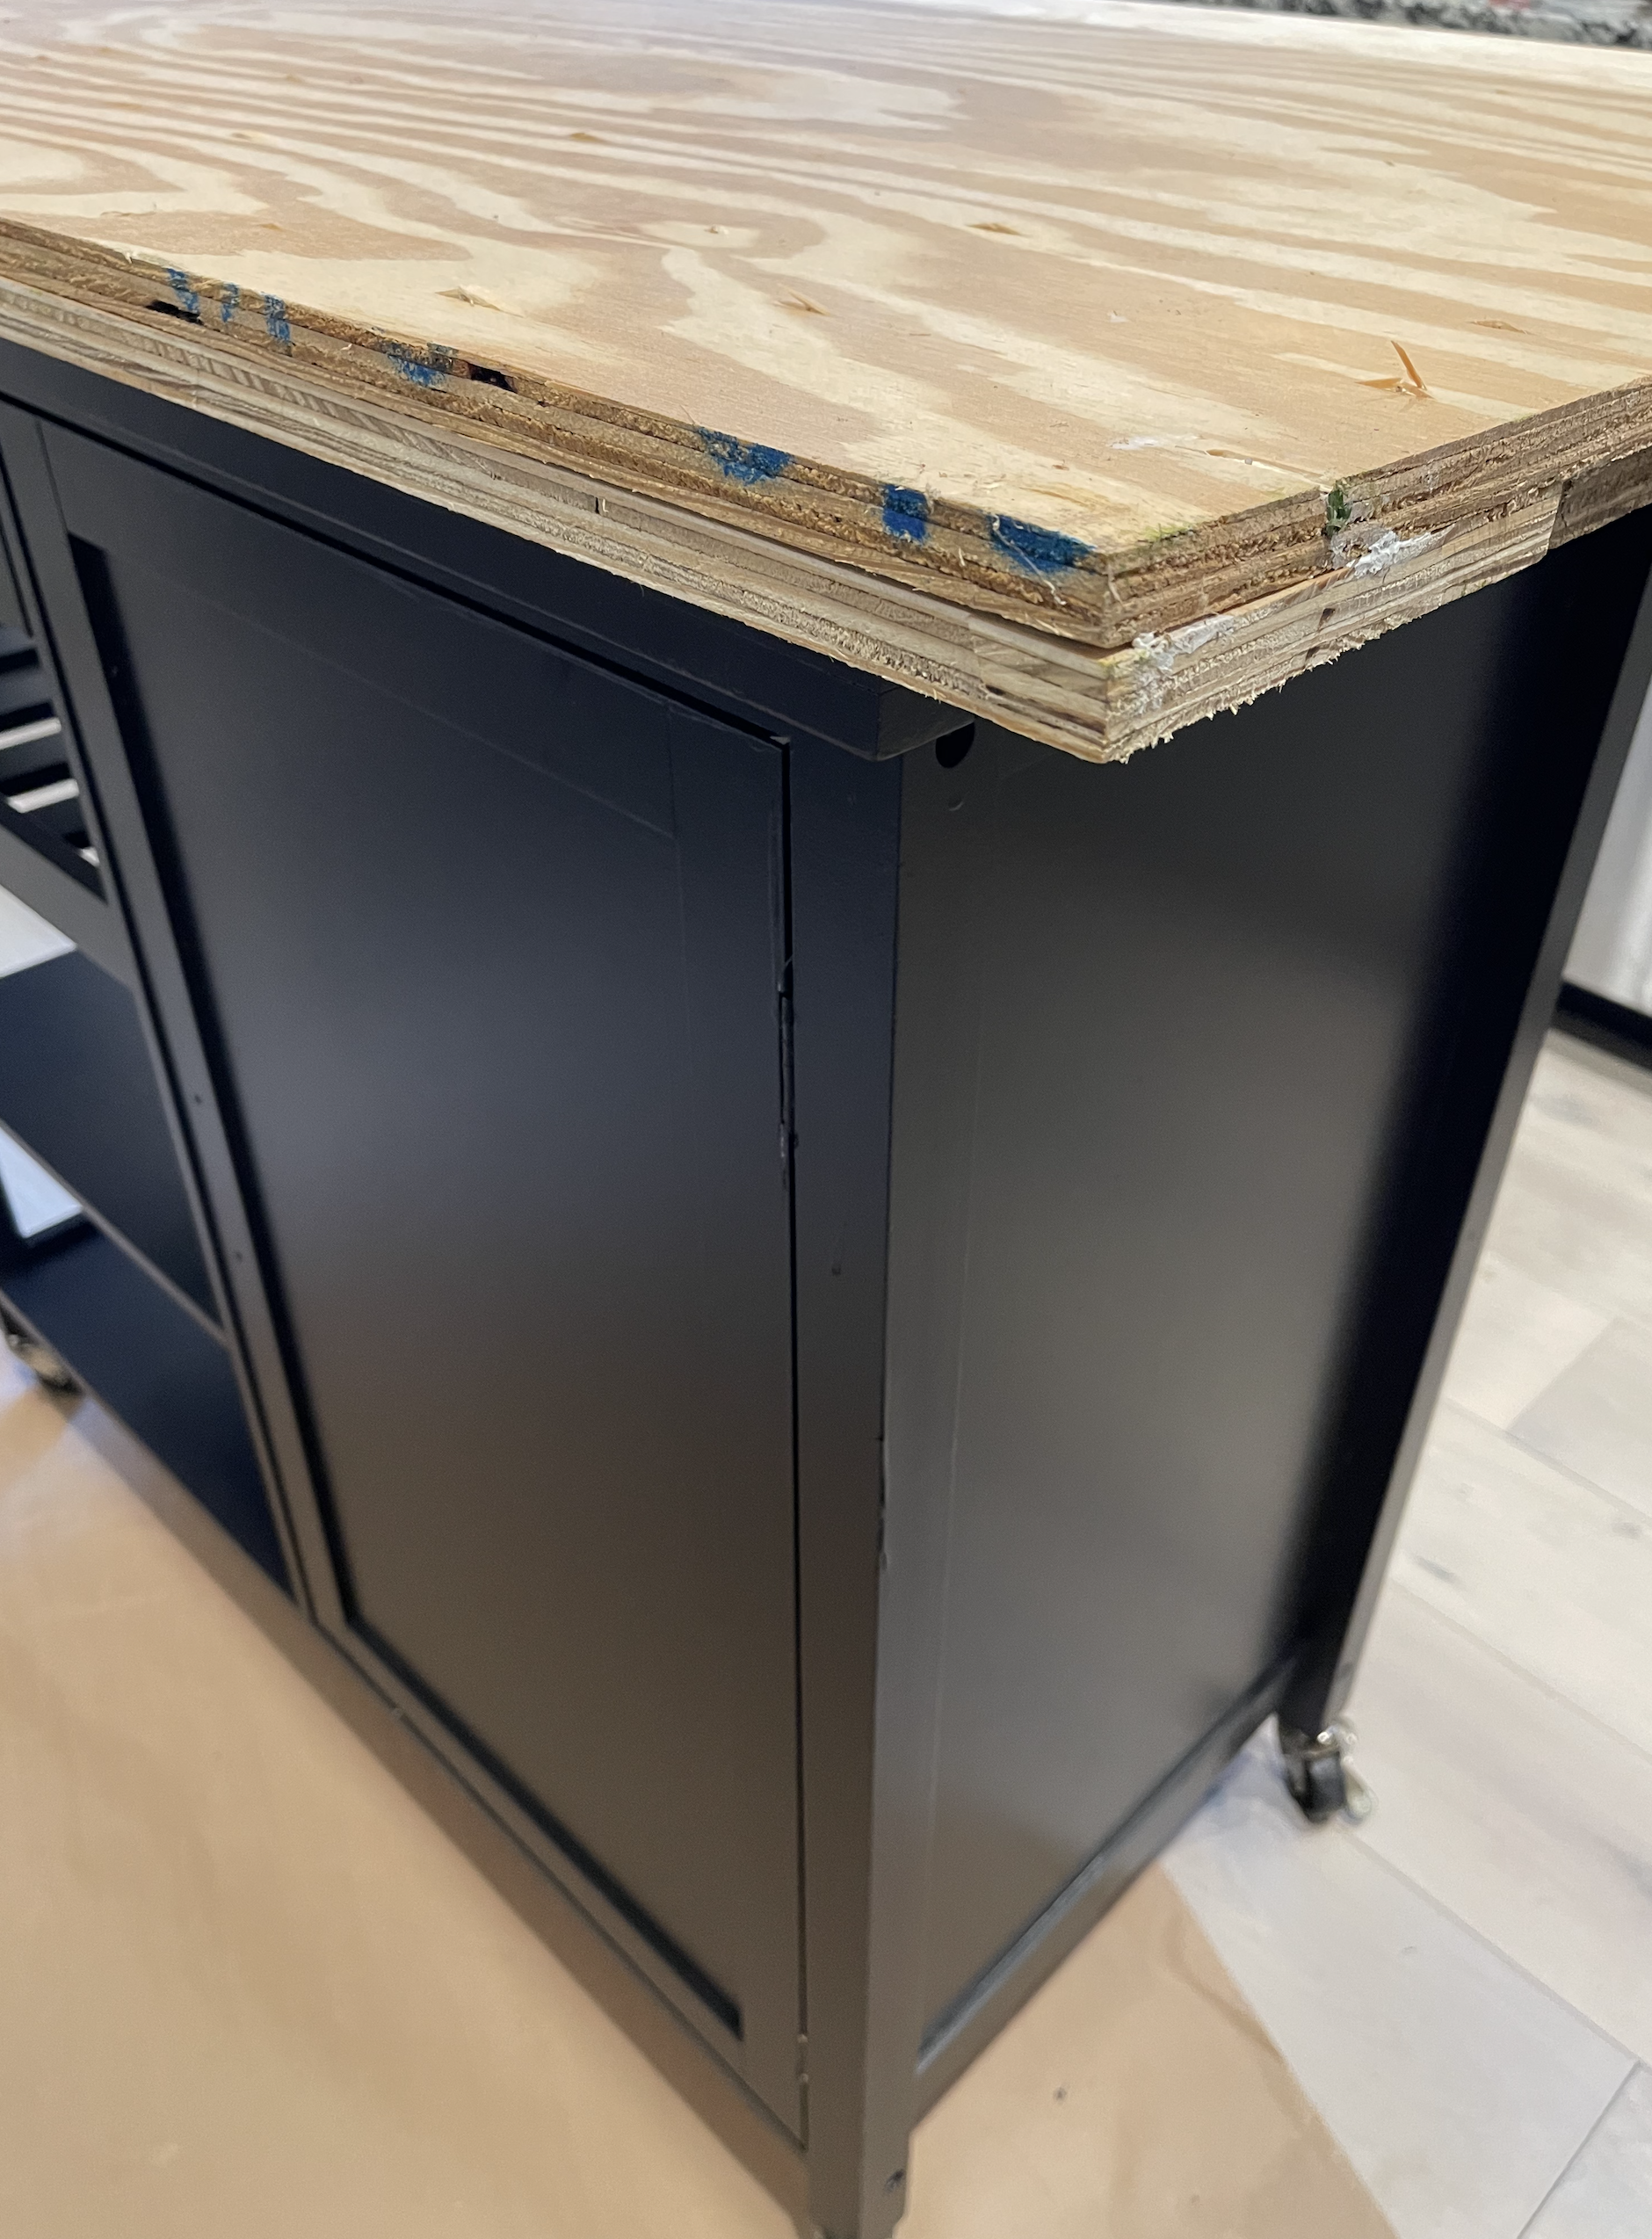
I was loving how good the island began to look with a fresh coat of black paint! As you can see, I decided not to paint the top of the island because I knew I would be covering it with a new countertop.
At first, we were going to use a piece of butcher block from Lowe’s, but we would have to spend too much money on a larger piece than we needed and then cut it down to fit the island. So I decided to go a different route. We bought a piece of galvanized metal from a local business and have them turn down the edges to fit the measurements we gave them for the top of the island.
Cy cut two pieces of scrap plywood and glued them together to create the size of the new top.
He nailed the plywood to the existing countertop, and then glued the galvanized metal to the wood with some very strong adhesive.
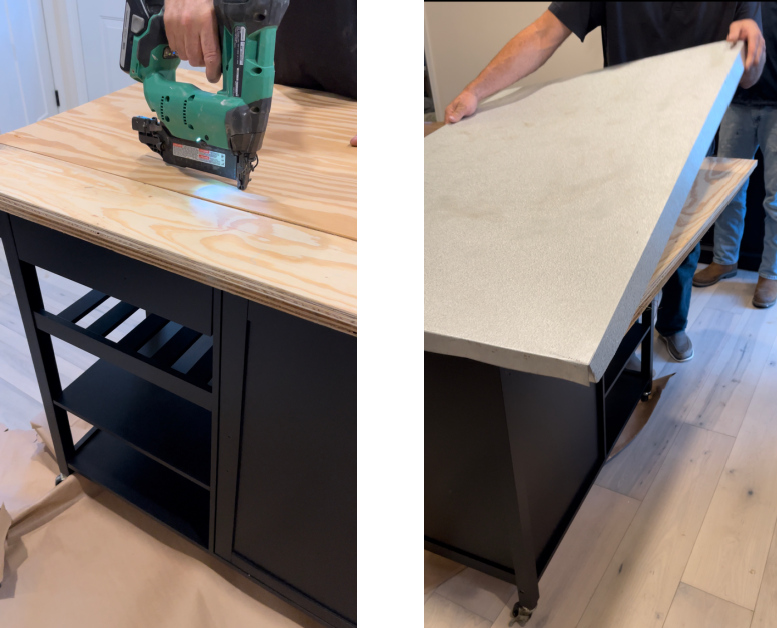
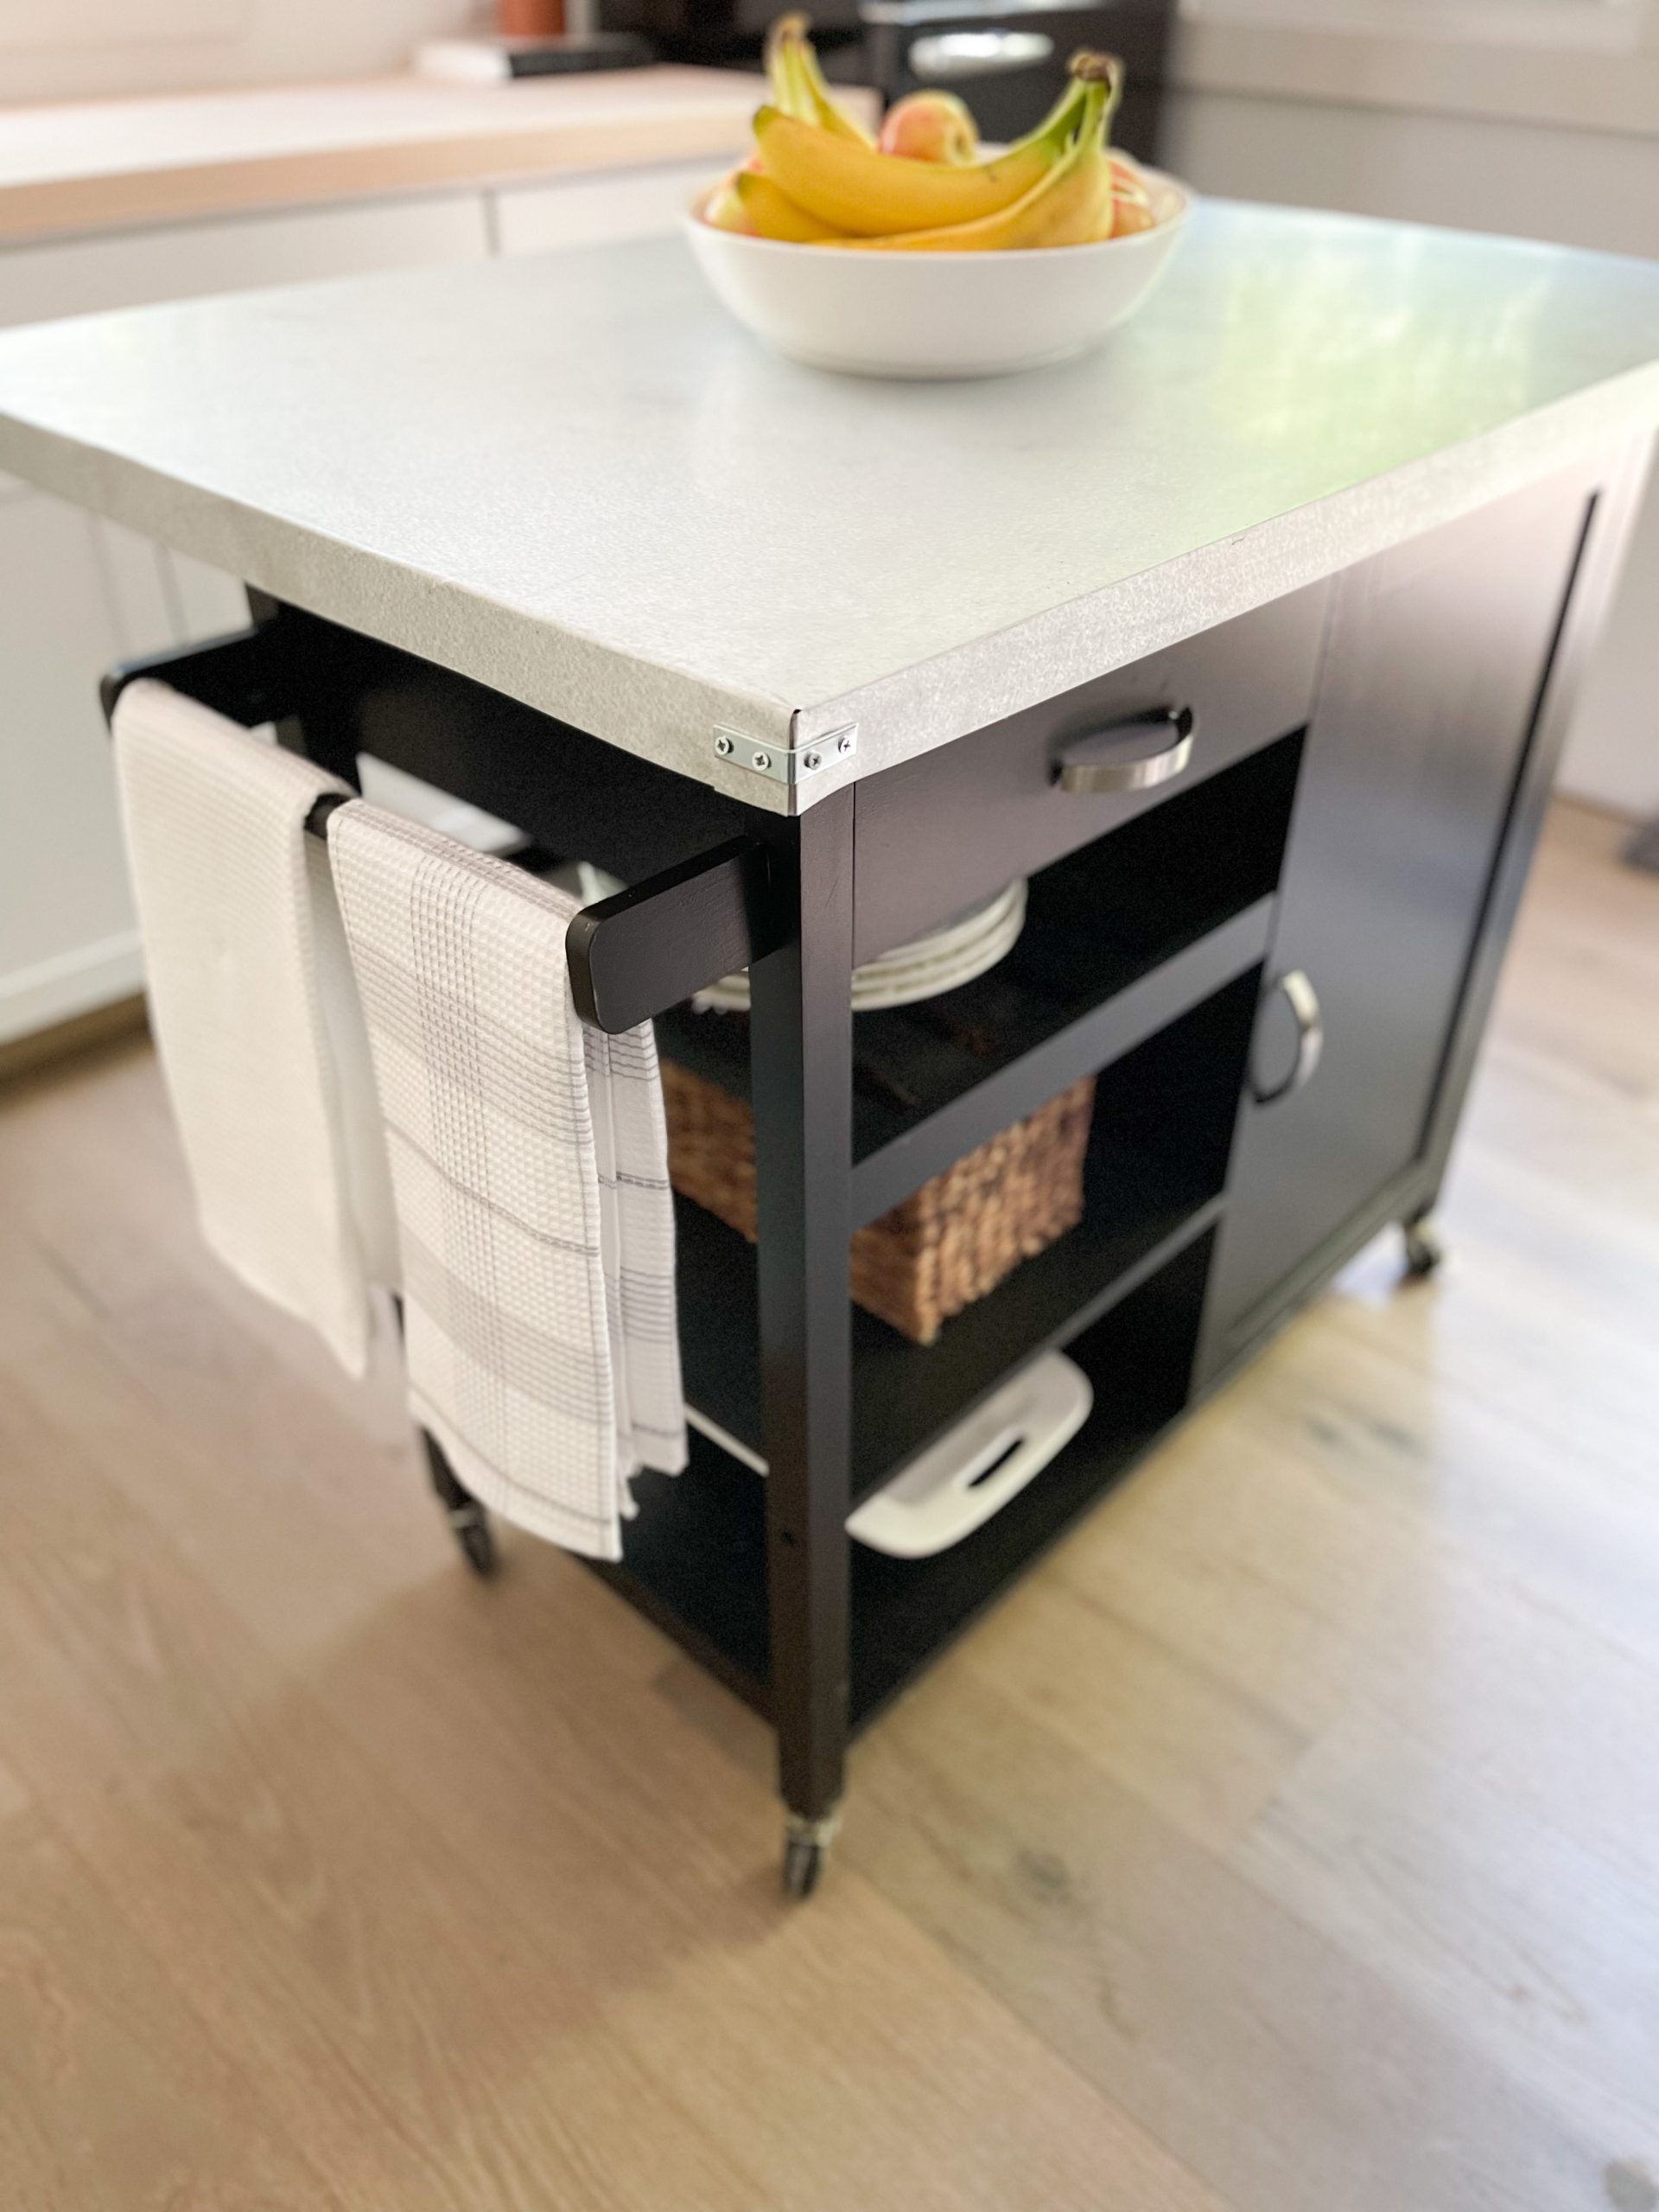
We also bought some L-brackets and screwed them to the corners to help hold everything in place.
And lastly, I added new hardware to the drawer and cabinet door.
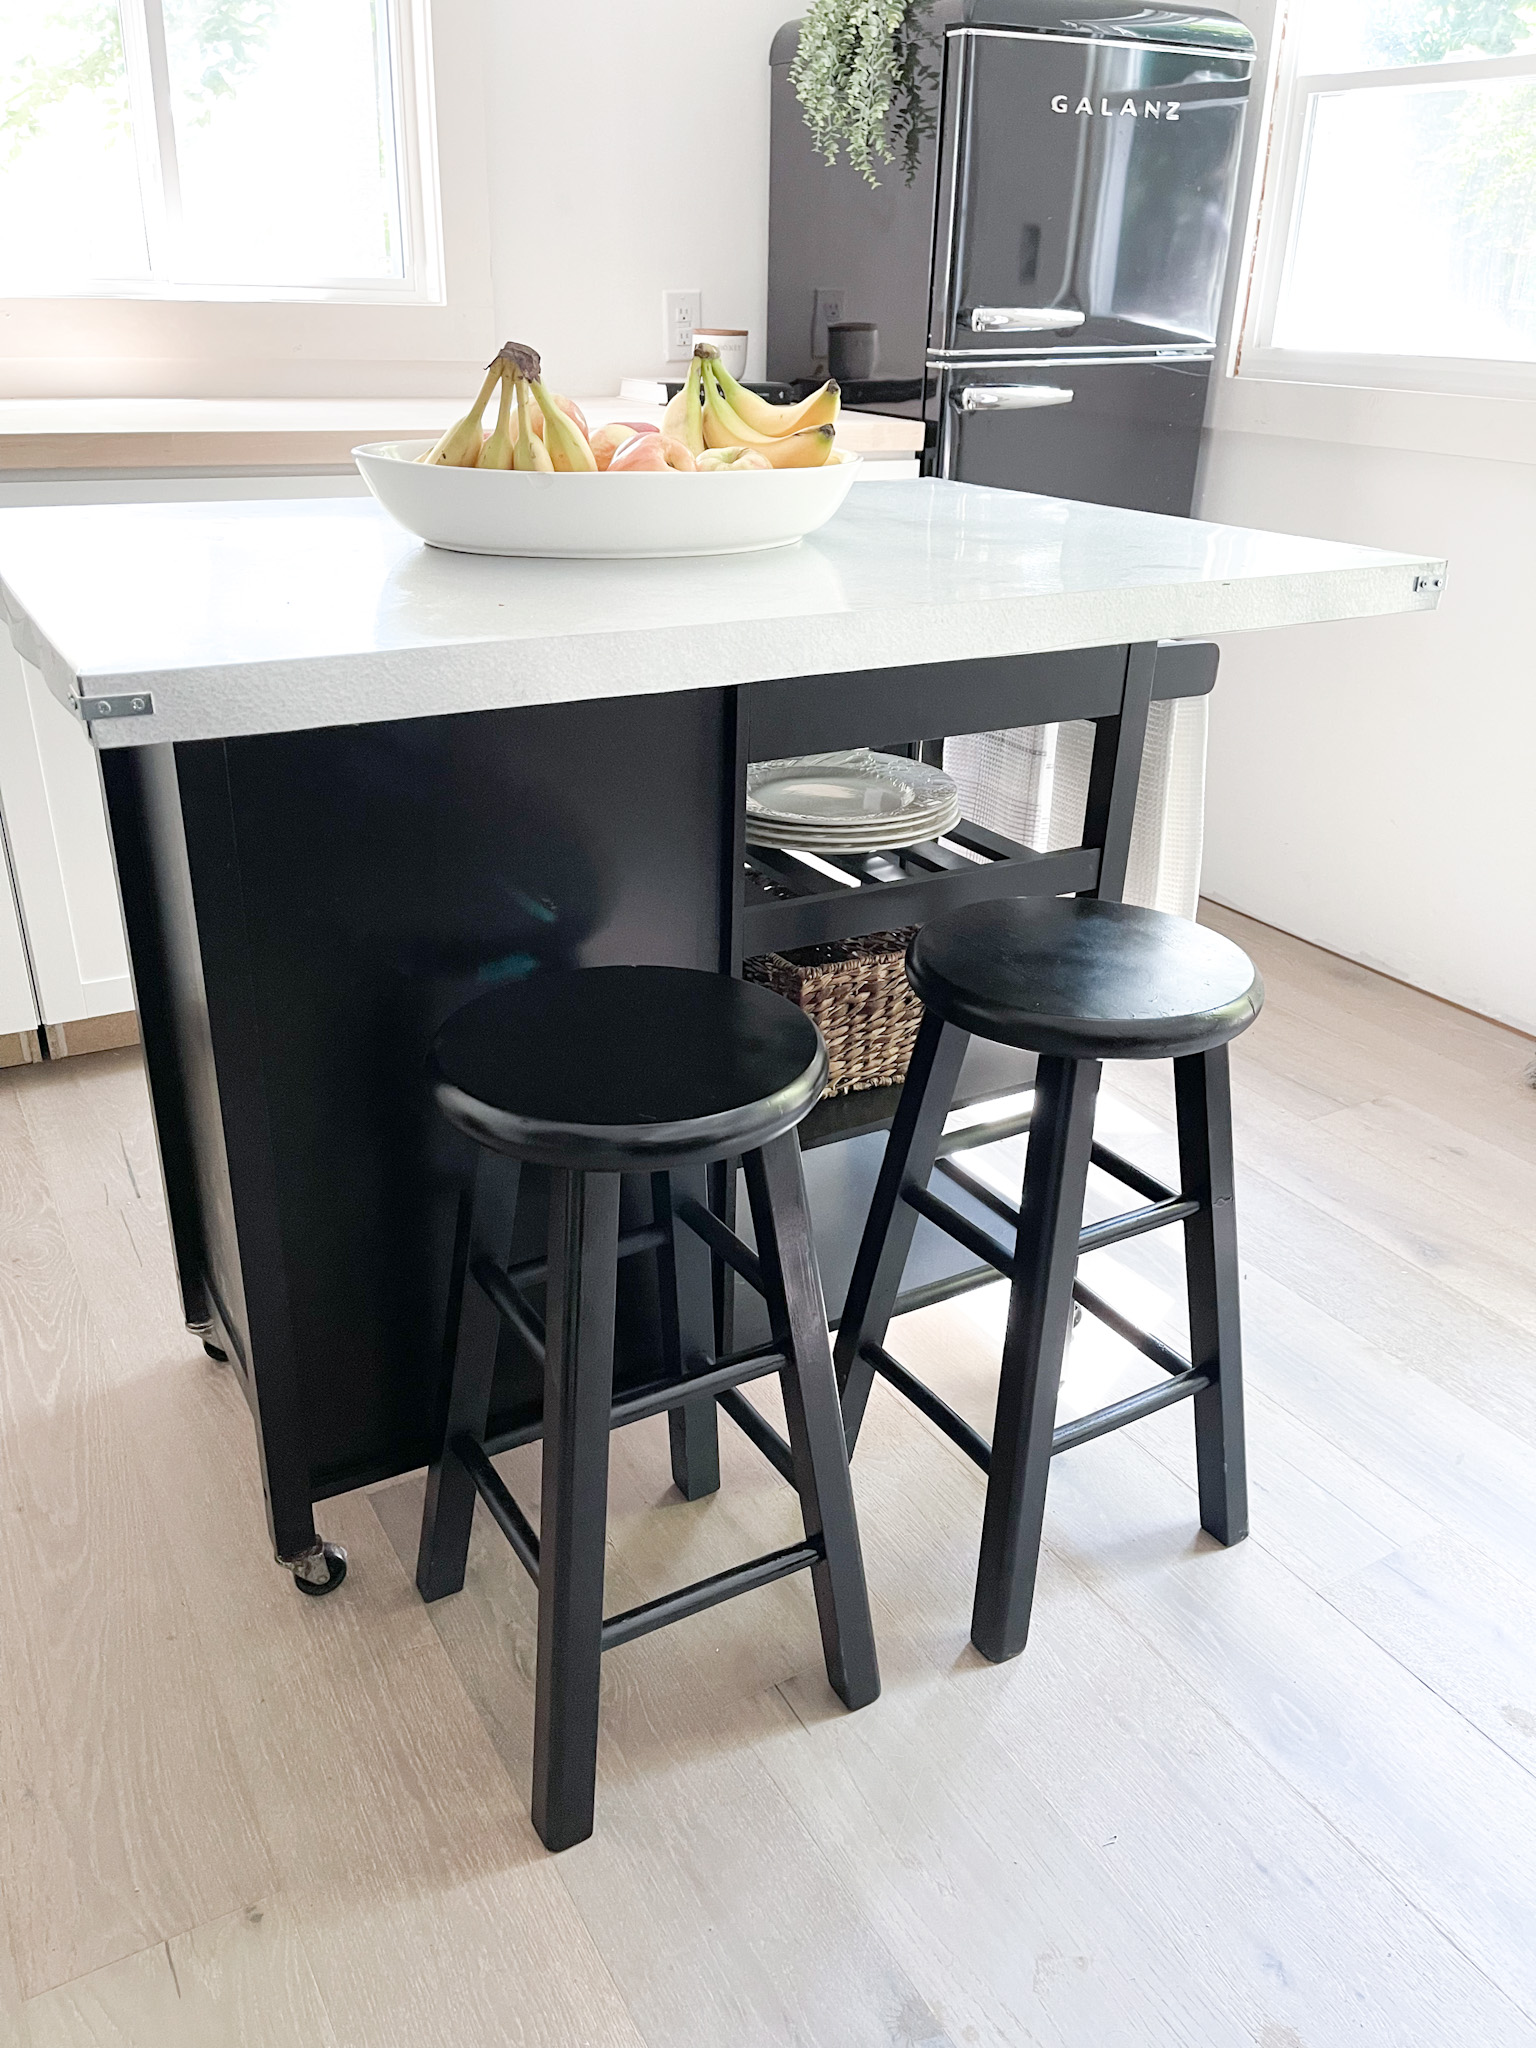
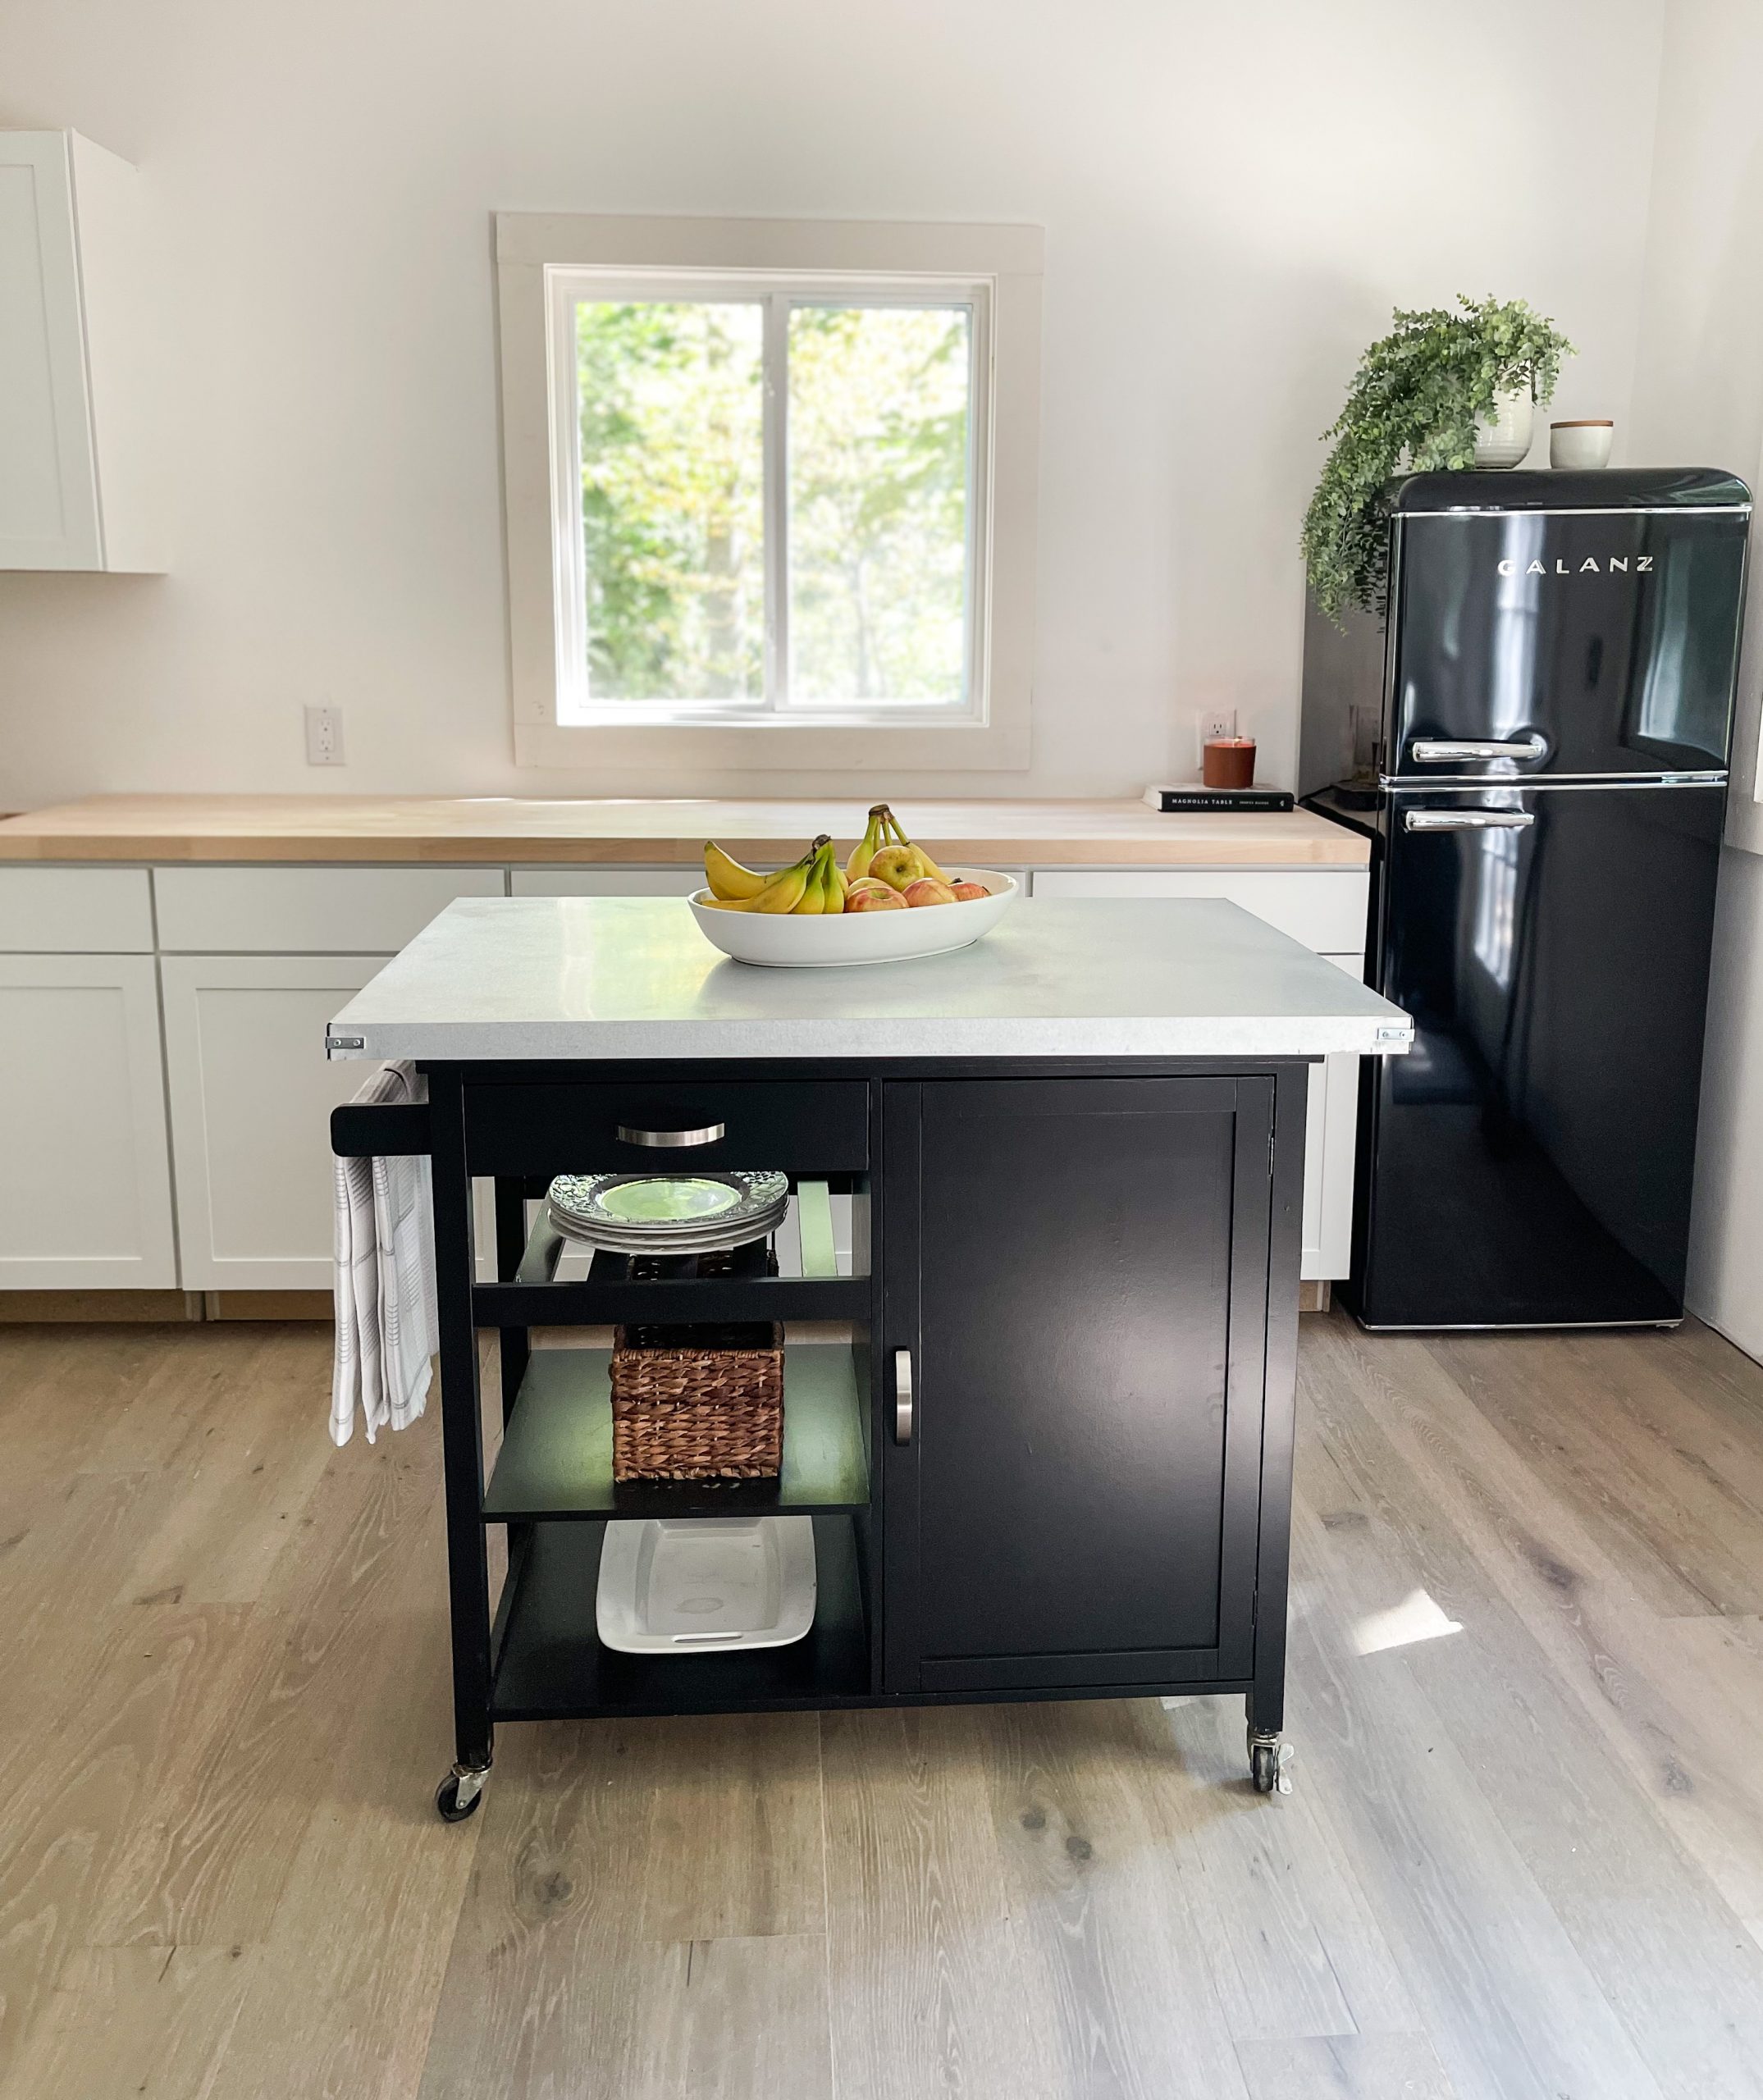
Then we took the “new” island down to Jonathan’s place, and we LOVE how it turned out!!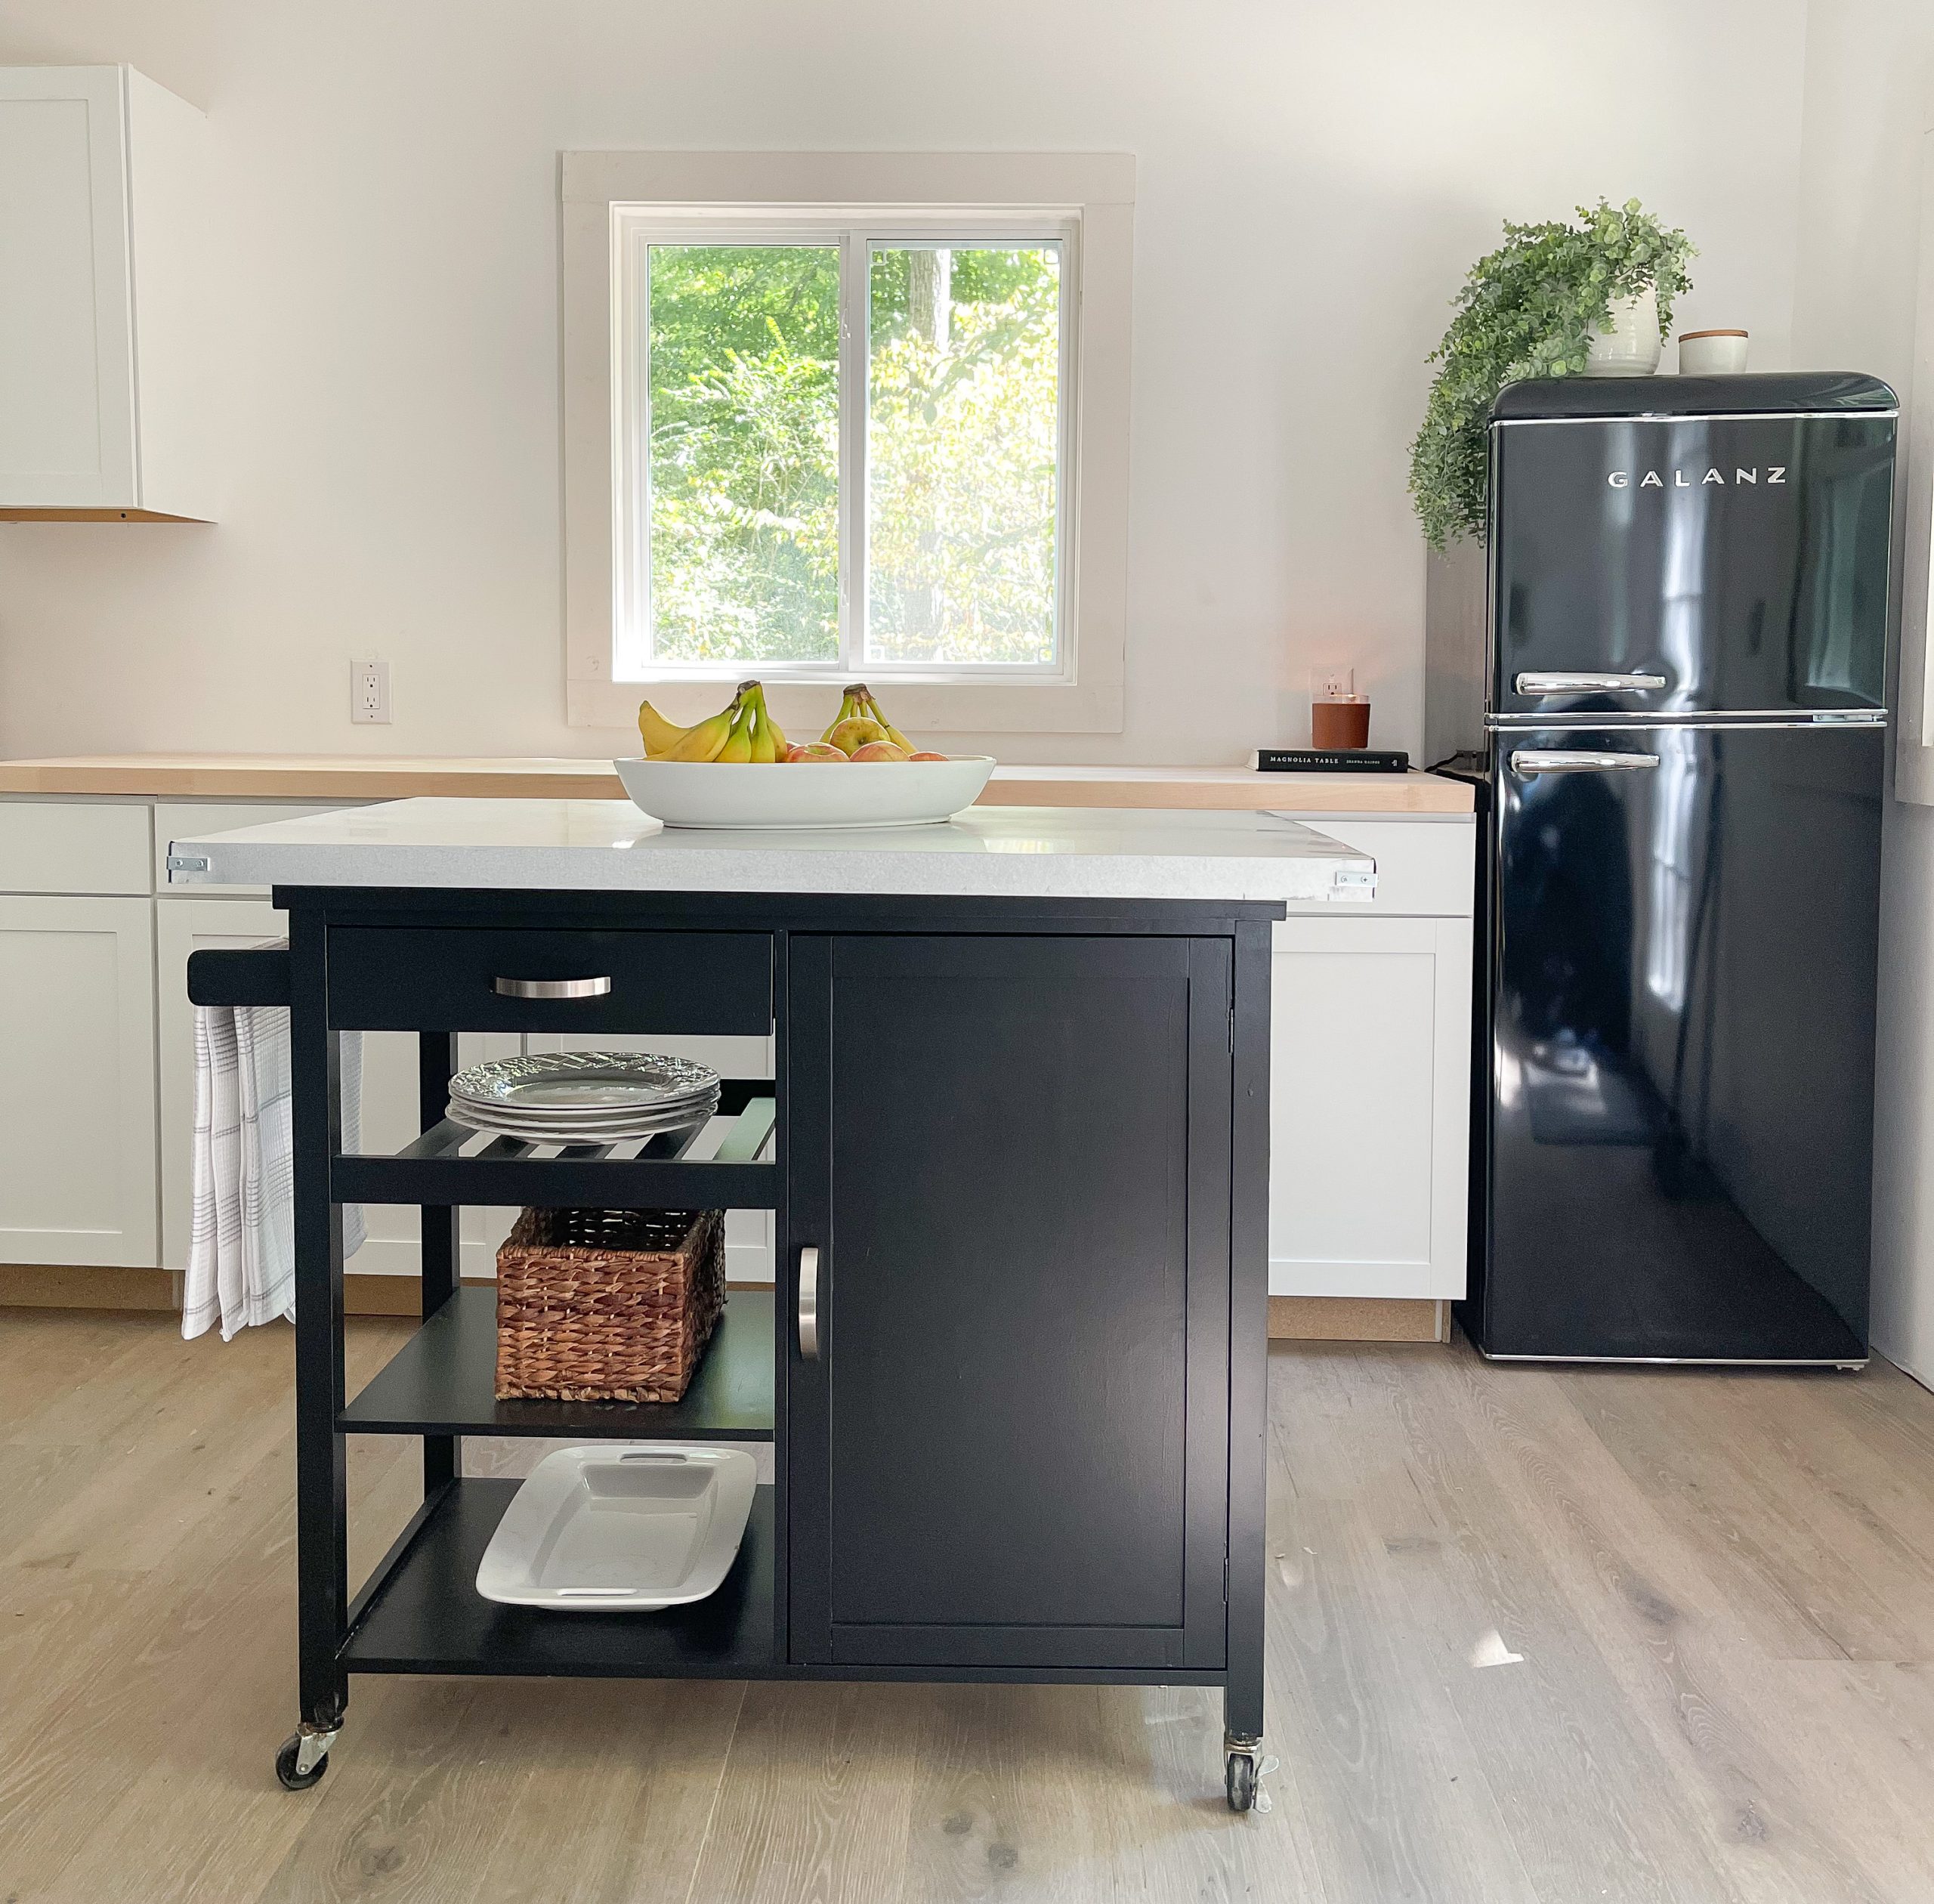
I love how the island now ties into his black fridge. I had the front of the island facing out so I could get good pictures of it in this space. You don’t want to see Jonathan’s couch and large clothes rack (it’s a mess!) on the other side! haha!
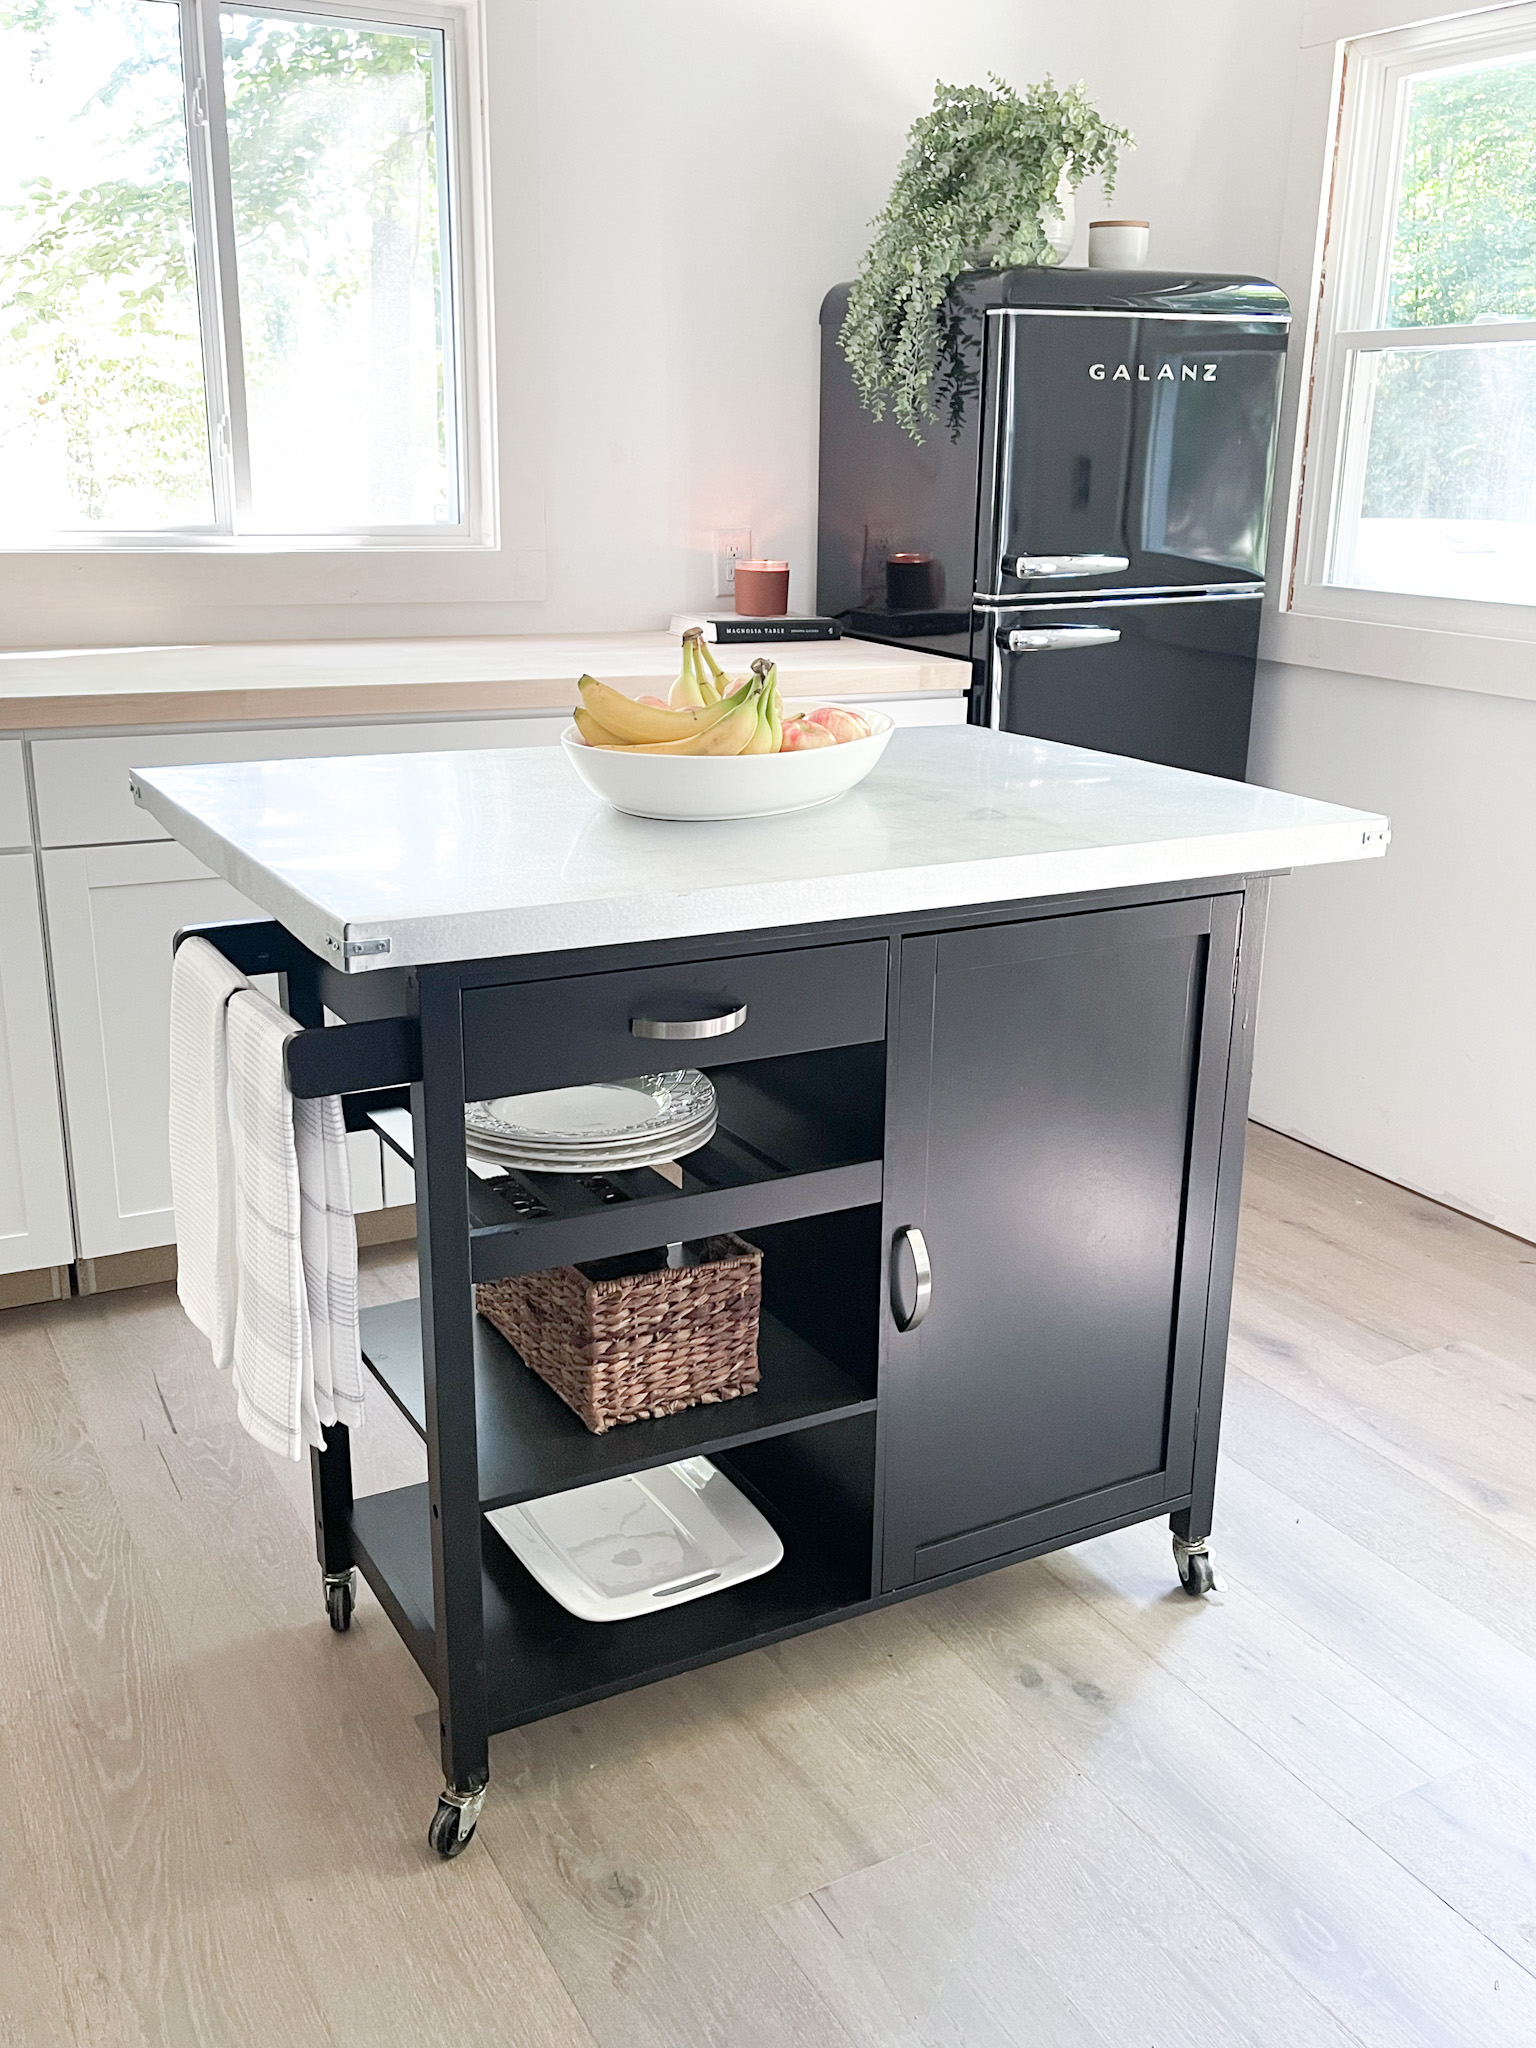
But I did turn it around to show you what it will usually look like with the stools underneath. I am so happy that Jonathan now has a place to sit and eat. I’m so glad we decided to make the top of the island larger!
We still have to finish his kitchenette by adding a sink, hardware, and open shelves.
 Now he has more storage in this space, and even a place to hang hand towels.
I say it every time I do a project like this…it’s AMAZING what paint can do! I was able to take an old island and made it look brand new!
What do you think? Didn’t it turn out cute?!

Let me know what you think in the comments!
I thilnk it is amazing. I like the frig. I want one if it is self defrosting. You are right…It’s wonderful what paint can do.
The magic of paint!
I just love it. You all did a great job. Can’t wait to see the kitchen finished. Also, love using Purdy products. They are worth the investment.
Wow!!!!! It looks so great. Love it. You are so talented in how you take something old(ish) and make it brand new. I don’t know how Cy has time to do your reno’s, Jonathan’s and do his business ones. He must never sit down. LOL You are so busy too. How do you do it all with homeschooling. I wish I had half your energy. Jonathan is so blessed to have you all by his side, as he starts out his career in a hard industry. He doesn’t have to worry about things like living, food etc. with his family by his side. The property is perfect to give him his space, but you all are close. How exciting that he got to travel to Calif. to sing. I can’t wait to listen to his songs you sent links to. So neat Cyndi and Wayne and your dad were able to be with you all for his singing night. So fun.
You are so right! Paint makes such a difference! Looks awesome. My Purdy brushes are my fave 😕😂👍
It looks great! You are so very talented!!
Looks great! You have such a talent to be able to see things and be able to make them better!