
Brimstead Kitchen Remodel {Part 2}
I’m back with another post about the Brimstead Kitchen Remodel that we completed with Cy’s business, Hutcherson Home Remodel.
If you missed the “before” post, you can find more pictures and read about all the details HERE.
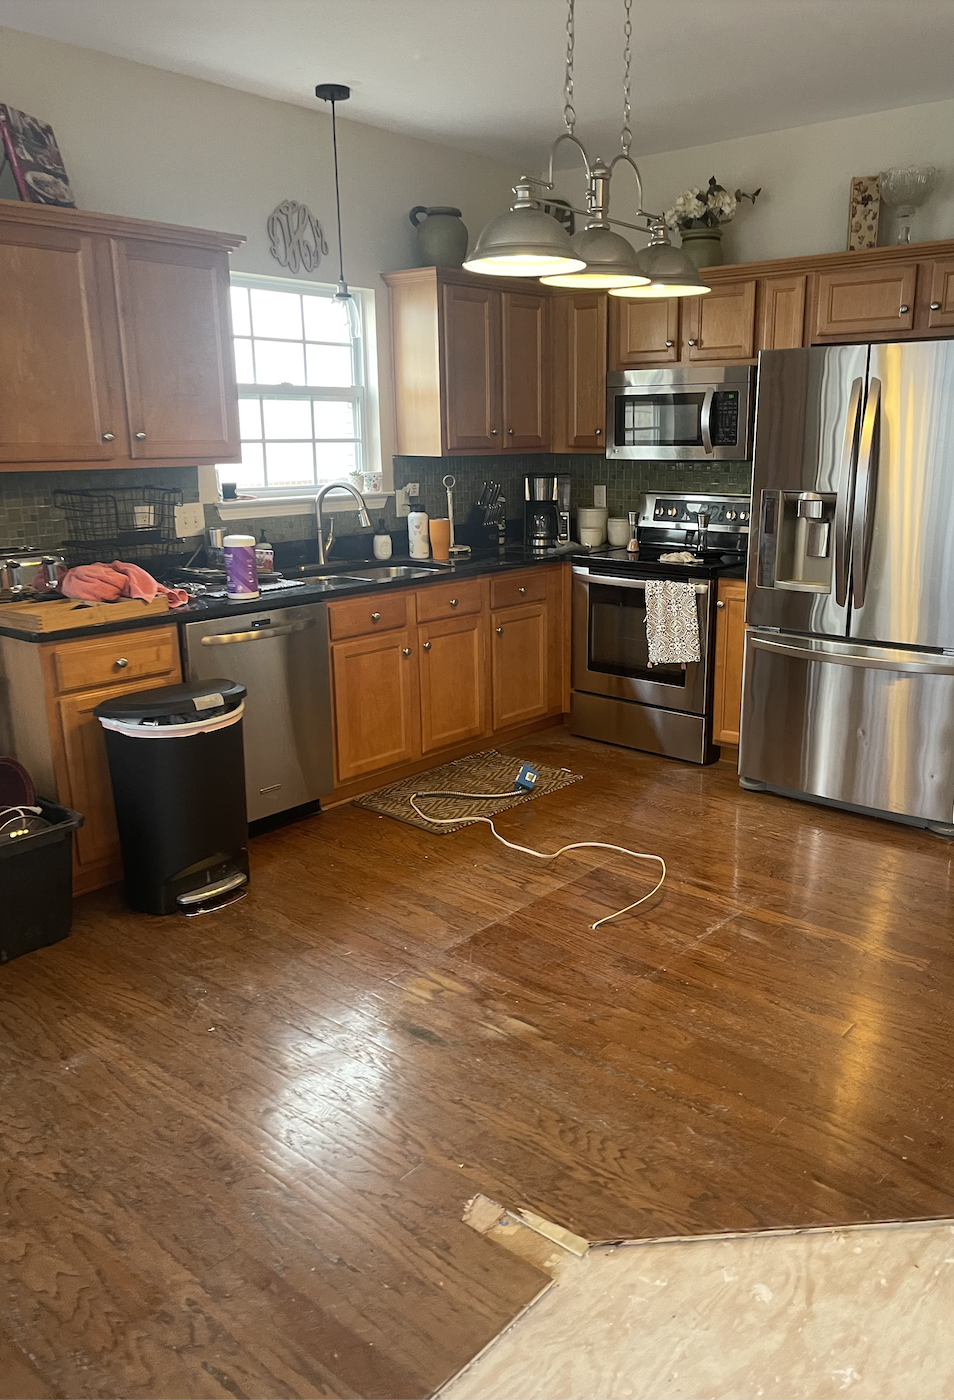
But here are a couple photos to jog your memory of what it looked like…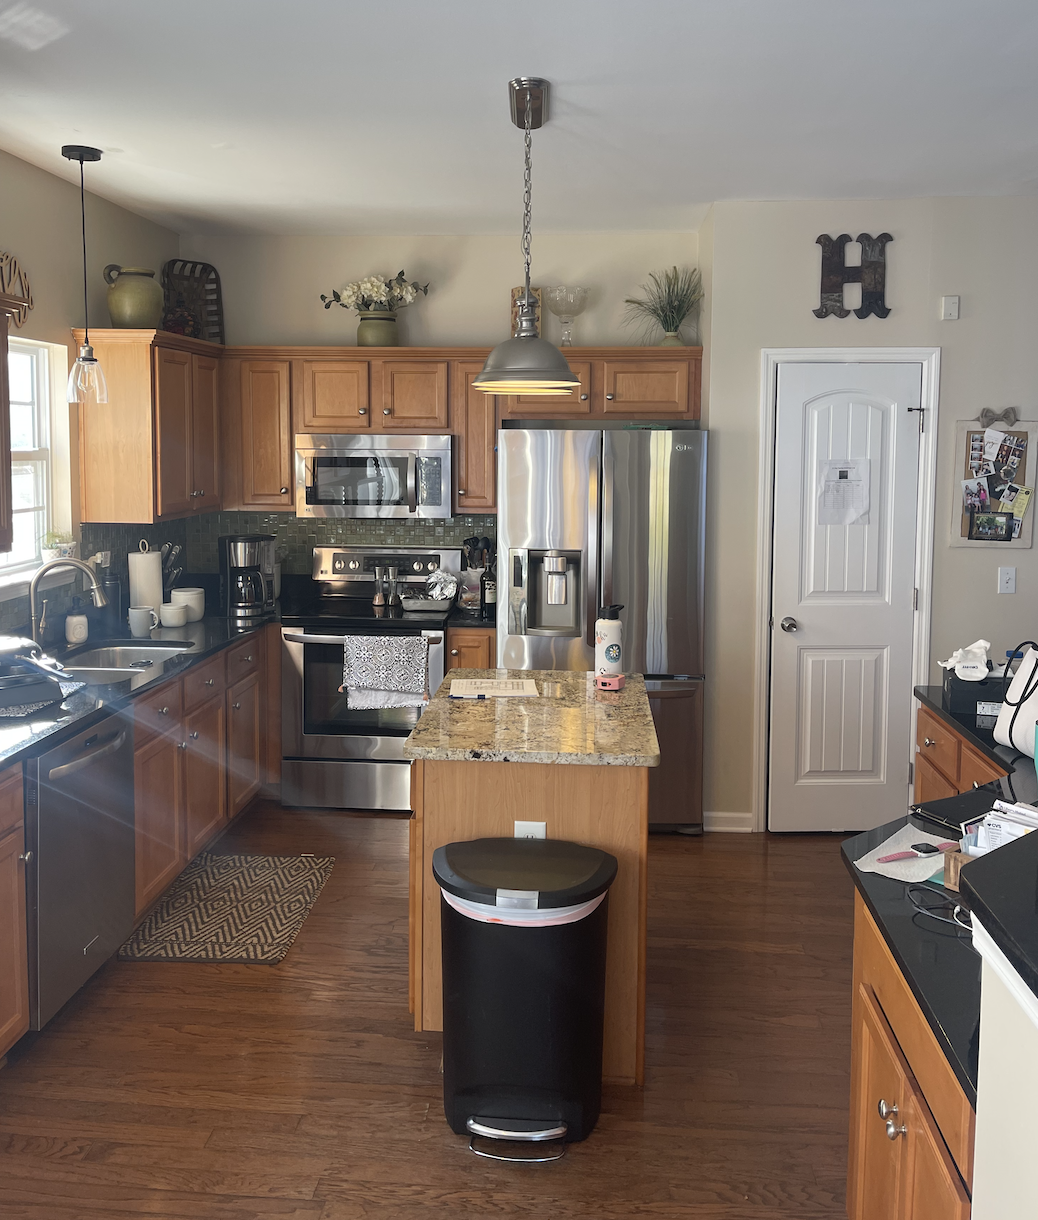
Today, I am going to share a few of the “during” photos!
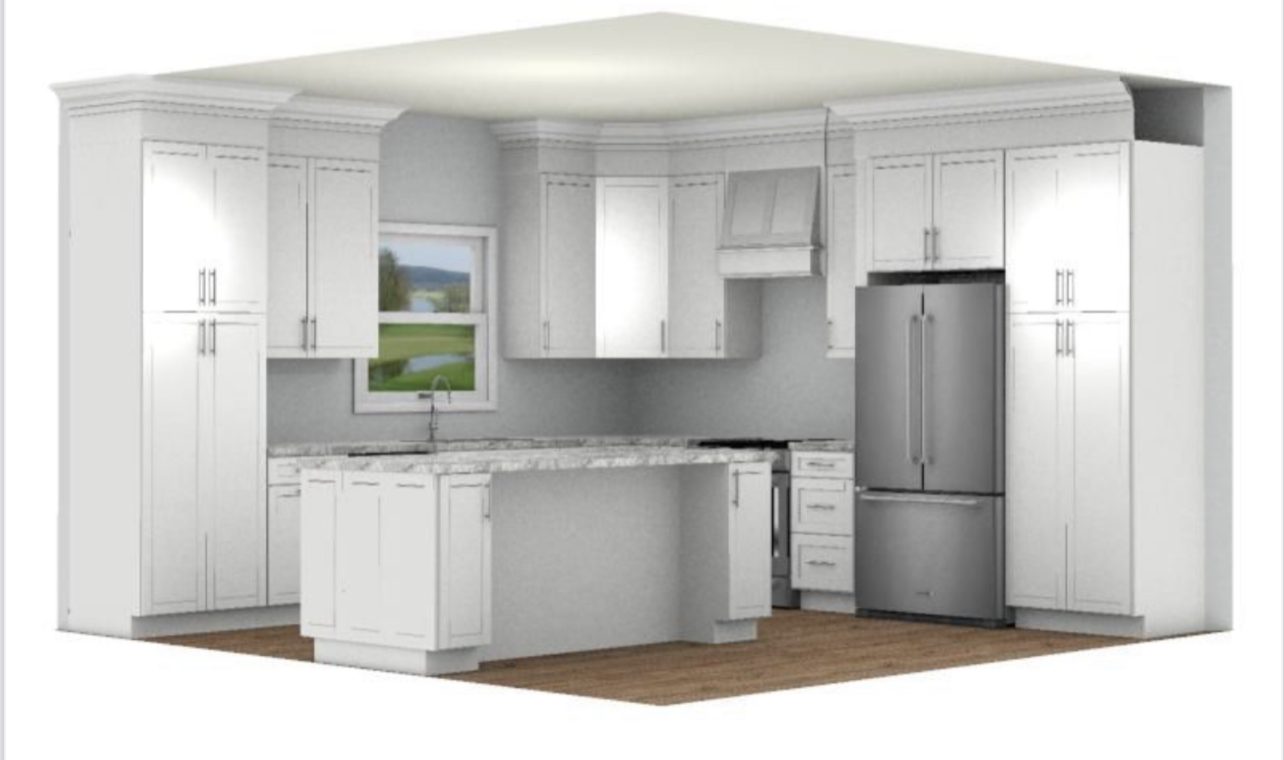
Here is the design plan we created (with the help of Wholesale Cabinets Warehouse in Nashville,) for the new kitchen…
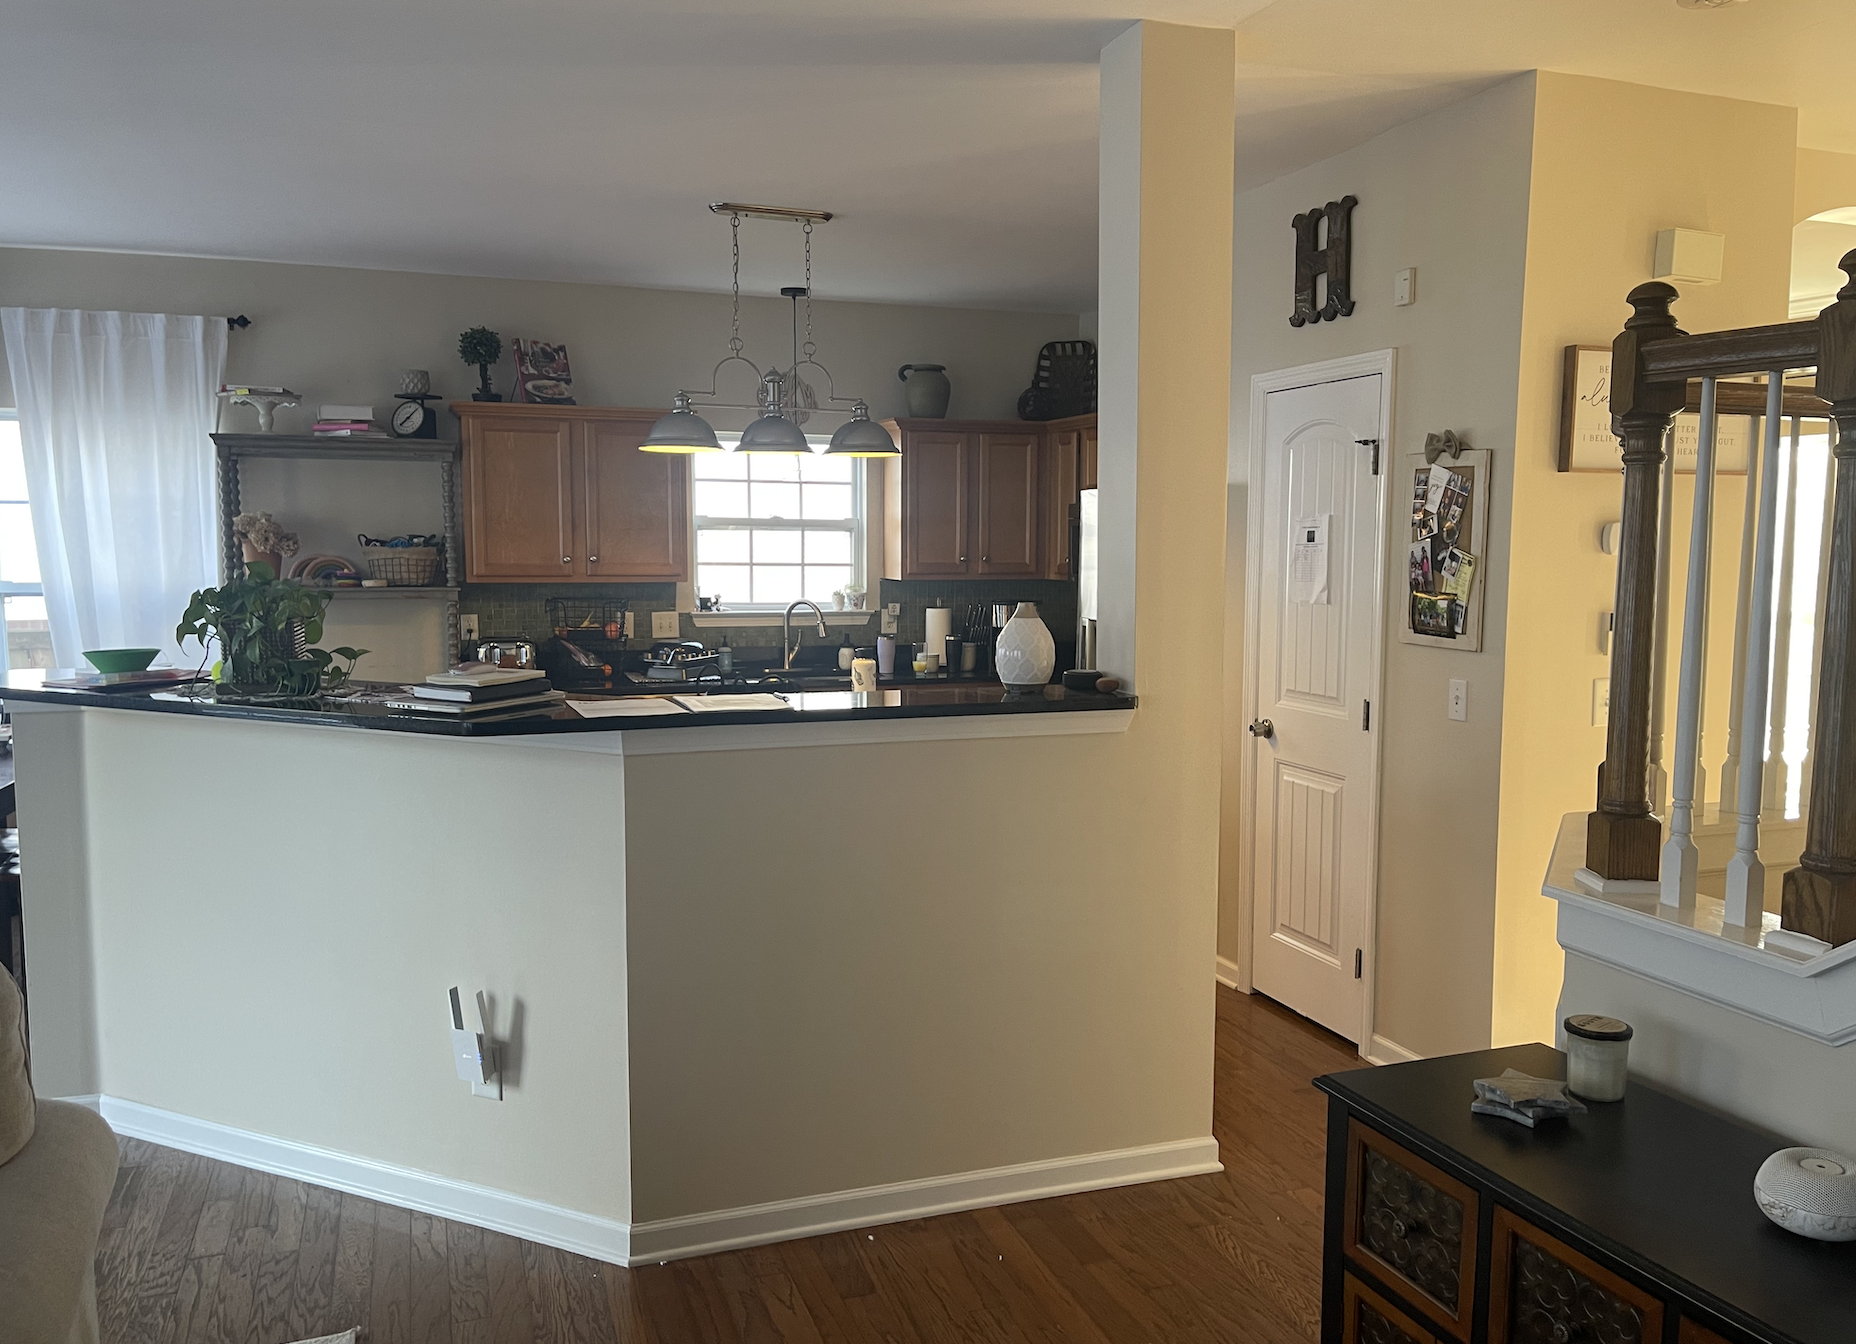
One of the first things we did was tear about the large “half wall island” that blocked off the kitchen from the rest of the house…
You can see what a weird shape it was and how much space it took up in the picture above. It was amazing how BIG the kitchen looked after we removed it!
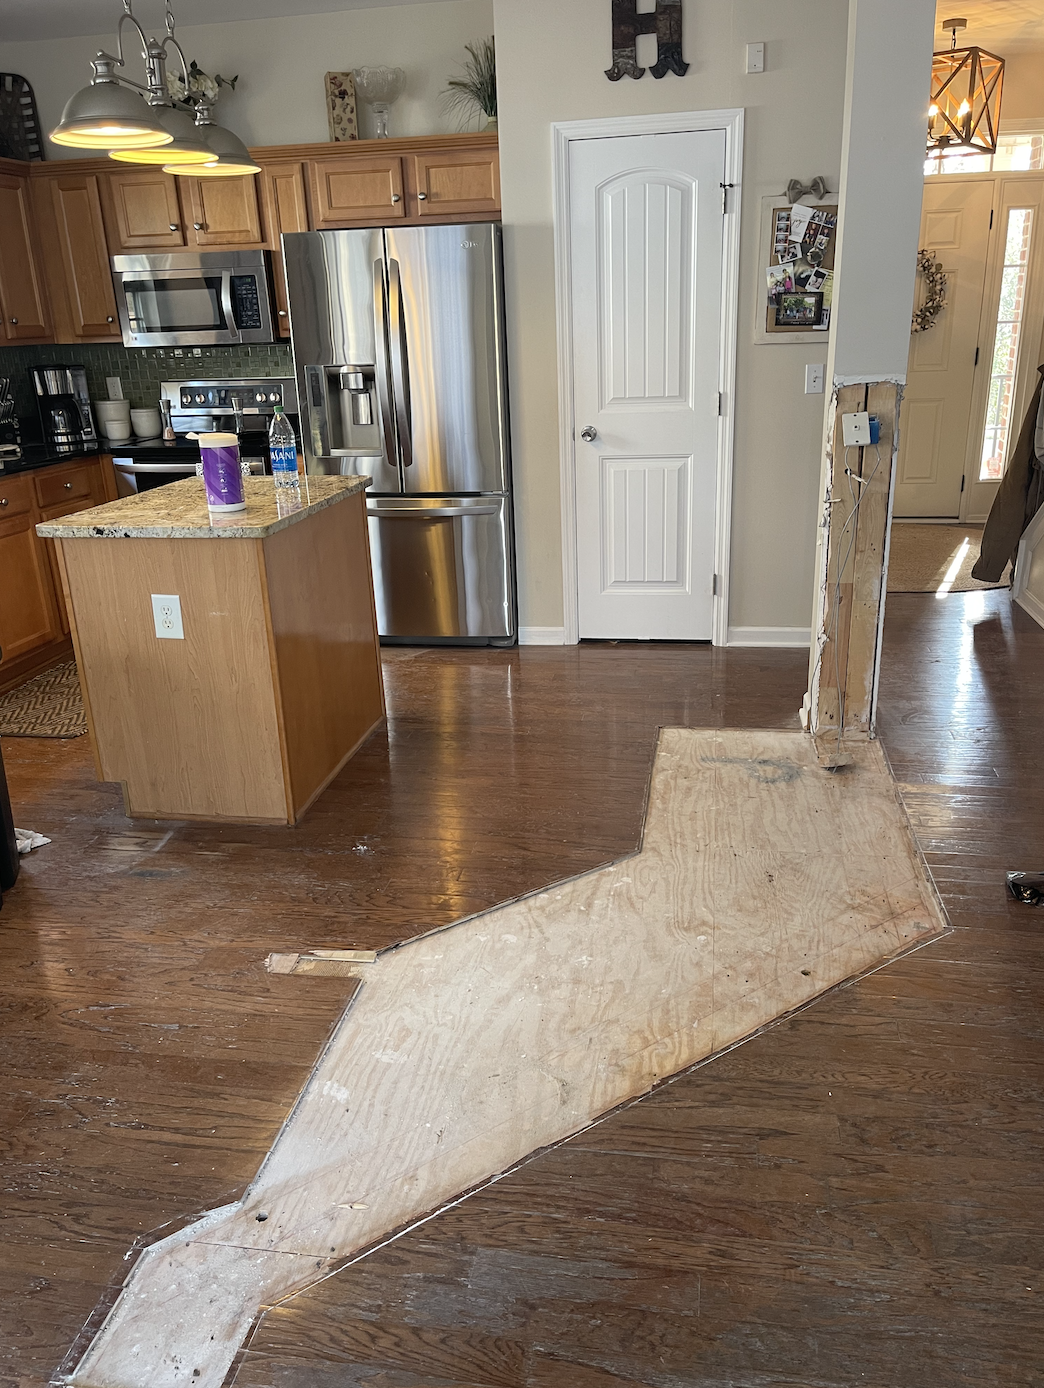
Then we also removed the smaller island that was in the middle of the kitchen. Once those were removed, Cy and the boys removed all of the old flooring.


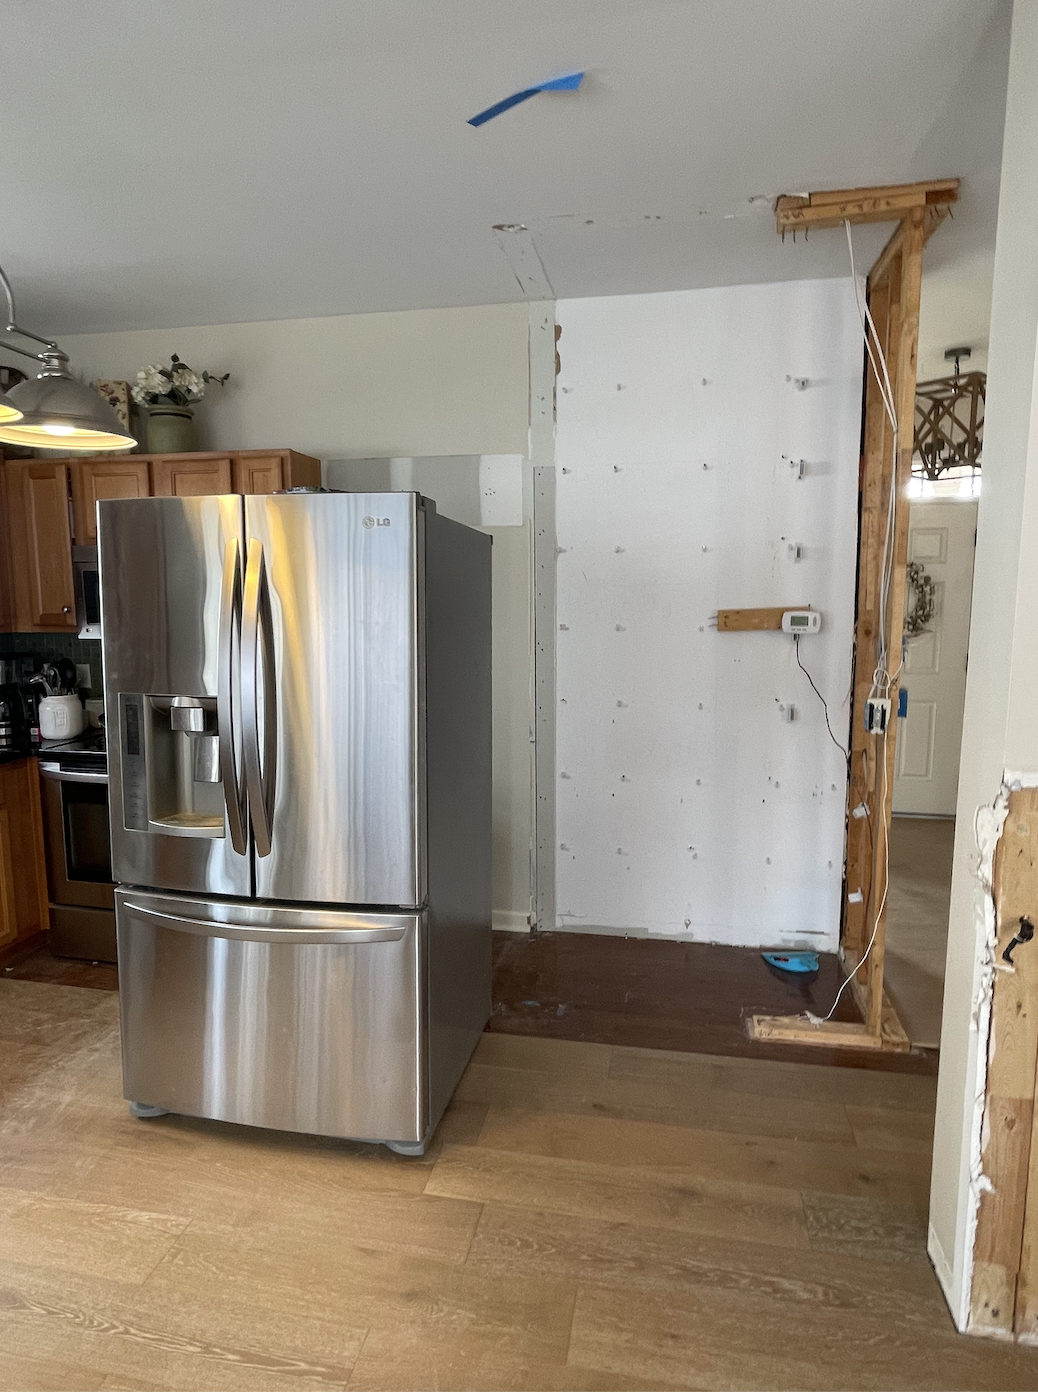
Once flooring was installed, (see below,) it was time to start installing the new cabinetry. But first, we had to tear down the old pantry so we could move the refrigerator over and create more counter space.
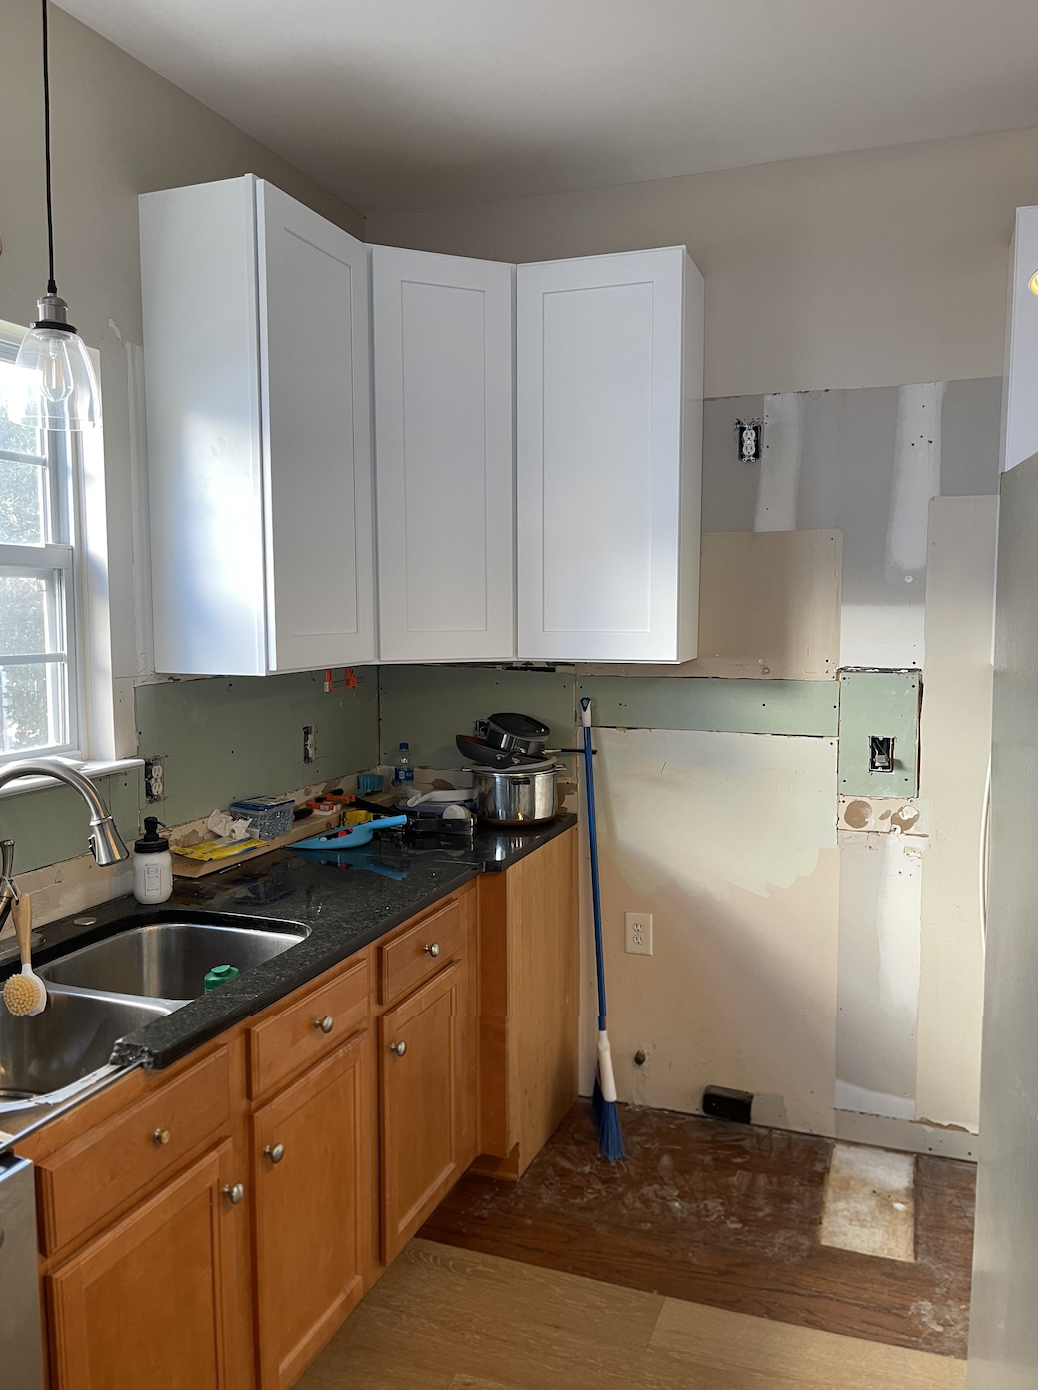
Remember what the pantry looked like..
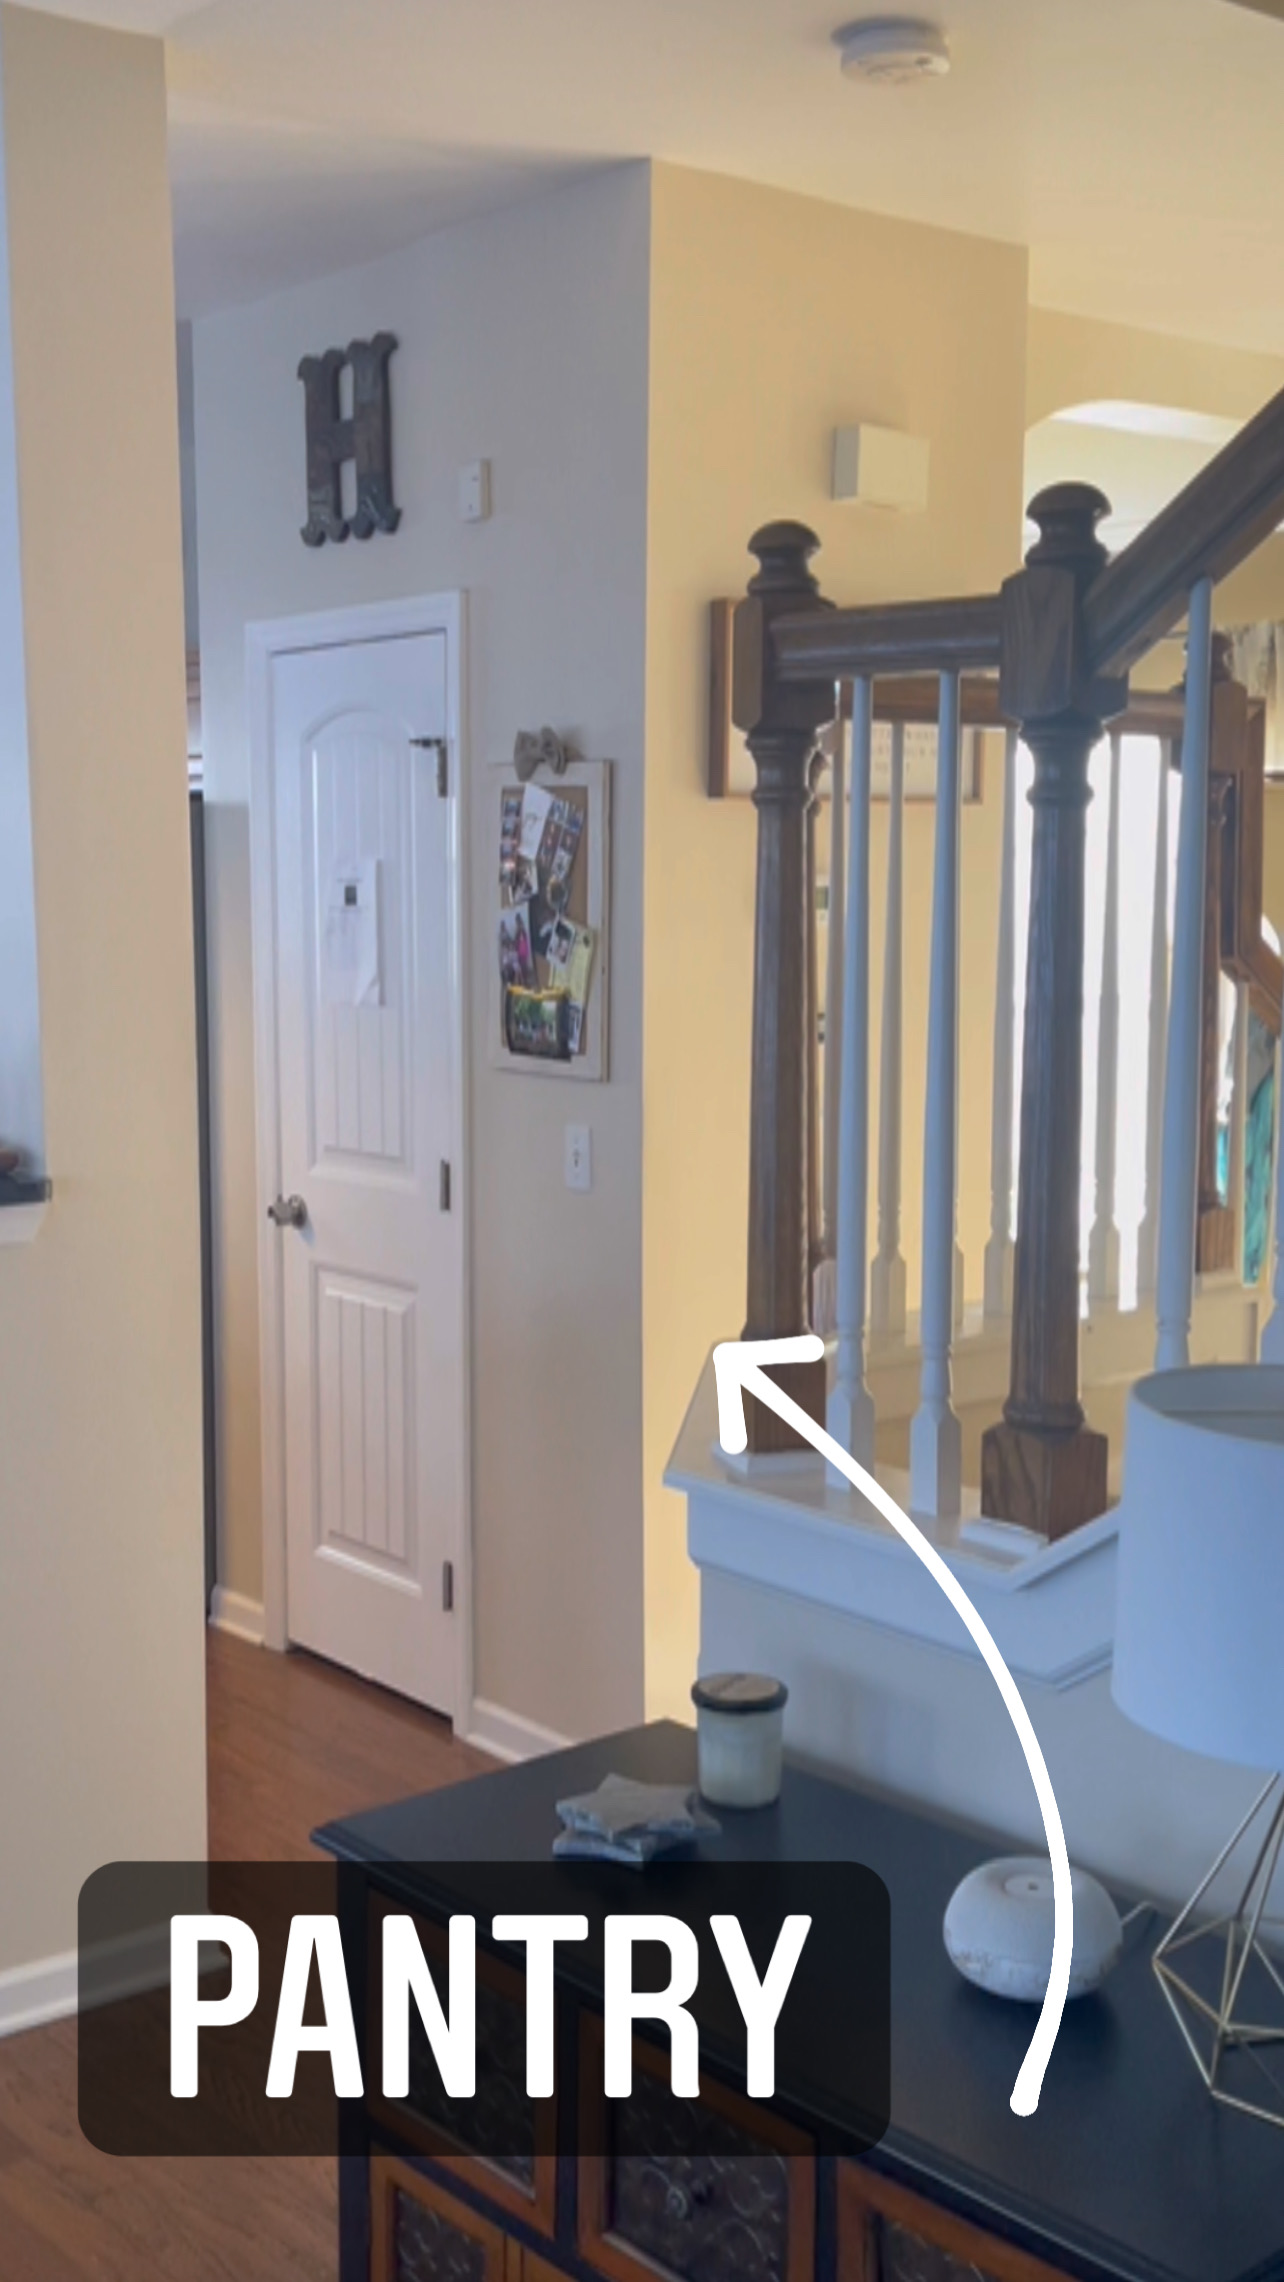
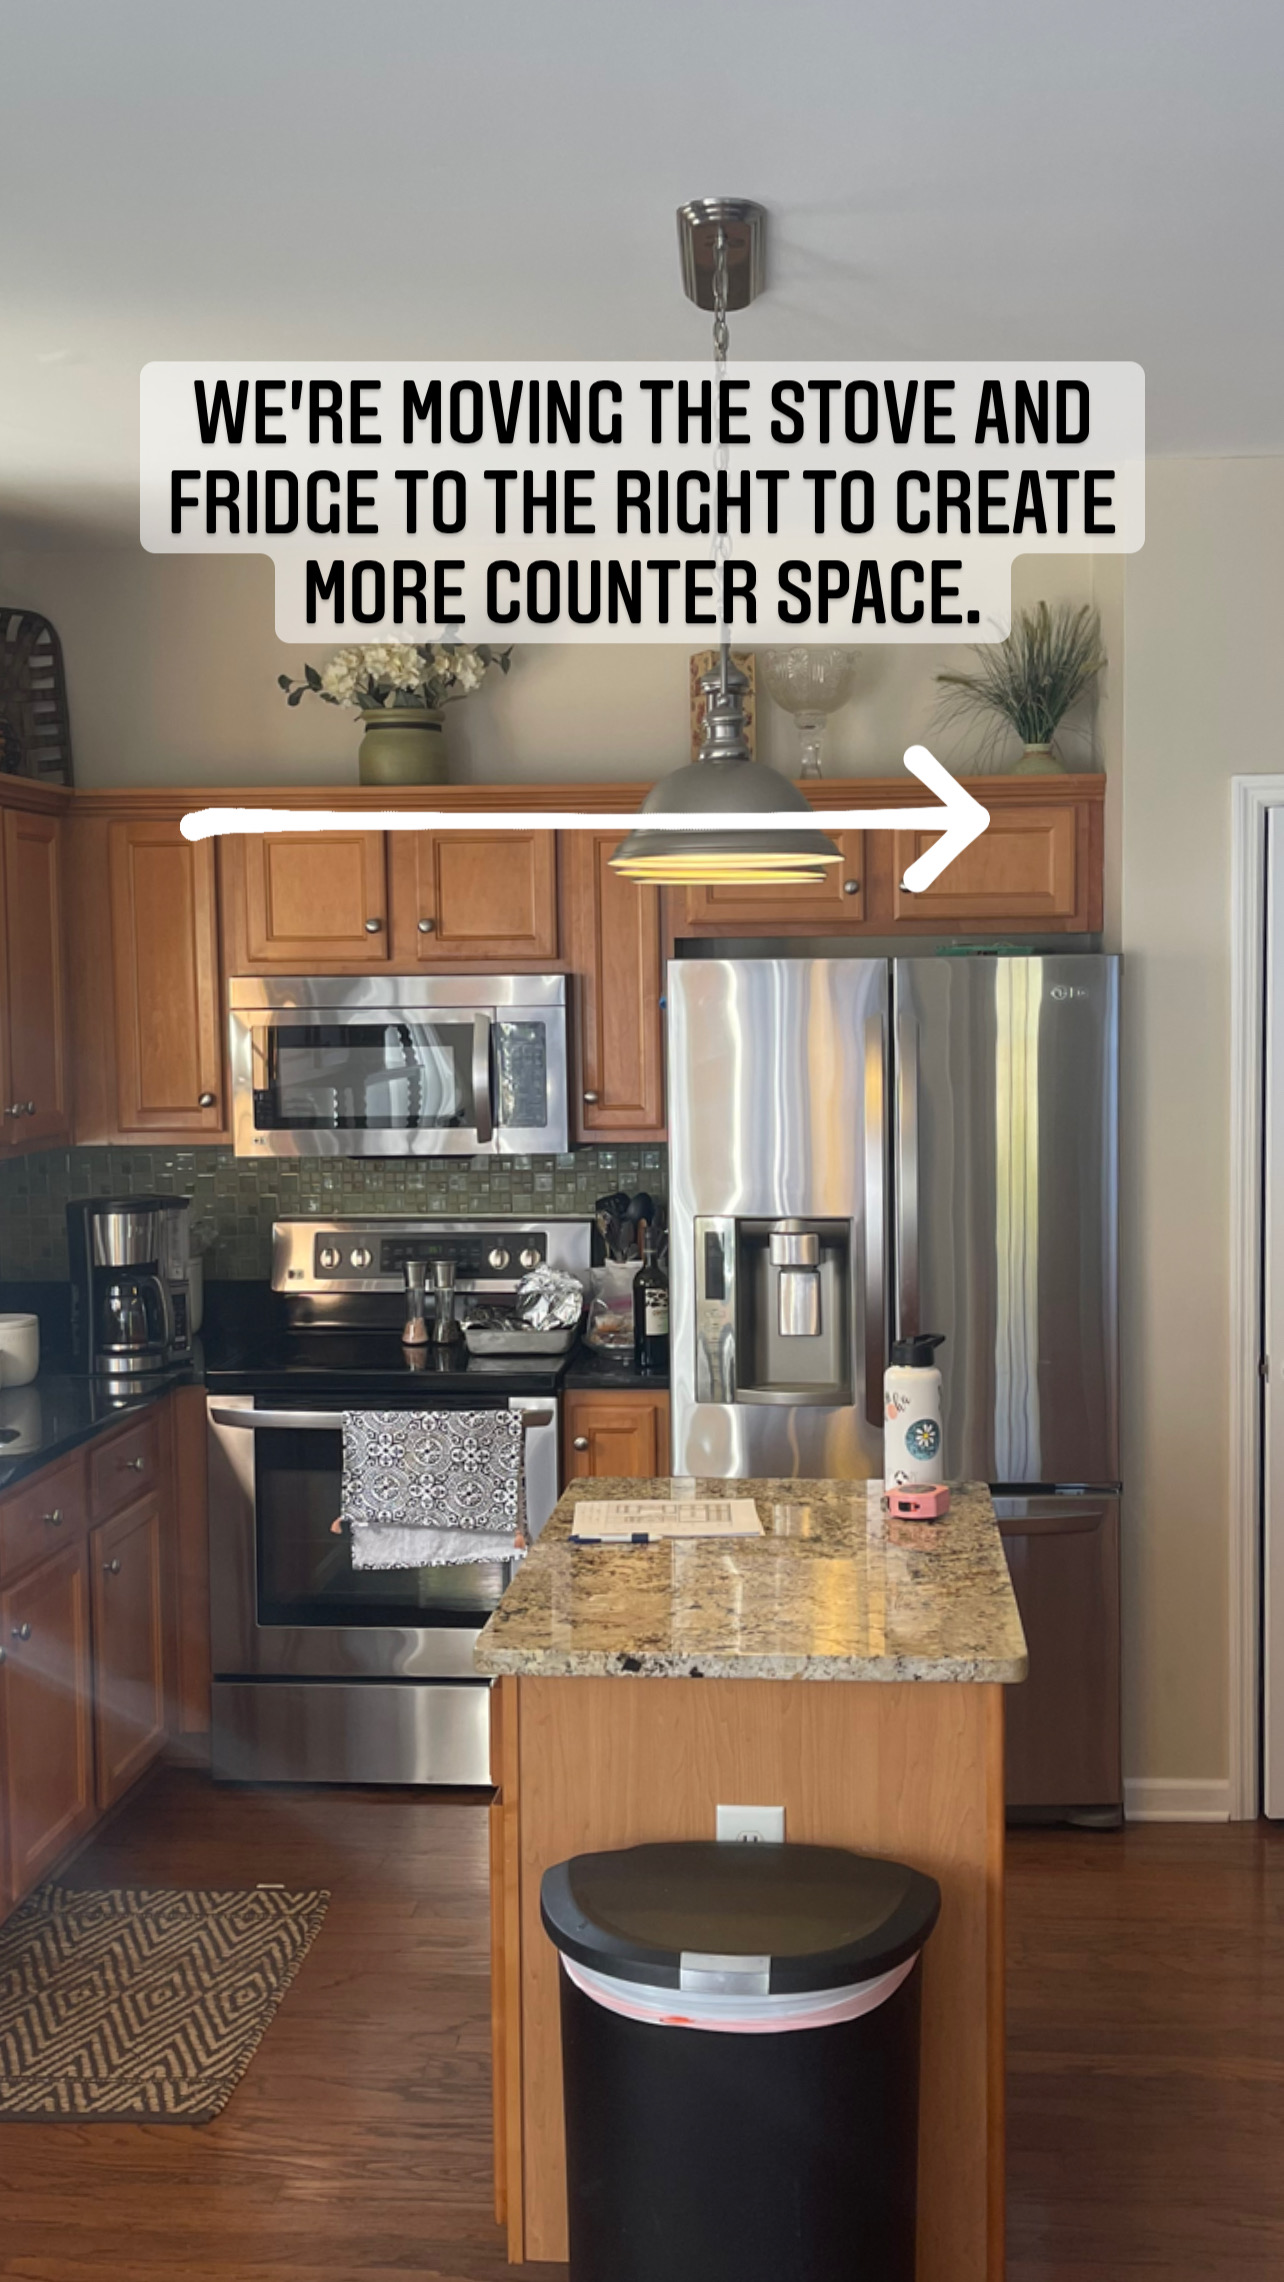
It was this HUGE chunky wall with a small door that really made the kitchen look crowded. Look at how little counter space there is on each side of the oven in the picture below…
Tearing down the old pantry allowed us to add more drawers and cabinetry to the left of the fridge. Also, installing the custom cabinetry/pantry around the fridge made the depth of the wall smaller, opening up the kitchen even more!
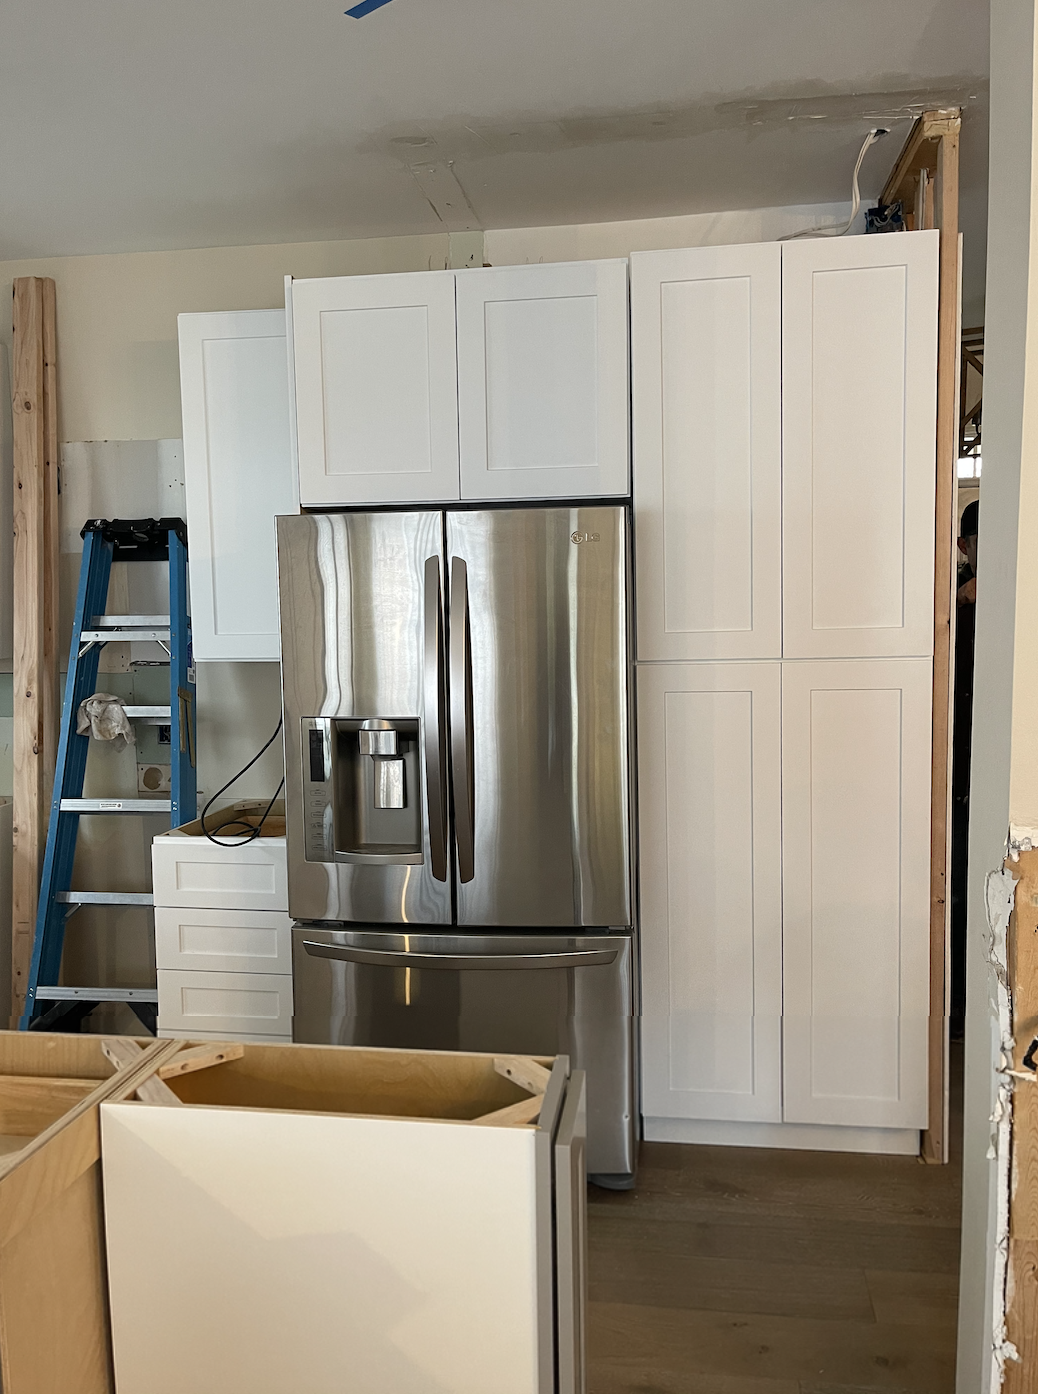
In the picture below, Cy is installing the upper cabinets. Of course, we used filler pieces to fill in the gap between the top of the cabinets and the ceiling, giving the cabinets are more custom look.
We were also able to add another tall pantry cabinet to the left of the dishwasher creating more storage space for our client. I tried to create a gif to show you the difference.
In the picture below, you can see that we added the large island with gray cabinetry and quartz countertop. (I’ll be sharing the sources for all of these materials used in this makeover in a future post.). You can also see how Cy made the cabinets go all the way to the ceiling.
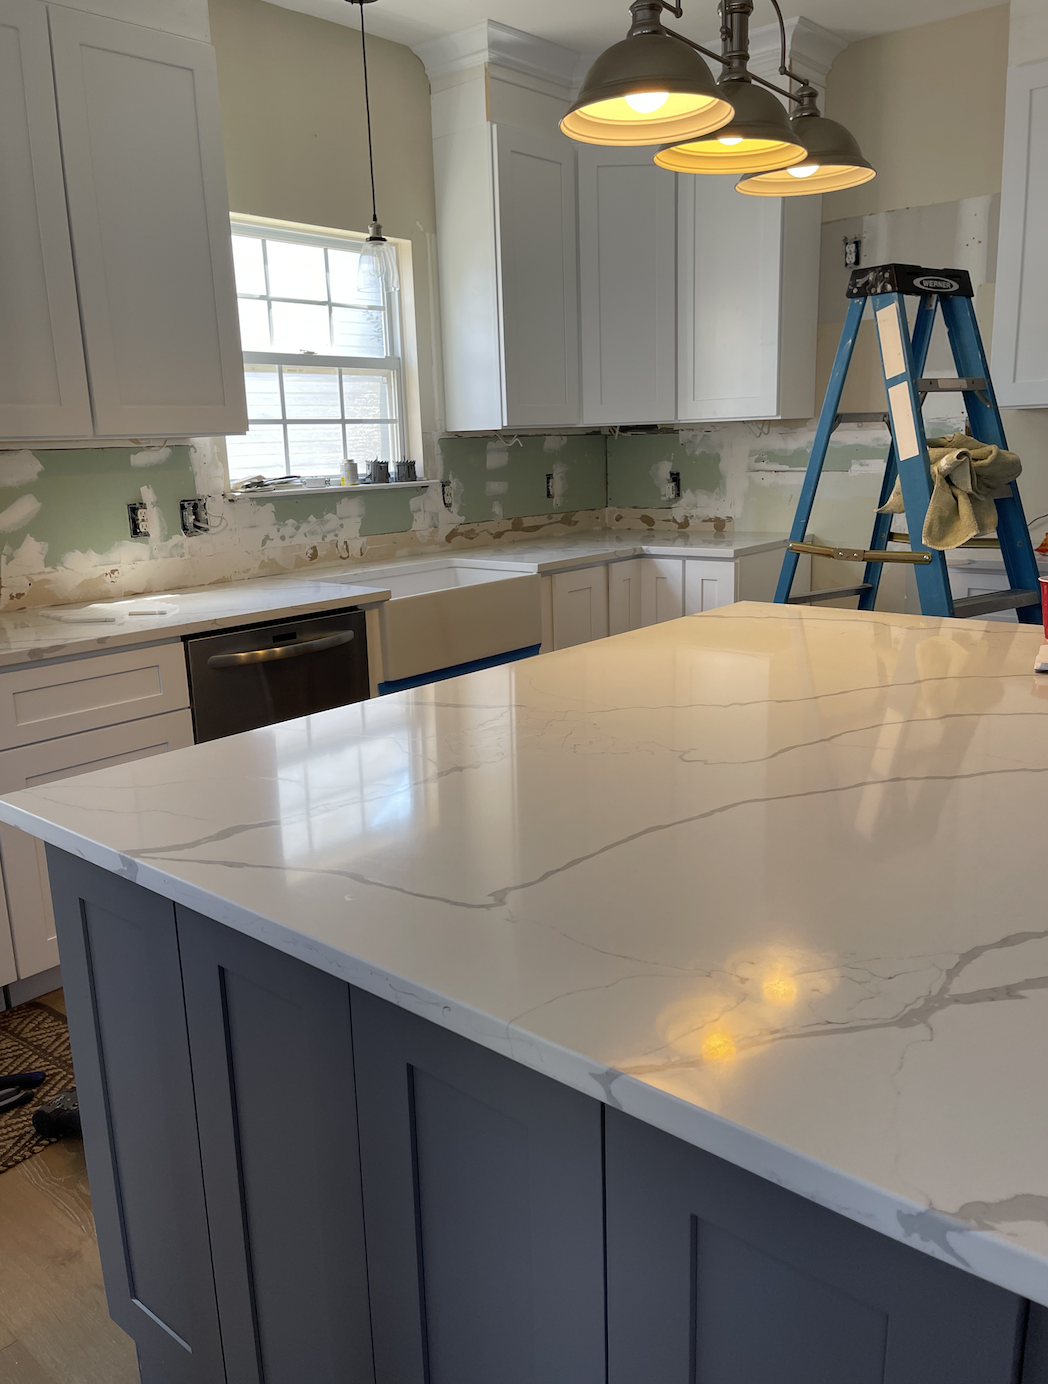
We also installed new quartz countertops on the regular base cabinets and a beautiful white apron sink.
Here is another sneak peek of more goodness to come in the FINAL REVEAL!
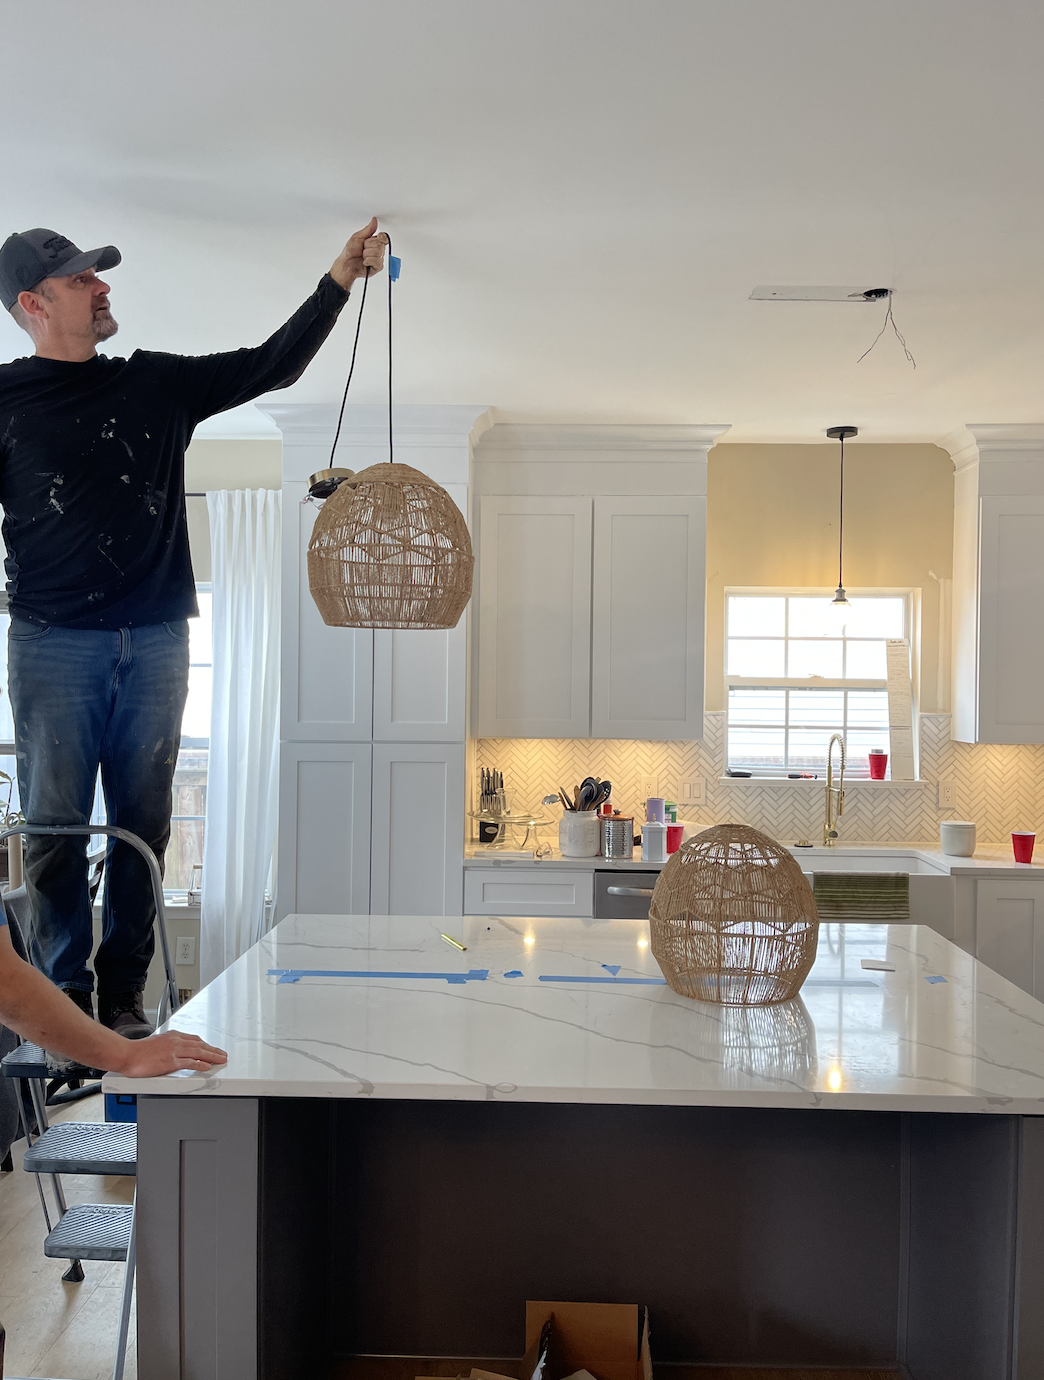
Again, I will source all of the tile, lights, appliances, etc. in my next post, so stay tuned!!
And if you have any questions about this makeover so far, just drop them in the comment section!
xoxo,
Traci
Great job as always!
Extending the cabinets all the way to the ceiling made all the difference in the world! I love the reconfigurations and color choices. It is a beautiful, functional kitchen. Can’t wait to see more pictures.
Awesome job! Can’t wait to see the final REVEAL pictures!
Continuing to look superb!
It looks great!
Beautiful! You and Cy did a great job! Can’t wait to see the final pics.:)
hey girl- ooh la la! Looks so much better! Can’t wait to see more pics.